McCoy Express (Area 88)

The finished model:


The scene:
As the team settles in to their new home at the Area 88 Mountain Base, Mickey and the rest of the American pilots celebrate the Fourth of July. Meanwhile, in New York Kanzaki and Gigliola continue to plot and consolidate their power. Back at the base, Old Man McCoy makes an epic entrance, squeezing his personal C-130 Transport – complete with his “money bag” markings into a nail biting landing in the new and much more cramped Area 88 hangar. Luckily the hangar is JUST big enough to accommodate this monster, and no one is happier than Mickey when he finds out the old man has (finally!) brought him a replacement for the F-14A Tomcat he lost to the Desert Land Carrier.
Check out the original manga scene from Mission 064 “The Funeral March of Betrayal” here:


The story:

“Old Man” McCoy is famous for being able to get anything… from toilet paper to tactical nuclear warheads… and he comes through in a big way.
I knew I wanted to include McCoy’s C-130, with the AWESOME money bag markings in my 1/144 Area 88 project. He’s one of the main supporting cast, so being able to have his own representation in the project really a bit of a no-brainer.

One of the challenges though, was how to get the correct markings for his C-130. So, let’s talk about the options.
The graphic itself is quite clear in the manga, but opinions seem to vary on what the exact colour scheme is. It really boils down to three different choices. On the one hand you could try to find the out-of-print and hard to get Rose Ridge decals. Despite being only one step up from being homemade – I believe they were produced in a garage-style operation using an ALPS printer with its ability to actually print in white ink – these were apparently okayed by Shintani himself, and feature a choice of a red “$” on a yellow/black background or a black “$” on a white/red background.
The other, more recent, choice is the decal sheet that came as a “gift” with the “Area 88 Modeling Mission” magazine that was released by Model Art in 2024. I’m unsure what the connection with Shintani is, but you’d assume that he’d have been consulted given that Model Art is a legitimate publisher. Anyway, that colour scheme is presented with a black “$” on a gold/black background.
If you’d like to see a GREAT example of what a 1/144 scale C-130 looks like in that livery, check out Wollcraft’s blog! You’ll be glad you did!

For my project though, I decided to go with the one colour scheme and livery that I KNOW Kaoru Shintani was behind… because he drew it.
It’s a bit hard to find, but one of the full-colour plates that were part of the Area 88 Mechanical Romanesque portfolio features a beautiful shot of Old Man McCoy and Mickey in a jeep racing alongside McCoy’s “money bag” C-130 as it comes in for a landing. The artwork clearly depicts a Yellow/Gold “$” on the white/red background (with a red “M” on the tail as well). It’s also a little flashier with the browns and greens than most of the other interpretations you’ll see.
As far as I’m concerned though, that’s the only one I know Shintani coloured, so I think it’s the most legit.
The kit(s):
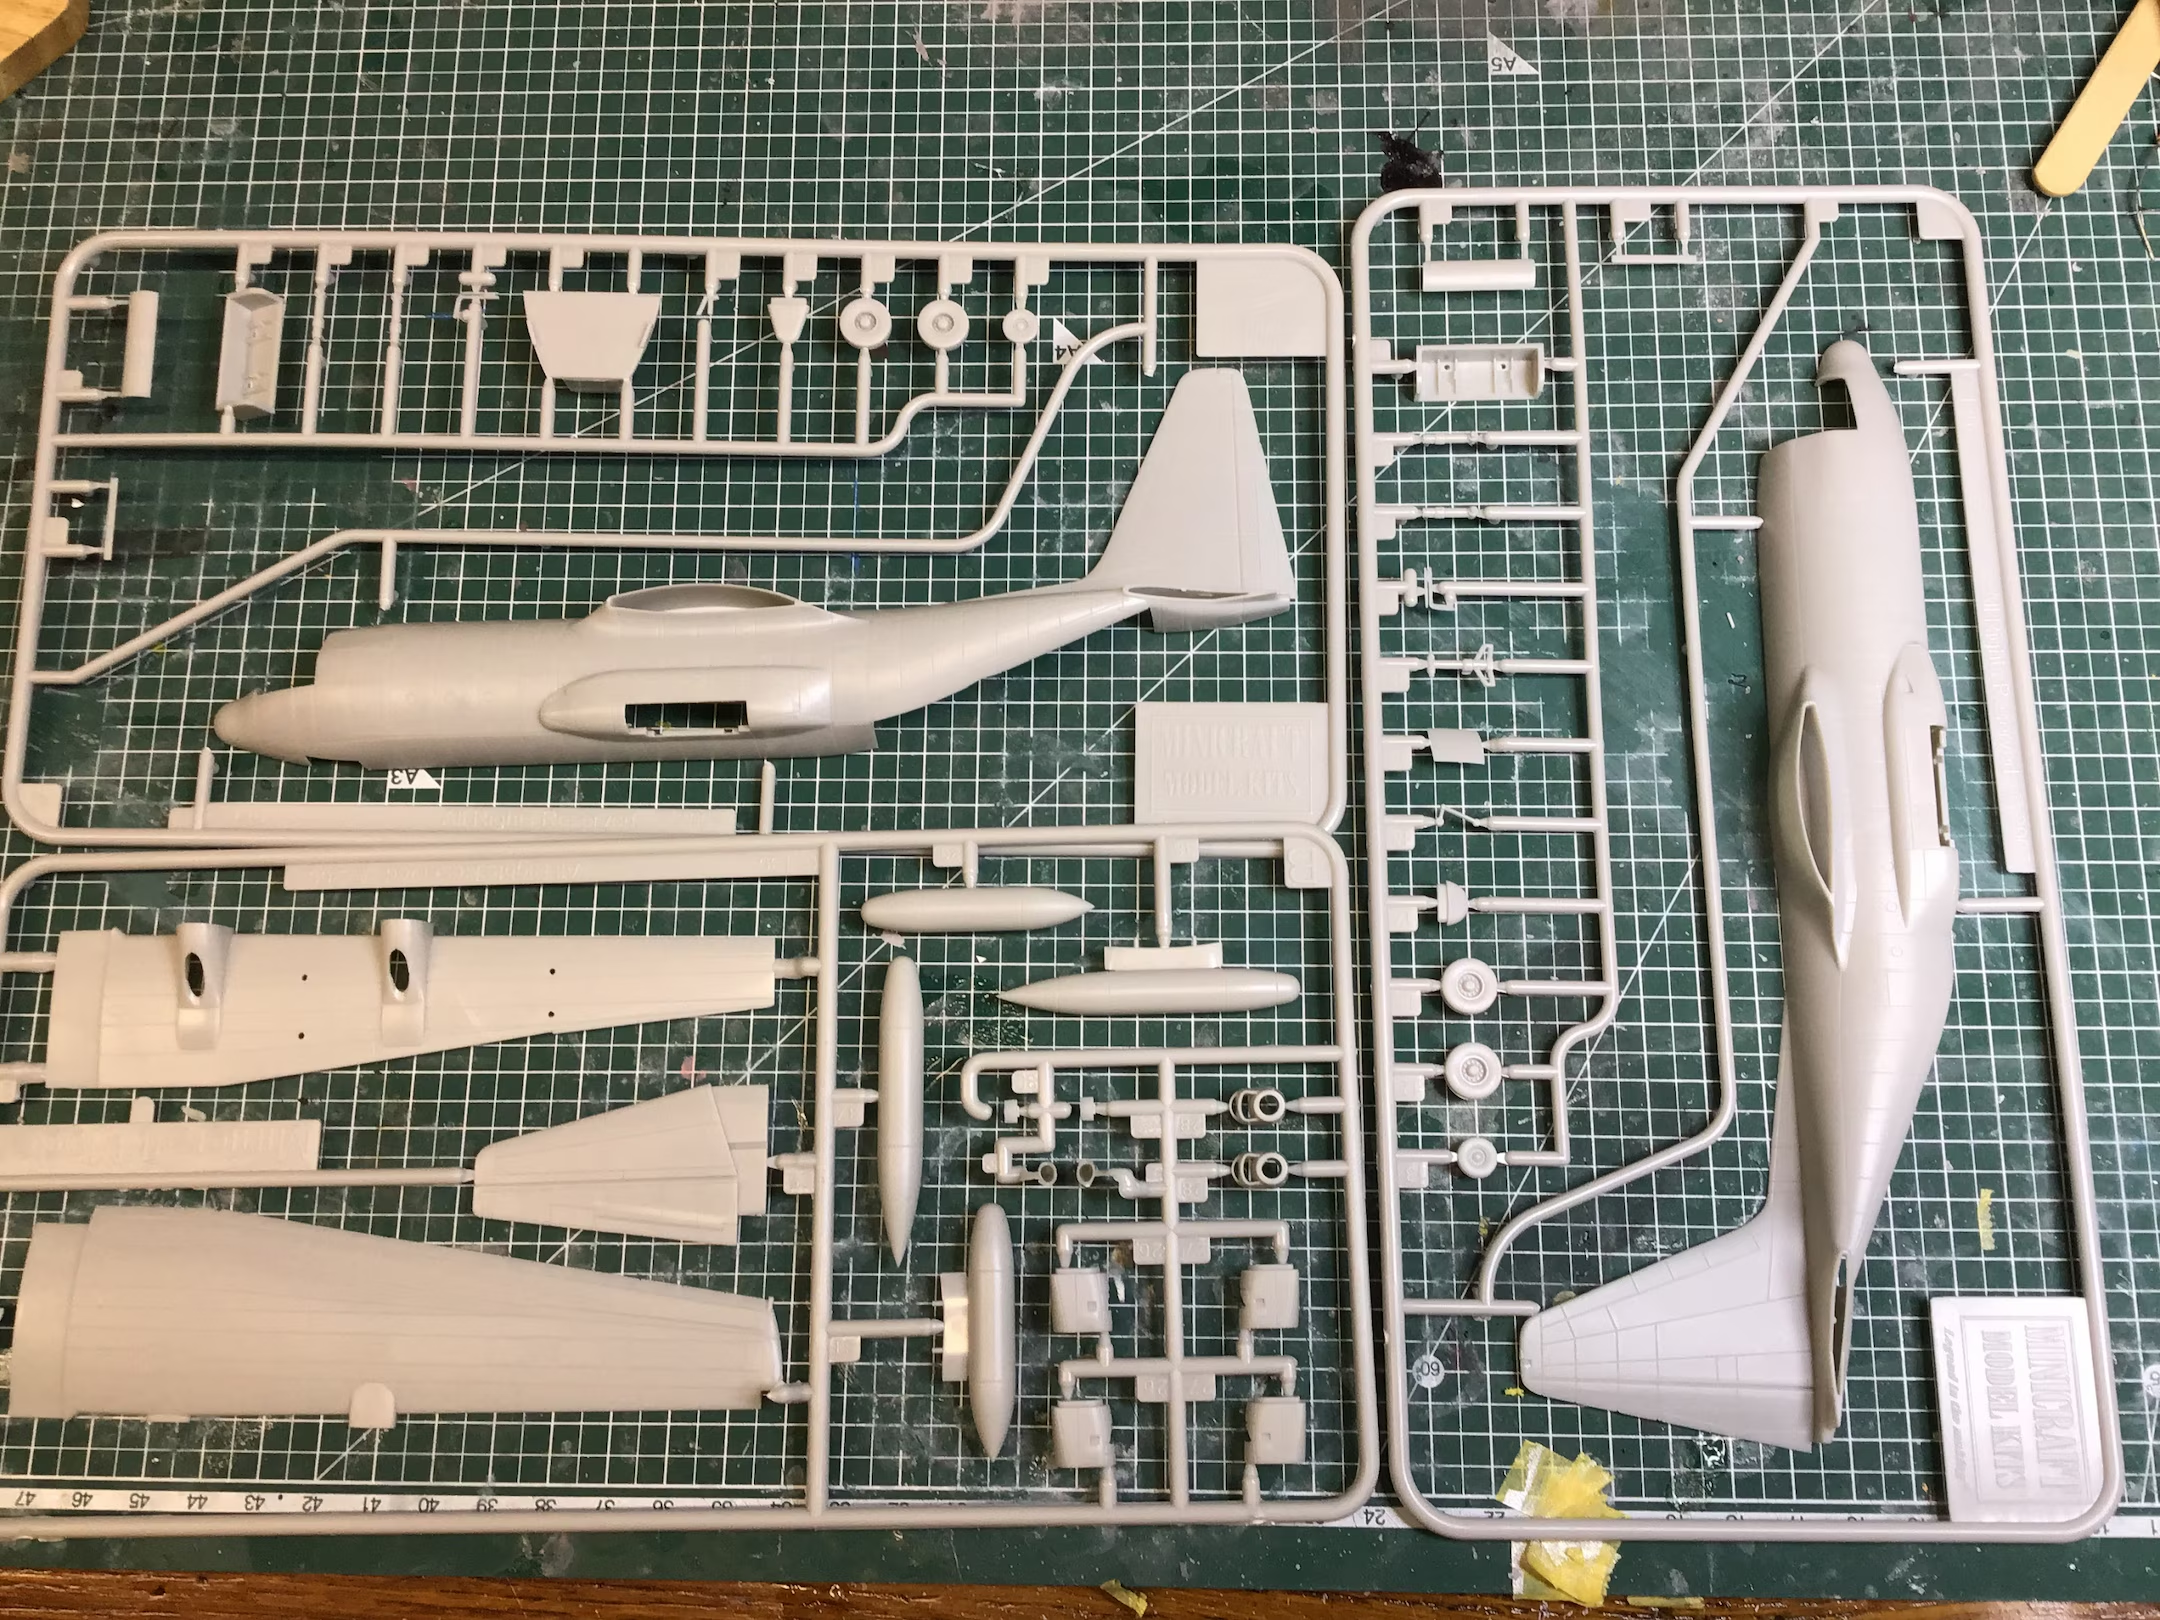
- C-130A by Minicraft
- F-14A Tomcat by Ace Corporation
The build:
I think I set off on this project on the wrong foot, right from the start. I got a bit excited about finding a 1/144 scale C-130A on the shelf at the local hobby shop for a decent price that I didn’t even stop to think if this was the kit I actually needed. It turns out… it’s not… at least not quite.
For one, Old Man McCoy’s C-130 is clearly not a gunship… so that wasn’t a huge problem, I just refrained from cutting out the various holes needed for the gun-ports. I also bagged a few of the extra bits for the spares box, no problem. What was more of a a problem is that the C-130A features engines with only 3 propellor blades (and you can see that quite clearly from the box-art). That was a bigger problem. McCoy’s C-130 is a later model and is clearly shown with 4-bladed propellors. I did a bit of hunting around, but couldn’t really find anyone willing or able to swap a 3-bladed prop for a 4-bladed one. So, in the end, I decided that my P-3 Orion kit would have to become a donor – not sure where that leaves the Orion… but it is what it is.
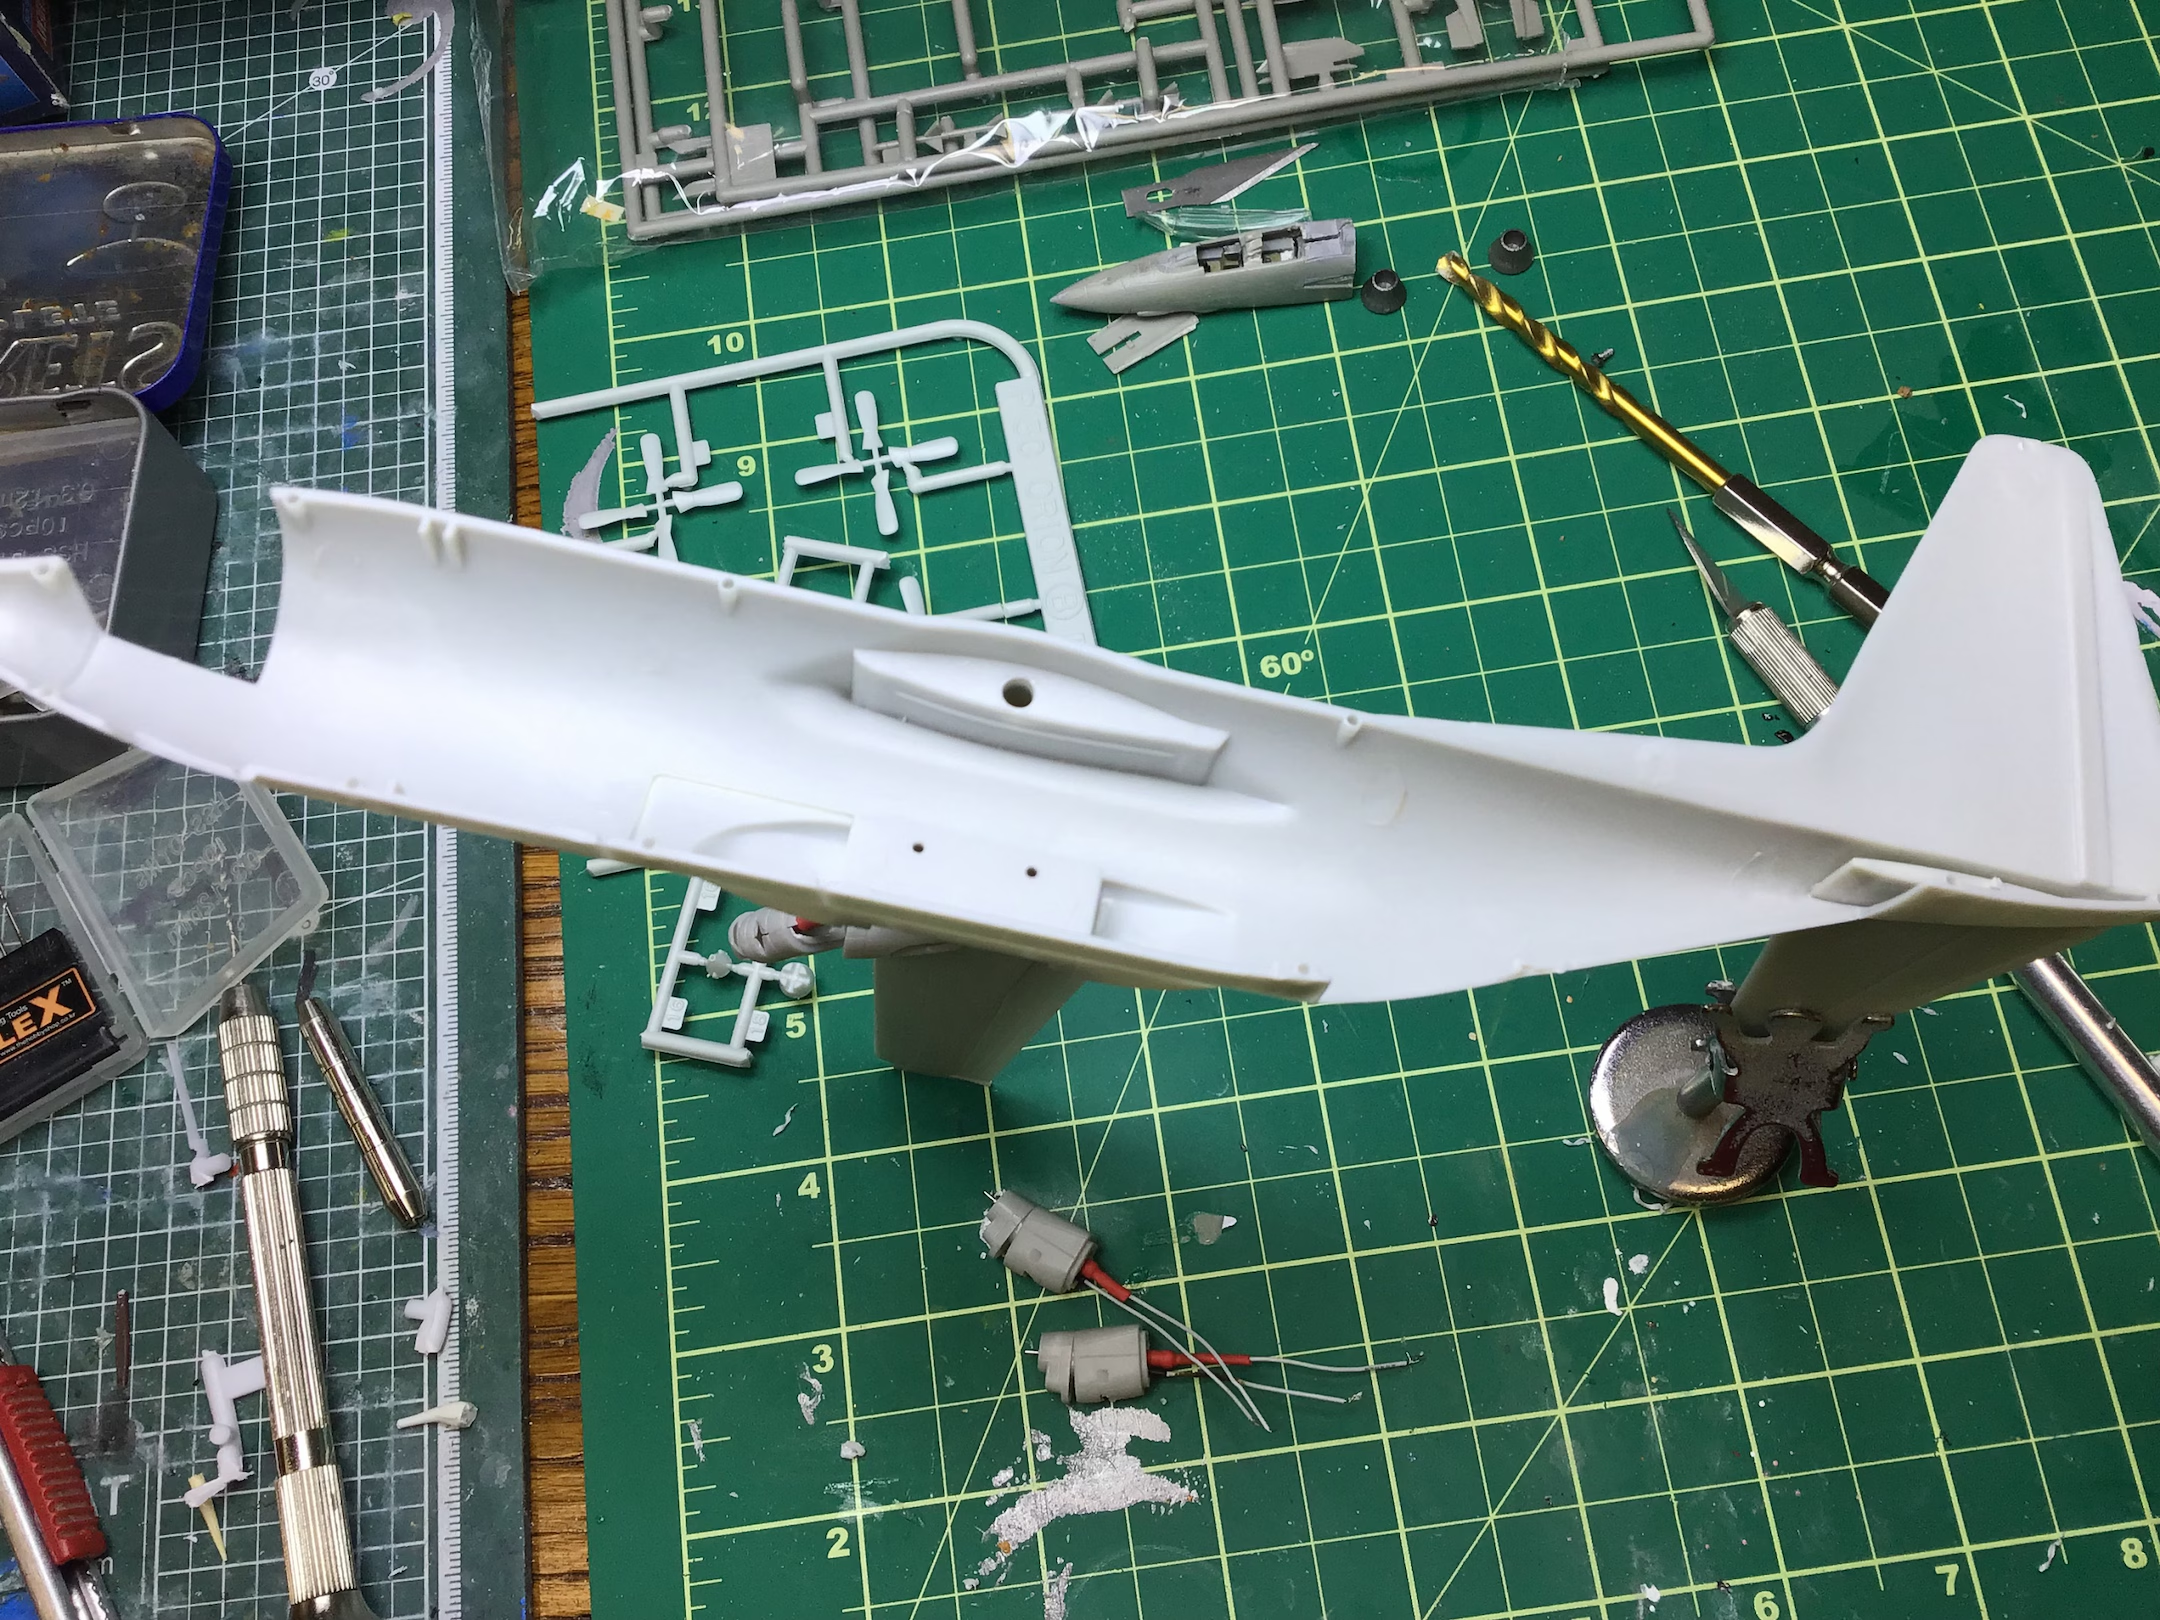
There was also one other donor kit for this build, the Ace boxing of the Revell F-14A. Luckily I had one in my box of spares (from a failed previous attempt at something), and I was happy to only have to use the nose pieces.
After I’d charted a course, the Minicraft kit itself went ahead without much fuss. I gave a bit of a paint job to the interior, but given the small cockpit windows and the fact that I’d planned to shove the nose of an F-14A Tomcat onto the cargo ramp, I didn’t really bother with much of the interior. Instead I made sure there was room to string the various wires needed to run four propellors. I’ve done that before, on several builds, so nothing much to report on that front.
The clear cockpit piece fit surprisingly well. Not actually well, mind you, but given my experience on other kits with a similar engineering solution, it was actually passable.
The biggest challenge on this build was undoubtedly the decals. As I mentioned up above, I’d done quite a bit of homework on which markings to pursue. The problem of course about being right when everyone else is wrong… is that there were not commercial options available. I’d have to design and print my own decals. So I did. The real challenge was getting them on to a white background. The painting wasn’t a problem, but I made sure to use a generous amount of my precious and dwindling supply of Future to a) give the decals a firm surface to adhere to, and b) a protective top coating to seal them in. That seemed to do the trick, because with some very careful masking, I was actually able to paint OVER the decals… and make it out the other side.
However, you’d think with all that care and attention, I’d have been able to spot that I’d somehow managed to both screw up the mirror image flip of the “money bag” marking, as well as applying them to the wrong sides. I fixed the first error by carefully cutting out the “$” and applying it separately from my spare set of printed decals. But putting them on the wrong sides… no excuse and nothing to do to save it.
In my defense though… who would think that a tear in the bag would have the coins spilling out towards the FRONT of the aircraft? They’d OBVIOUSLY spill out in the opposite direction and towards the rear. Right? RIGHT?!
All in all though, I pretty satisfied with the result, but feel free to tell me what you think.