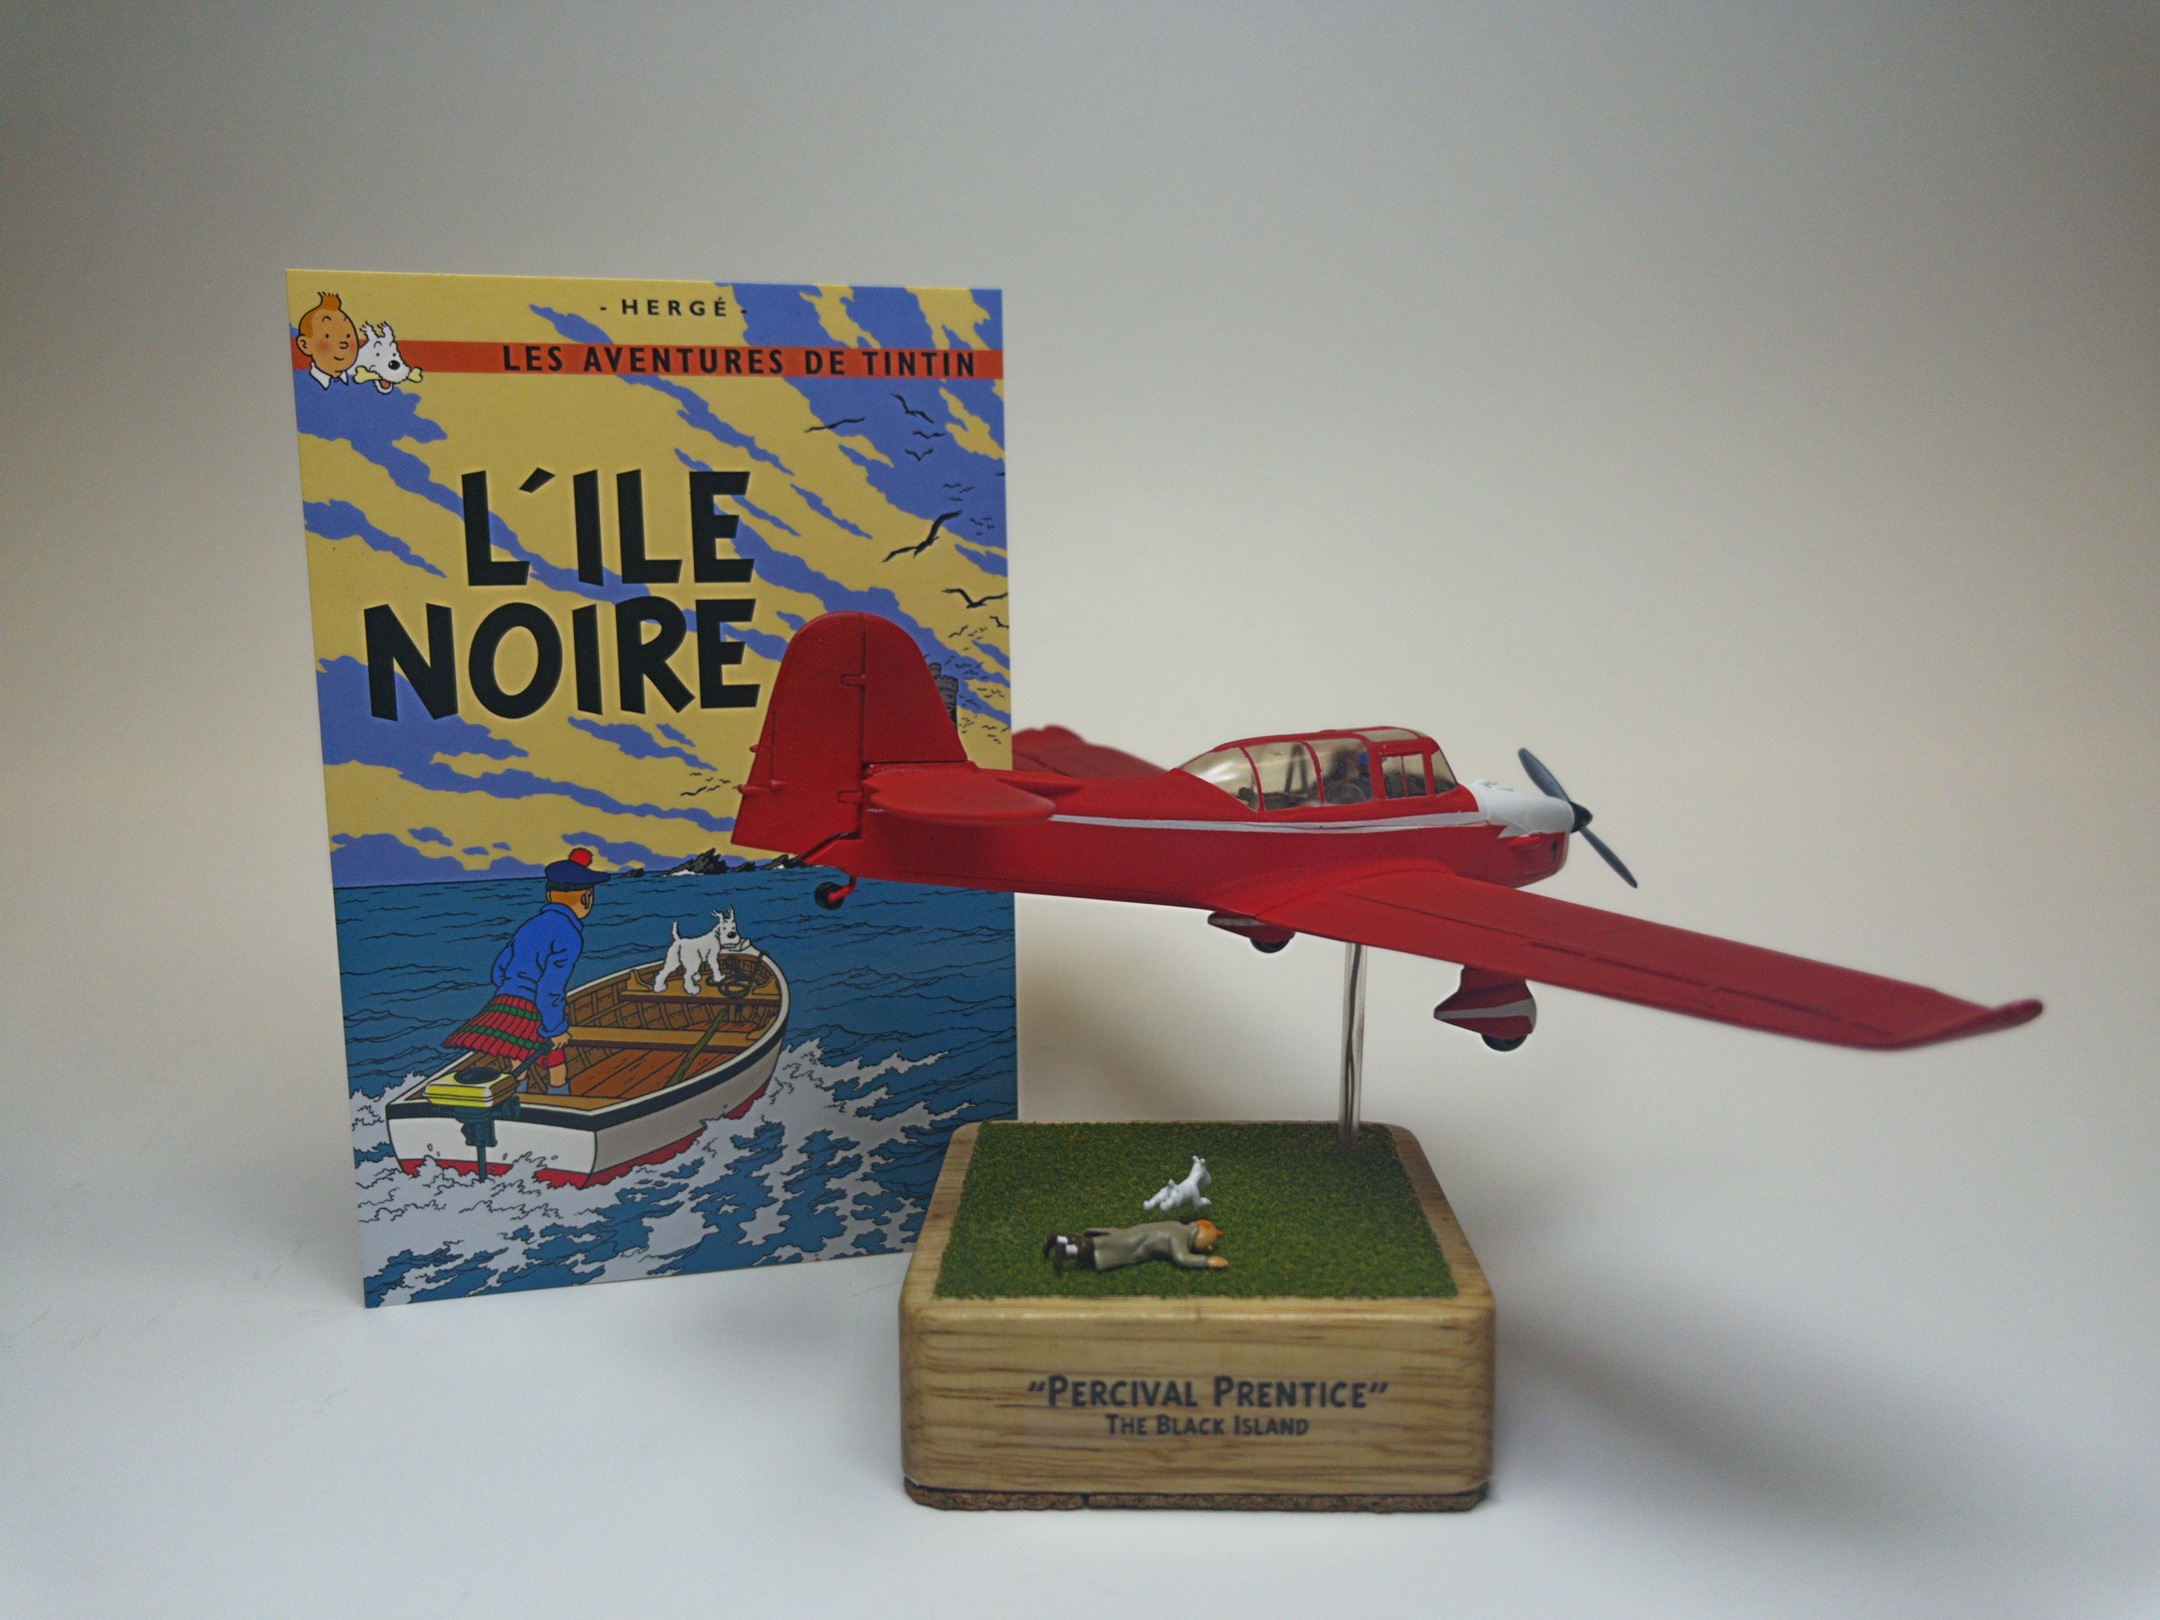
Percival Prentice (The Black Island)

The Black Island (French: L’Île noire) is the seventh volume of The Adventures of Tintin, the comics series by Belgian cartoonist Hergé. Commissioned by the conservative Belgian newspaper Le Vingtième Siècle for its children’s supplement Le Petit Vingtième, it was serialised weekly from April to November 1937. The story tells of young Belgian reporter Tintin and his dog Snowy, who travel to England in pursuit of a gang of counterfeiters. Framed for theft and hunted by detectives Thomson and Thompson, Tintin follows the criminals to Scotland, discovering their lair on the Black Island.
– courtesy of Wikipedia
THE FINISHED MODEL:
THE VIDEO:
This is Tintin project : 058
This project was originally completed on 2026/02/03
THE STORY:
The Black Island is one my post prolific sources of inspiration for my Tintin 1/72 project. To date, I’ve already built 6 other projects – such as the DHC Chipmunk, the Loch Lomond Rail Tanker, the Motorboat, the Ford Zephyr Taxi, the Jaguar Mark X, and the DH 82 Tiger Moth – but this one is the first one I wanted to build.

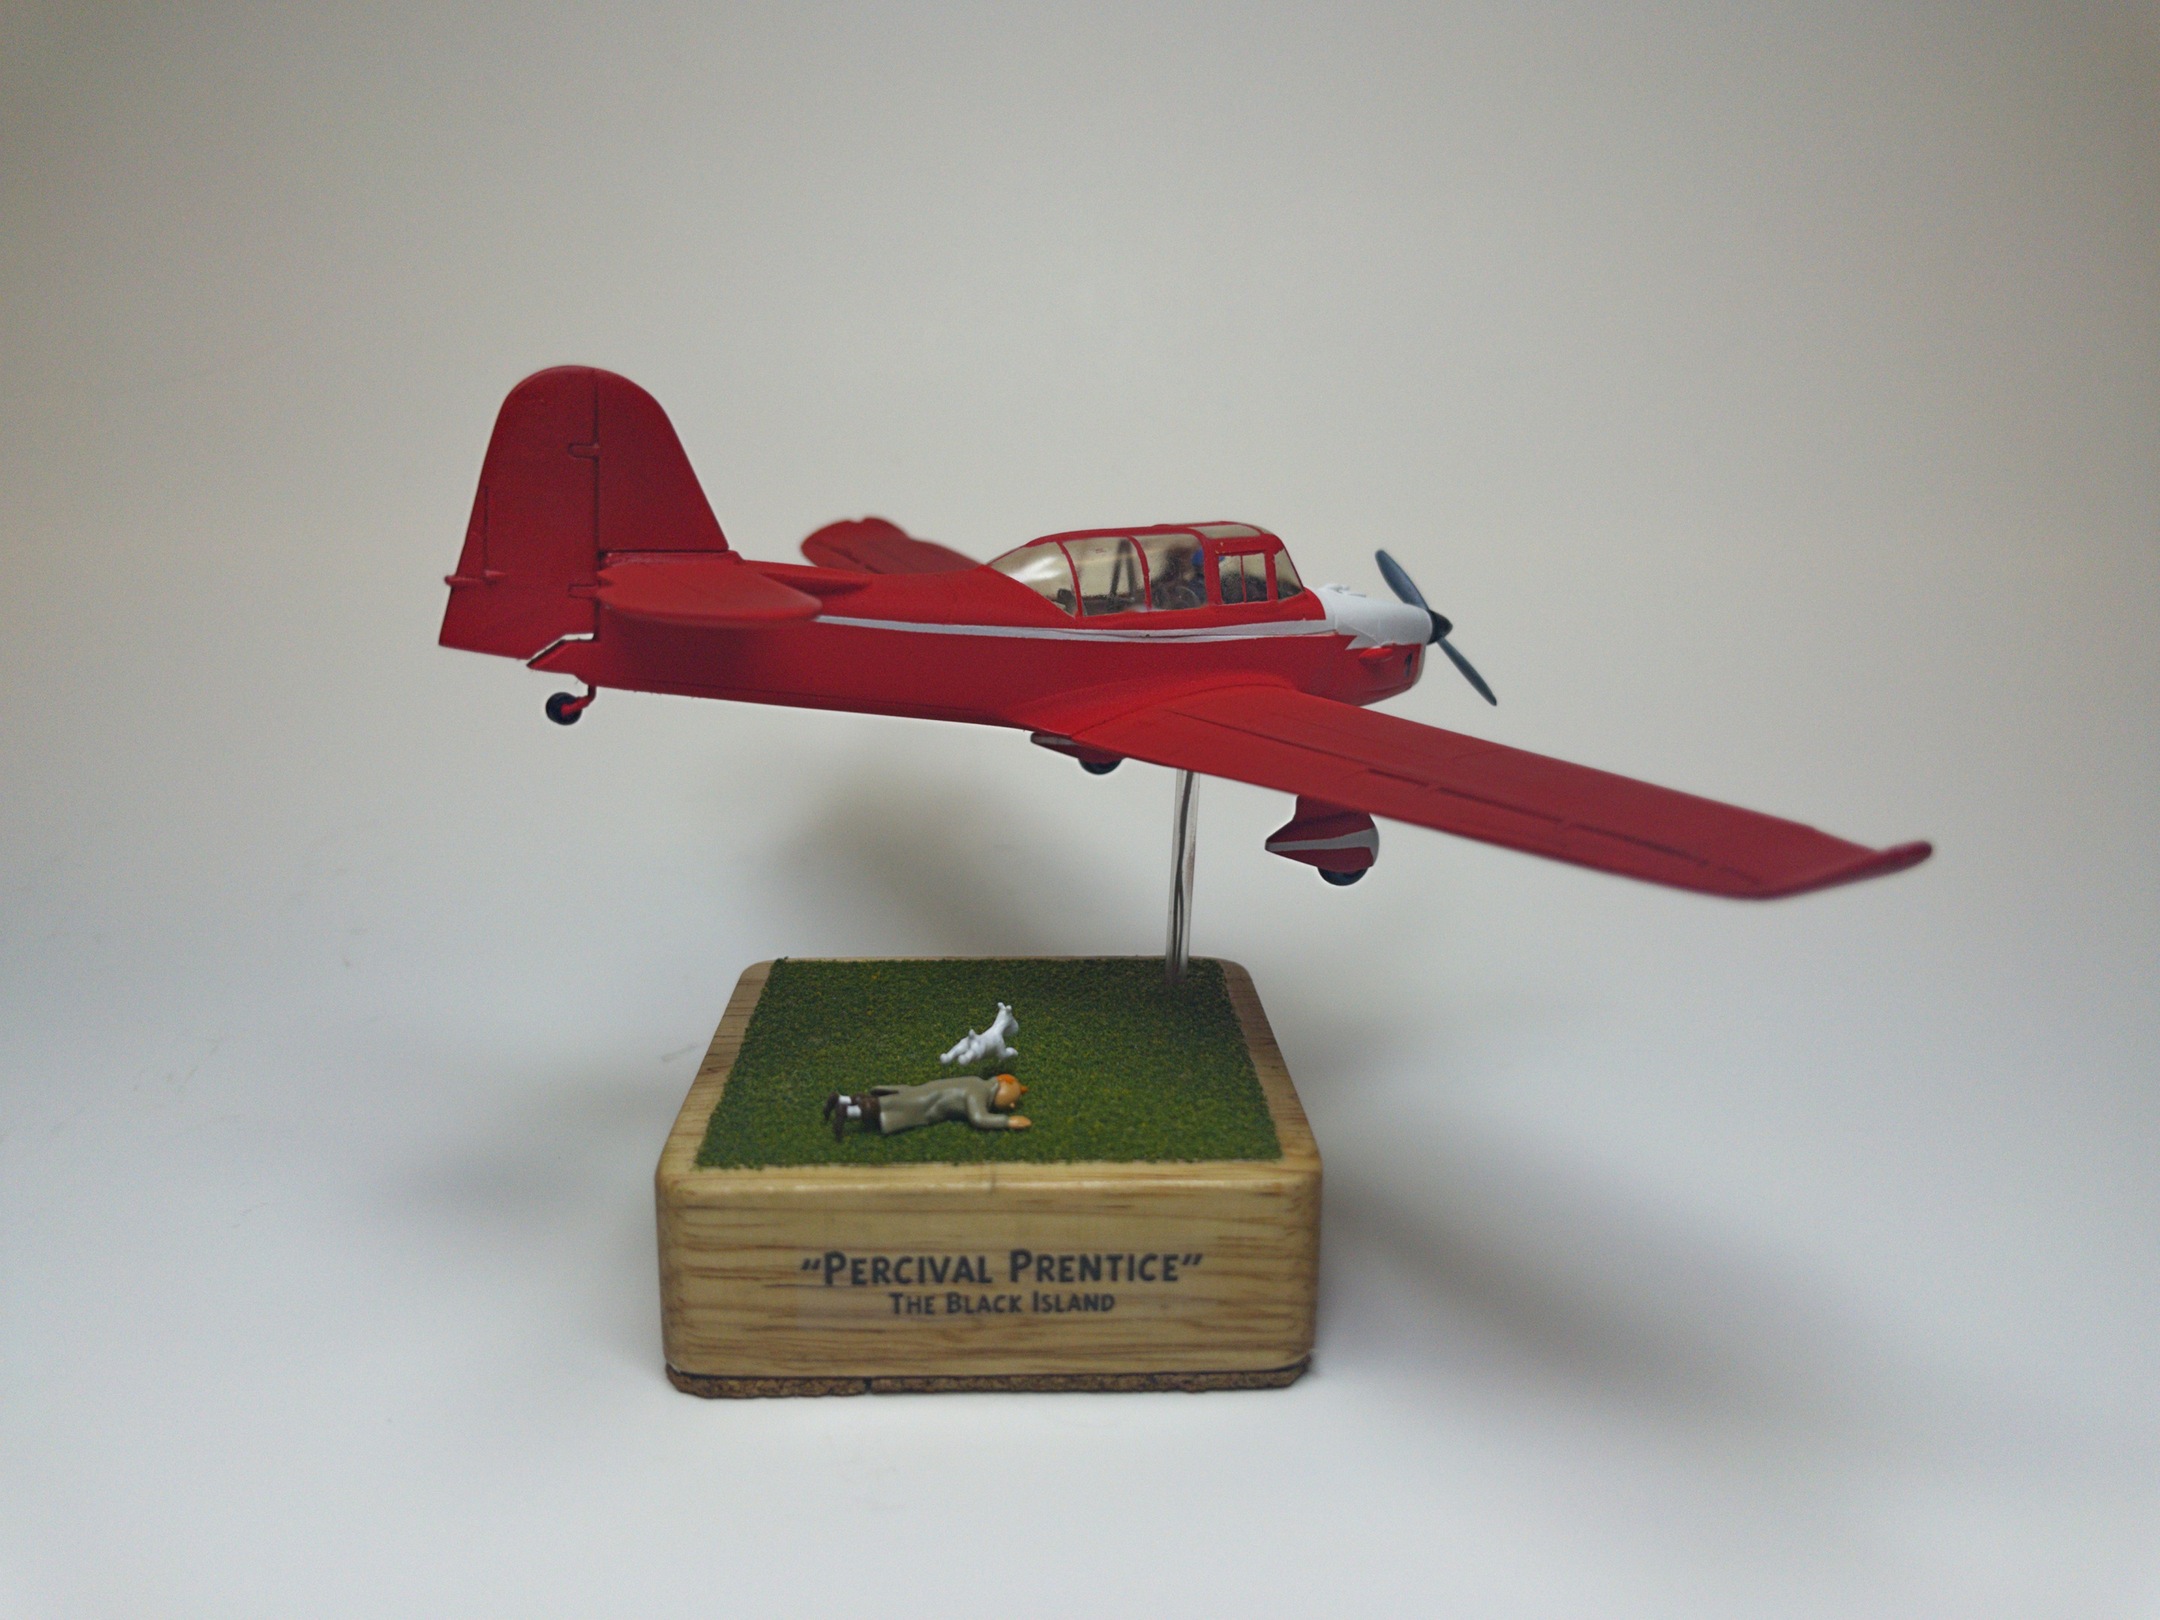
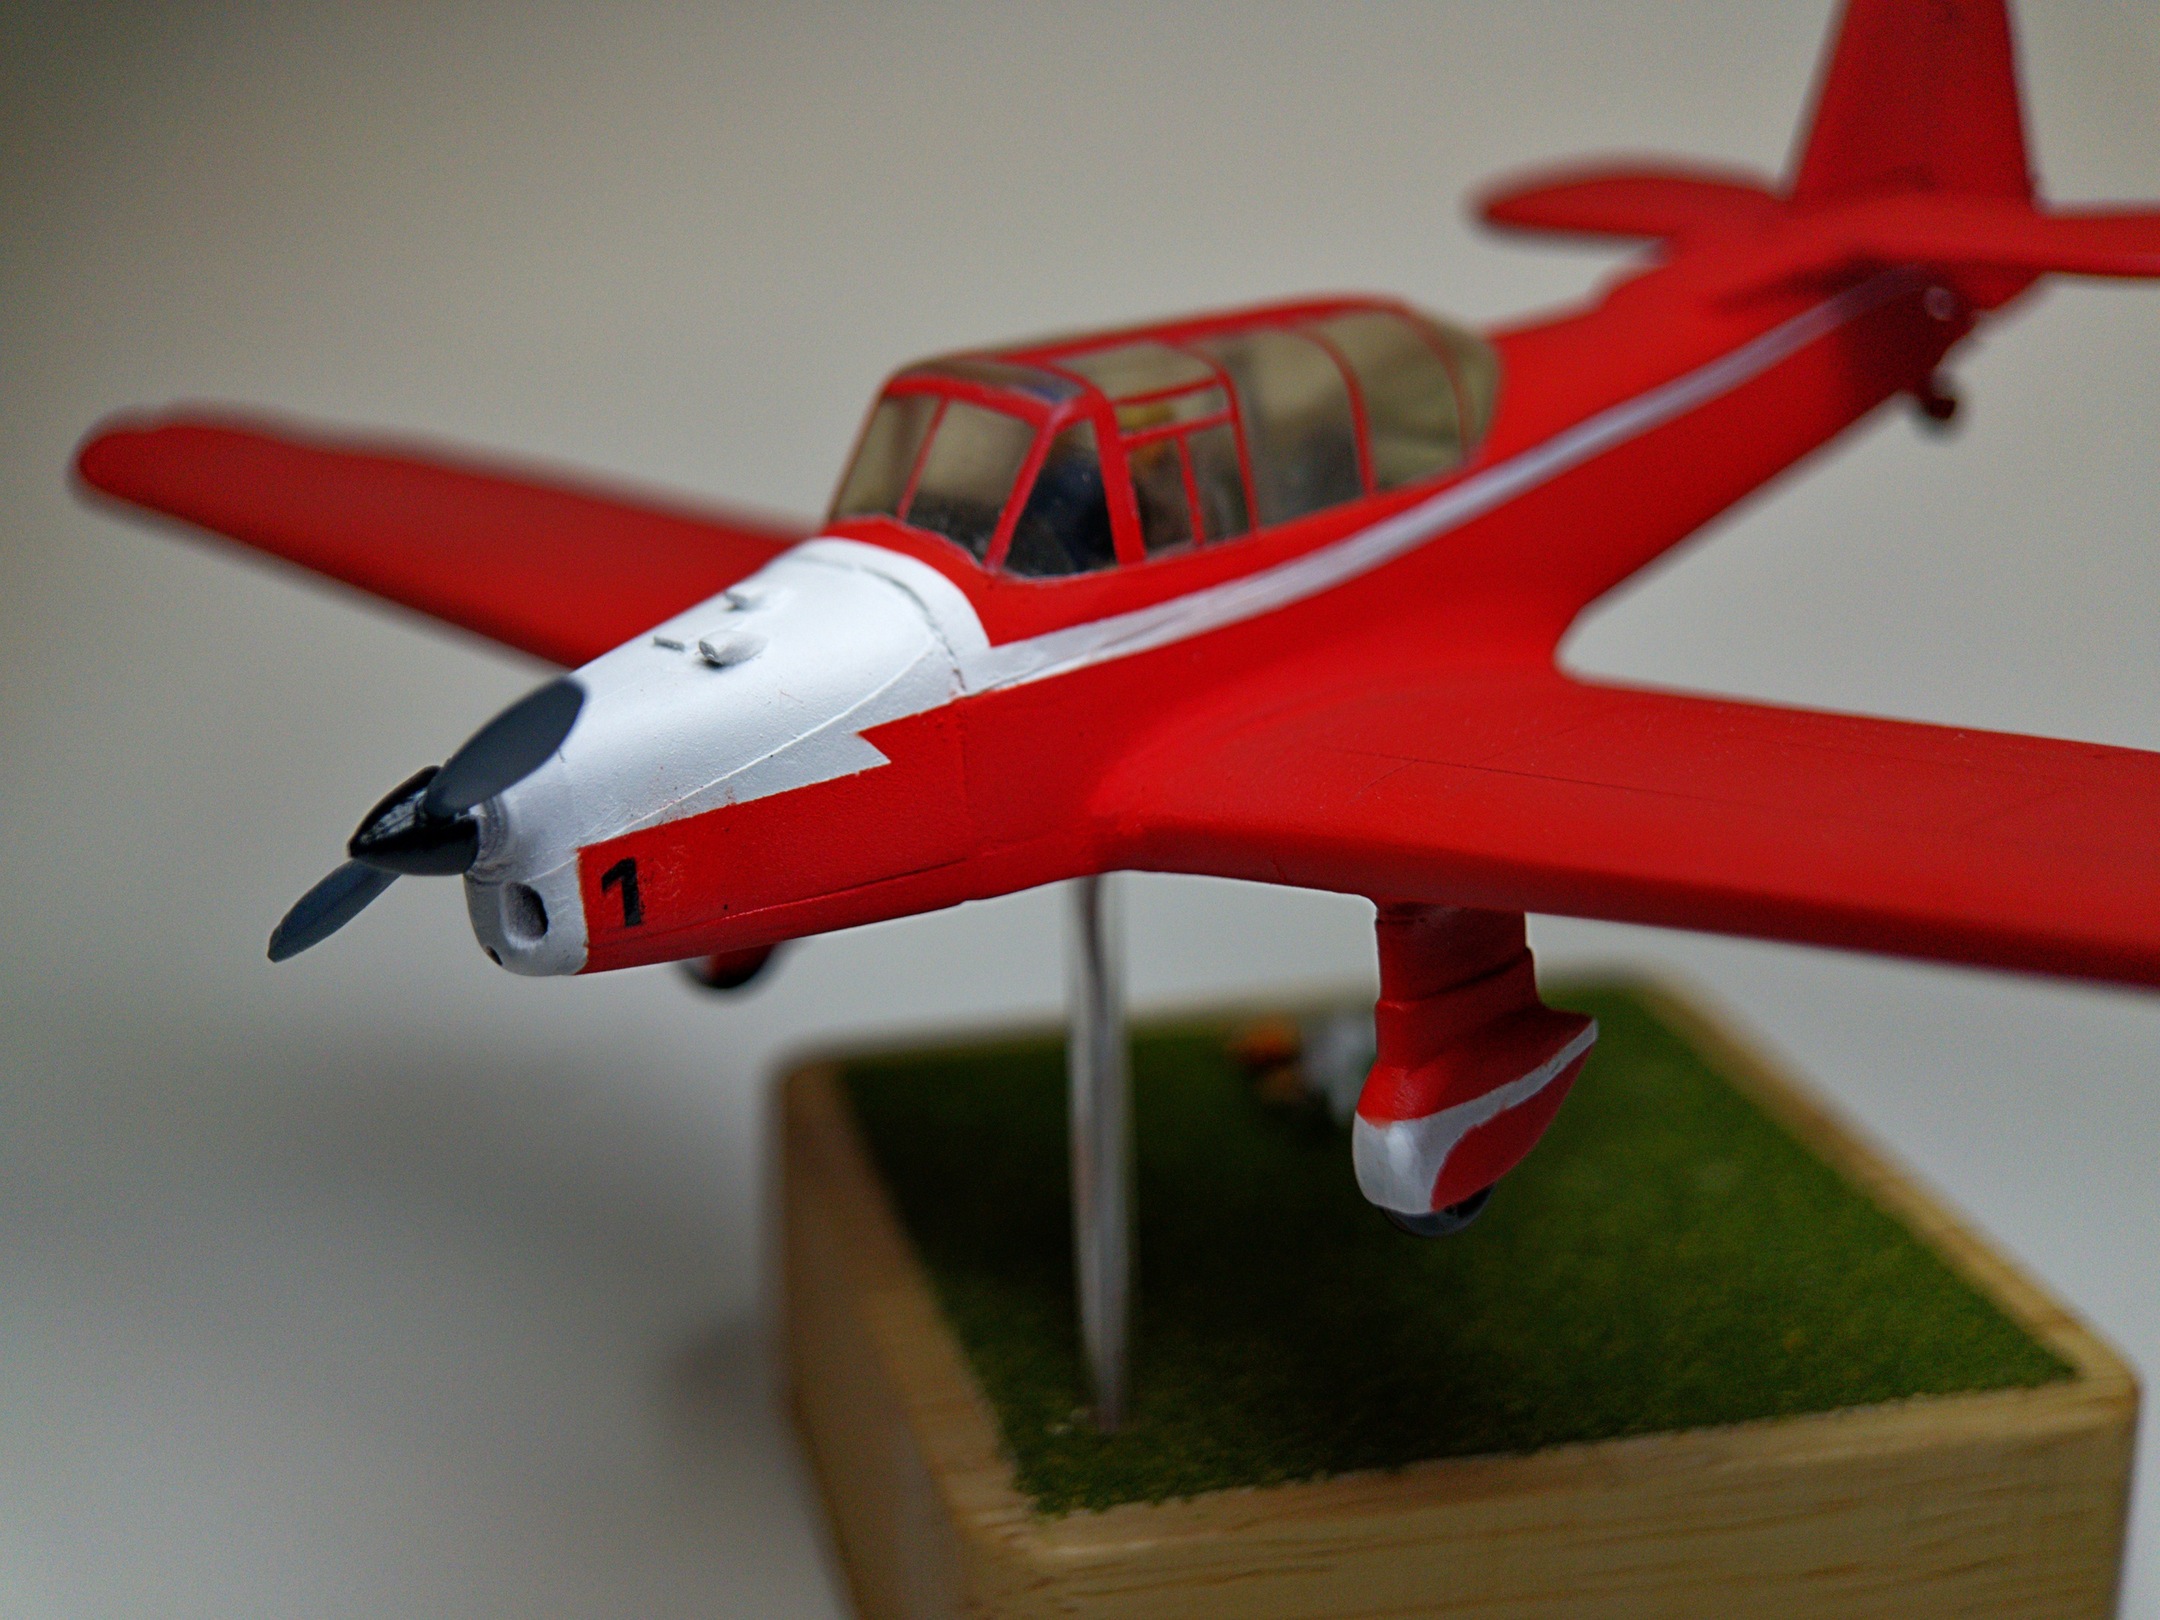
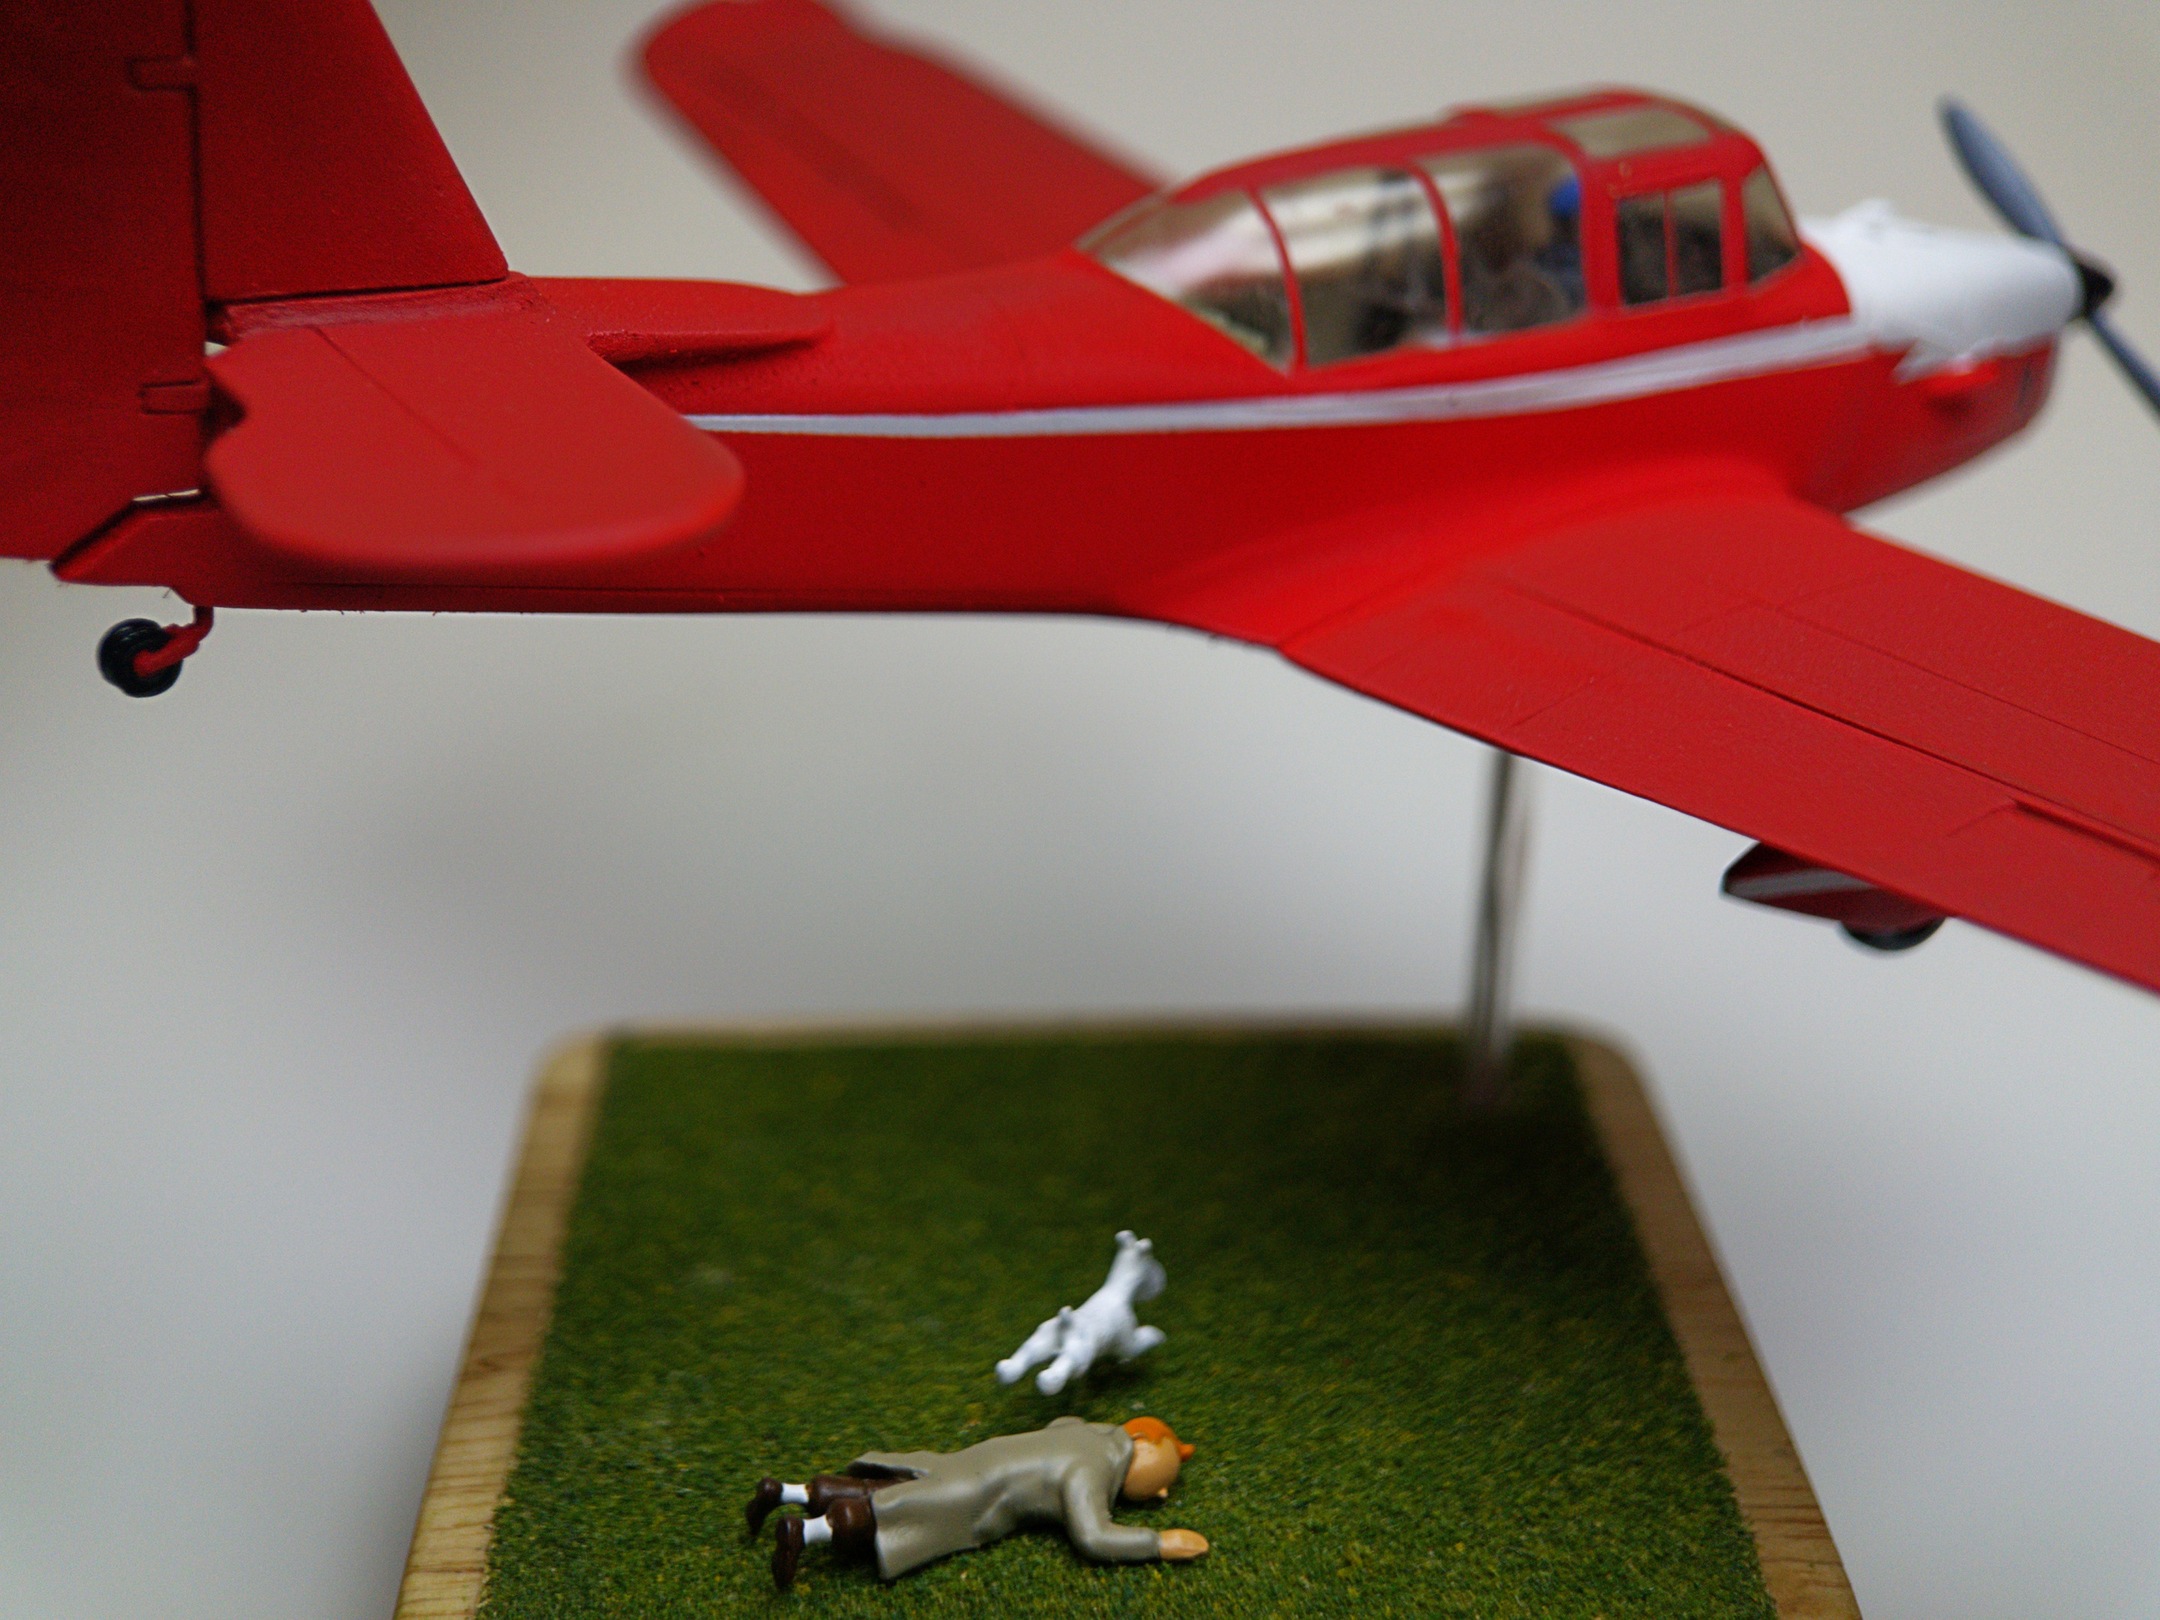
The Black Island album opens on one of the most dramatic scenes in all of Tintin’s adventures. Tintin and Snowy are out for a stroll, and within all of 10 panels, our hero has been shot and the ne’er-do-wells are making their escape in a Percival Prentice.
Wait. What?!
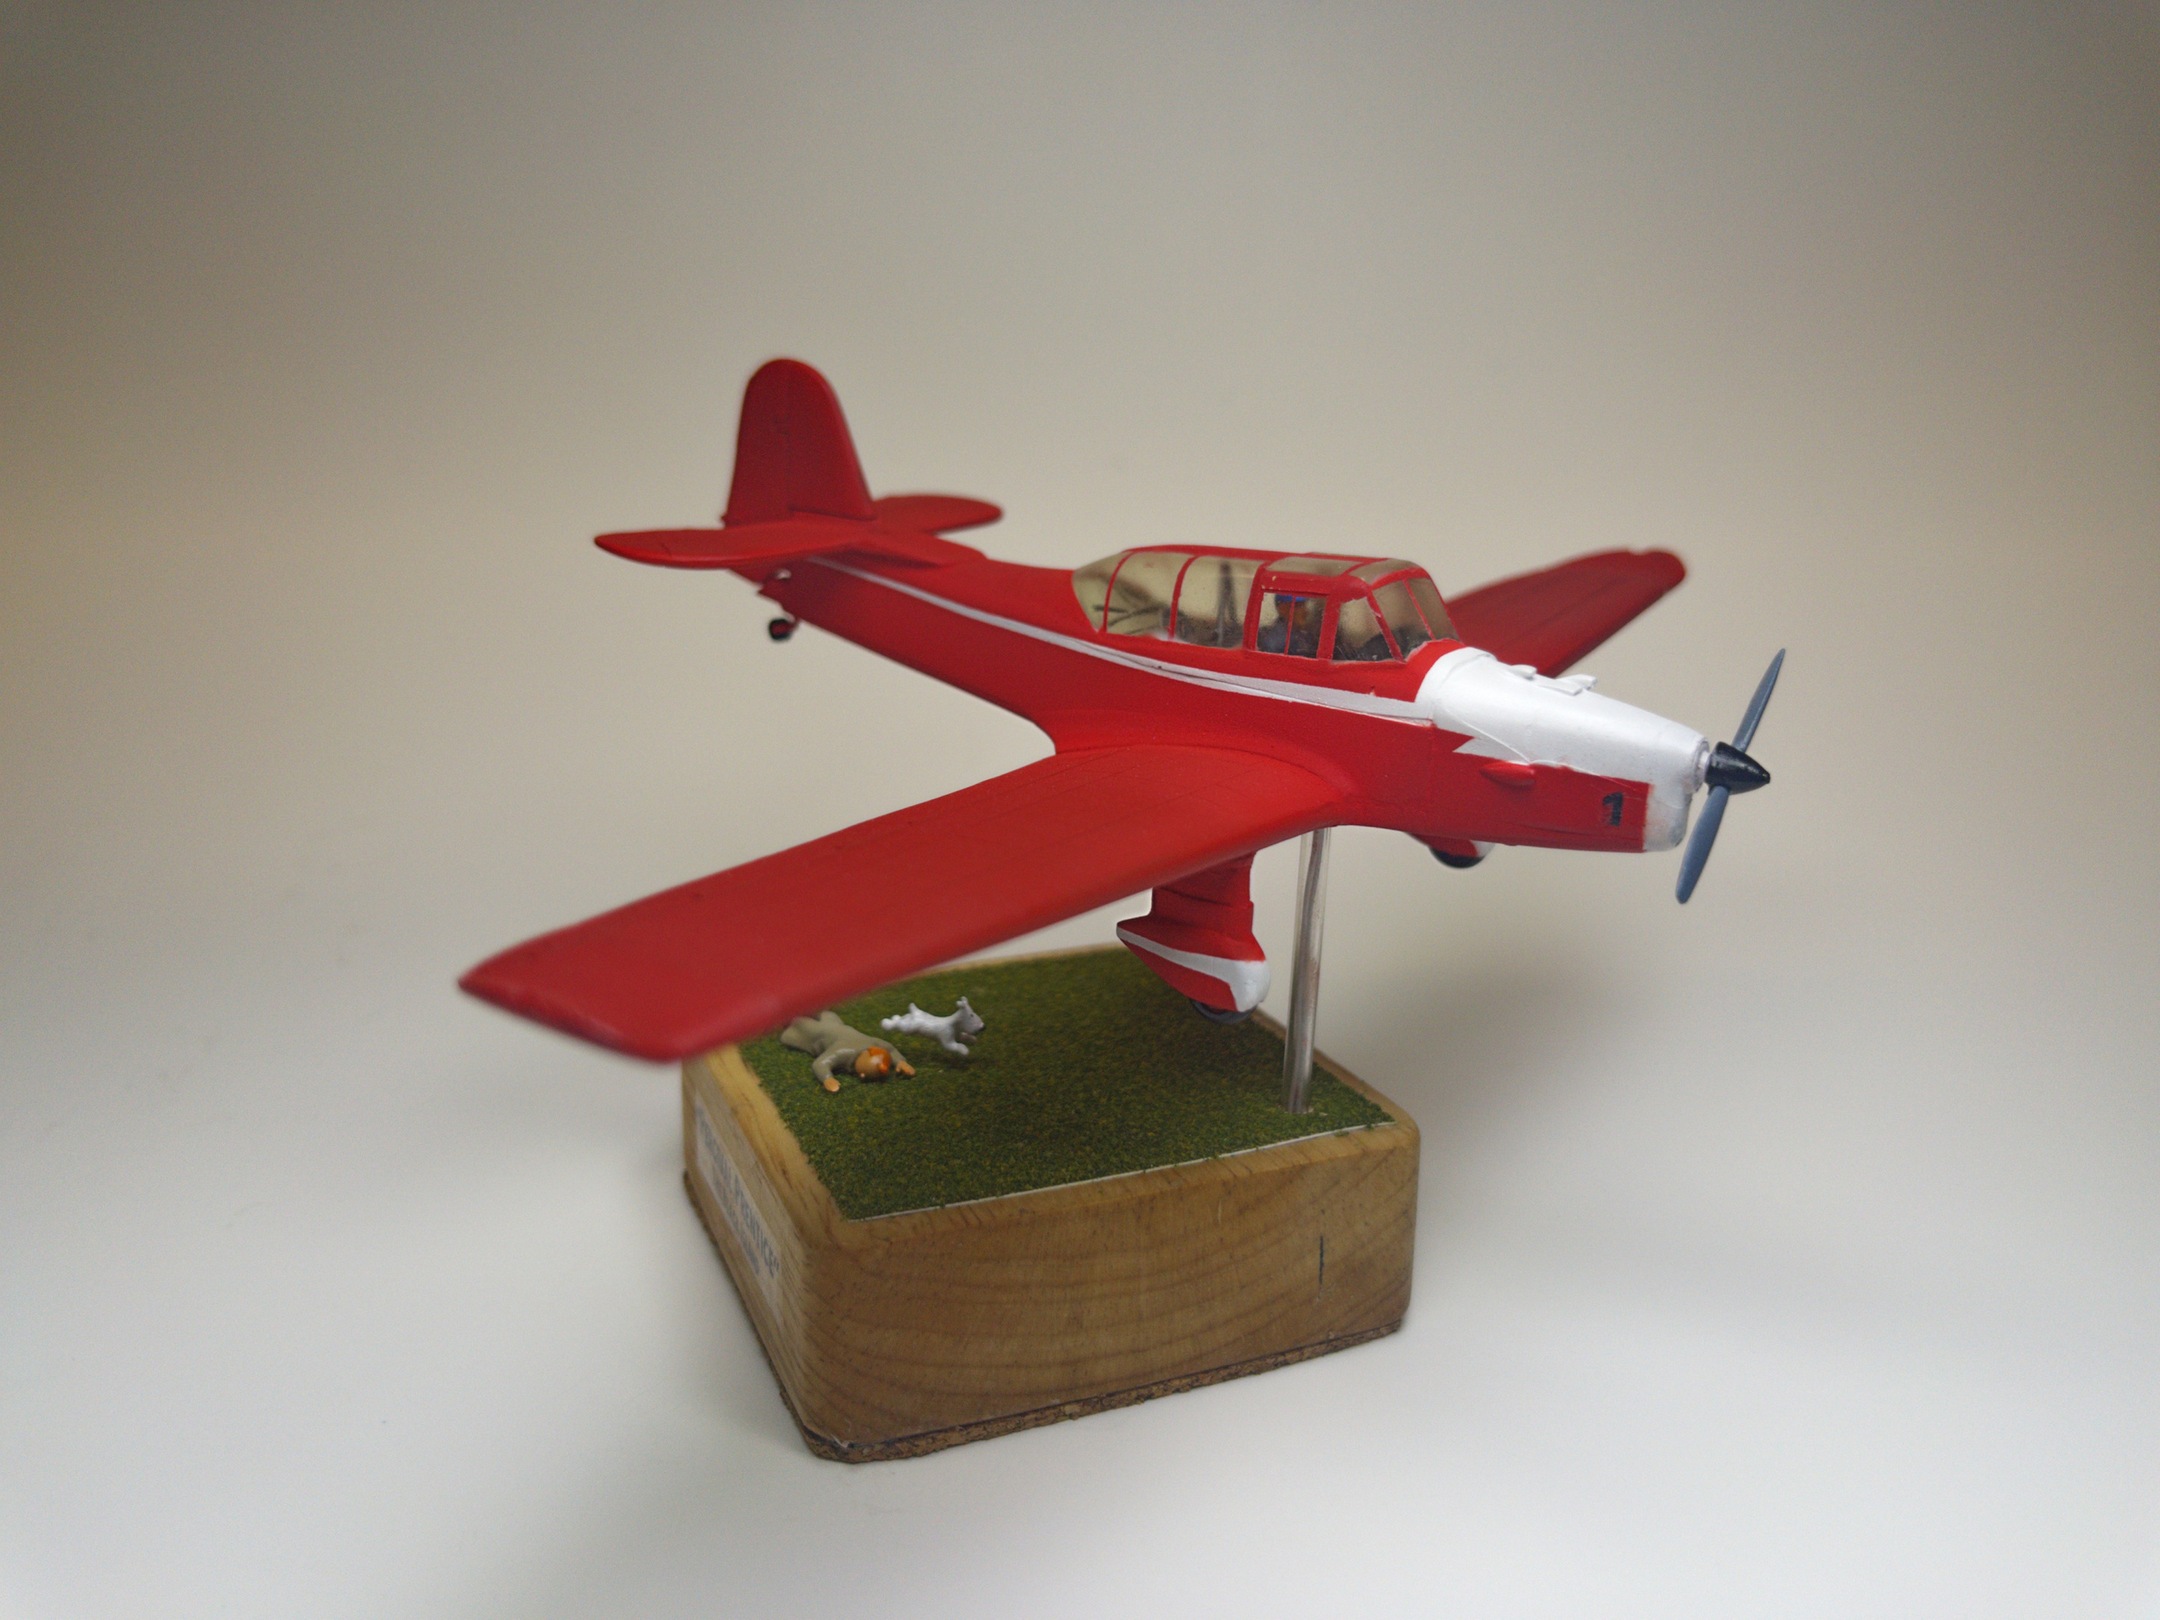
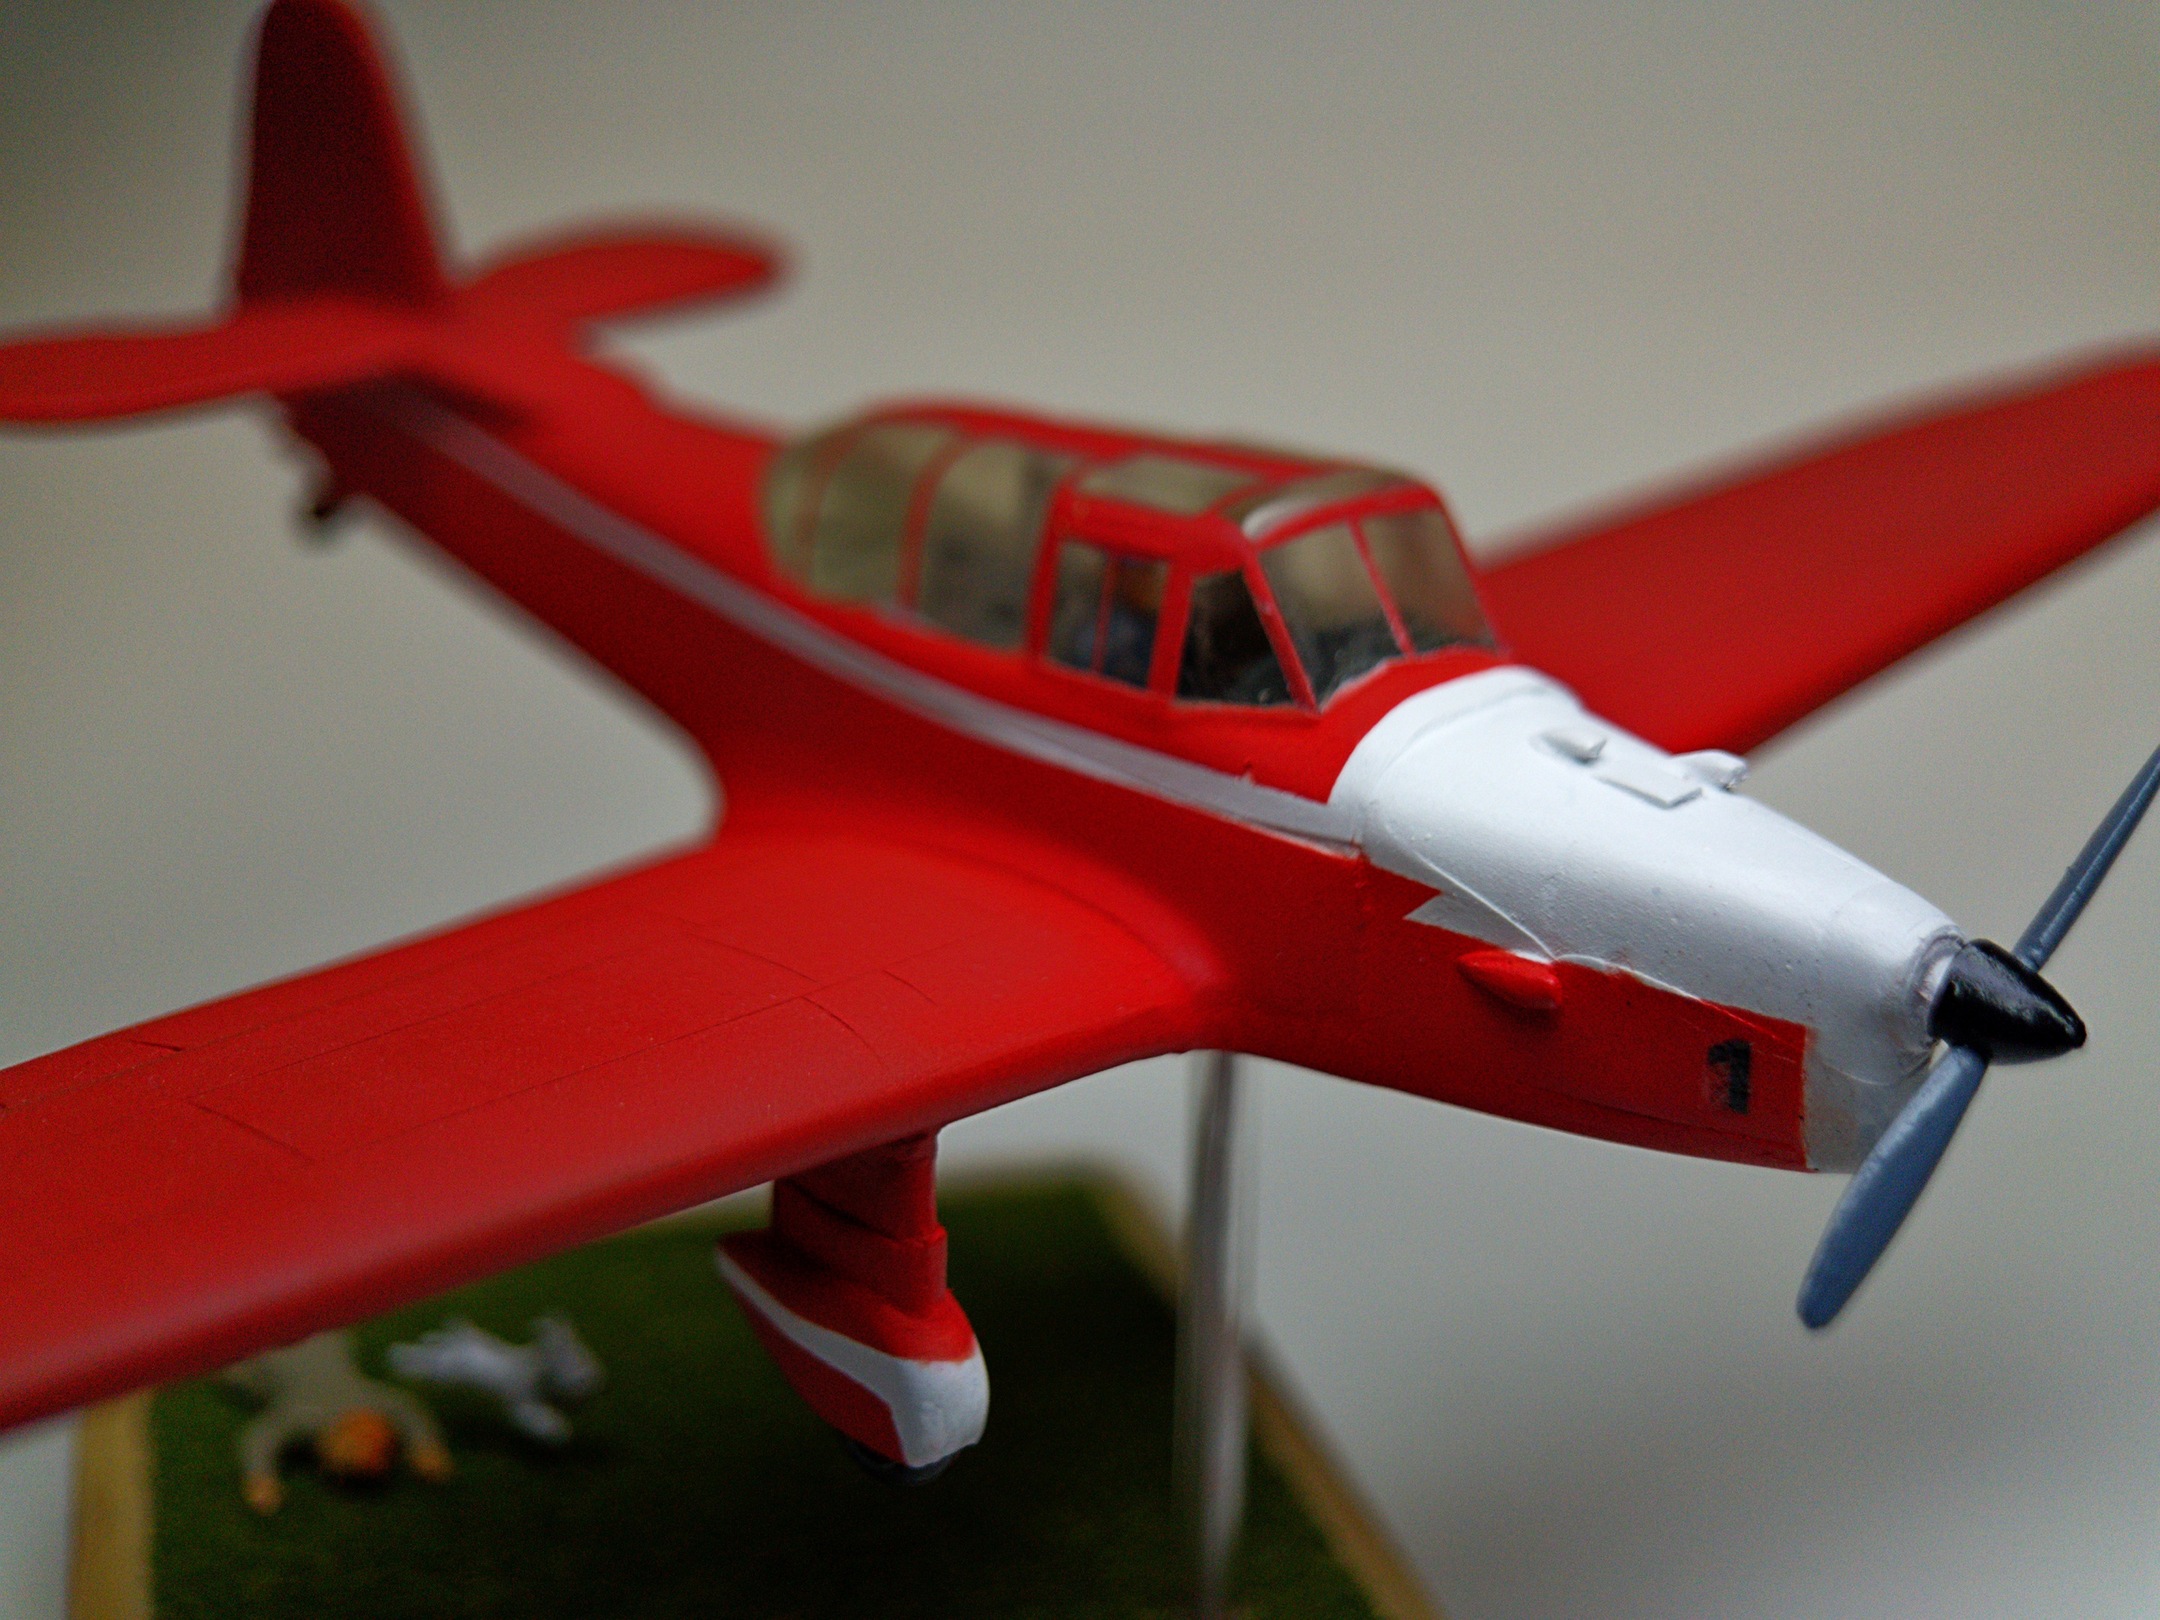
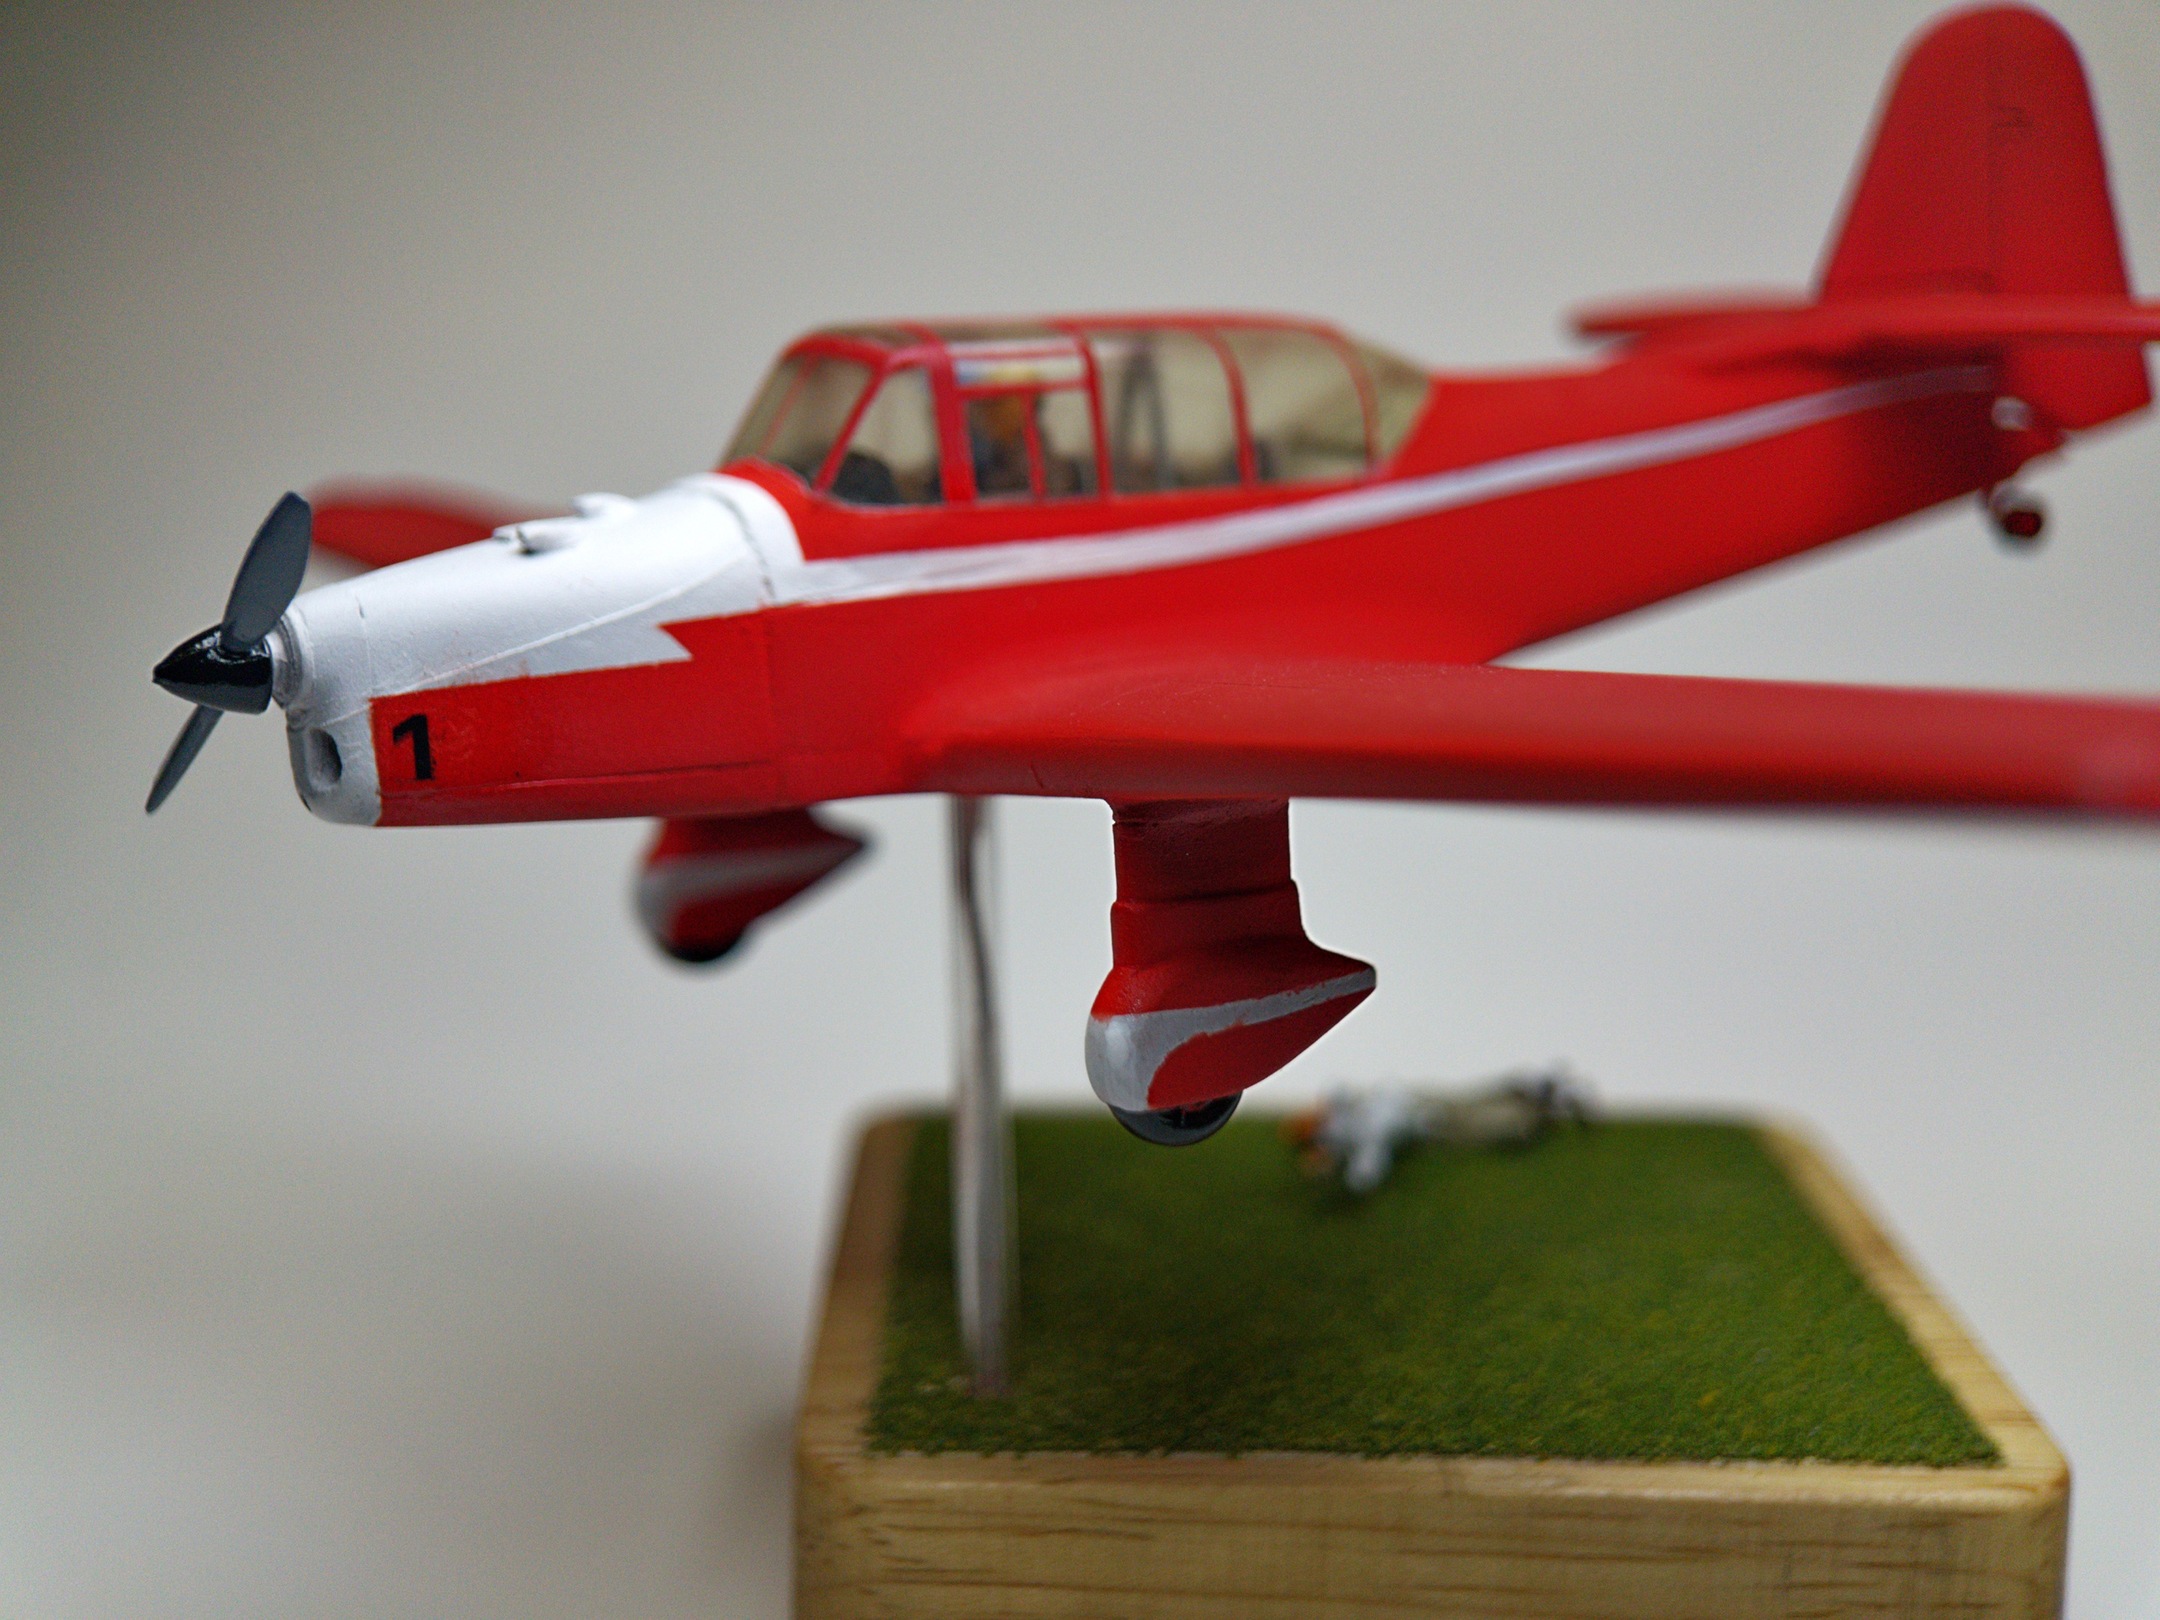
Aside from the drama, we also get a nice close-up shot of the Prentice… with those lovely wheel spats! I’ll admit, I’m a sucker for aircraft with wheel spats and I’m guessing Hergé was too, given how he seems to have added them to the DHC Chipmunk as well.
Which is interesting because my very first Tintin project was that same Chipmunk… but if I’m being honest, that’s mainly because I couldn’t get my hands on a kit for a Percival Prentice.
THE BUILD:
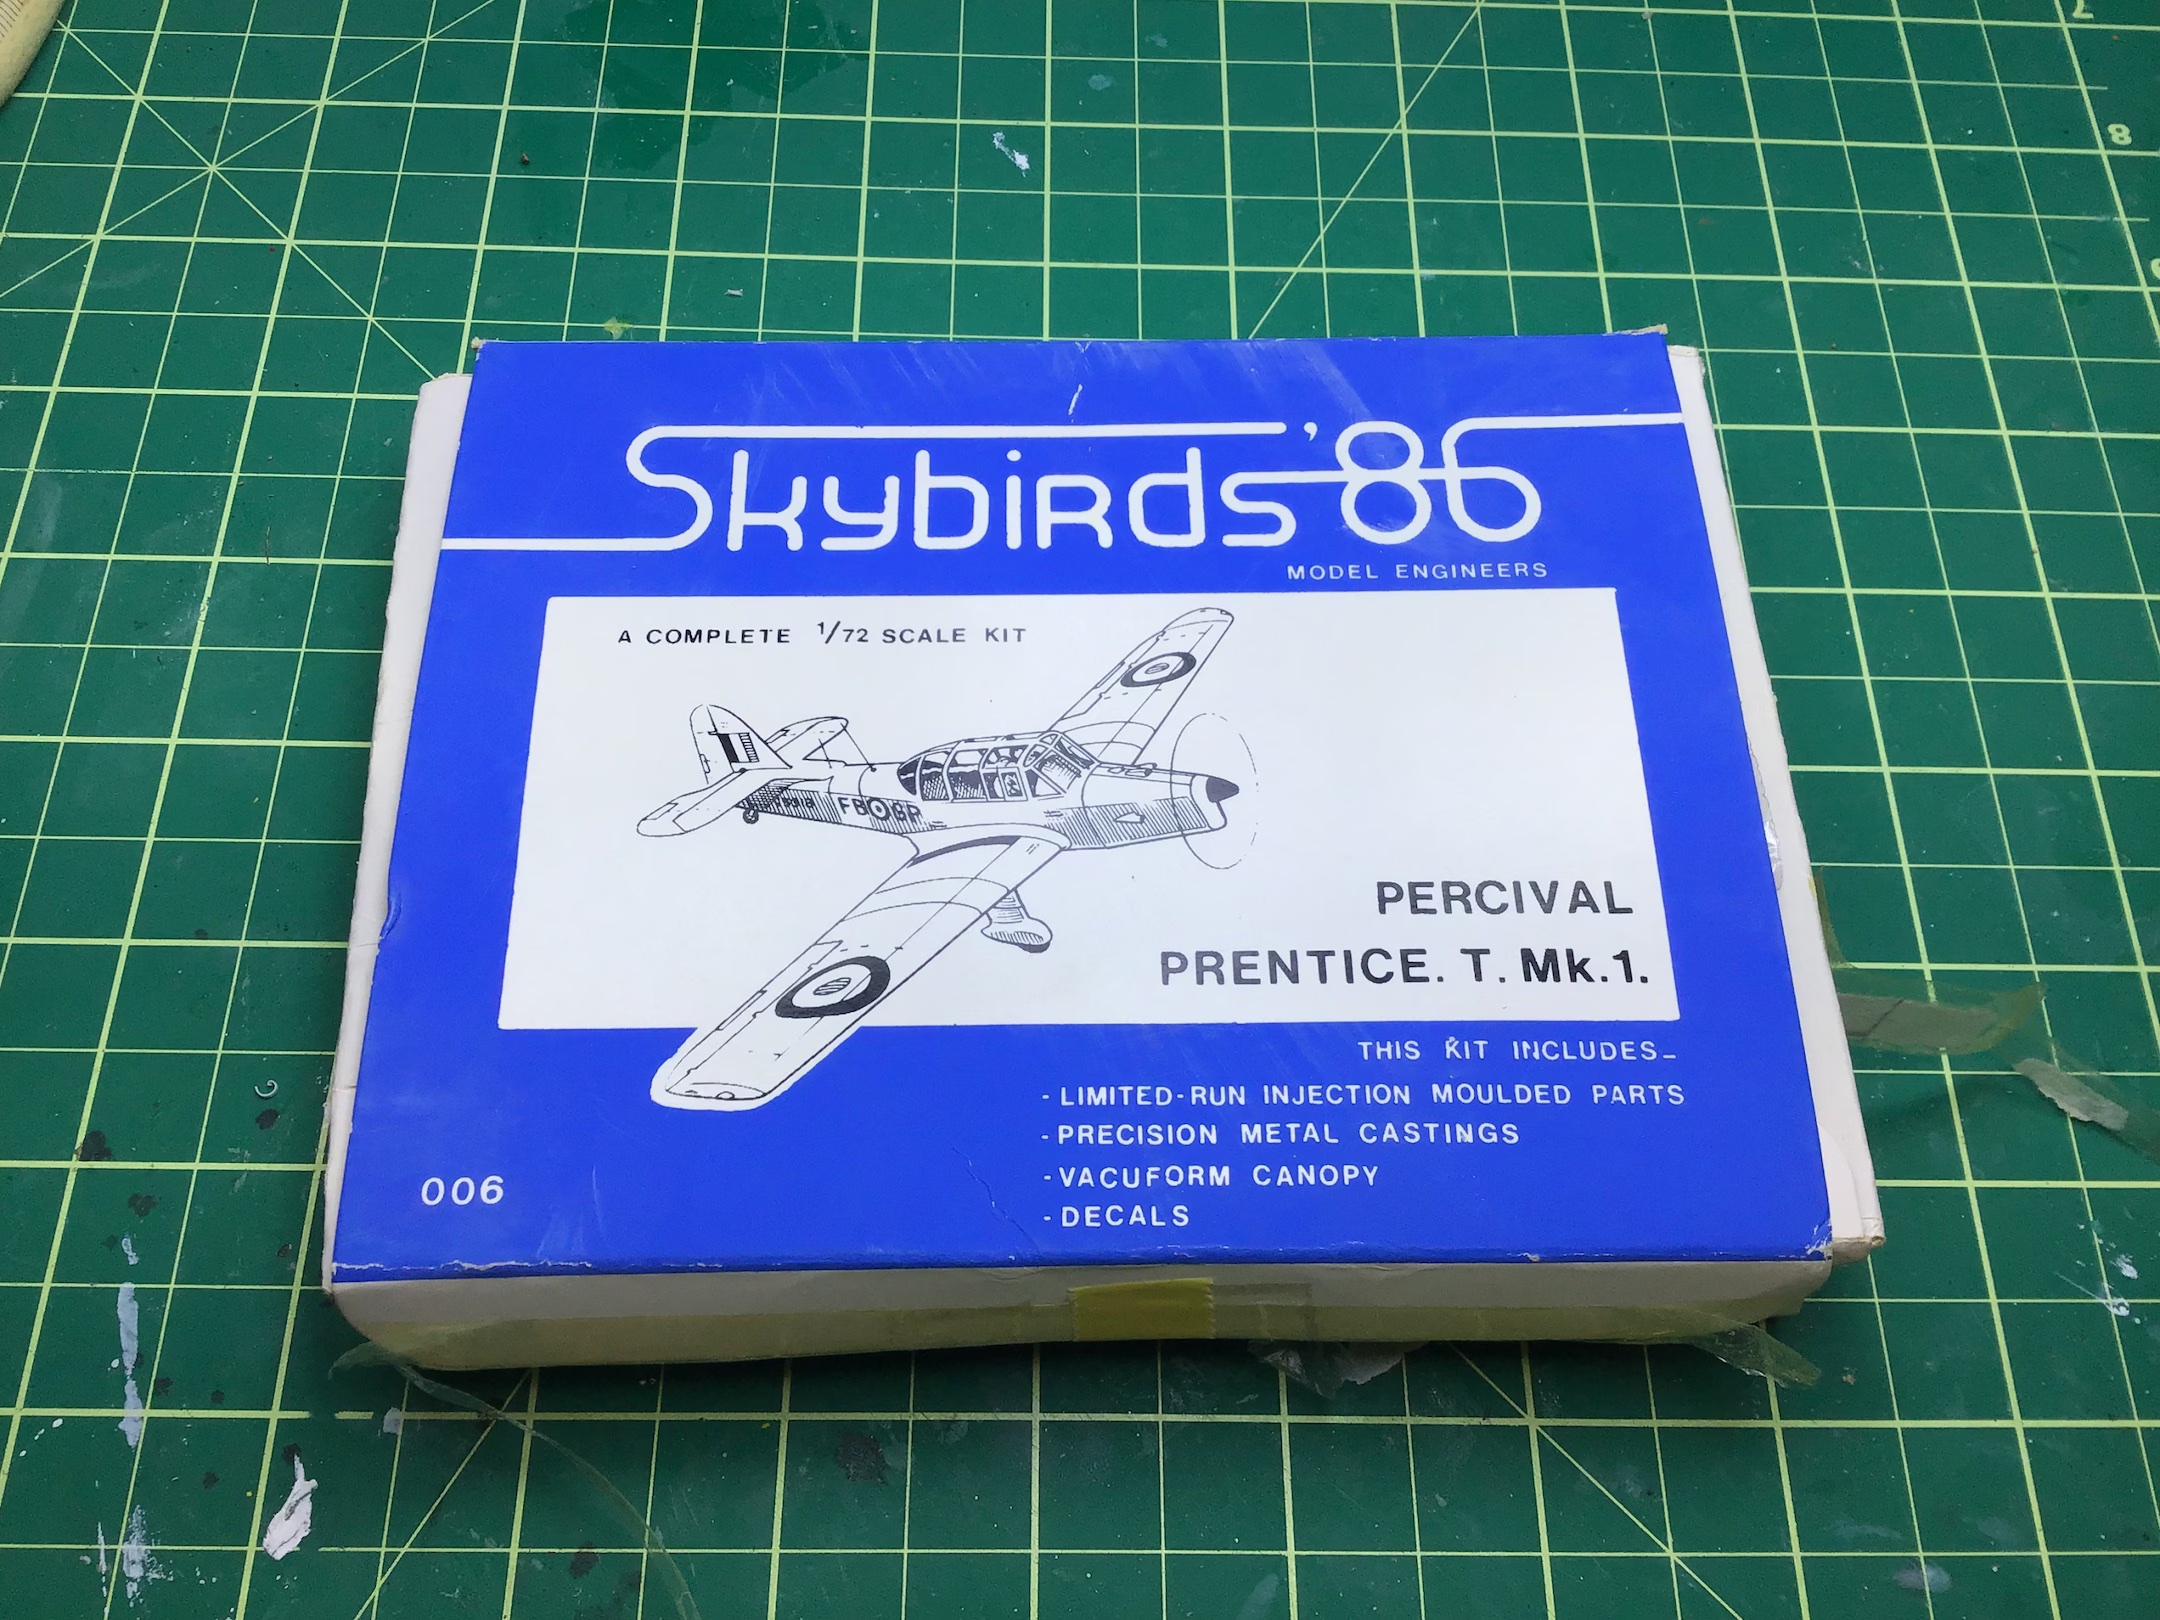
Of course, part of the challenge… maybe even the MOST challenging part was getting my hands on a kit to begin with. This was not easy. For an aircraft you’d think would be on a lot of people’s lists, there are little to no options. In fact there’s basically one option – The Skybirds ’86 kit (although Freightdog Models does seem to have a resin re-cast of the original kit on offer).
Eventually I did happen across not one, but TWO kits being offered online in the United States and I was able to snag them – and not to be greedy I offered the second one up on eBay to some other deserving soul.
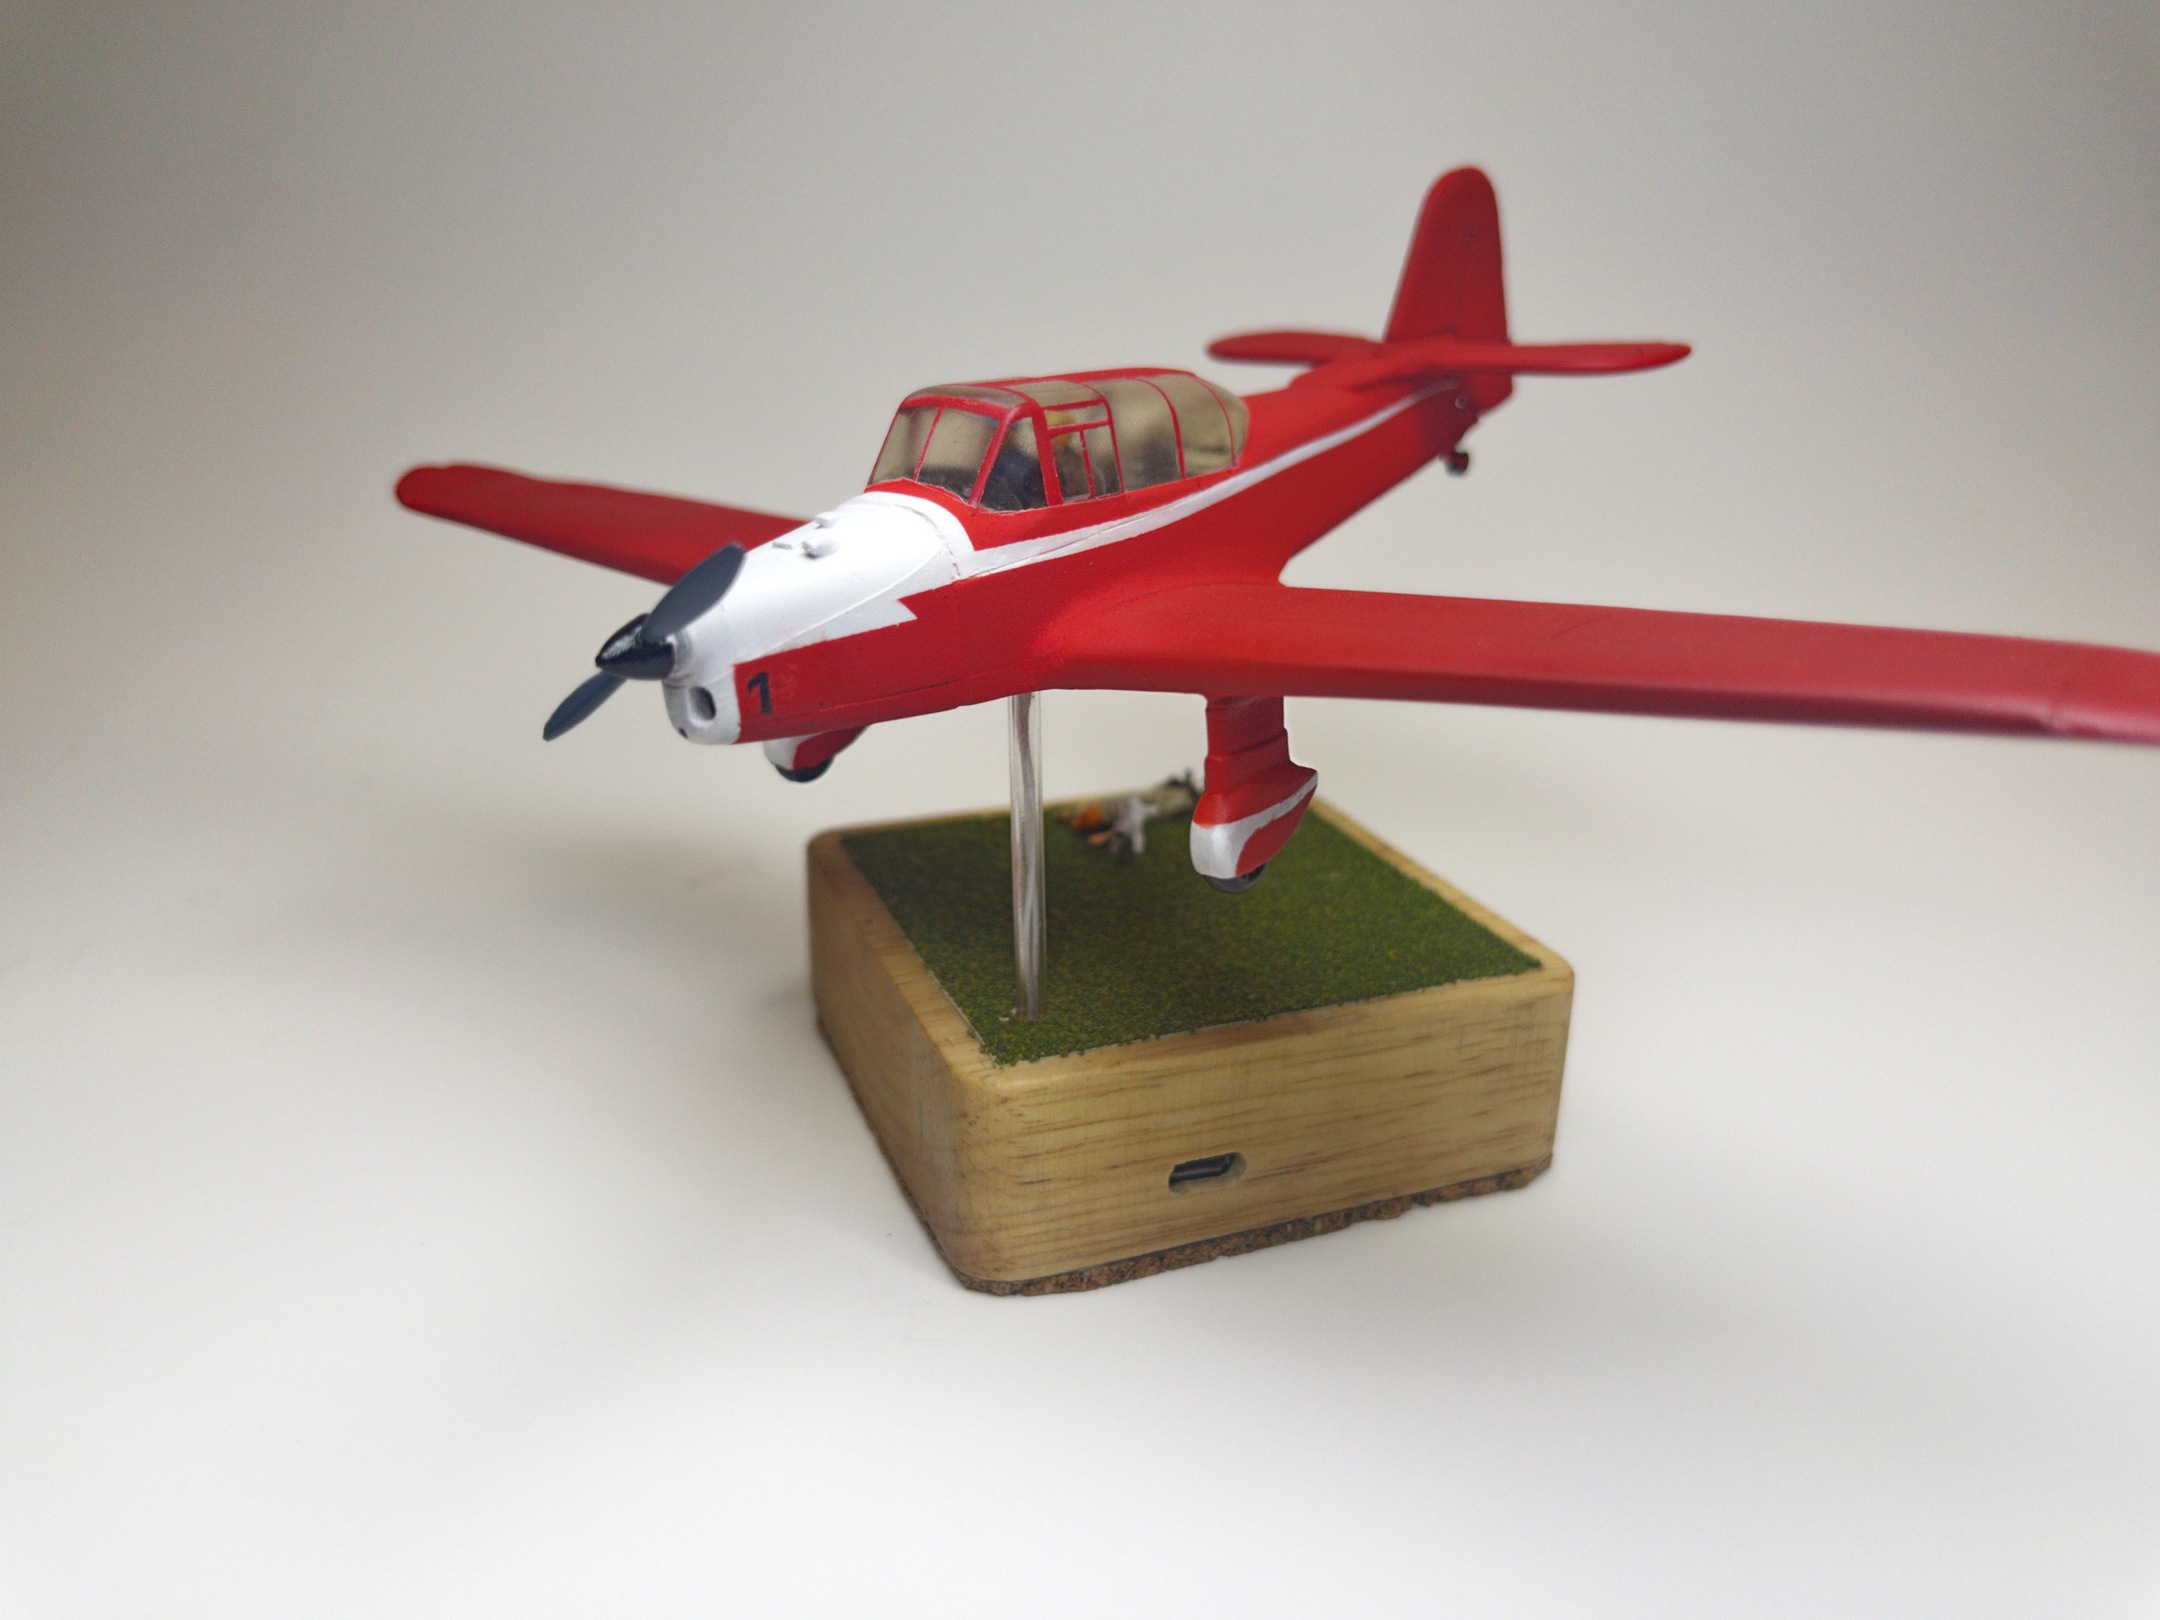
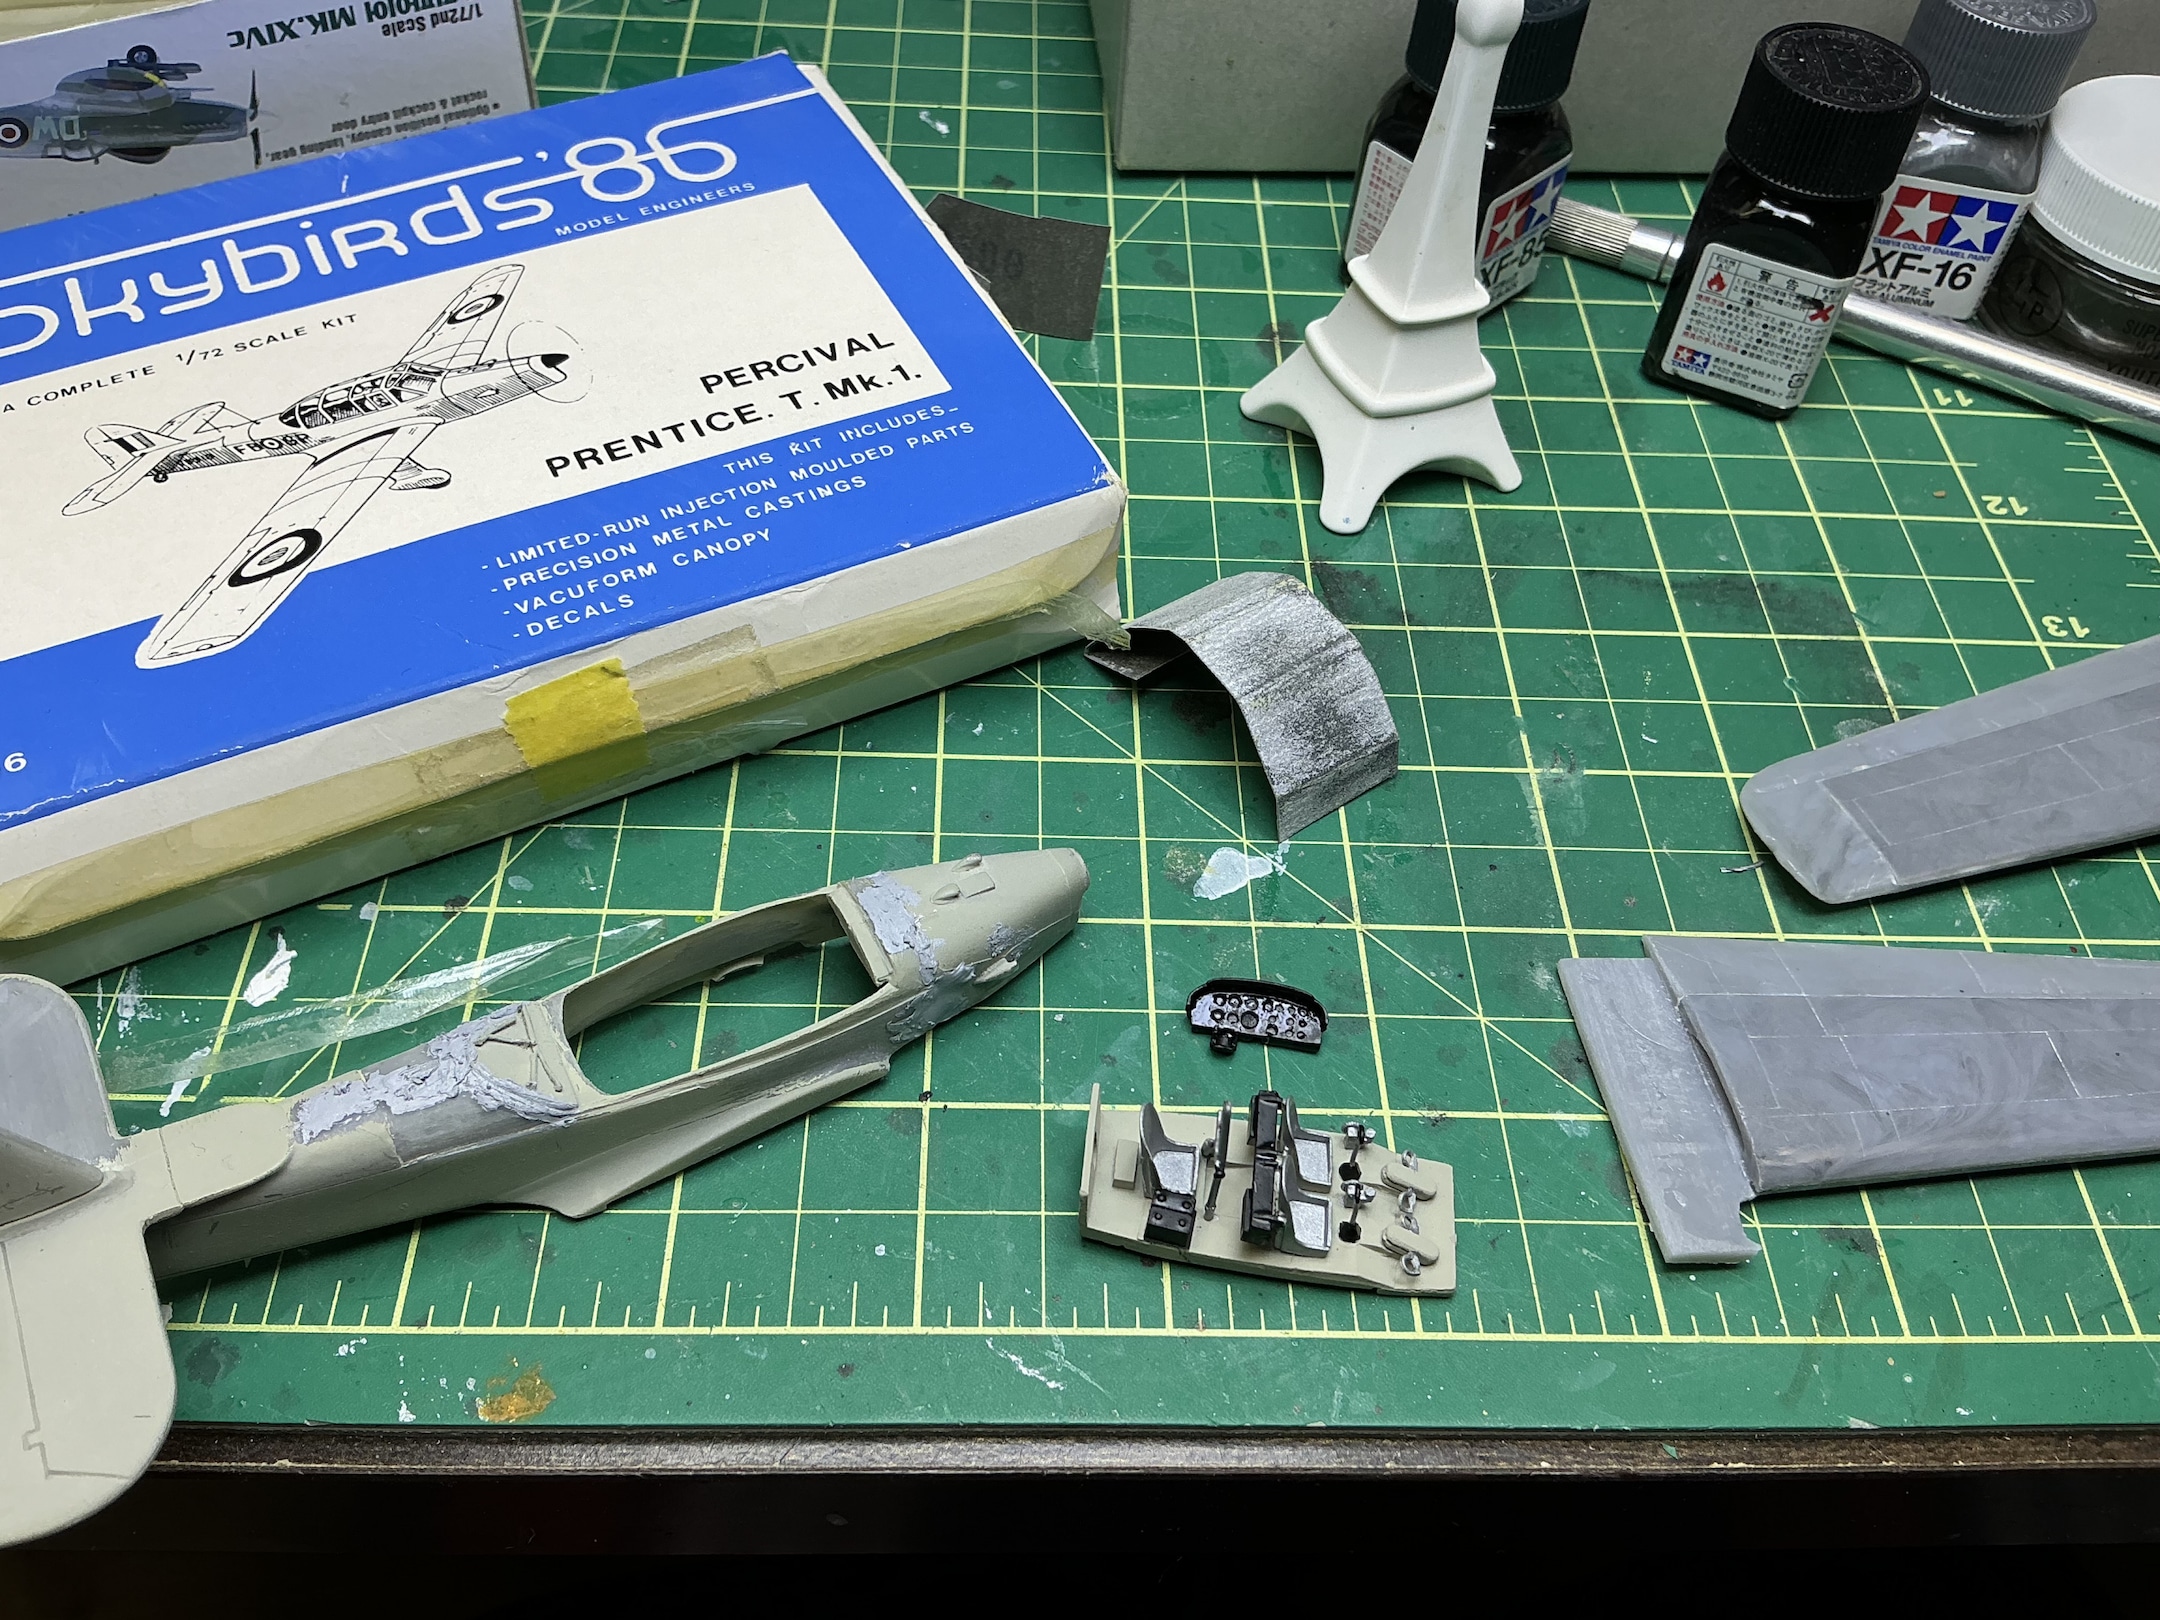
 The kit itself though, is a challenge. I’ve built short-run kits before, but this was the first time I’ve had to deal with a kit that was substantially cast in metal. The propeller, engine cowling, the wheels and the cabin interior are all metal pieces… and boy are they heavy.
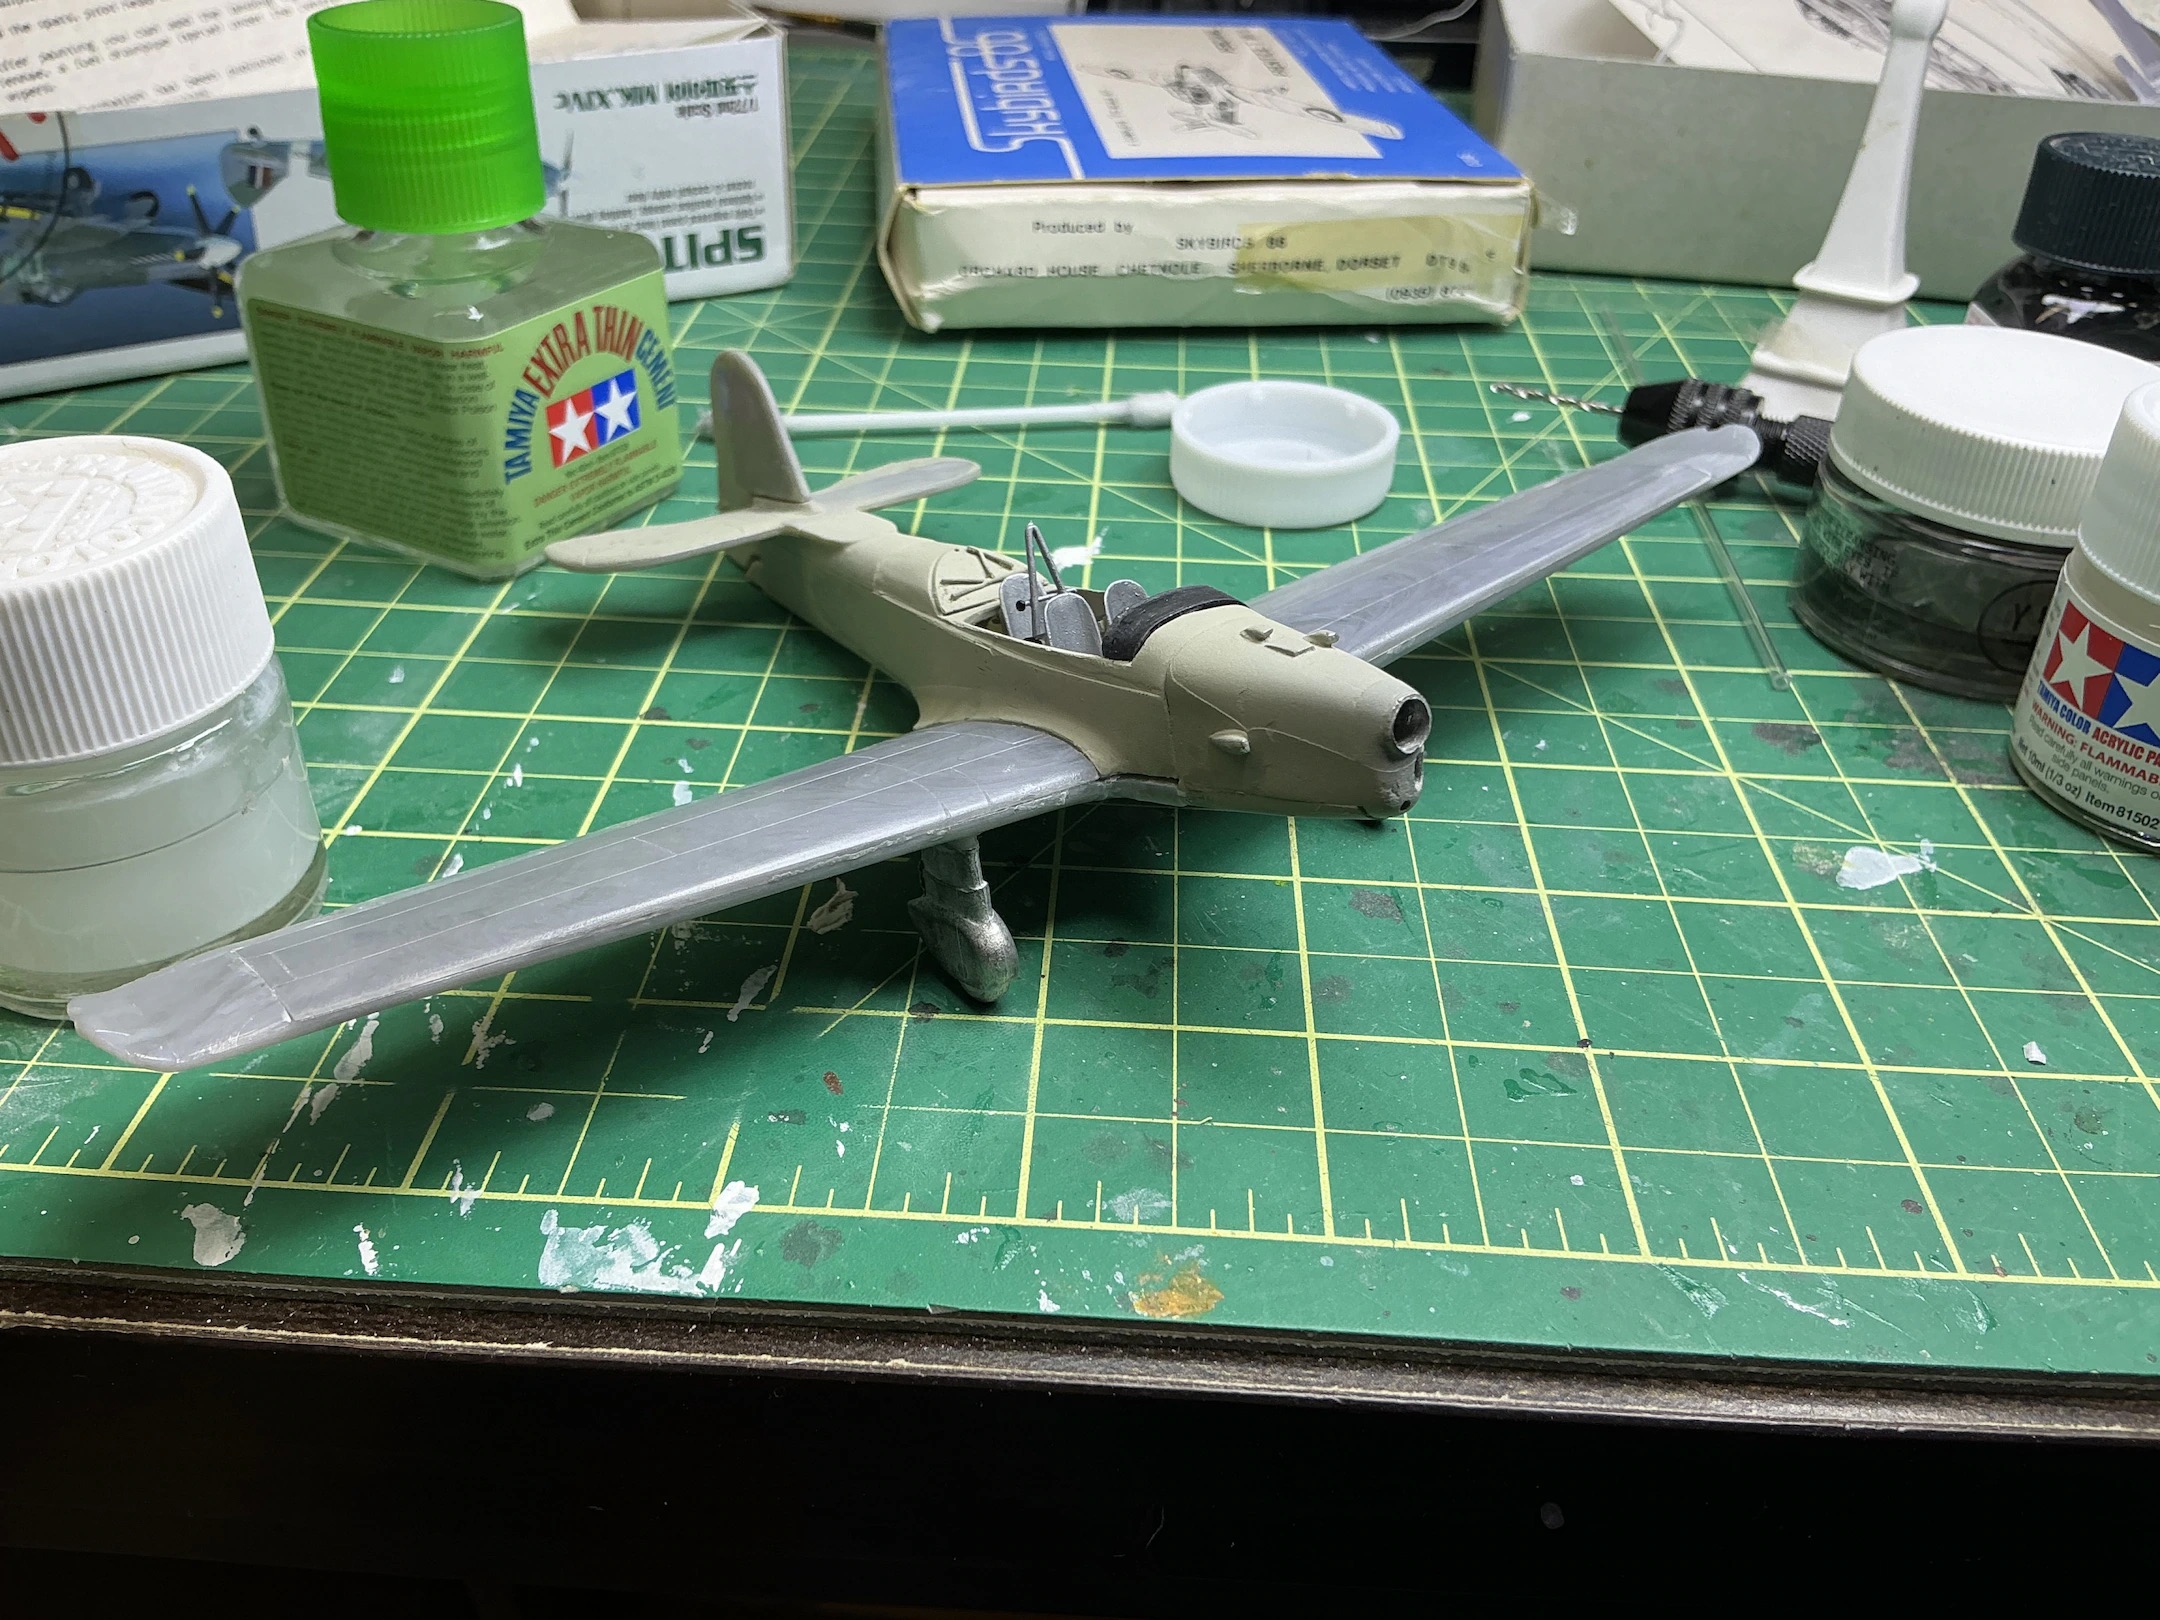
The fit, as could be expected, was extremely suspect, but at least for the plastic parts, a liberal application of good old-fashioned elbow grease and some low grit sandpaper helped solve that. But getting the metal parts to blend seamlessly with the plastic? Well that was a slightly different story. There were plenty of gaps, and I used plenty of putty, but I couldn’t correct the actual shape of the parts properly. Since I had to make some choices on where to position the poorest fit, I chose the underside – which will likely not be that visible in the final presentation.
Also, the canopy was another interesting challenge. I’ve worked with vacuum-formed parts before, but there was a lot of trimming for the canopy piece and the thin flexible plastic was another challenge to get to fit properly. It was slightly too large for the fuselage, so again a few choices had to be made. In the end, the lip between the engine cowling and the windscreen is larger that I would’ve liked, but no amount of sanding it down was going to fix it, so I guess I’ll just have to live with it.
It was also a bit tricky to mount it. I usually leave the DC motors out as long as I can – the wires get in the way and cause challenges with the painting. However, this time I almost left them out too long. I hadn’t considered that the cockpit floor was full metal, so there was no give in it while trying to feed the wires underneath it. In the end I had to actually drill a small hole through the metal itself and feed the wires in through the cockpit itself. It’s not terribly visible, but yet another challenge that required a new solution. That metal floor also made it hard to get on to a clear plastic tube. I had to use a thicker one that usual because of the weight and the metal floor didn’t give me a lot of spots to get a good anchor point with the glue. Hopefully it holds together.
This one was an adventure, but feel free to tell me if you think I succeeded. 😉


Discover more from strobez
Subscribe to get the latest posts sent to your email.
A masterpice as always
Thanks Tommy! I wasn’t sure how I’d deal with the metal parts, but I think it turned out okay in the end!
Une superbe réalisation et du rêve, encore du rêve et toujours du rêve ! Merci pour le partage.
Merci Marc ! Donner vie à un petit morceau de l’univers d’Hergé est un rêve devenu réalité ! Je suis ravi que ça te plaise. C’est amusant à construire, mais encore plus à partager !