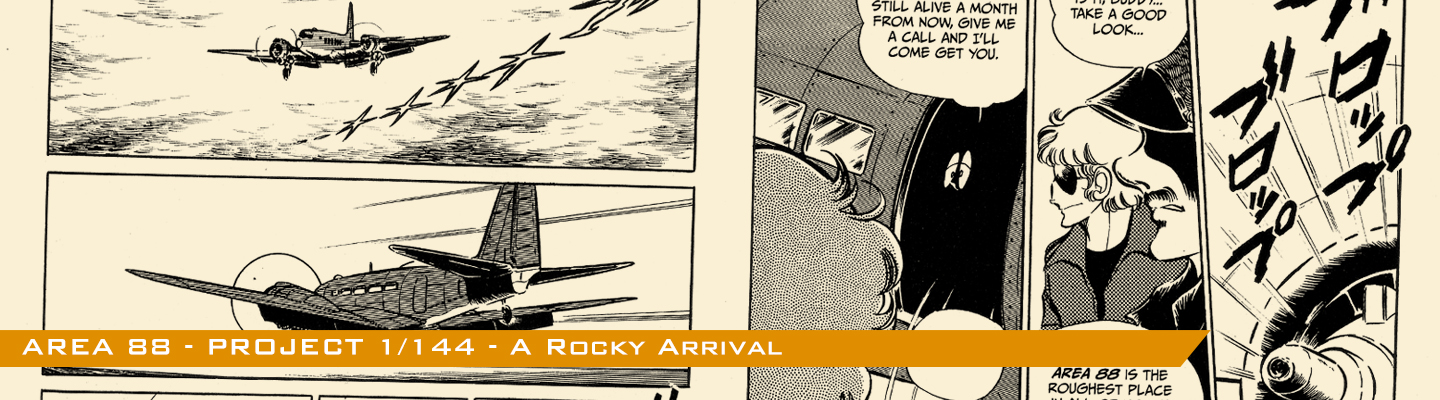
A Rocky Arrival (Area 88)
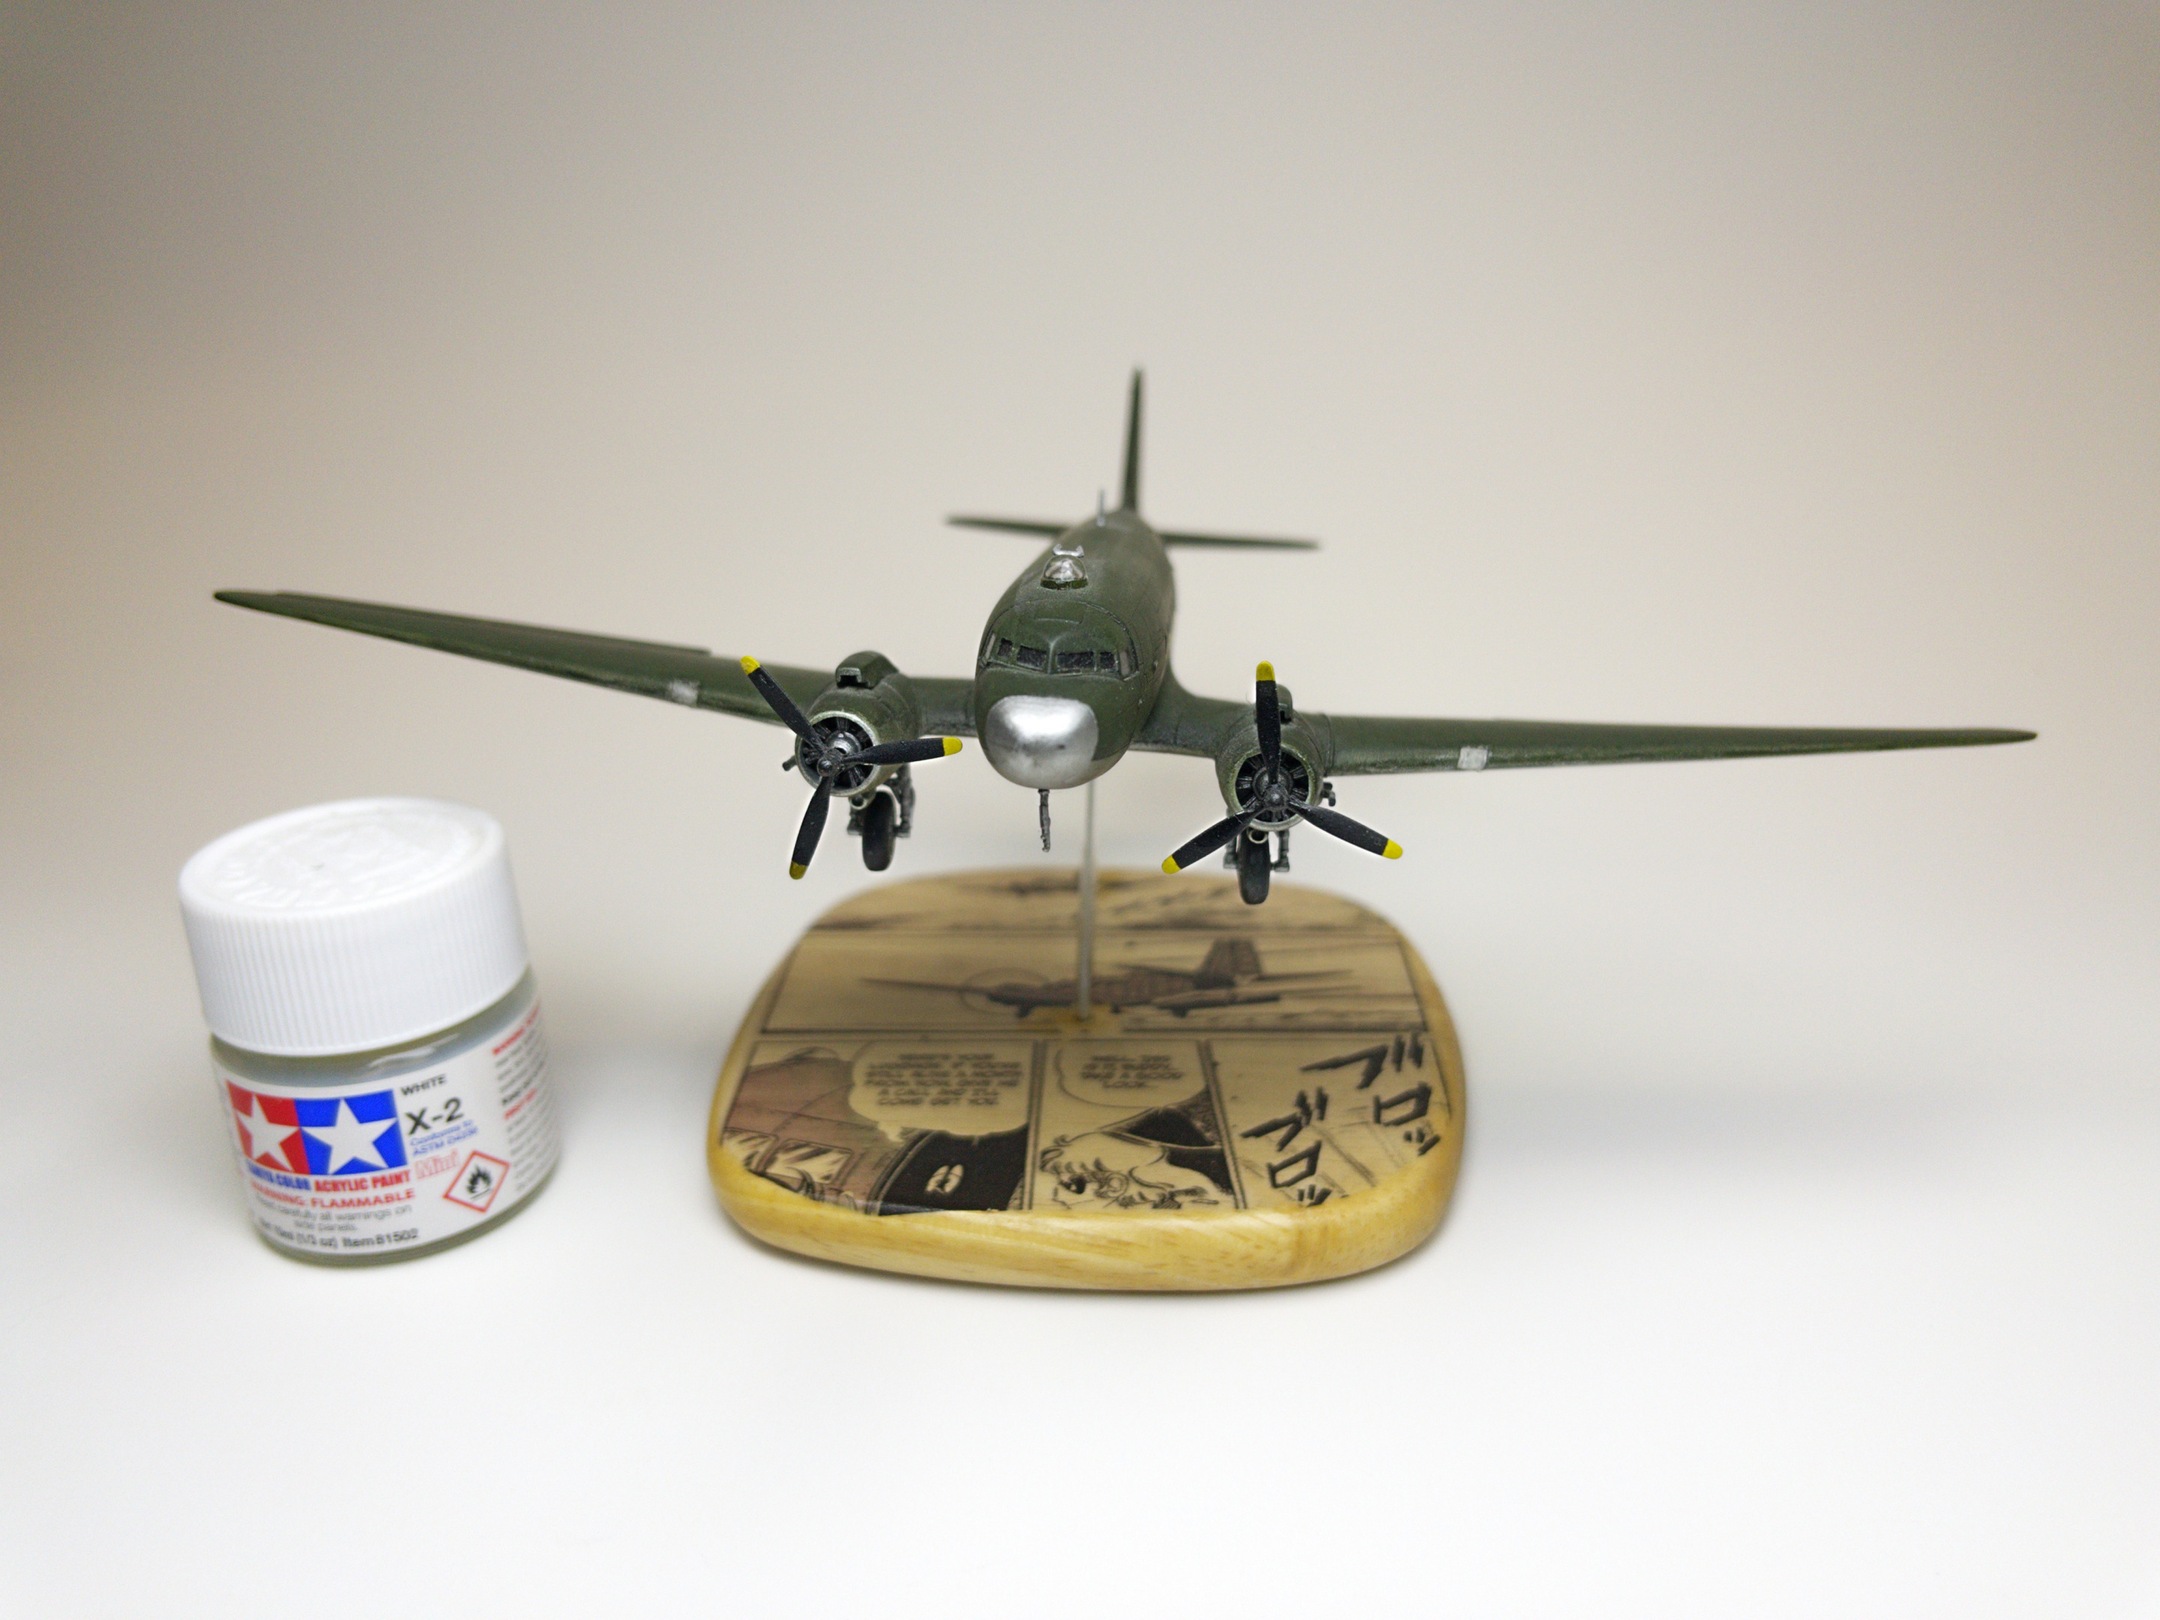
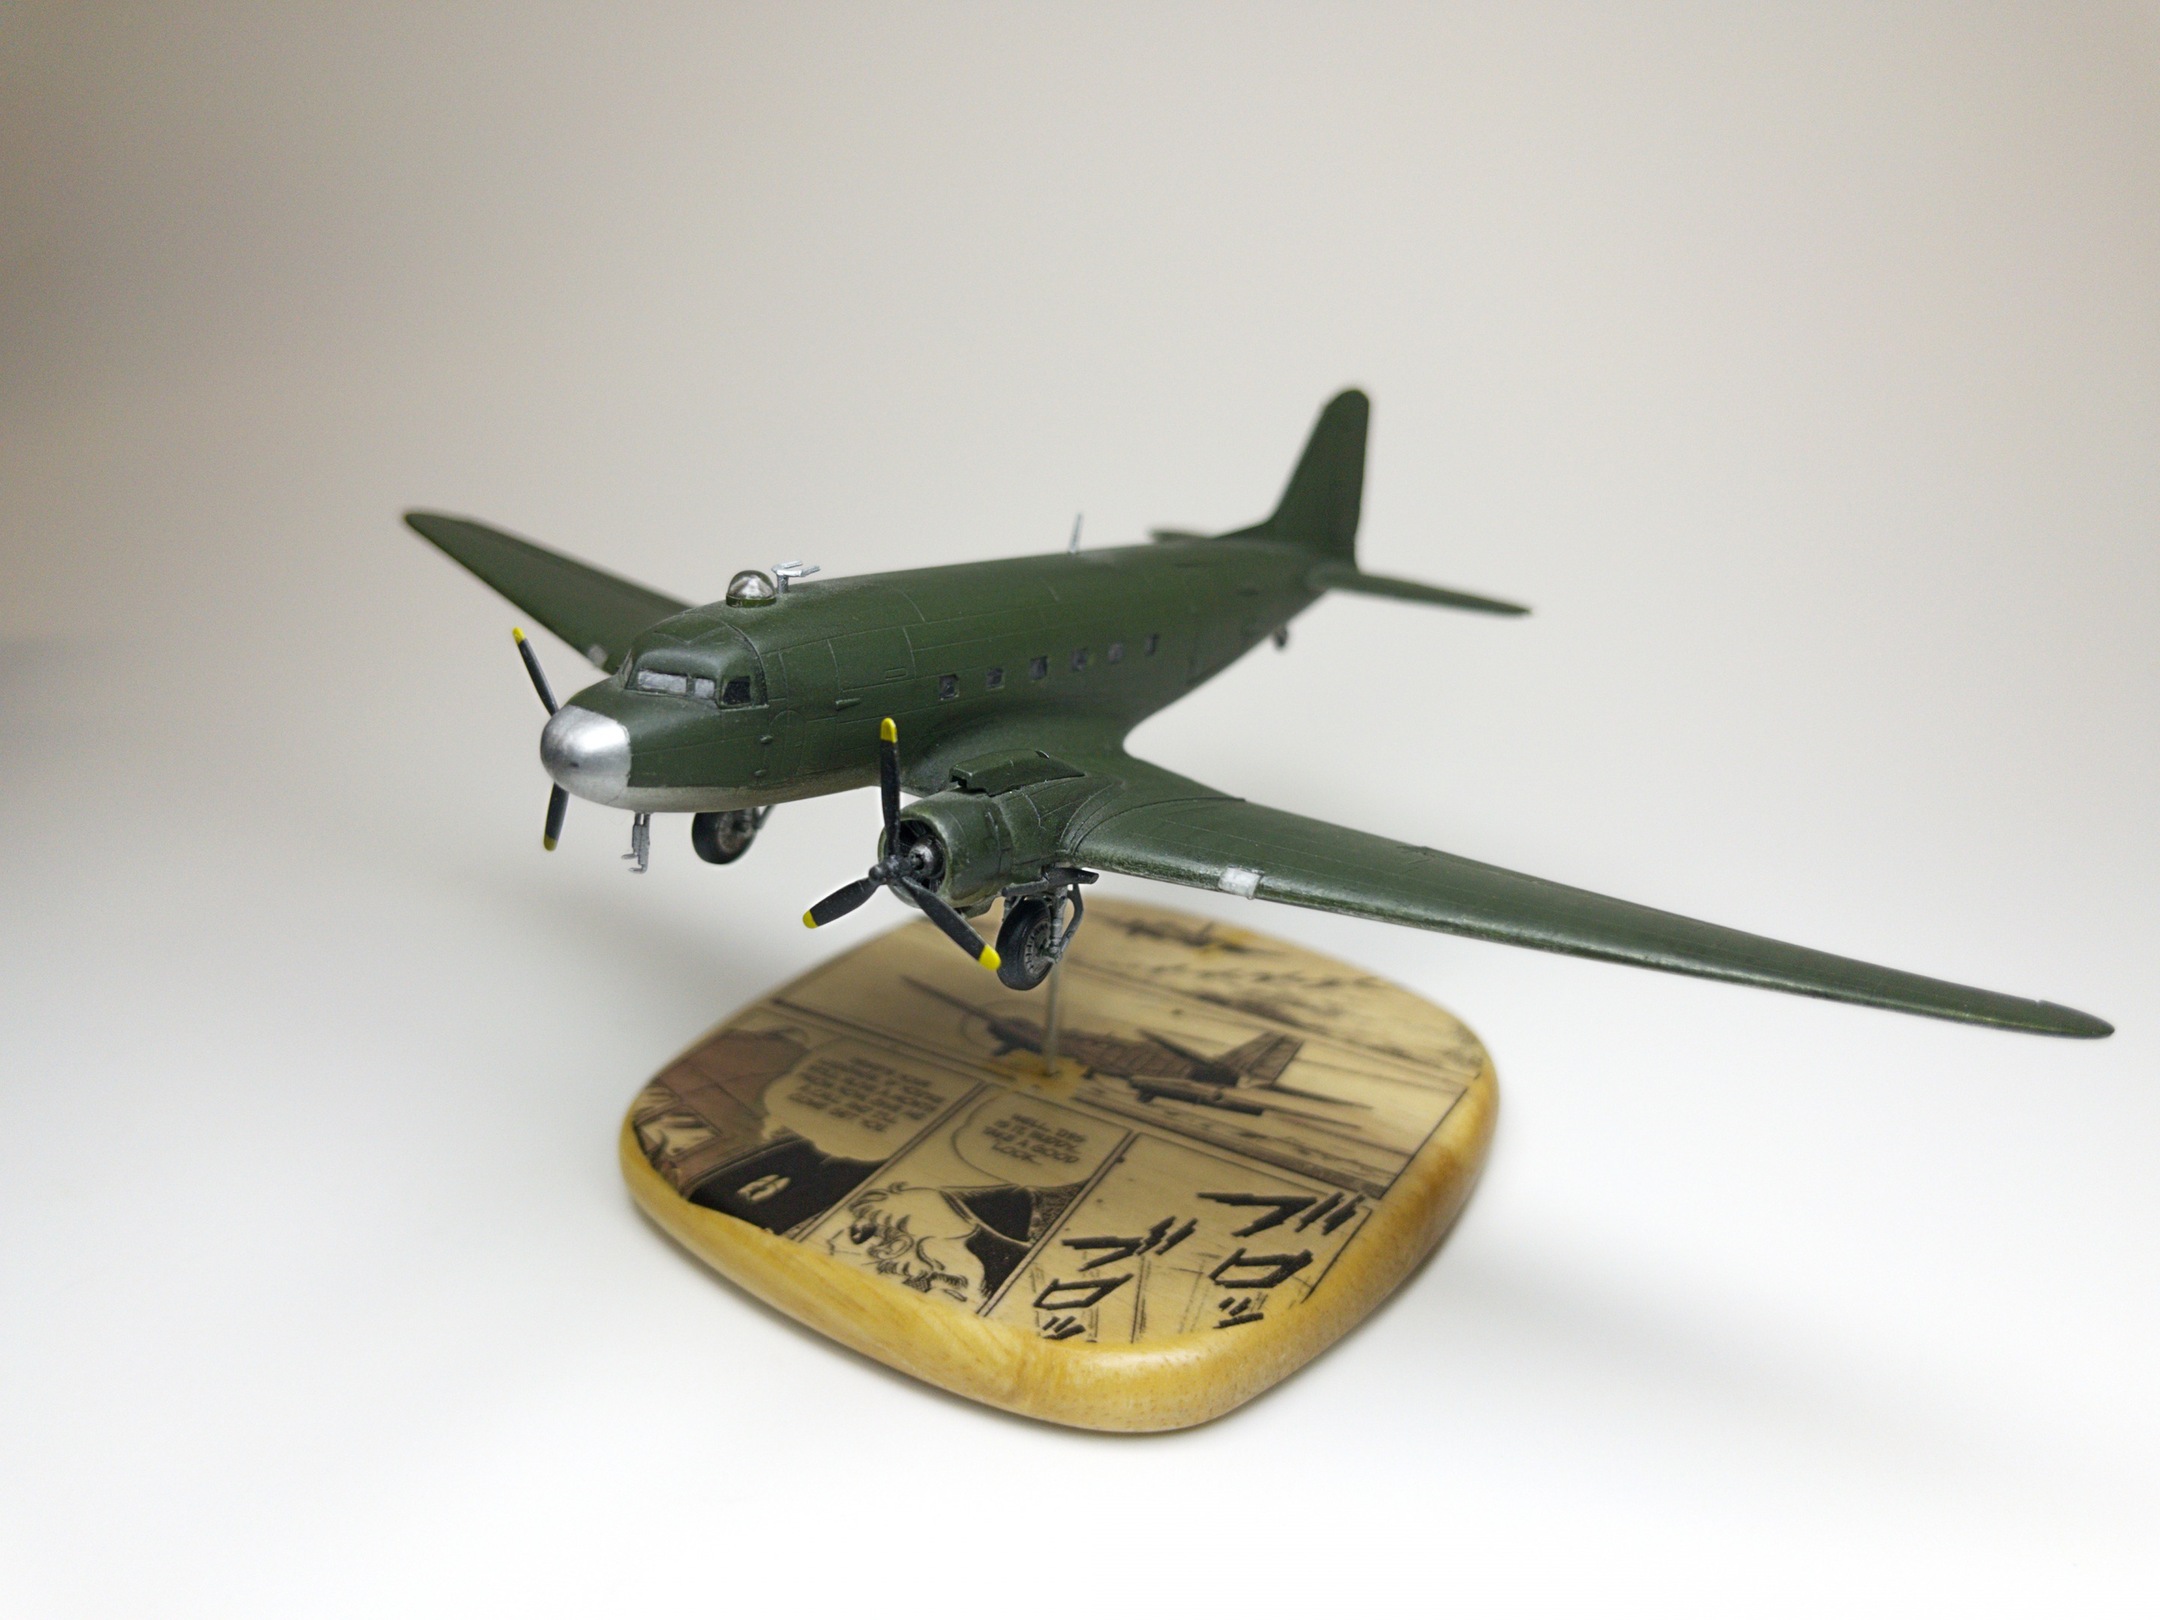
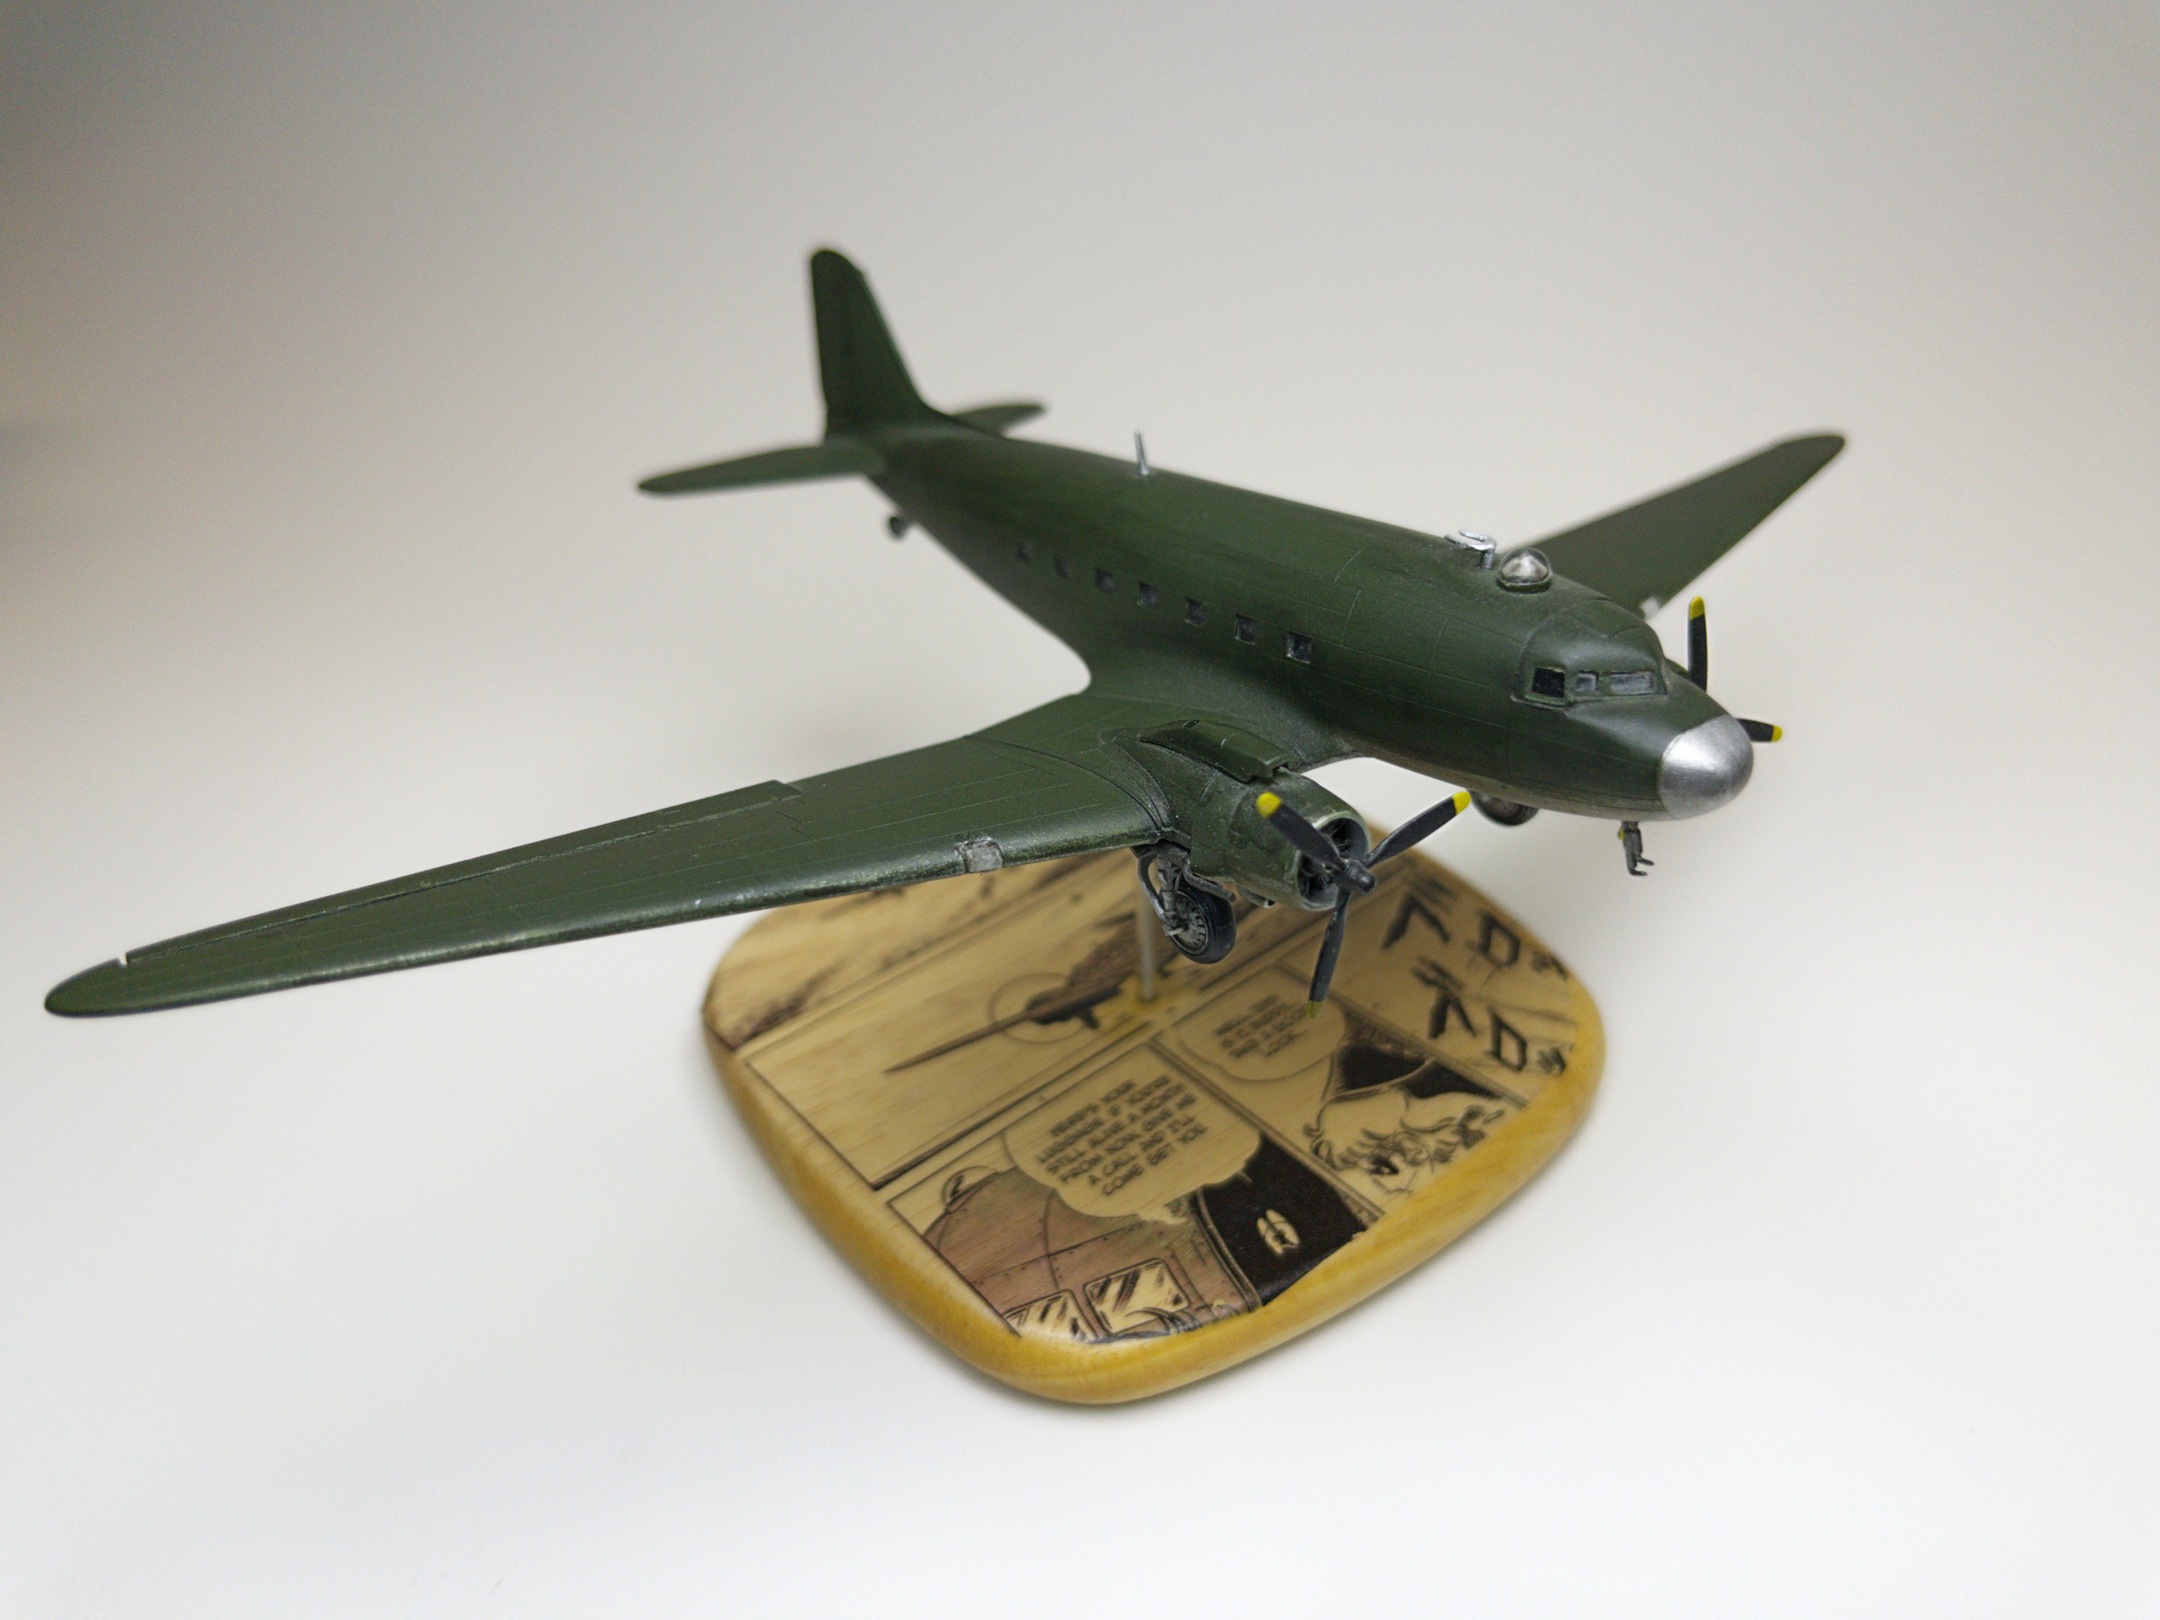
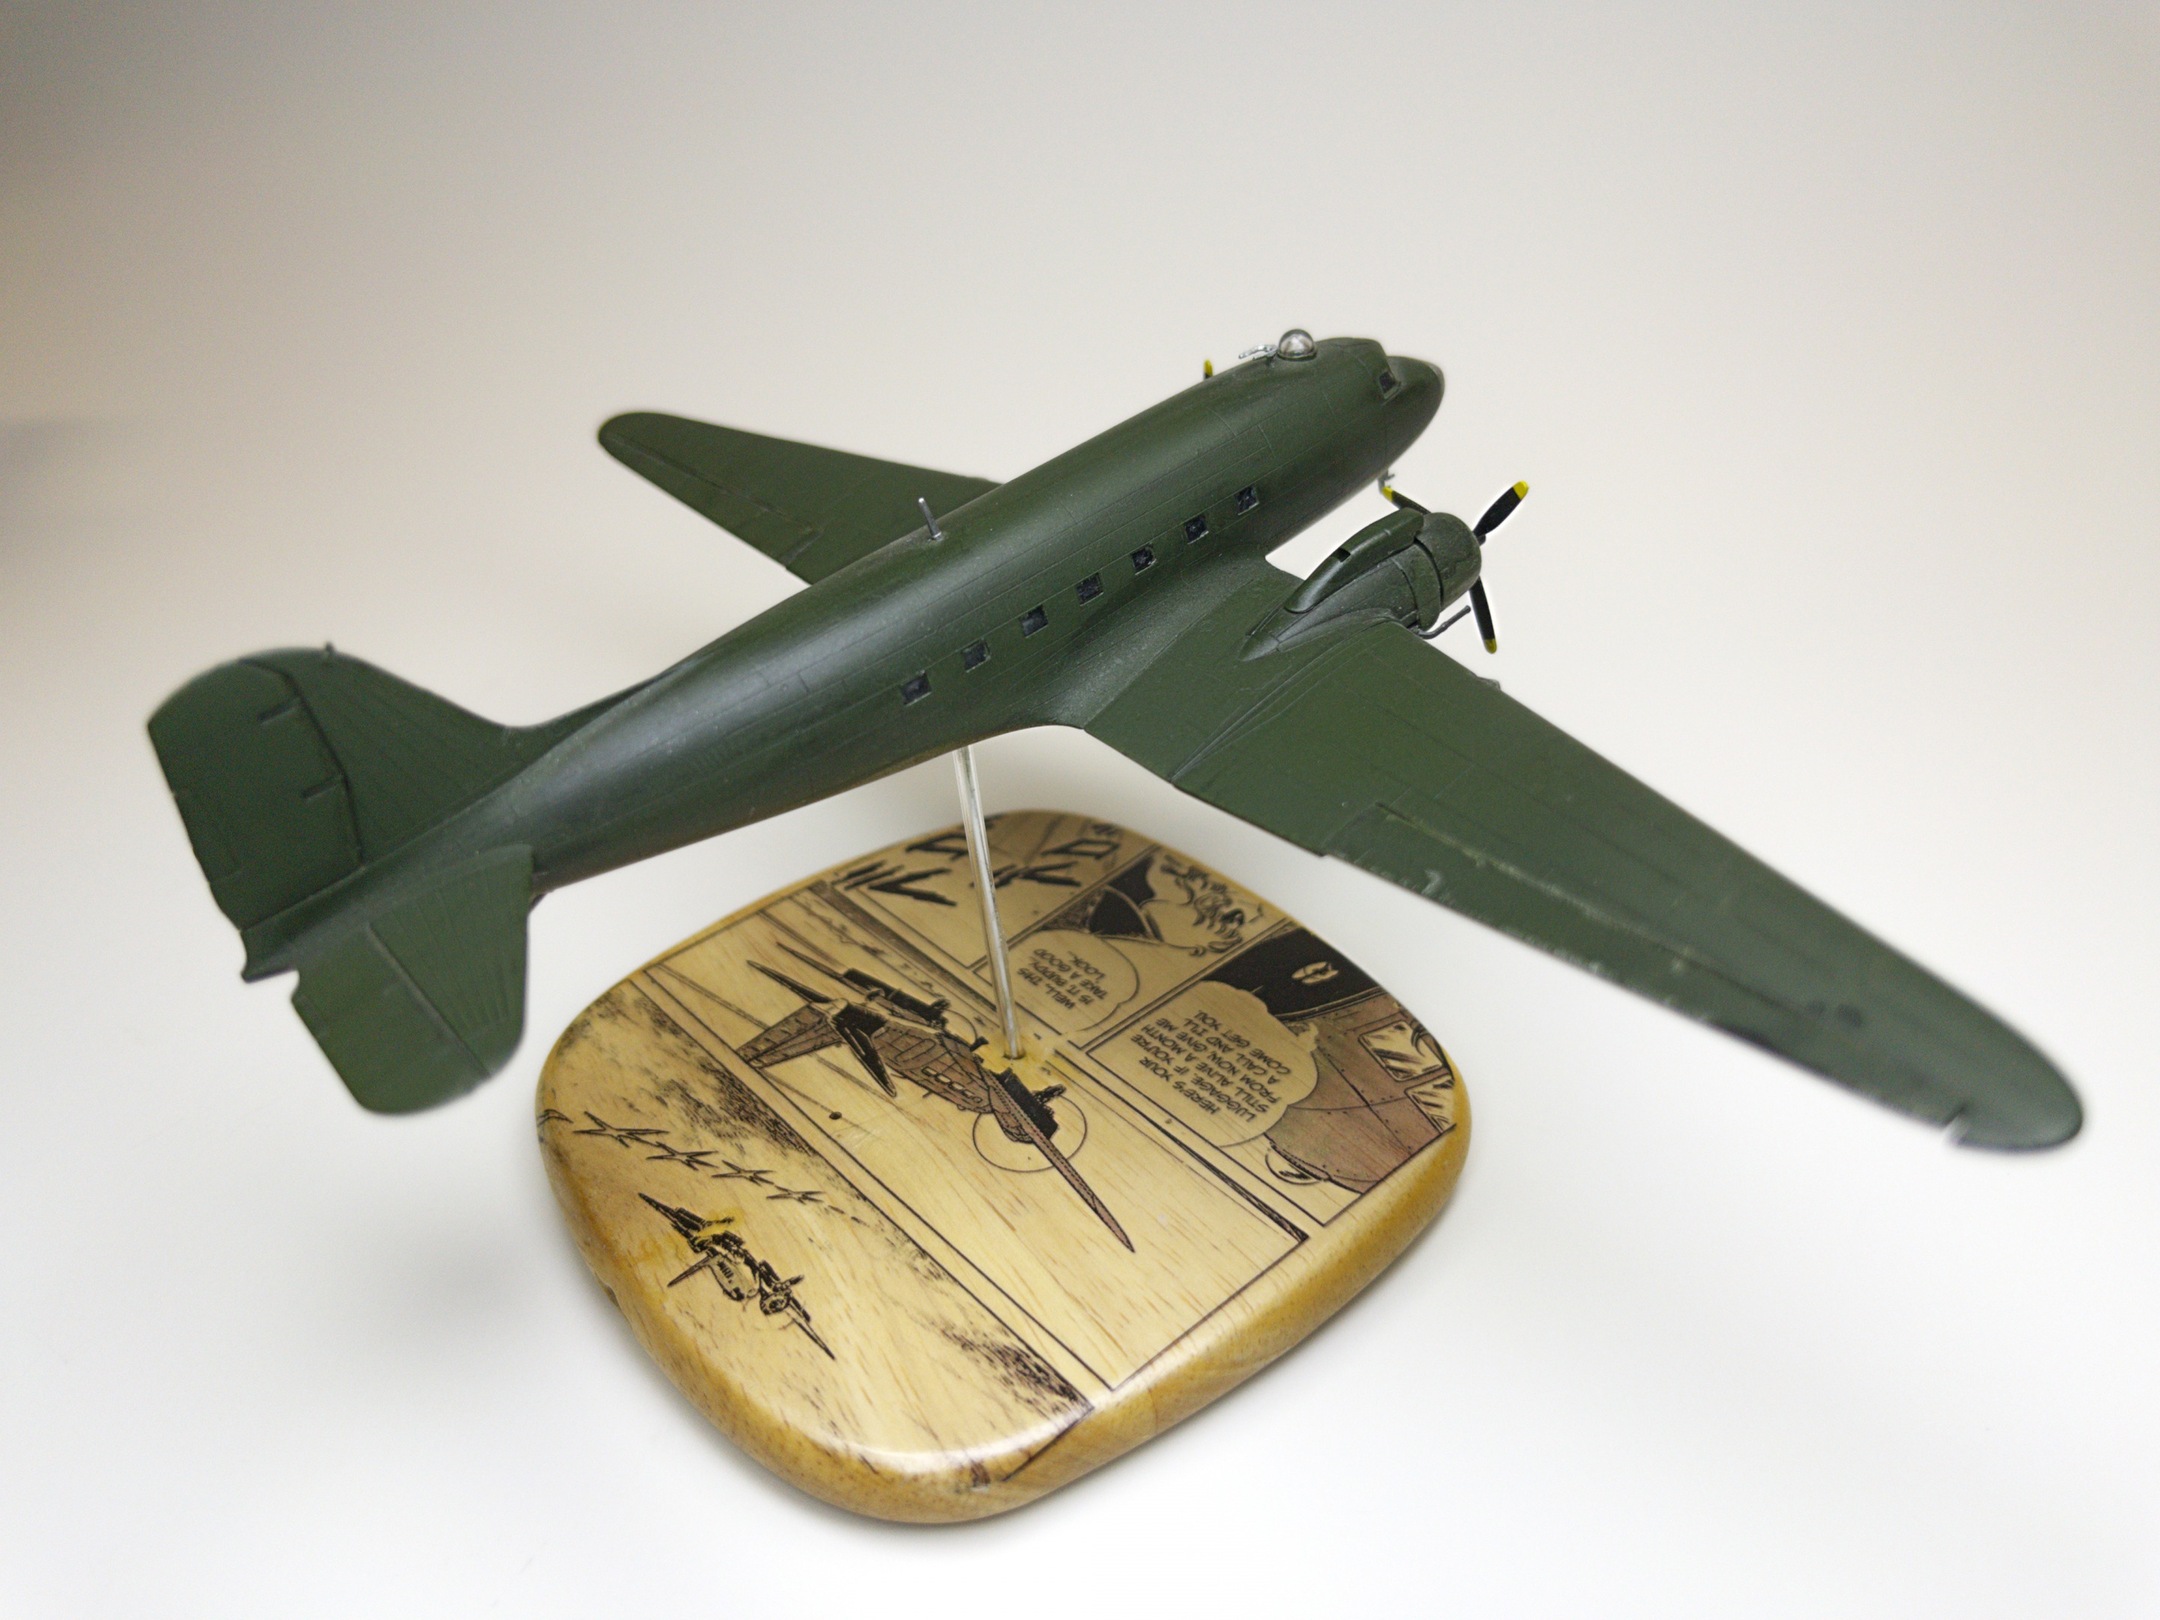
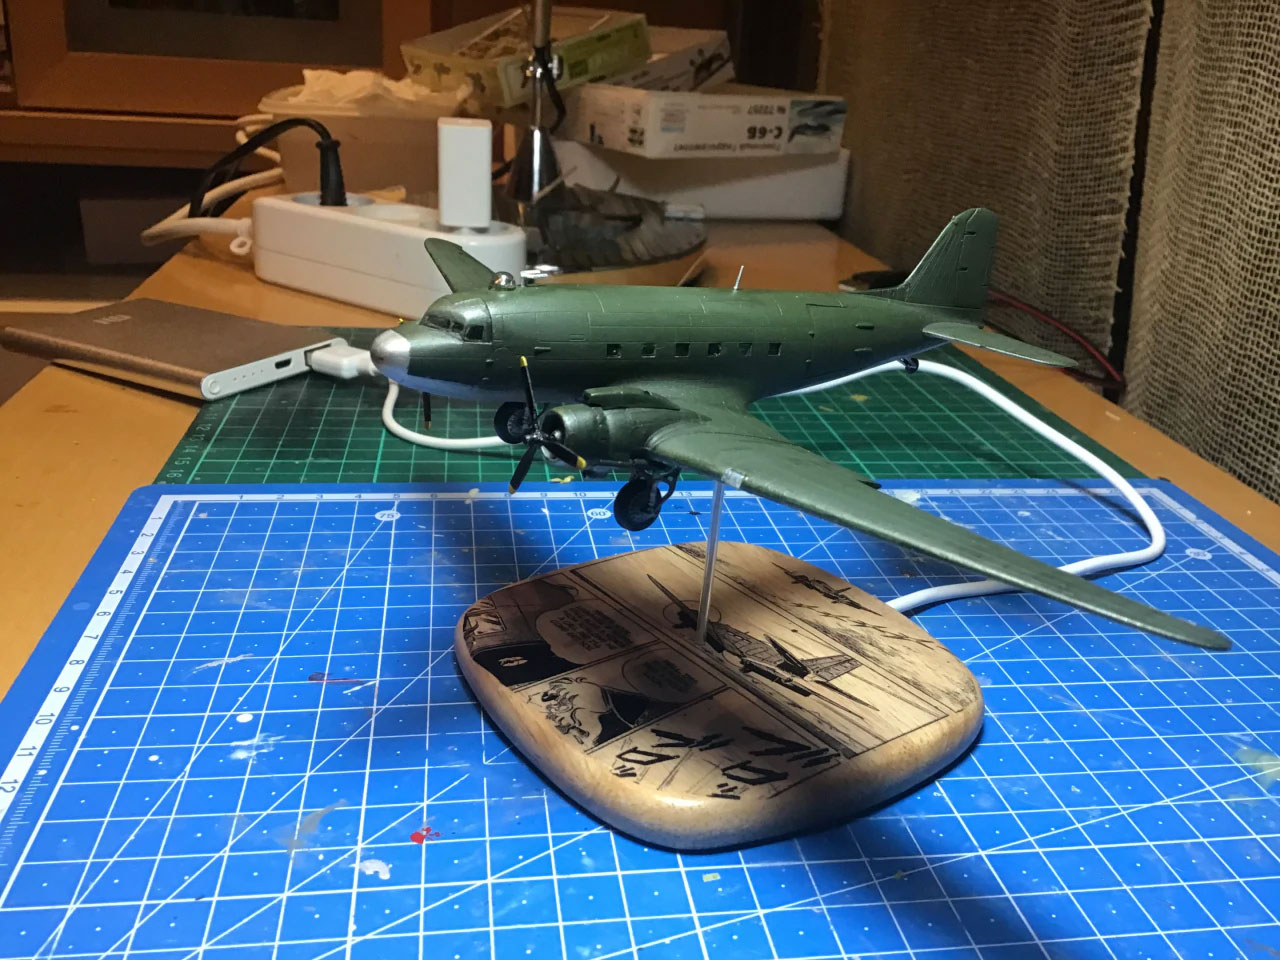
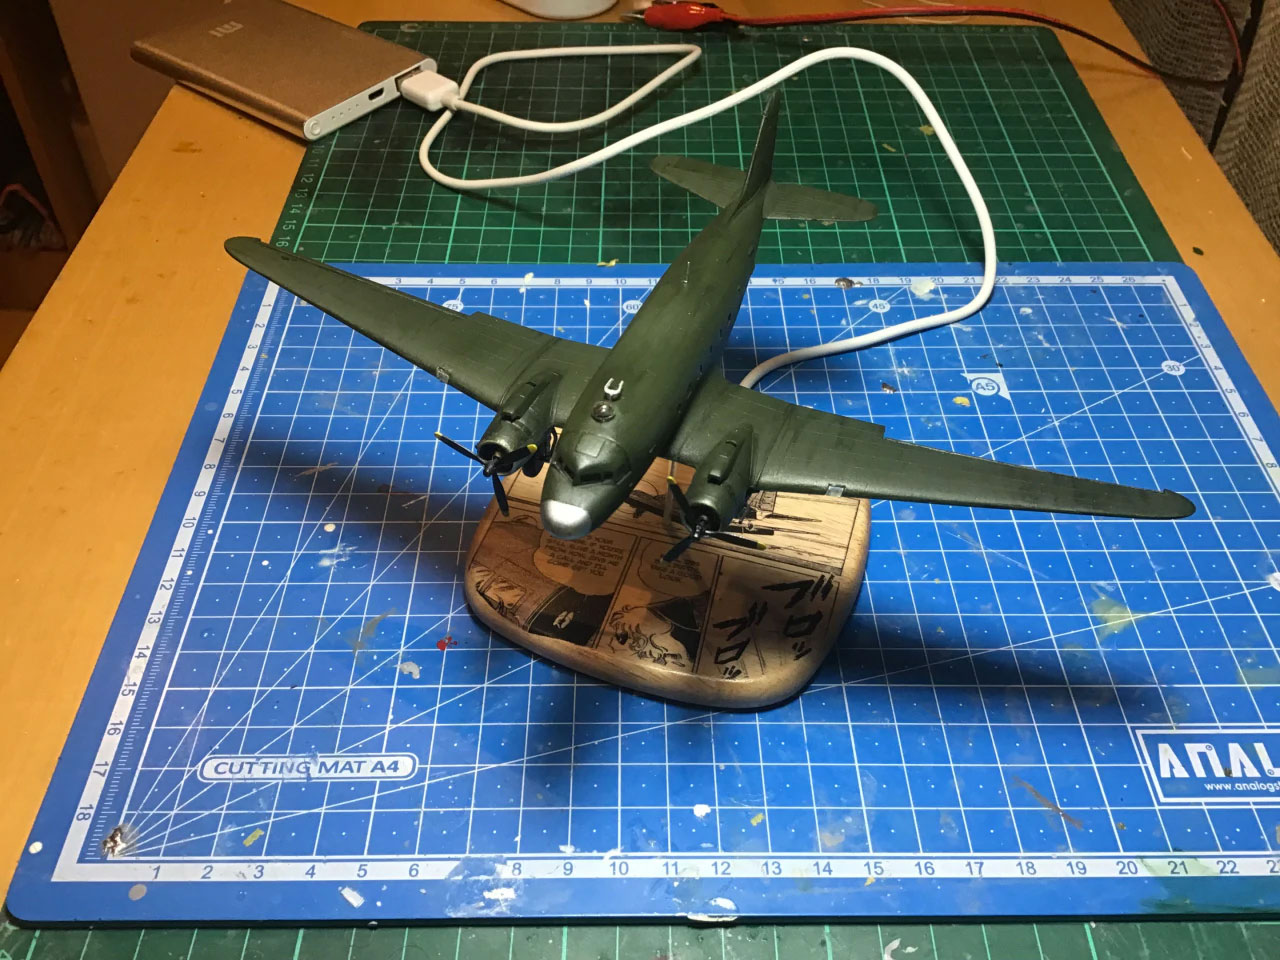
The finished model:


The video
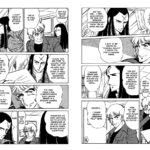
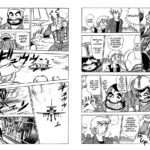
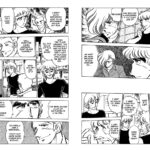
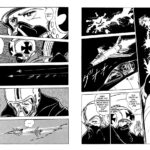
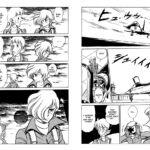
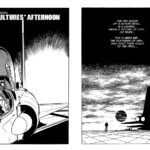
The scene:
Goh “Rocky” Mutsuki, Japanese correspondent from the NP News Service arrives at the AREA 88 base for a one month photo report on the Asran military’s use of mercenary pilots. His ride out to the far side of hell? A Douglas C-47 Skytrain transport.
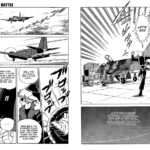
Check out the original manga scene from Chapter 007 “The Distant Battle” here:

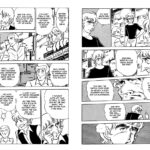
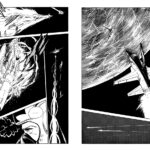
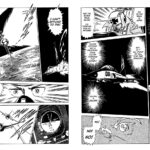
The story:
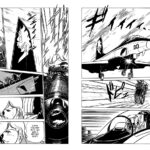
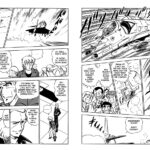
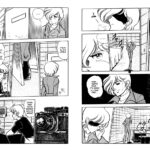
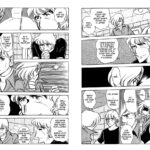
There’s not really much of a story here. Obviously Rocky himself plays a strong on-going supporting role in the manga series (and will be featured prominently in at least two more 1/144 Area 88 project builds I have planned), but his entry onto the stage is relatively low key. What struck me about it though, was really the poetry of the sequence… there’s a plane on the horizon… the unmistakable silhouette of a C-47 Skytrain… oh it’s coming in for a landing… the pilot drops Rocky off with a bit of a “Well, good luck… you’re gonna need it” remark and then you flip the page and get hit in the face by Rocky, full of confidence saying “so… what’s the big deal?” while the film strip almost whirs by in the background.
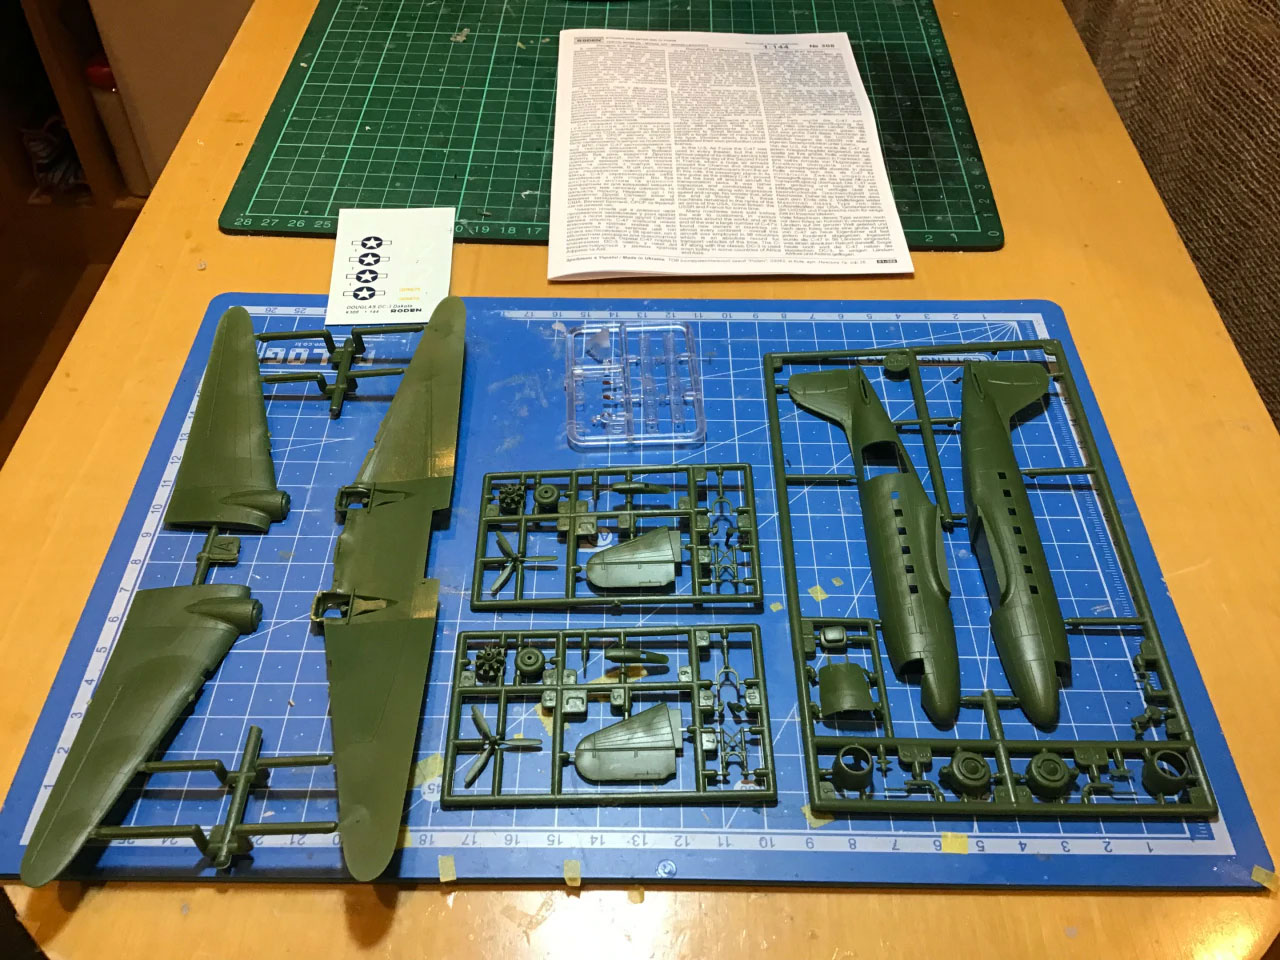
The kit:
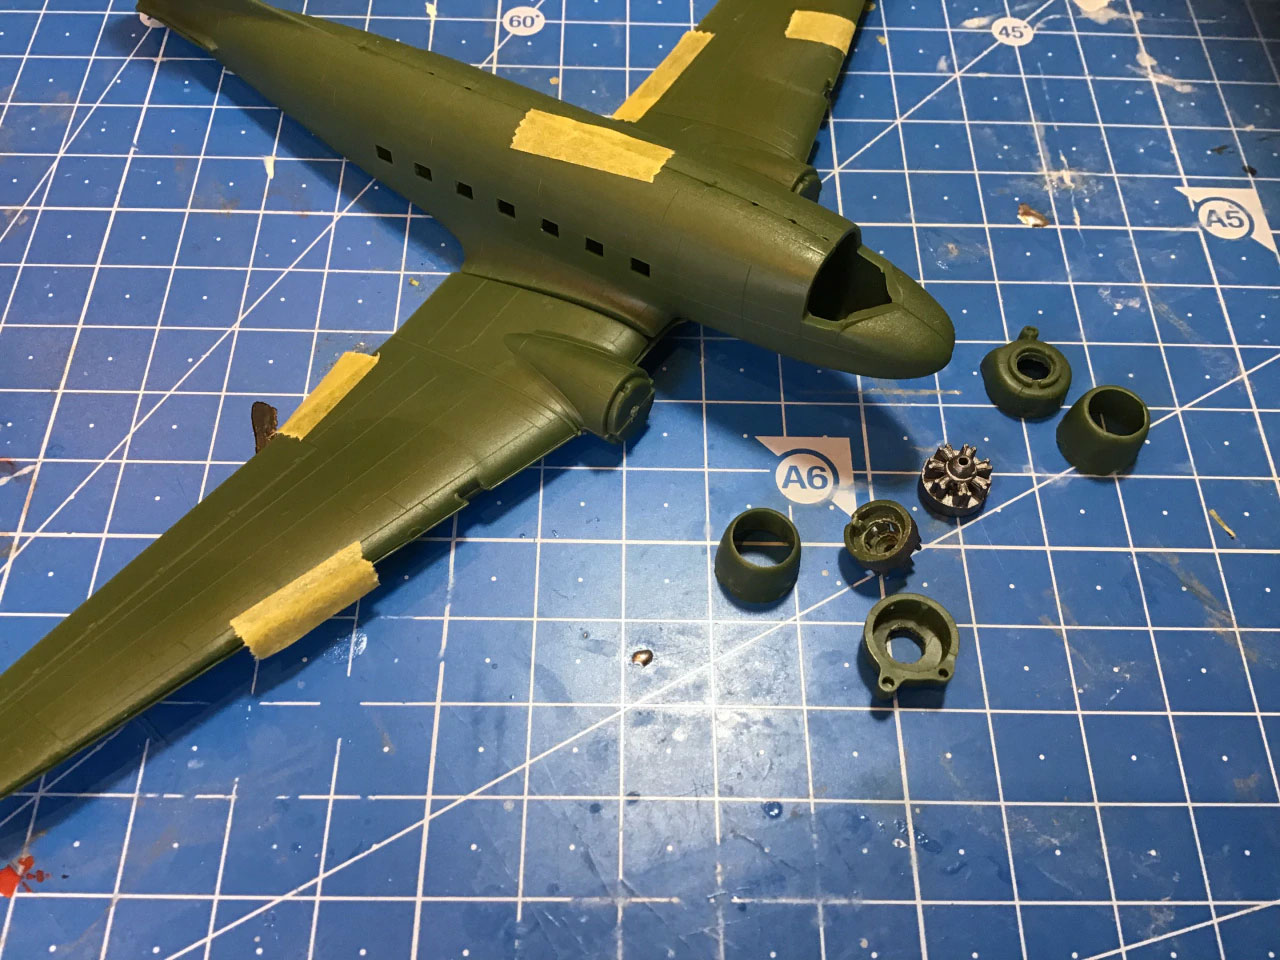
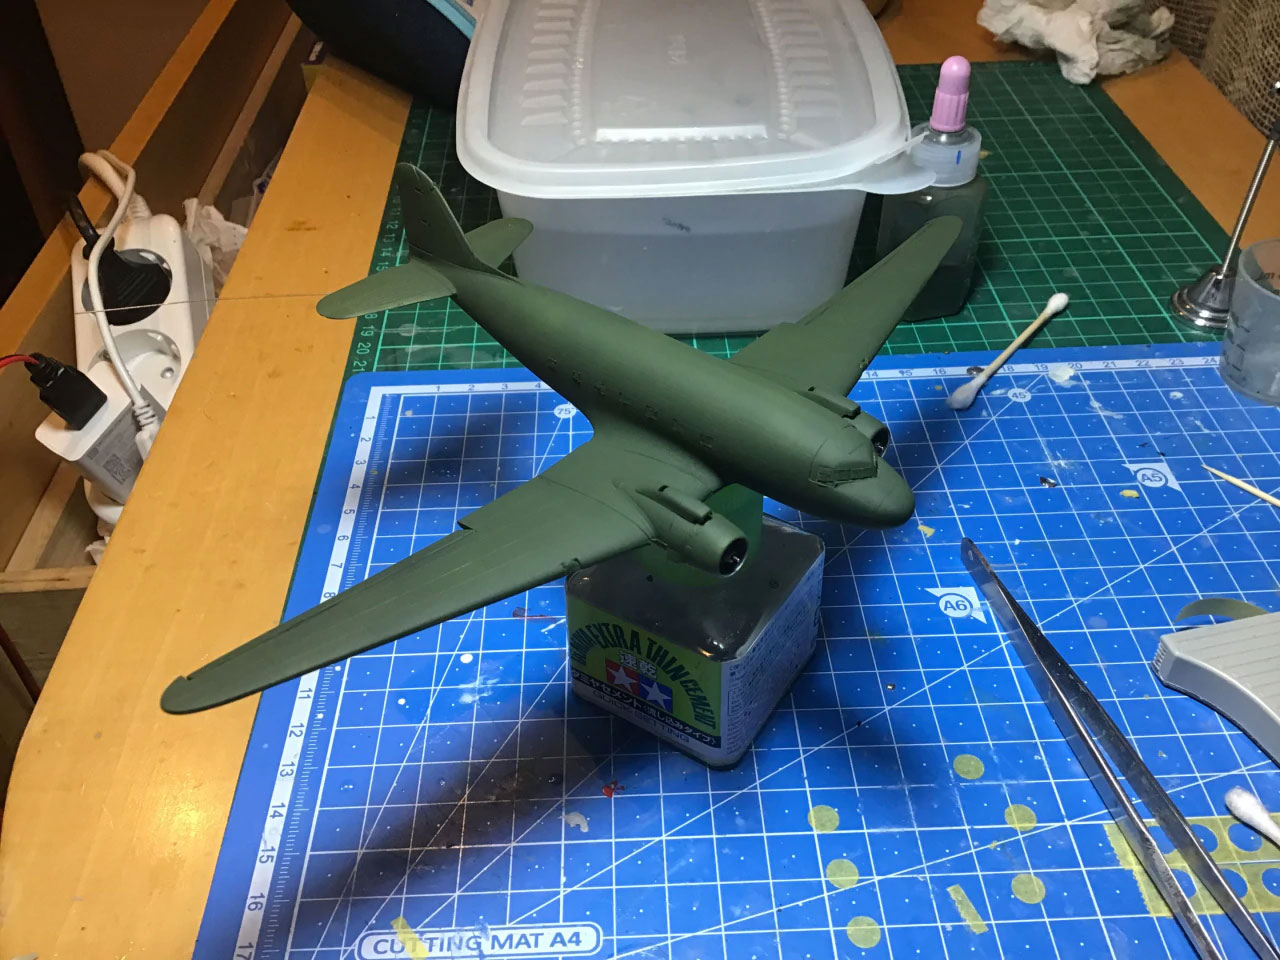
- Douglas C-47 Skytrain (by Roden)
The build:
Like several of my first Area 88 1/144 builds, “A Rocky Arrival” is actually a do-over. My first attempt at capturing that lovely C-47 as it swoops down from the heavens to deposit its passenger didn’t end in disaster, but it wasn’t all that satisfying.
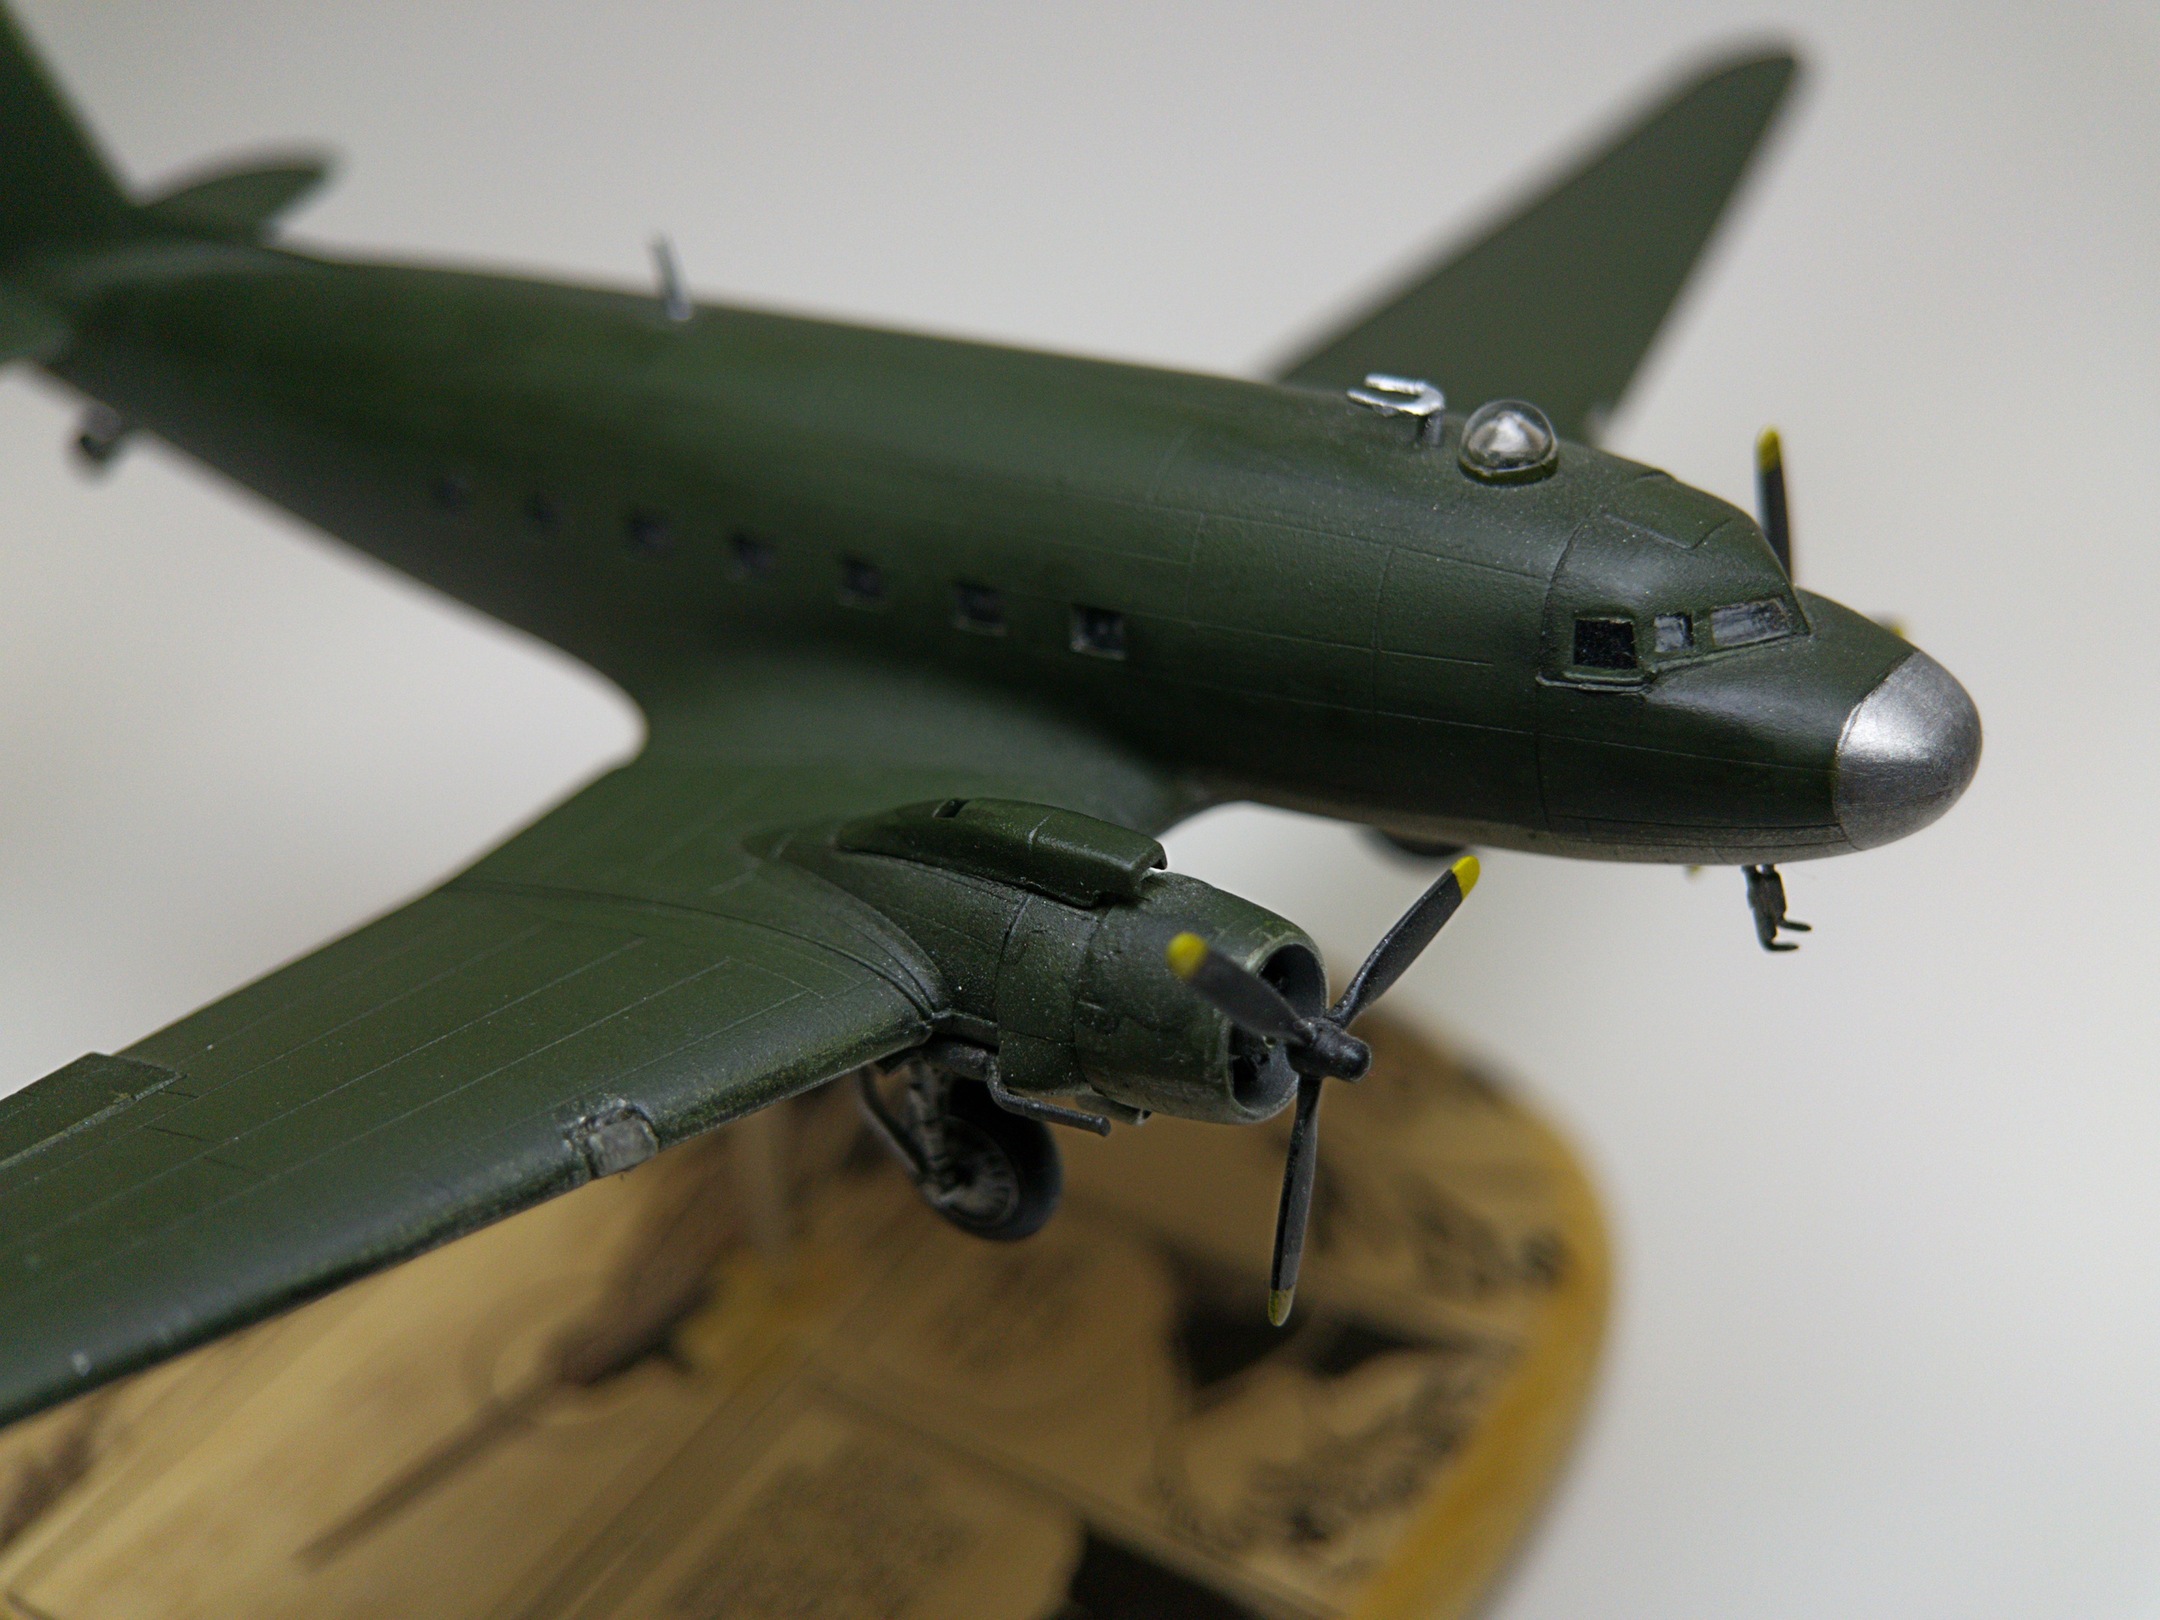
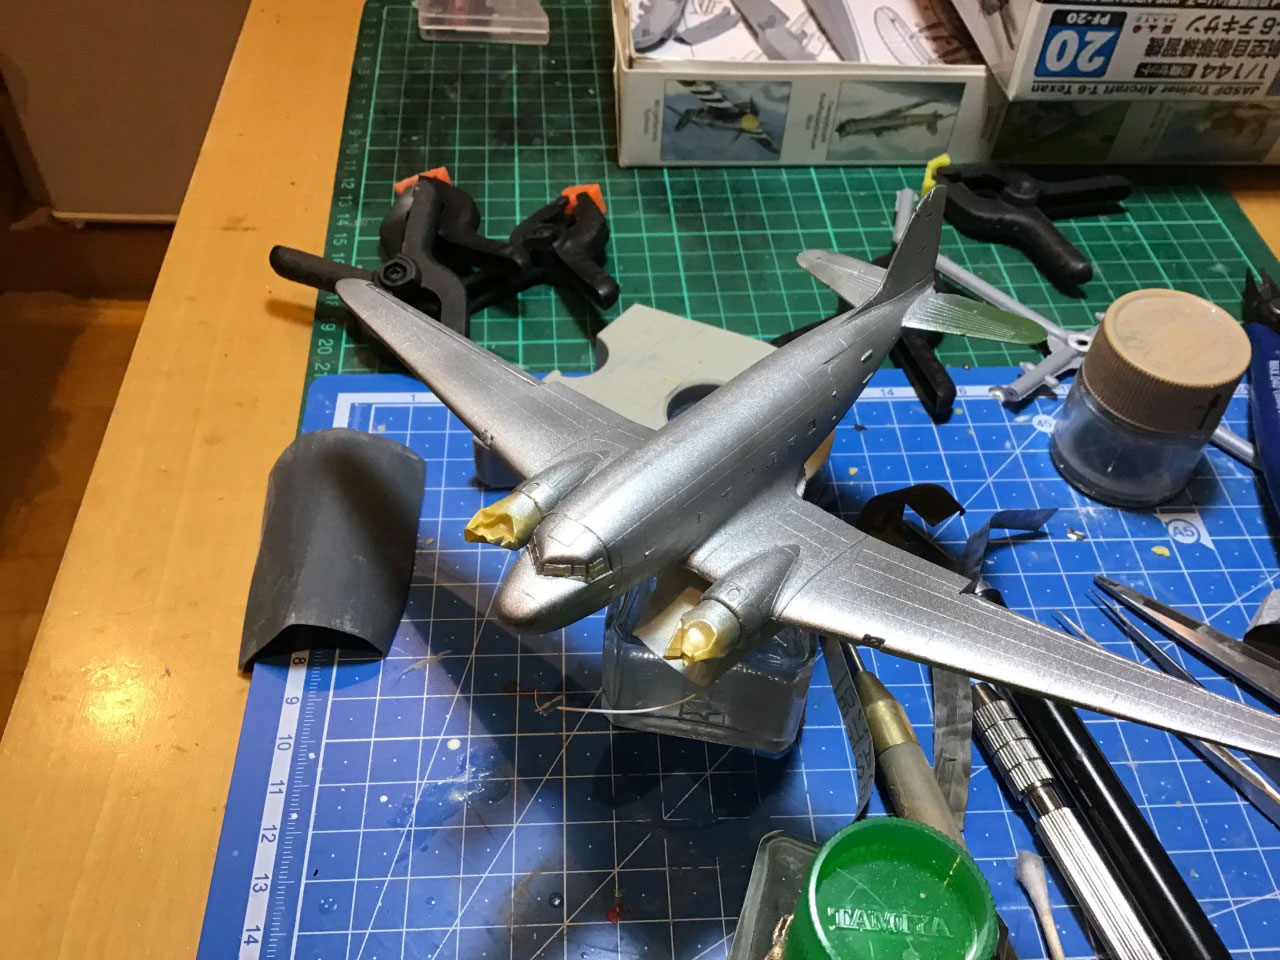
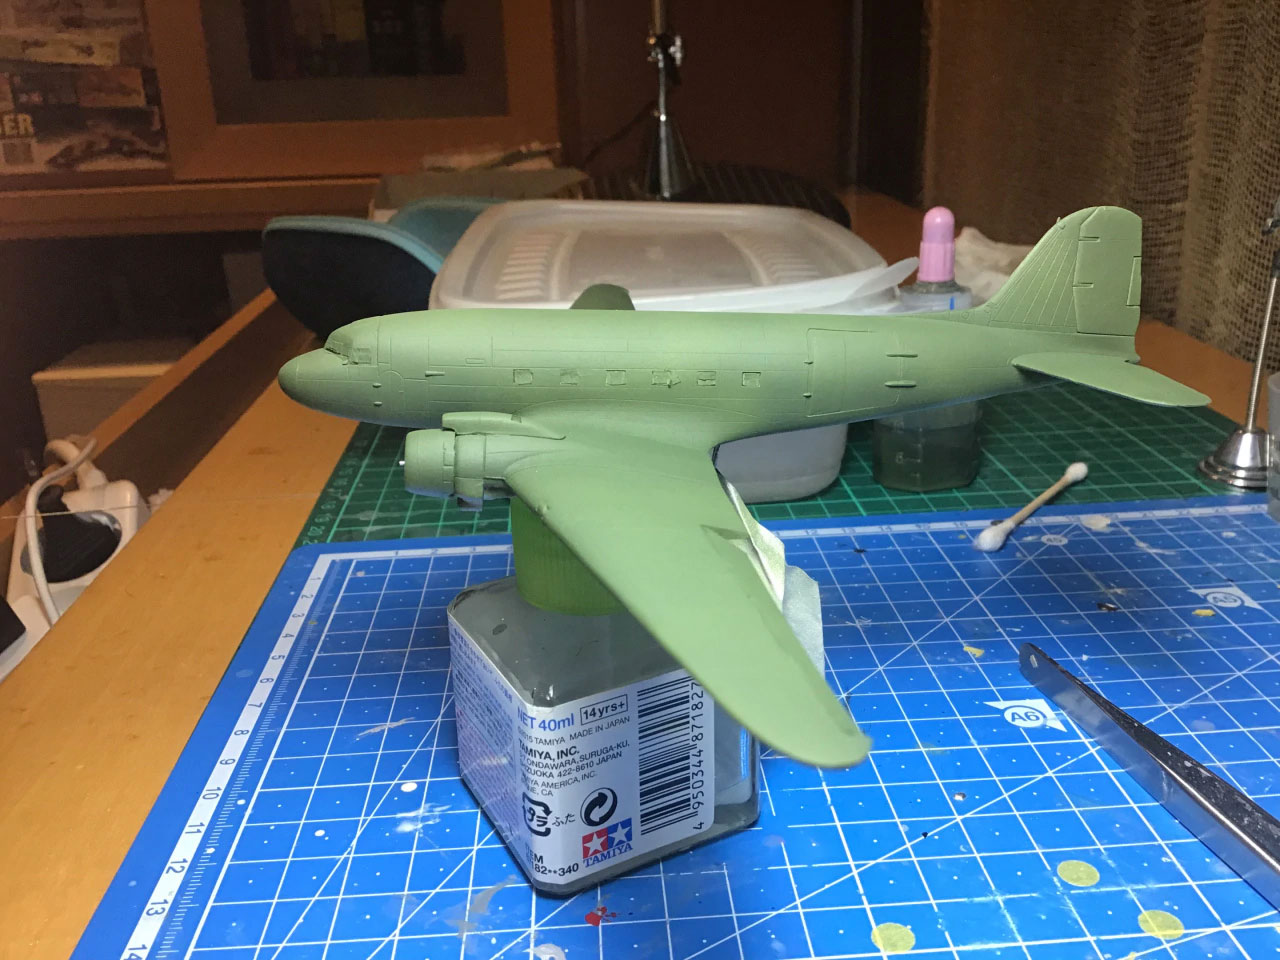
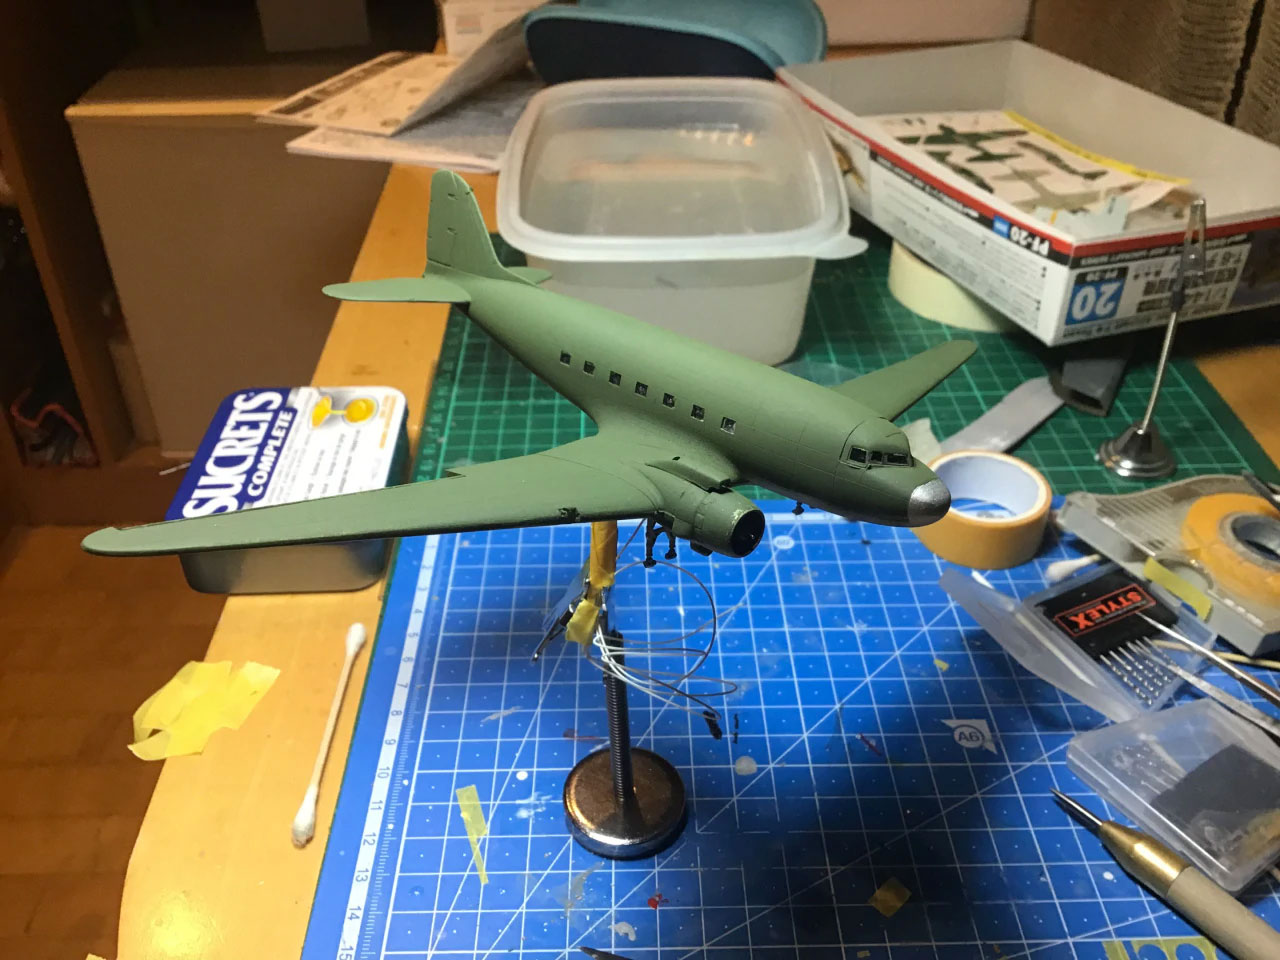
For one thing, I kinda botched the paint job. I’ve been trying for a while to perfect the “hairspray technique” of weathering a scale model – basically applying a coat of water-soluble hairspray between a bare-metal finished and an over coat of paint, allowing you to chip off the top coat using a bit of water and some elbow grease. So I decided that the C-47 from Area 88 might be a good choice. After putting on a bottom coat of Tamiya acrylic aluminium, I sealed it with Future, sprayed my hairspray and then gave it a top coat of a dark olive drab. The biggest problem I’ve found with chipping is both knowing where to start… and when to stop. Figuring out natural wear patterns is tricky, and it’s very easy to just go to town, chipping everything in site. So, while the finished product was neat… it looked nothing like the plane depicted in the manga.
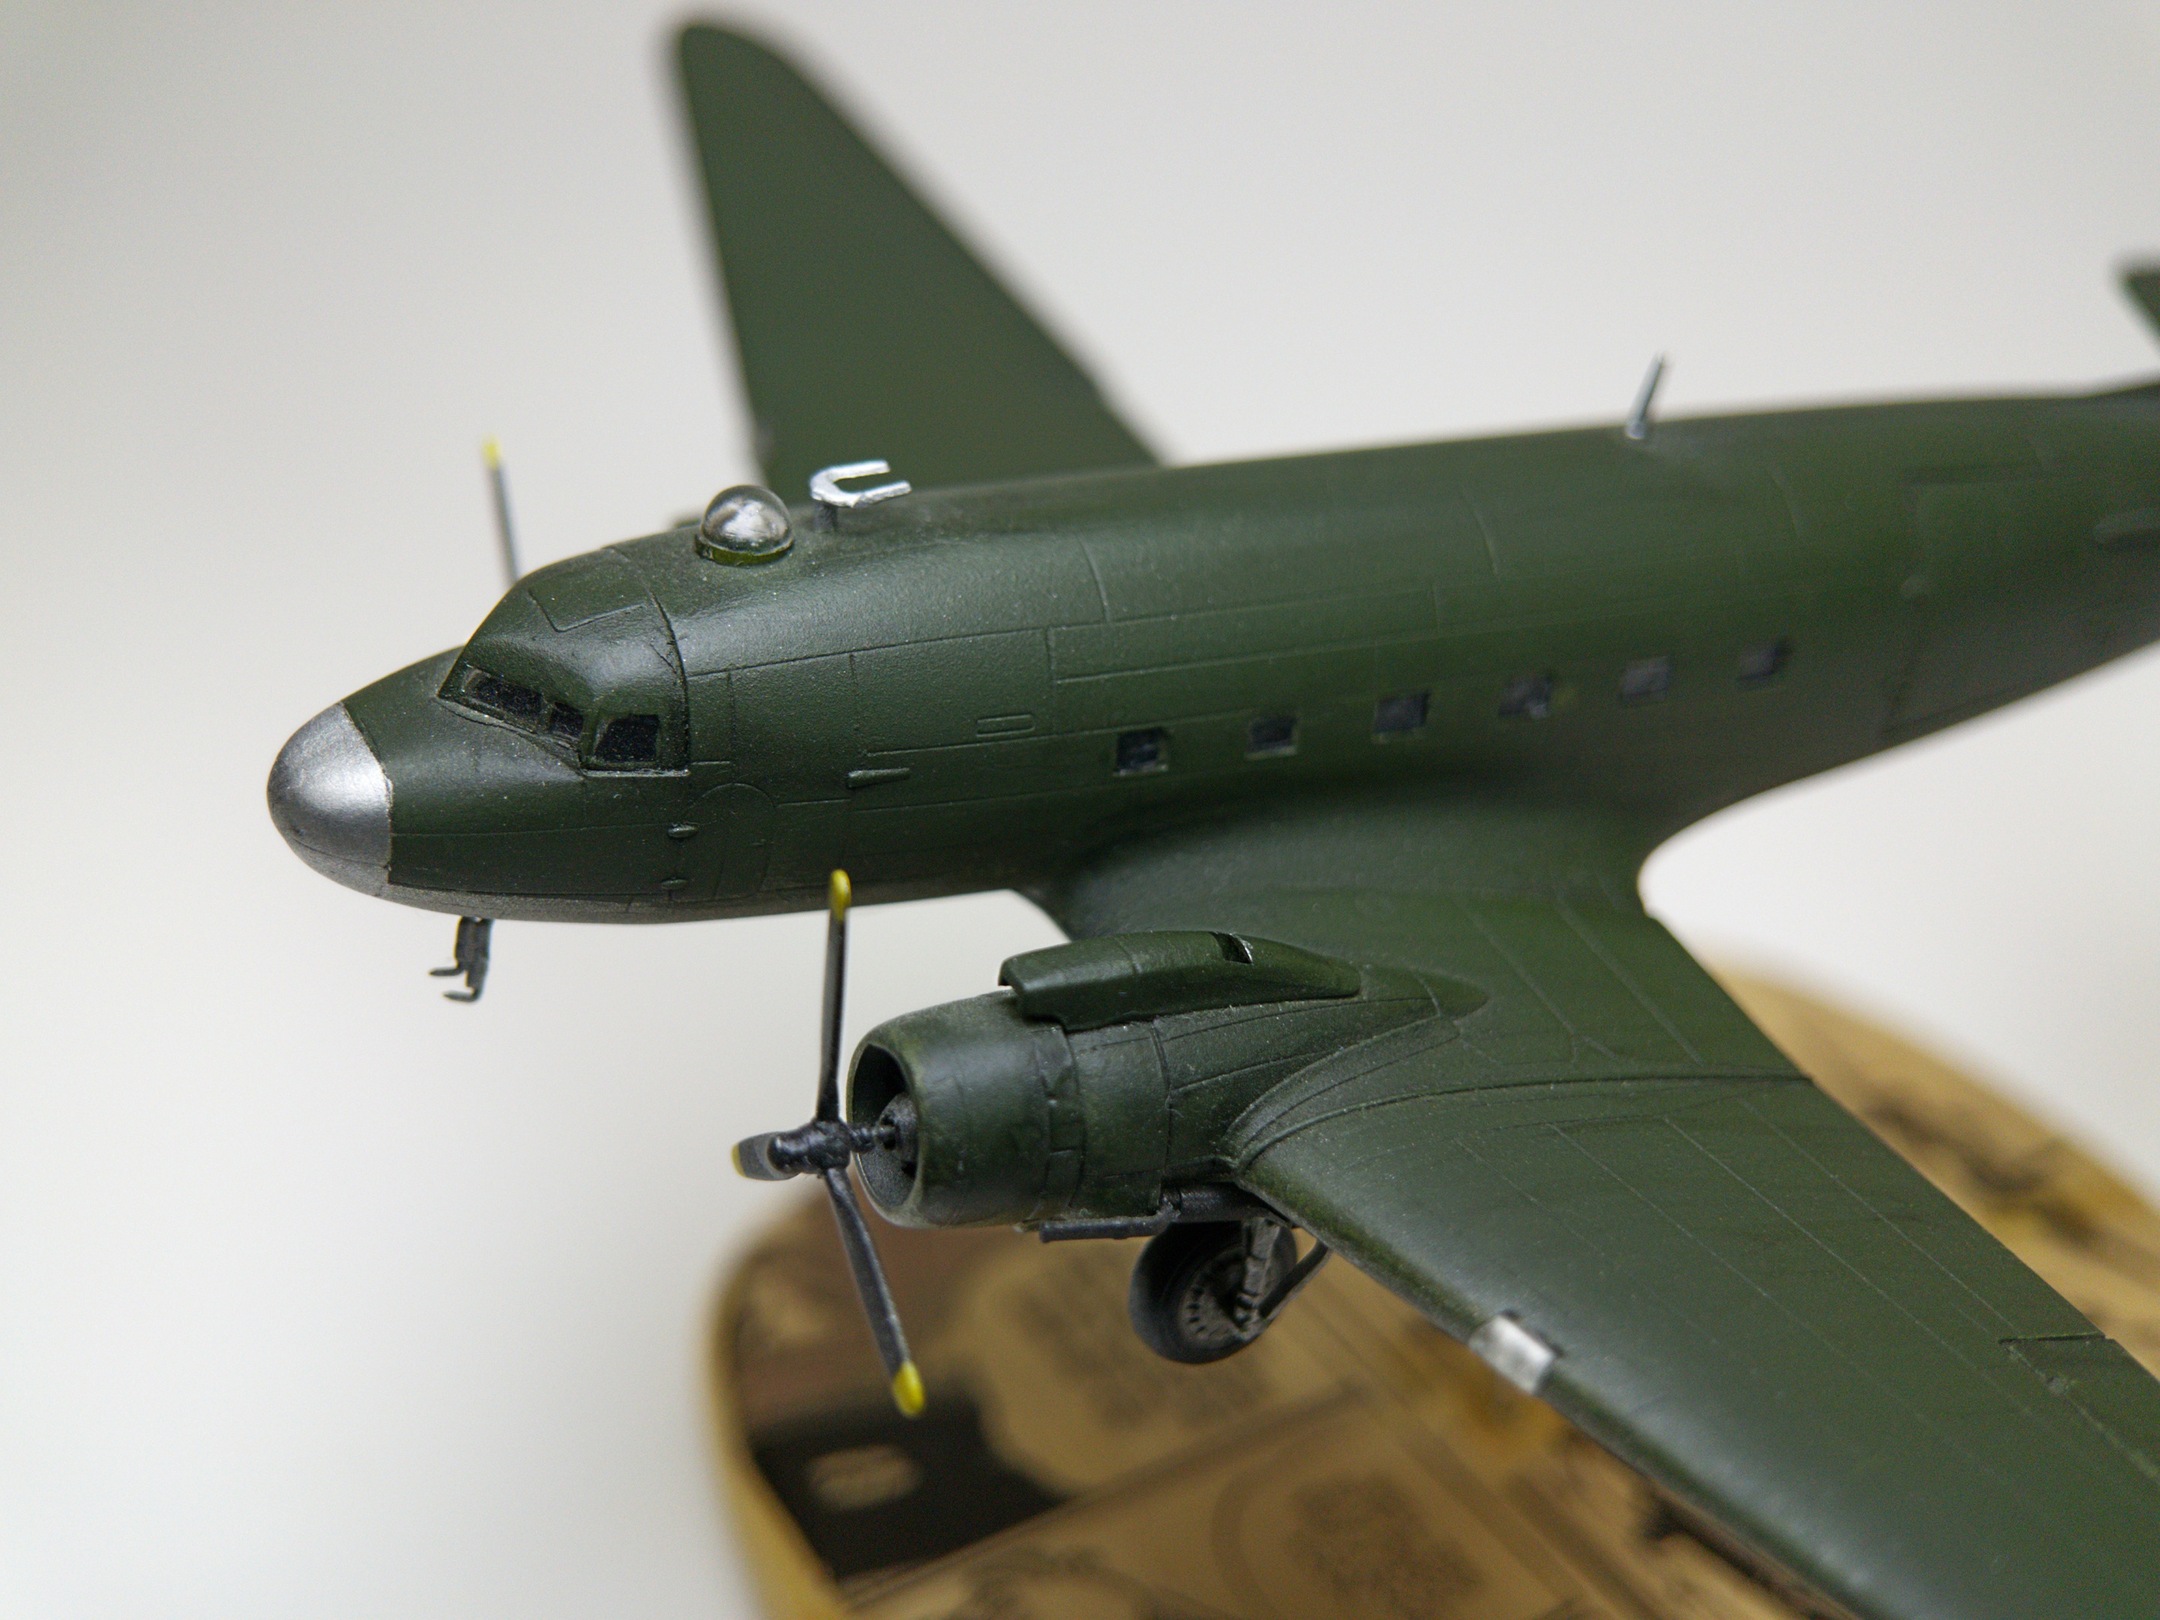
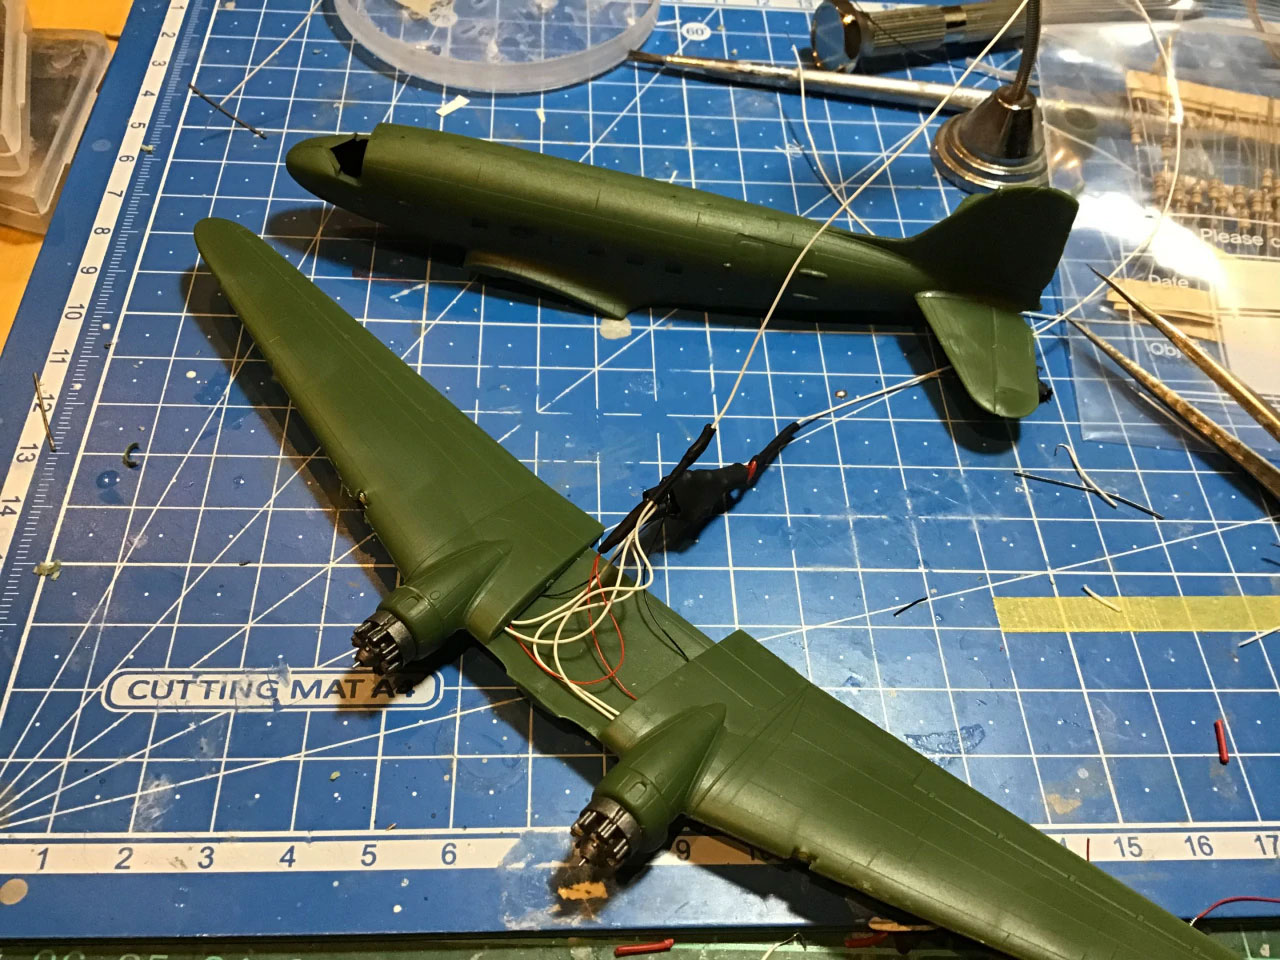
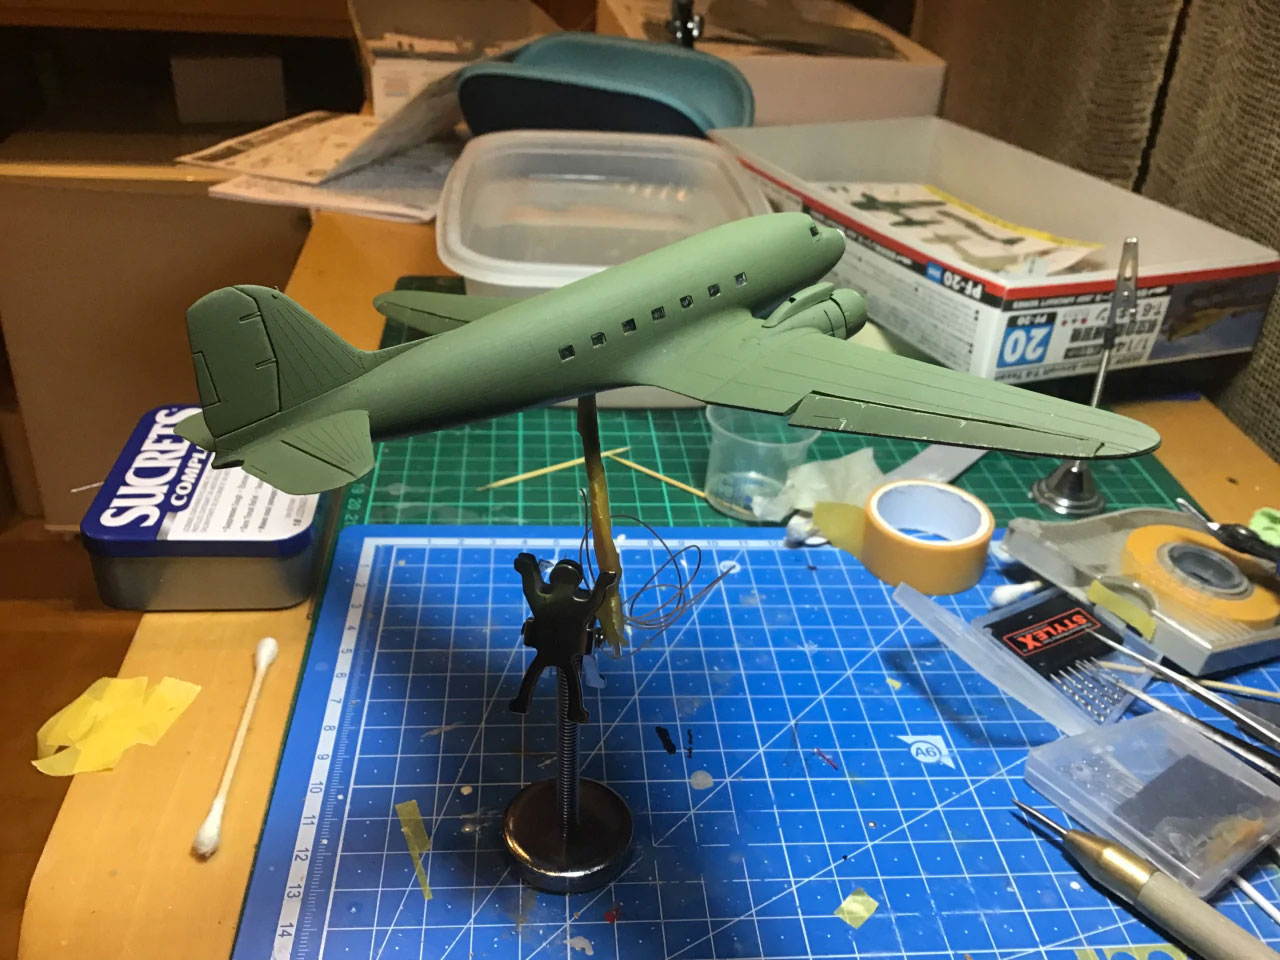
The other problem was how to depict the propellors. These 1/144 Area 88 builds are supposed to catch a moment of the action, but static propellors just didn’t convey the look of flight I wanted. I thought I’d be smart, and use some clear discs to convey the spinning motion. But like countless modellers before me who’ve come up with the same solution… it’s ultimately unsatisfying because it really looks nothing like what it’s supposed to.
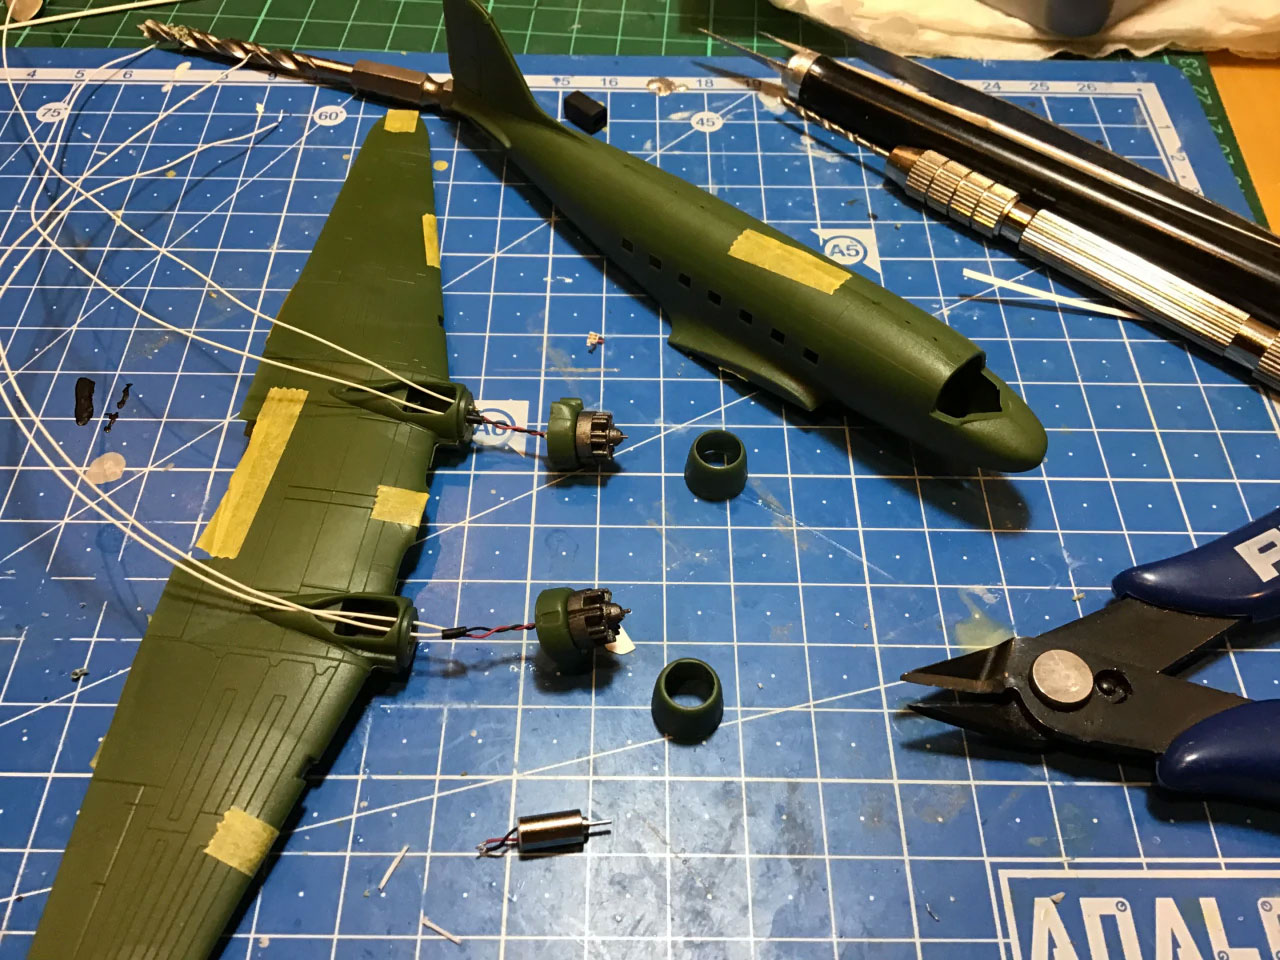
That’s when I hit on the idea of using small motors and actually spinning the props themselves. Once that thought was in my head, all it took was a quick search on eBay and I had some tiny 4x8mm DC micro-motors off eBay. Strangely though, in the time it took for them to arrive, my attention was caught by the T-6 Texan I planned to use in my Locust Roast project. So I used that one as my test project since it seemed easier than doing the dual motor + lights build I had planned for the C-47.
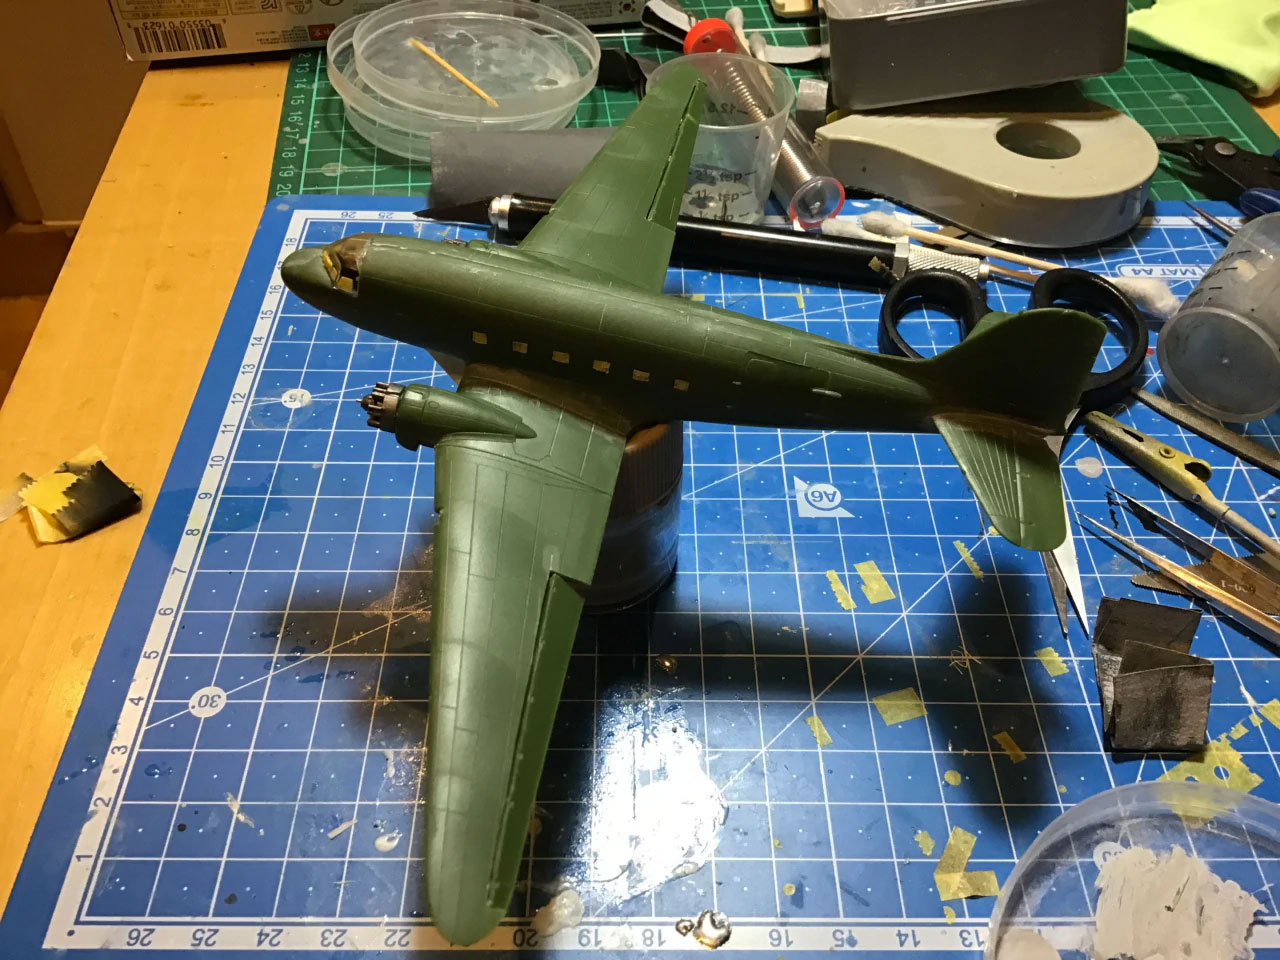
Having already gone through a relatively recent build of another C-47, I knew what to expect and the Roden kit is well-engineered and goes together well. Although I did the hairspray technique again, I took my foot off the gas quite a bit and kept saying “less is more” the entire time. Even that was too much though, so I went back and painted over my chipping, leaving only a bit of wear along the flaps – or what I thought were flaps.
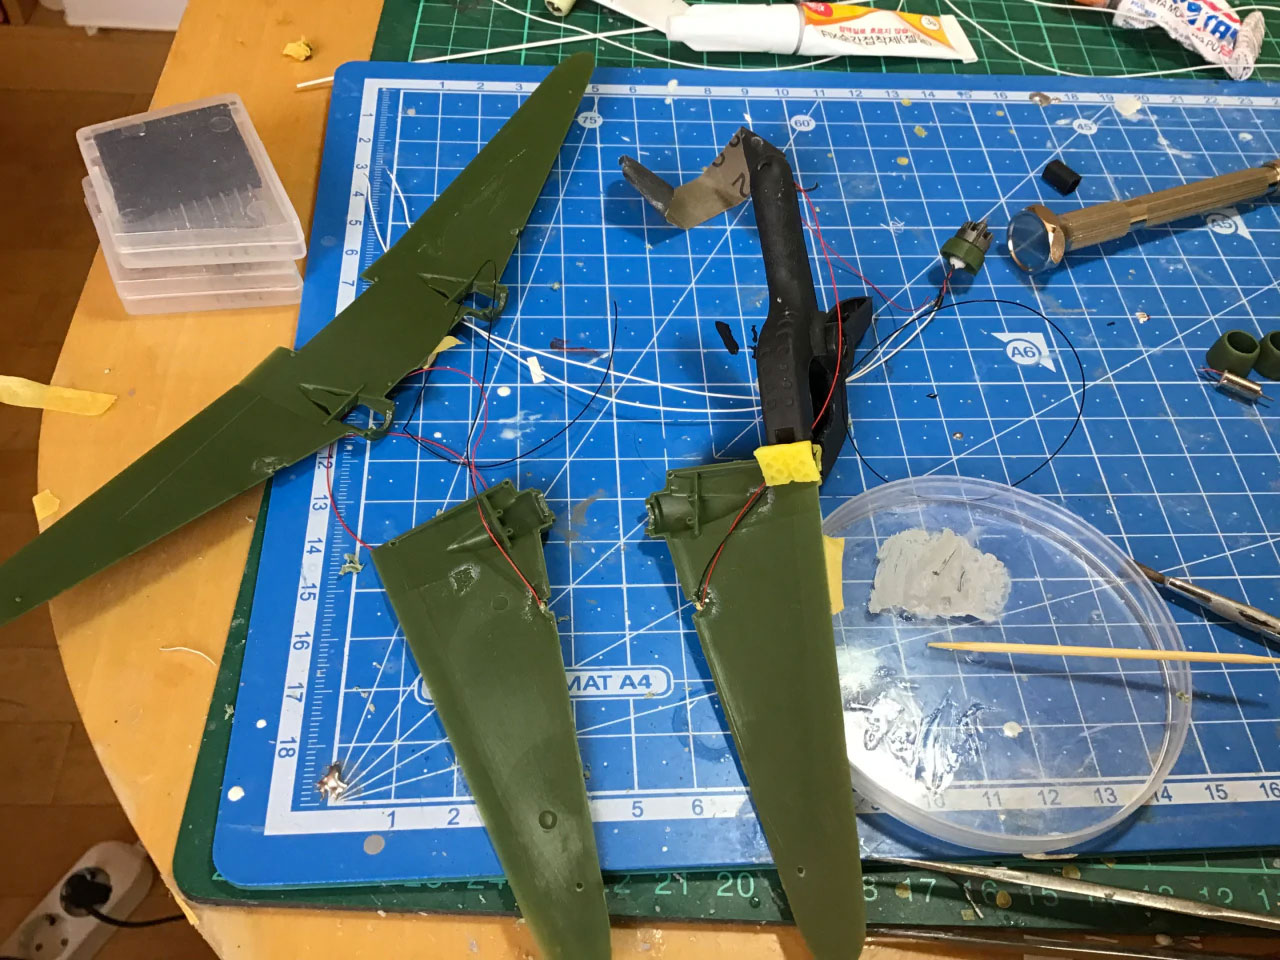
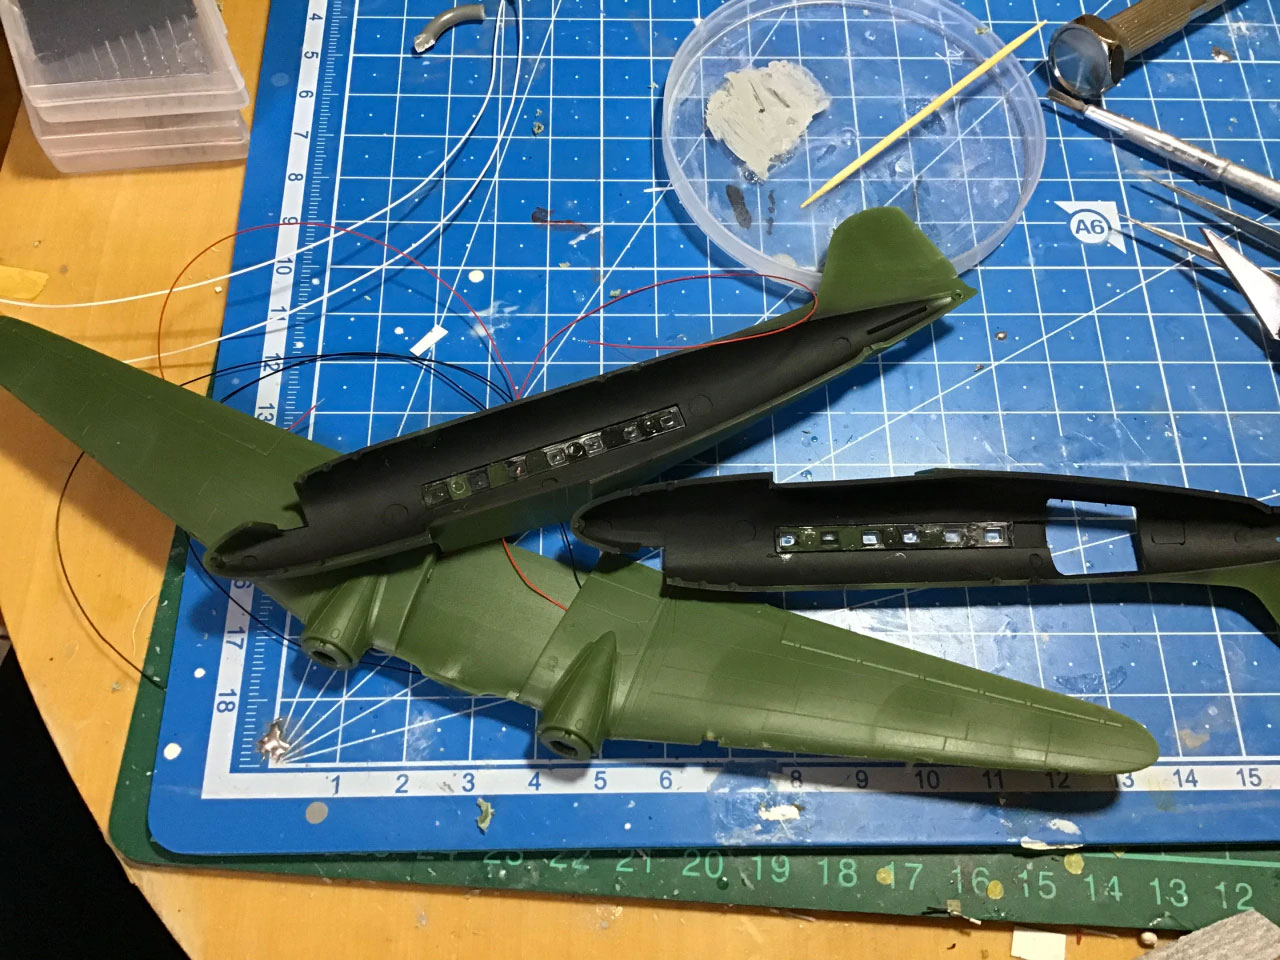
I learned something new about the C-47 during this build. That flaps are actually hidden under wing and are only visible from below. So my biggest regret during this build was cutting the ailerons off, thinking they were the flaps, and then having to re-glue them back. I probably should’ve left well enough alone, but I was trying to go for the “coming in for a landing” look. The other small misstep was not dry fitting the wing light covers before I was so far into the build there was no turning back. The LEDs weren’t quite 100% placed correctly and that adversely affected the light cover placement. I had to grind out a bit of a groove in an attempt to make enough room to glue them in place. I think it looks all right, but not the smooth fit I had in mind.
Feel free to take a look and tell me what you think:


Discover more from strobez
Subscribe to get the latest posts sent to your email.
One Reply to “A Rocky Arrival (Area 88)”