Monaco FP1 (Gentle Man)
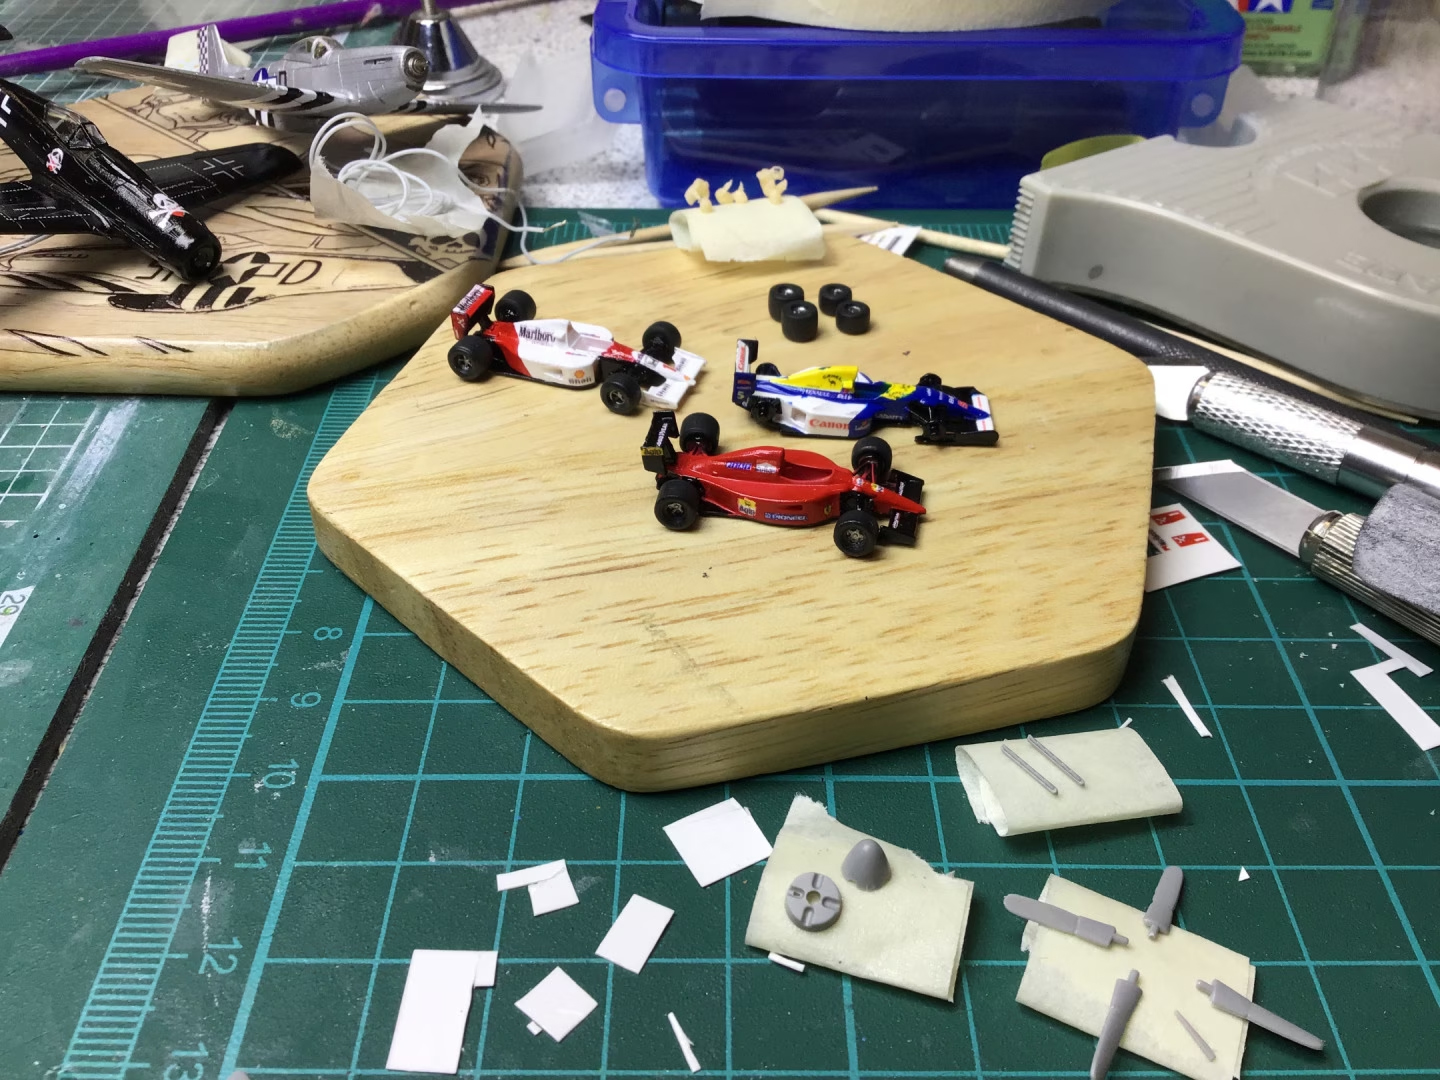
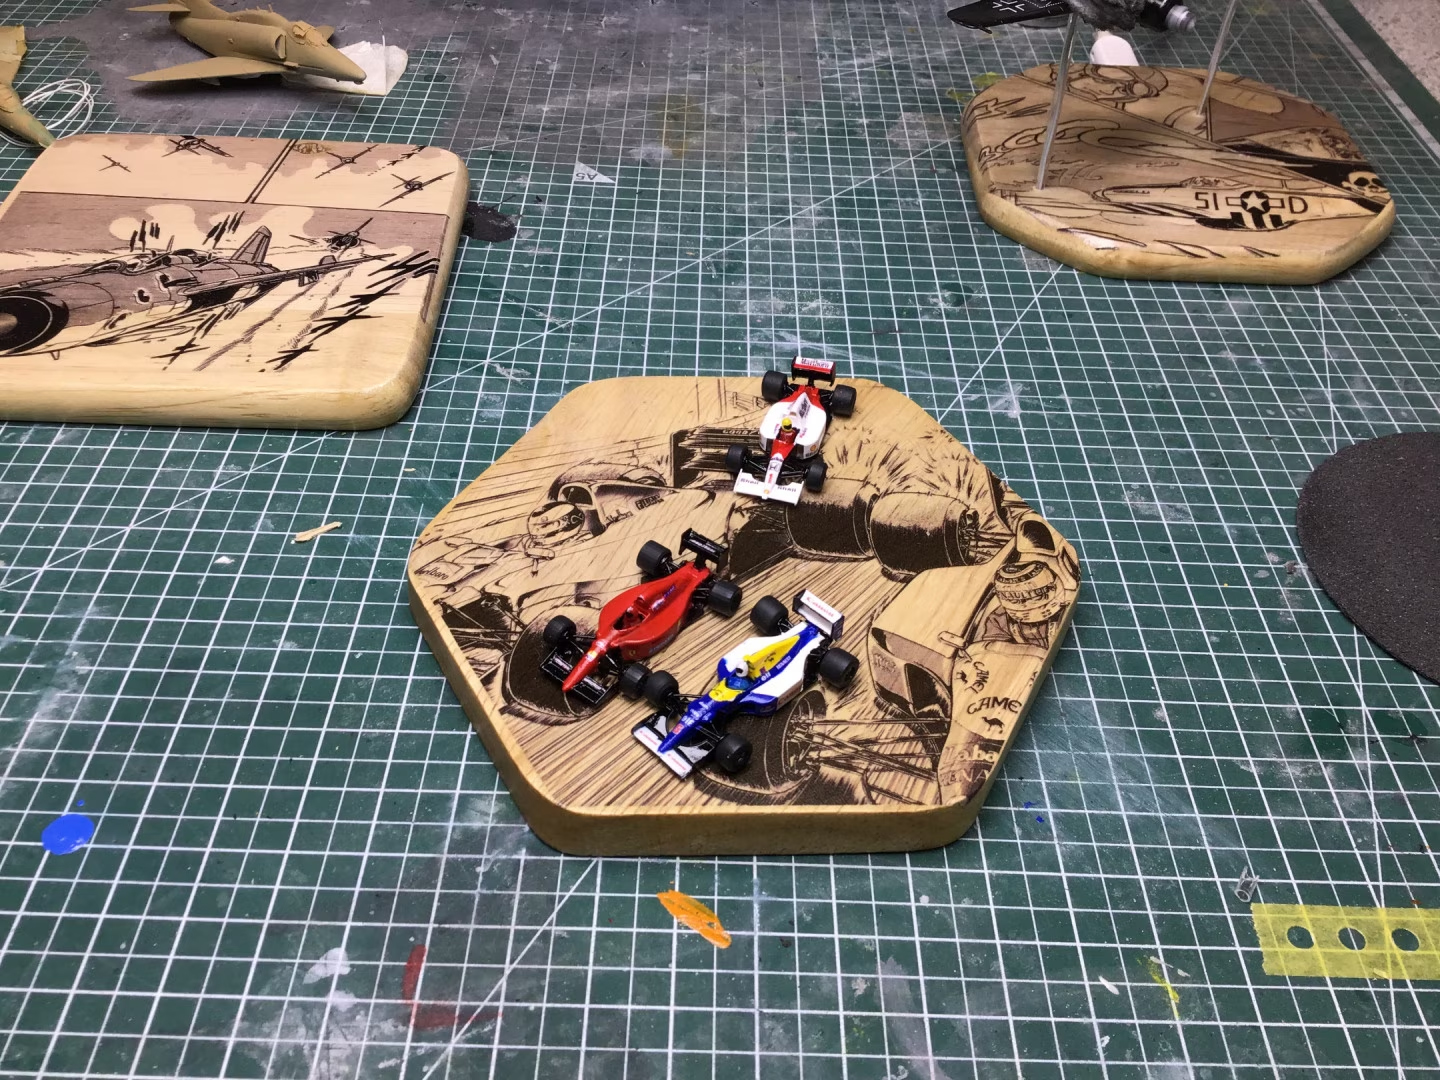
The finished model:


The Video:
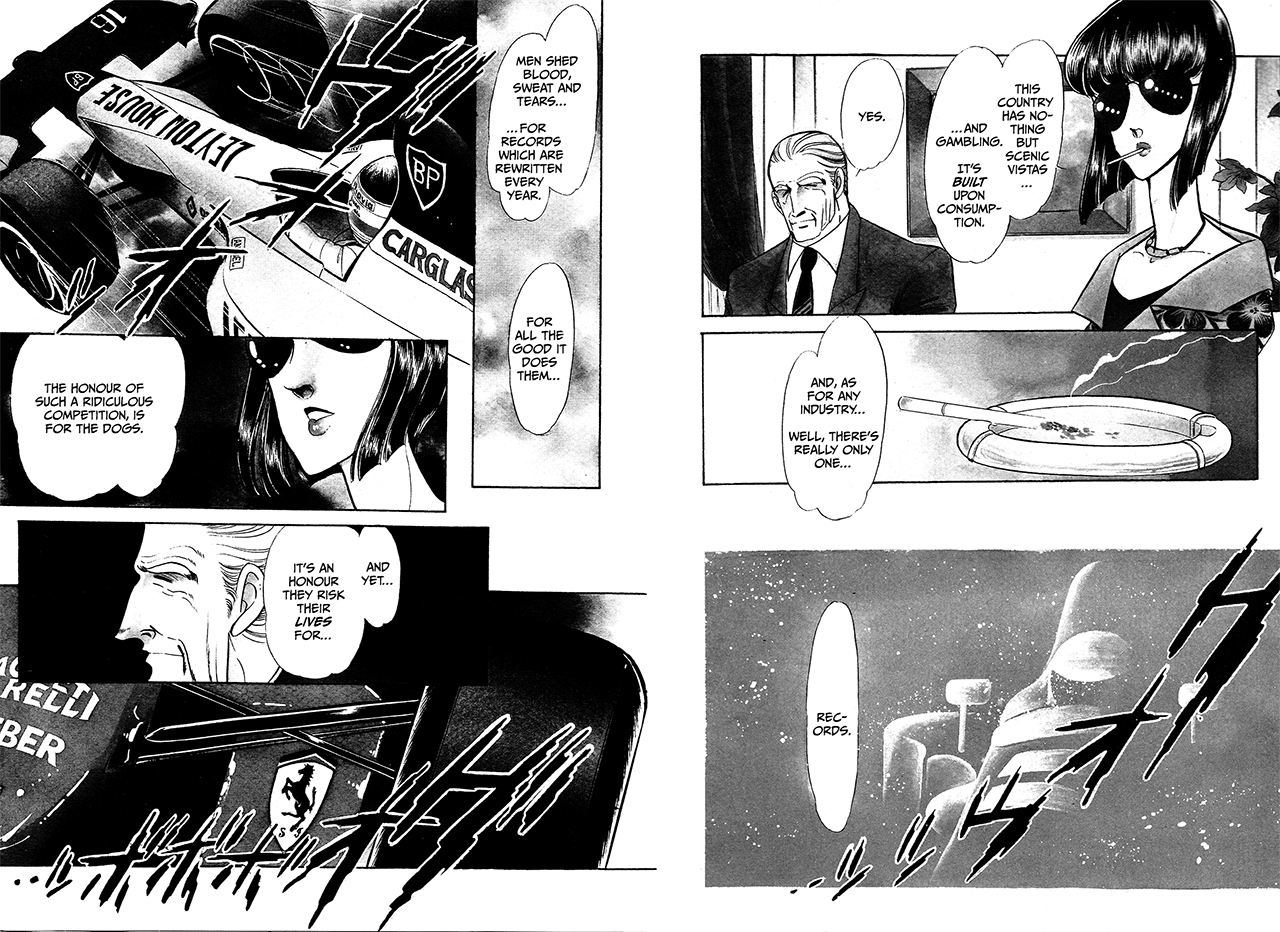
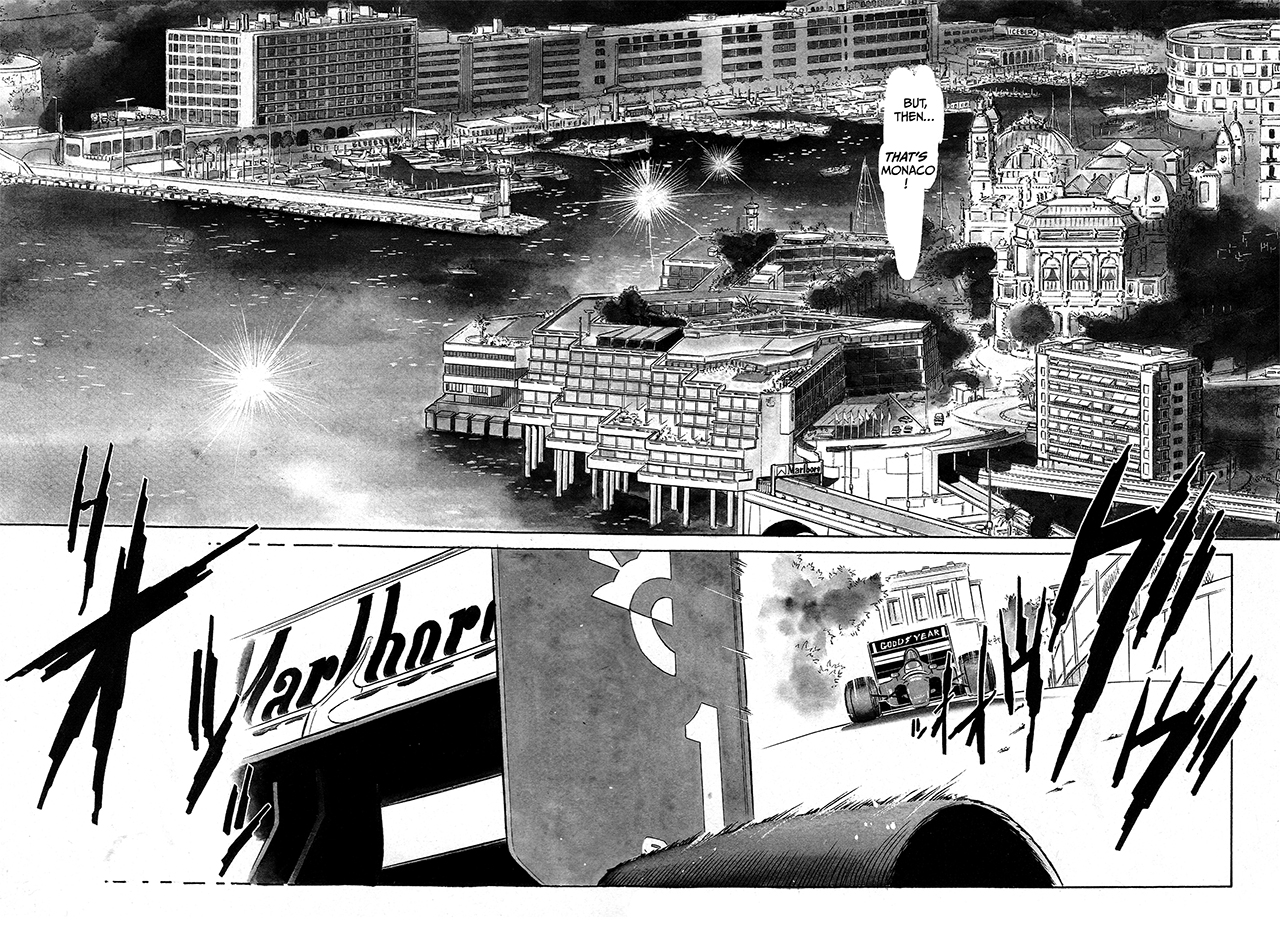
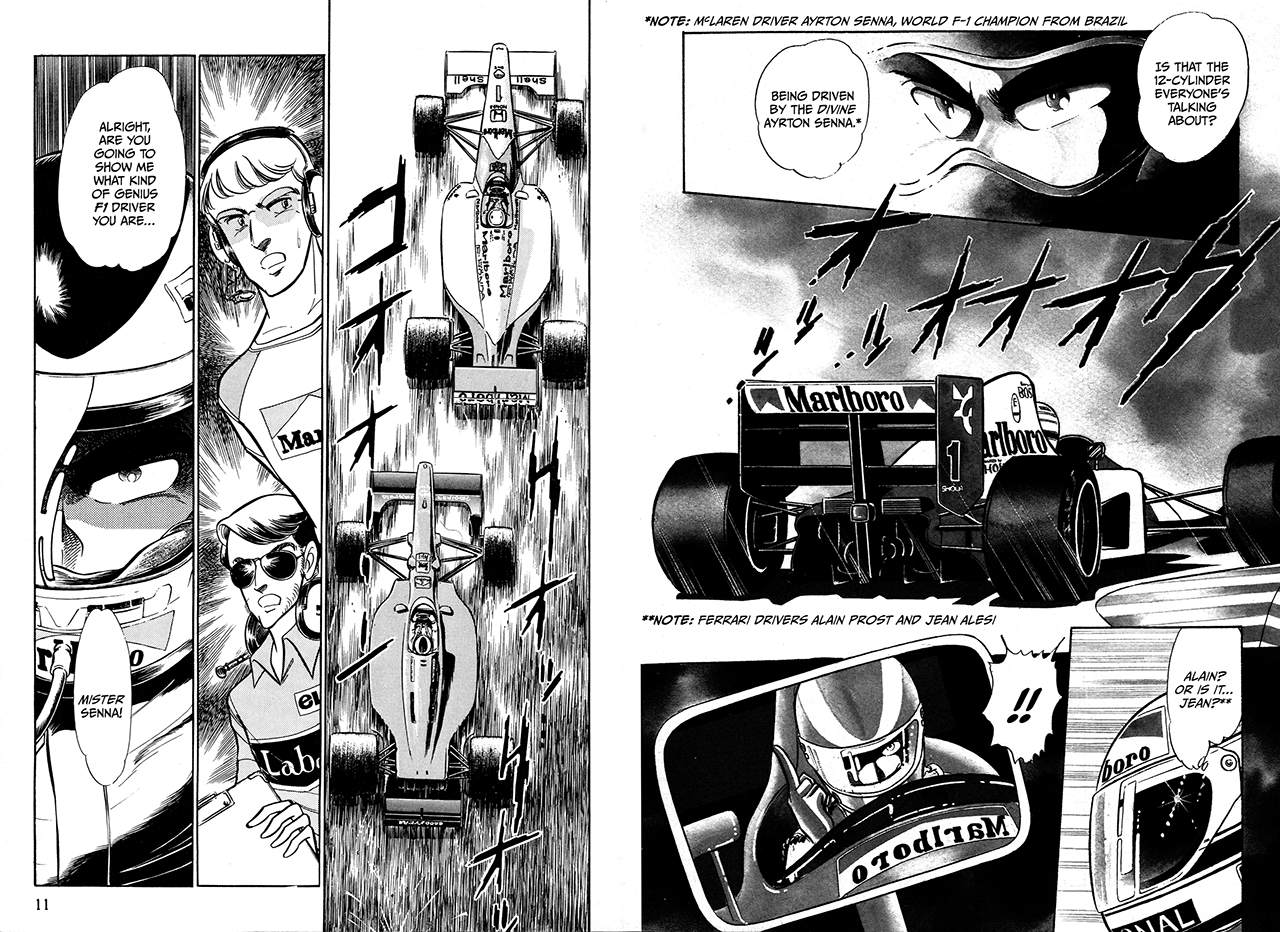
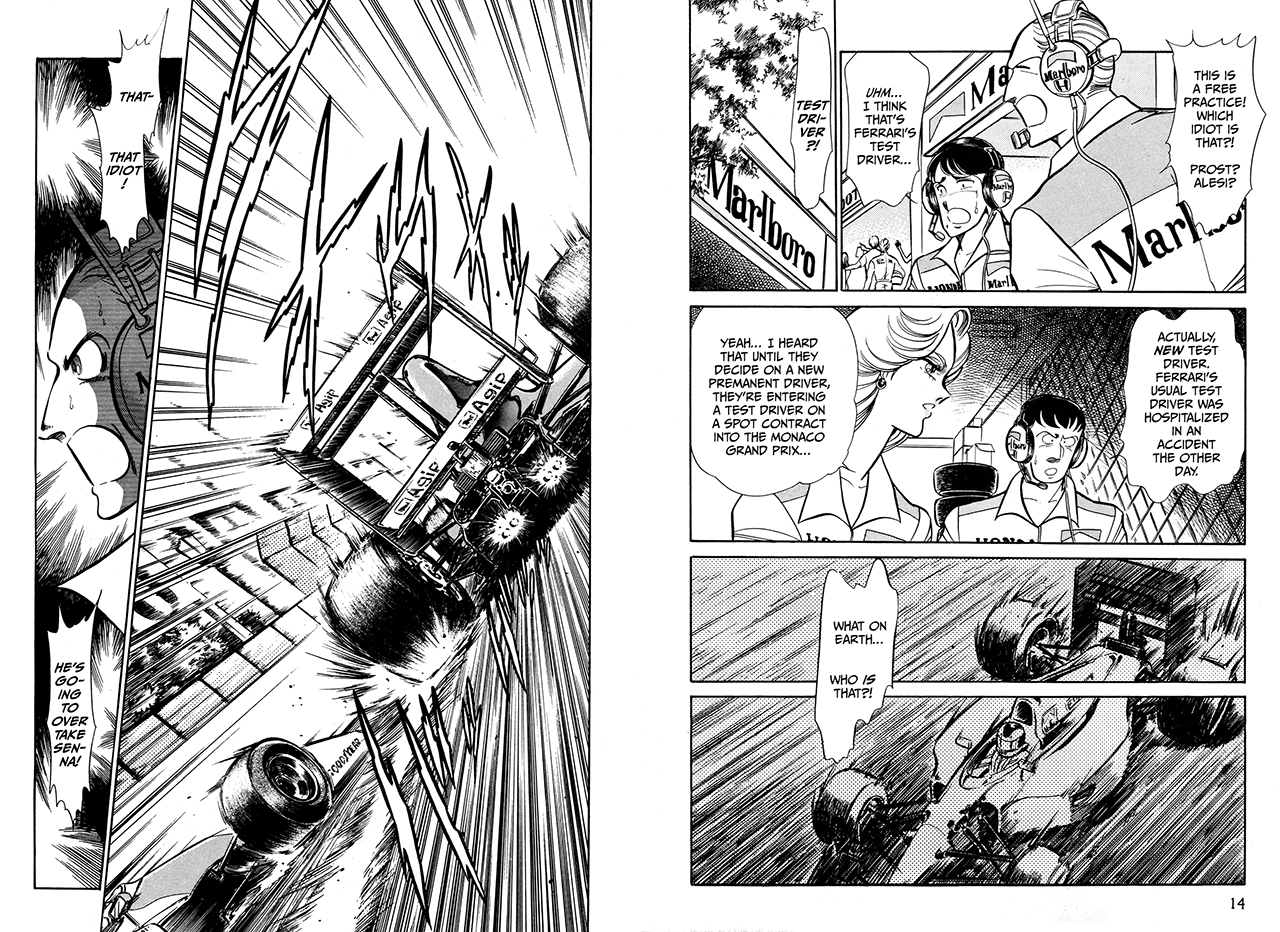
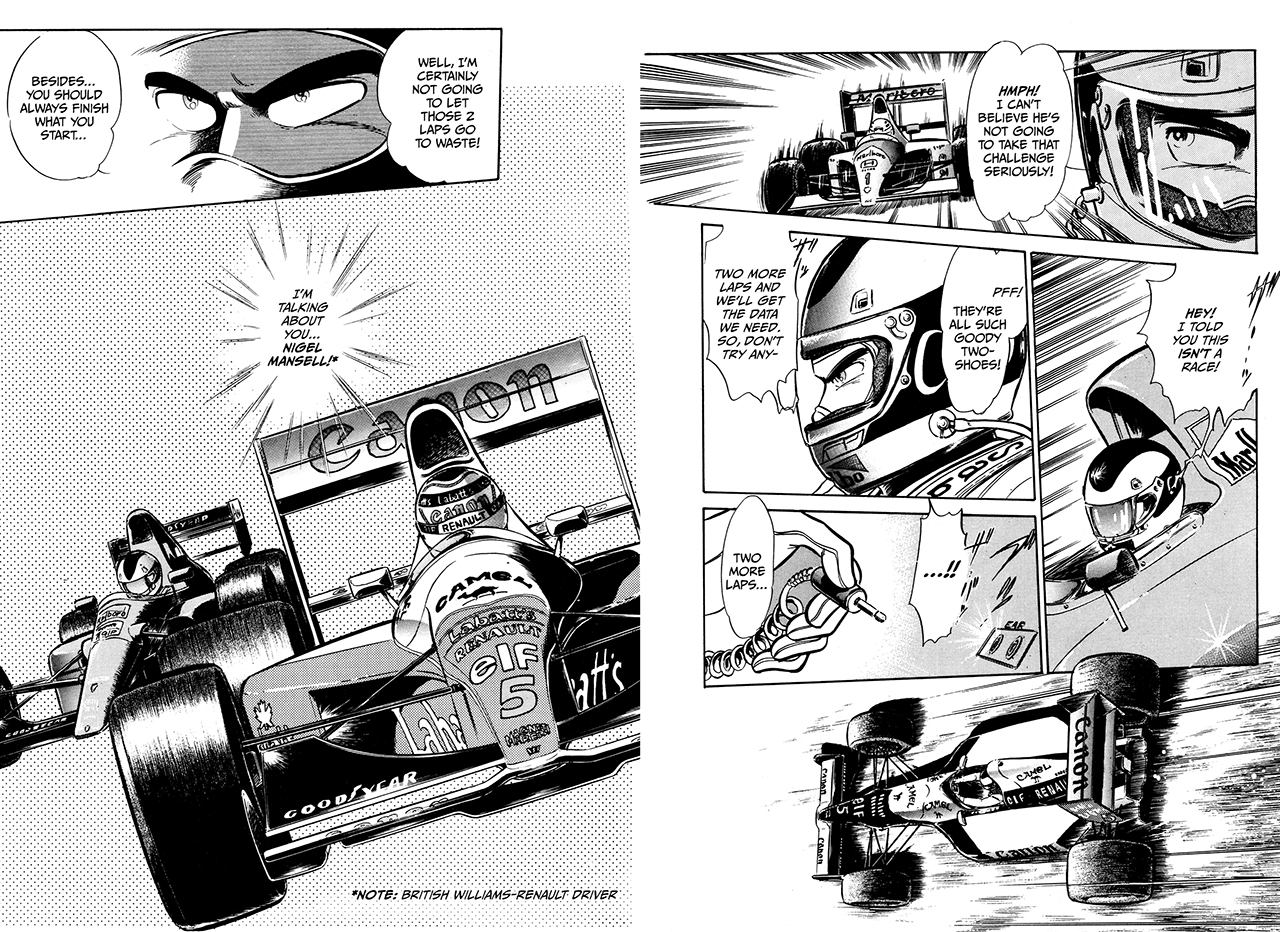
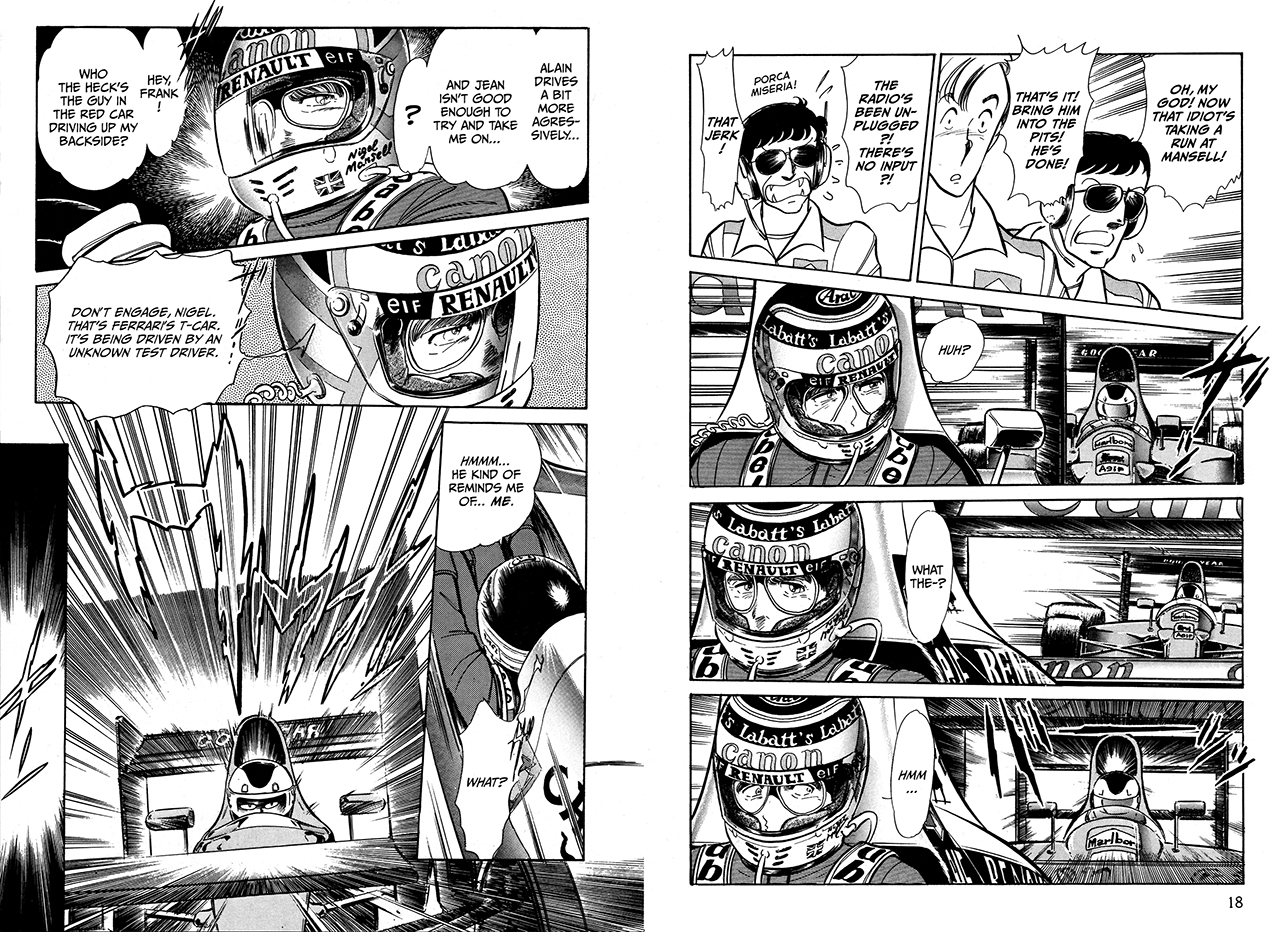
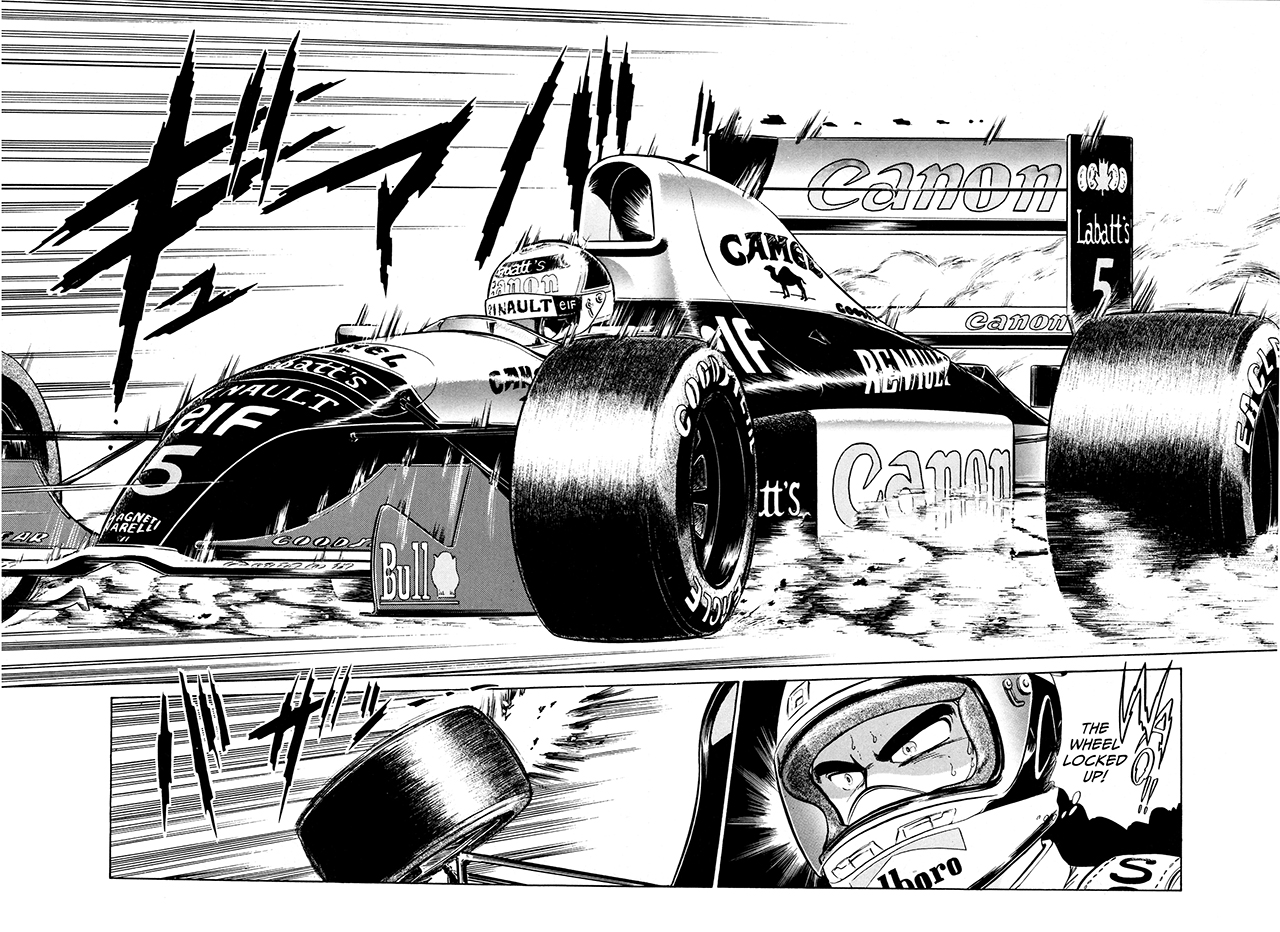
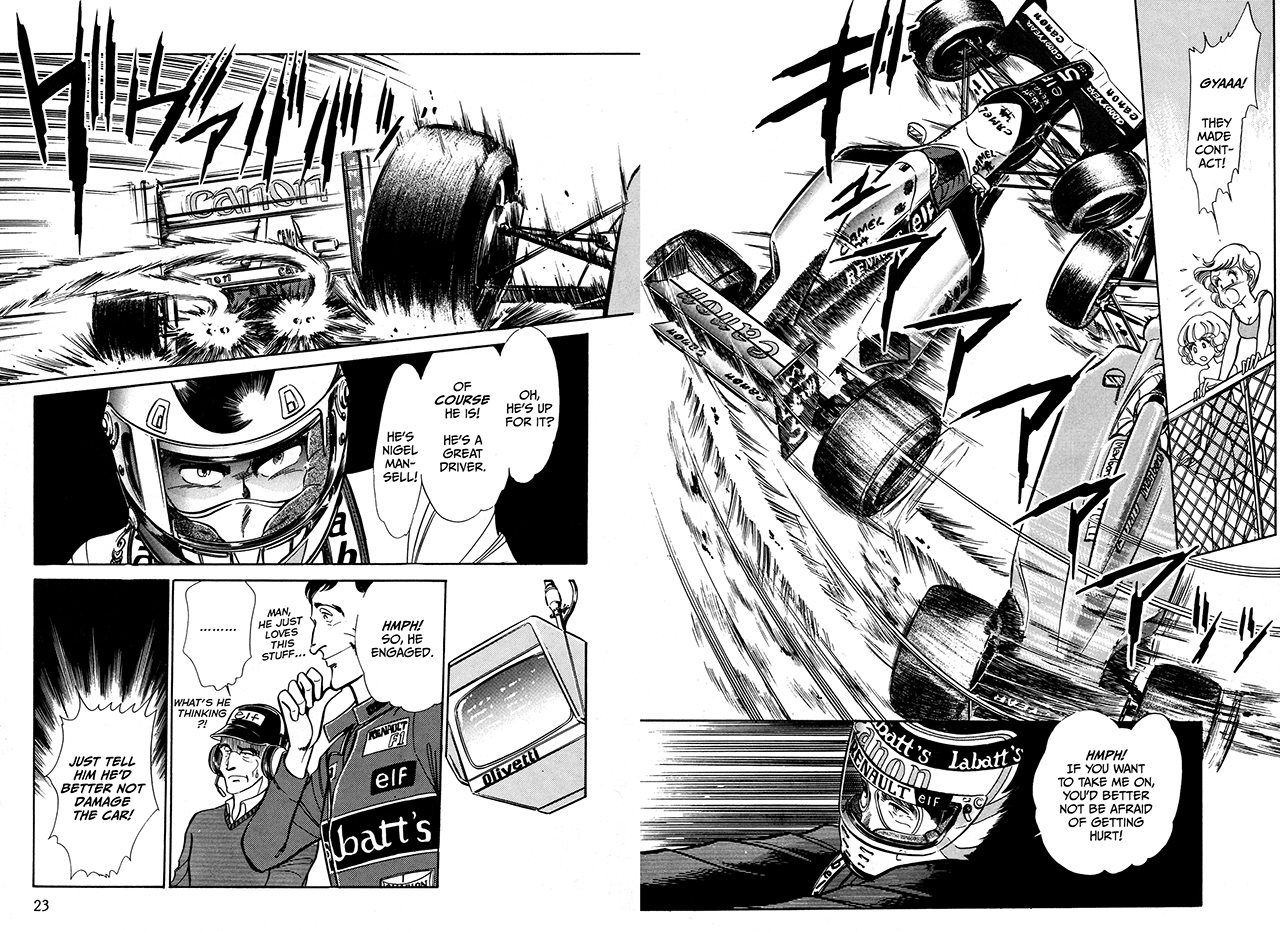
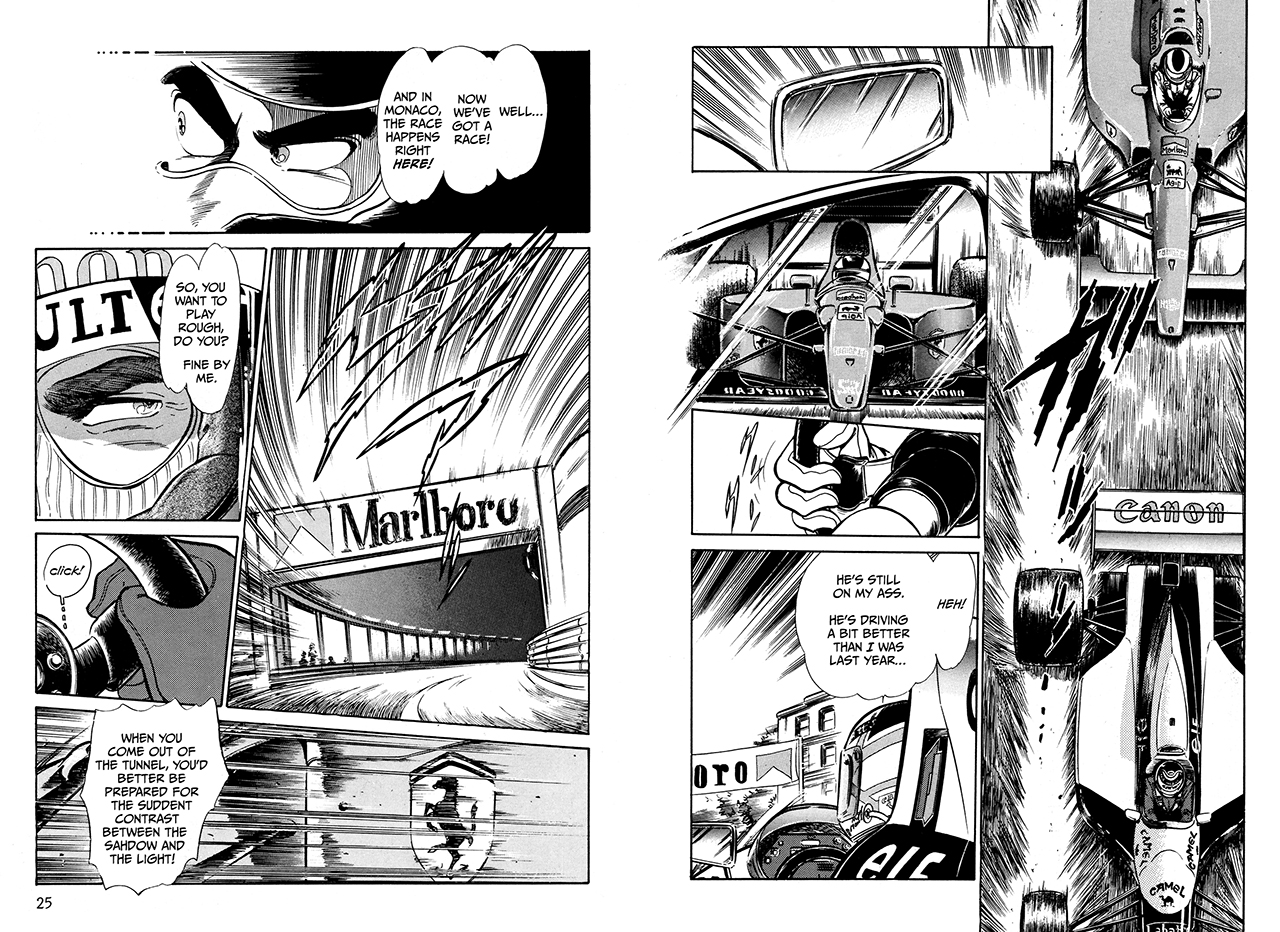
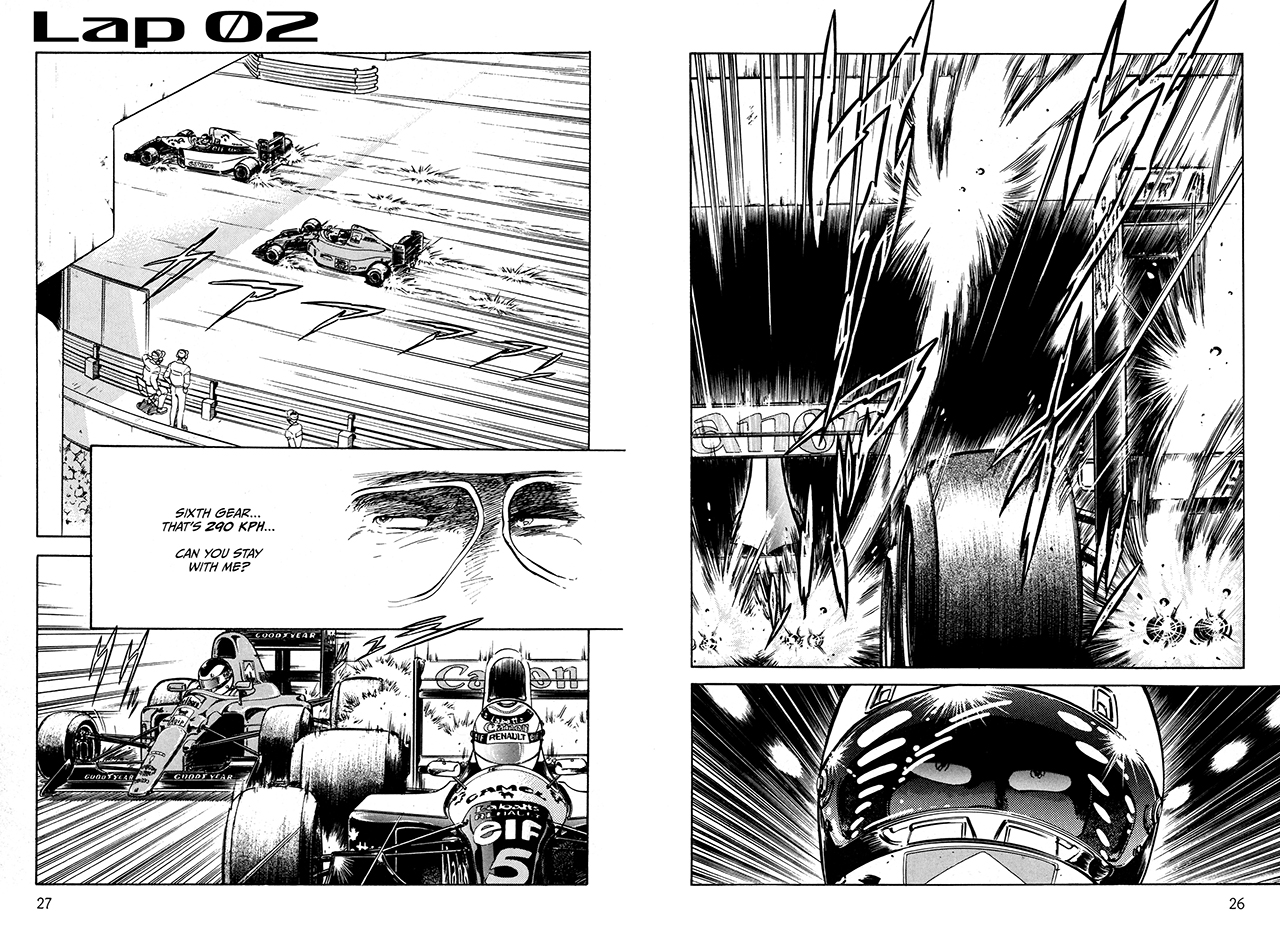
The scene:
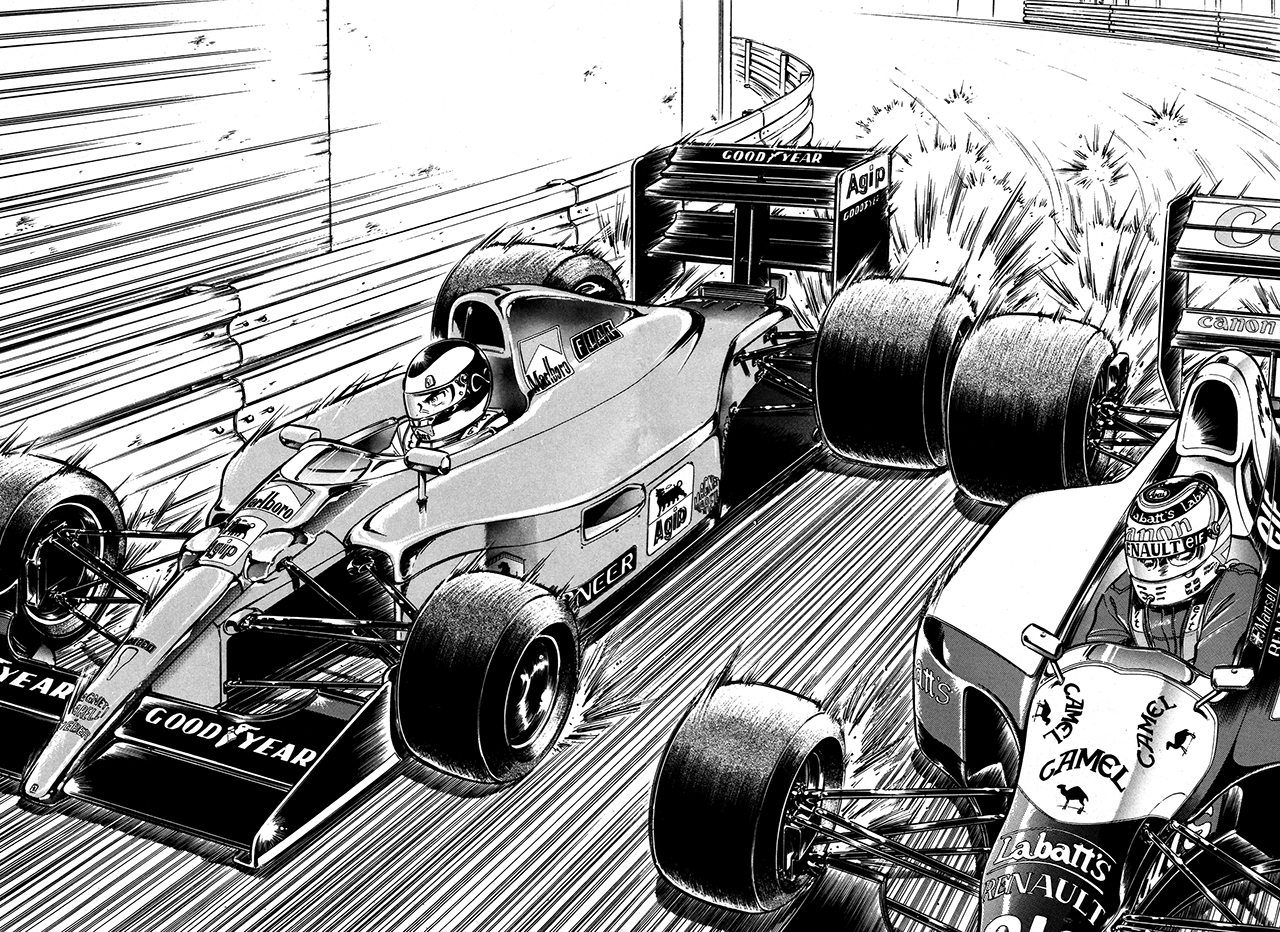
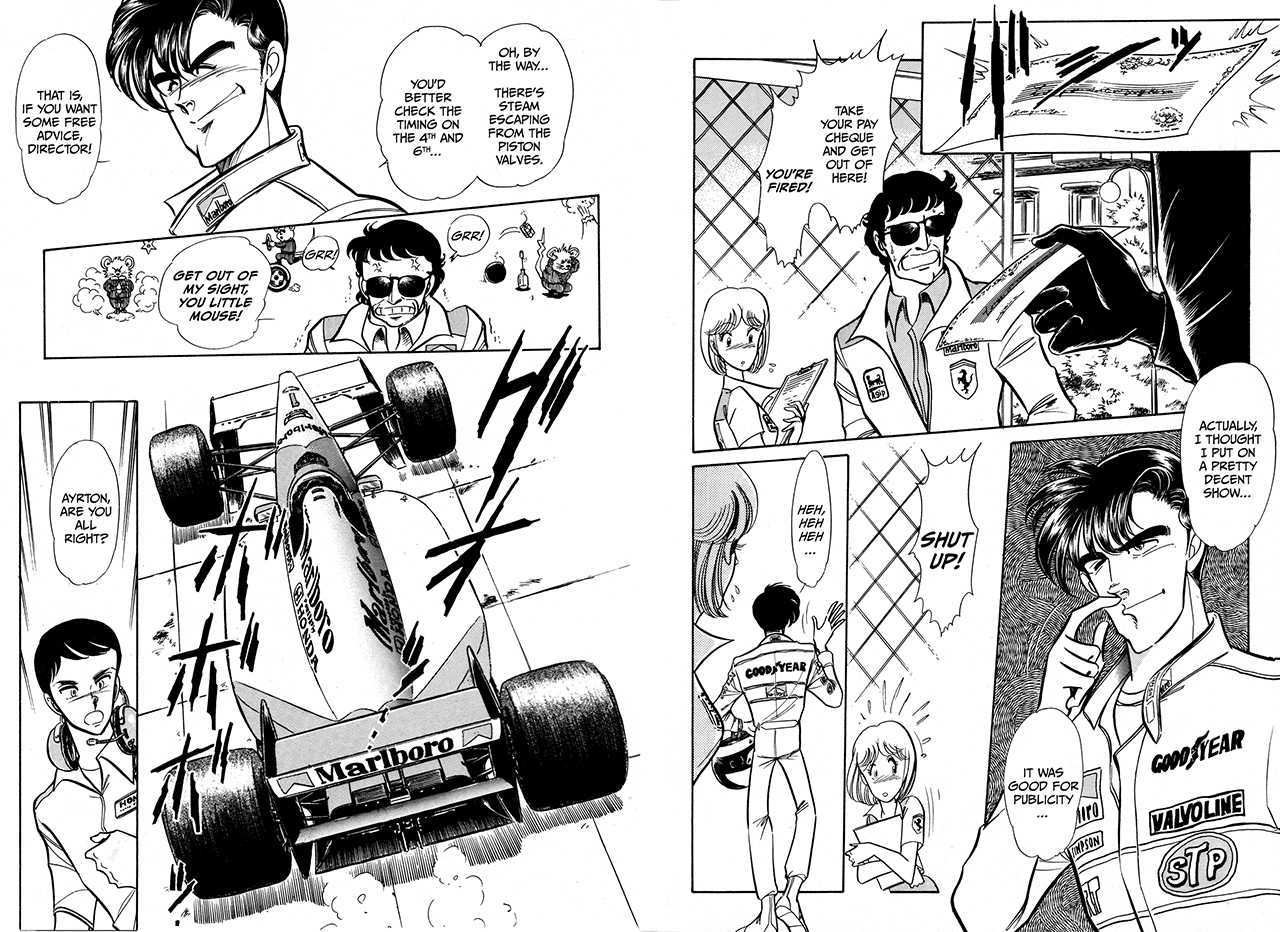
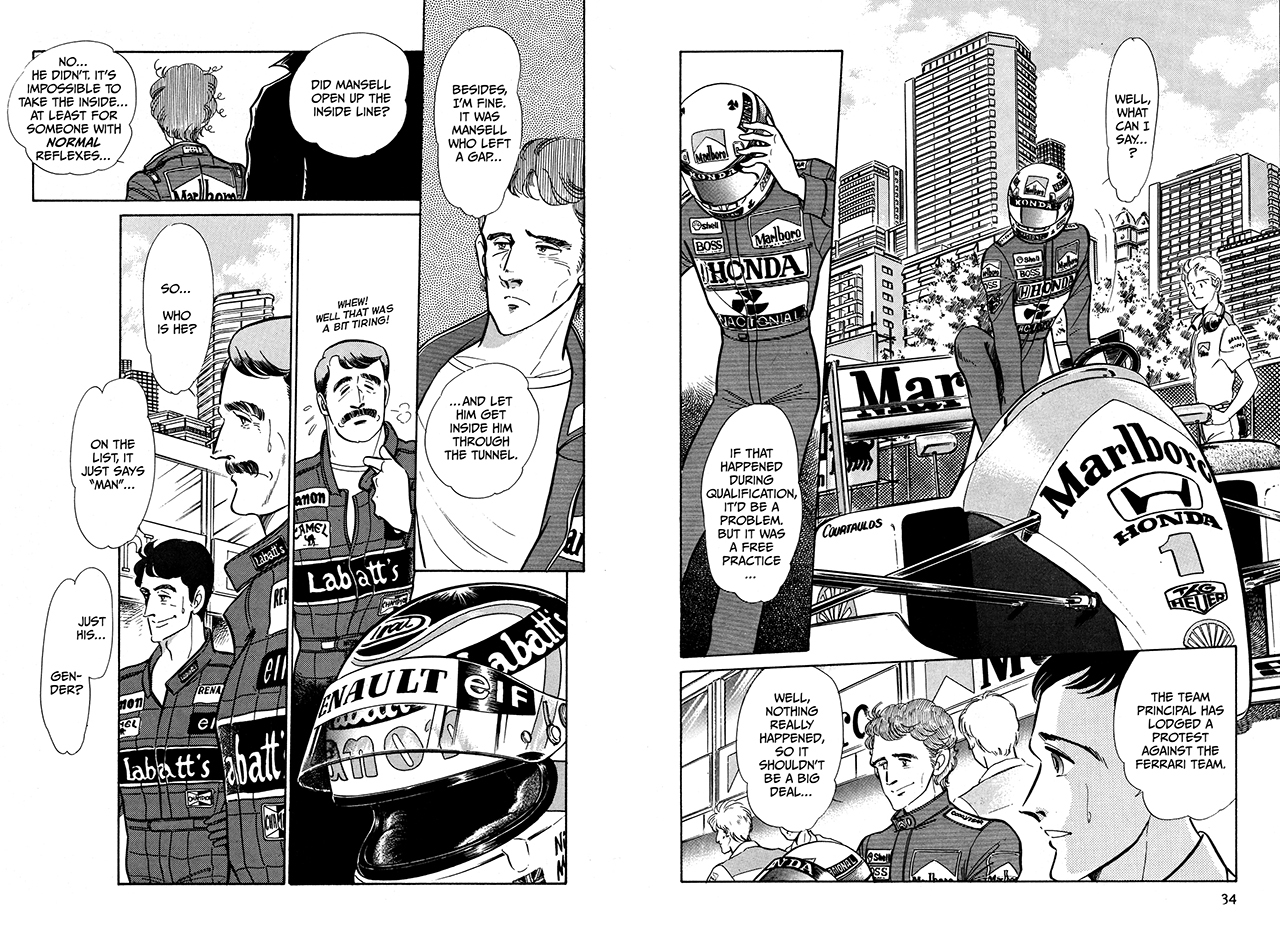
It’s the Monaco Grand Prix… jewel of the 1991 Formula 1 season. During Free Practice 1 Ferrari’s new (and temporary) Test Driver, a Japanese-American by the name of Man Yao jumps behind the wheel. Despite team orders to just take the car out for a bit of a shakedown, Man can’t resist taking on some of the greatest drivers on the grid. Although Ayrton Senna in the McLaren MP4/6 declines Man’s advances, Nigel Mansell in his Williams FW14 can’t resist going wheel-to-wheel against Man’s borrowed Ferrari F642 through the hallowed streets of Monaco.
Check out the original manga scene from Gentle Man v01c01 (First published Burger Comic, November 1991) here:
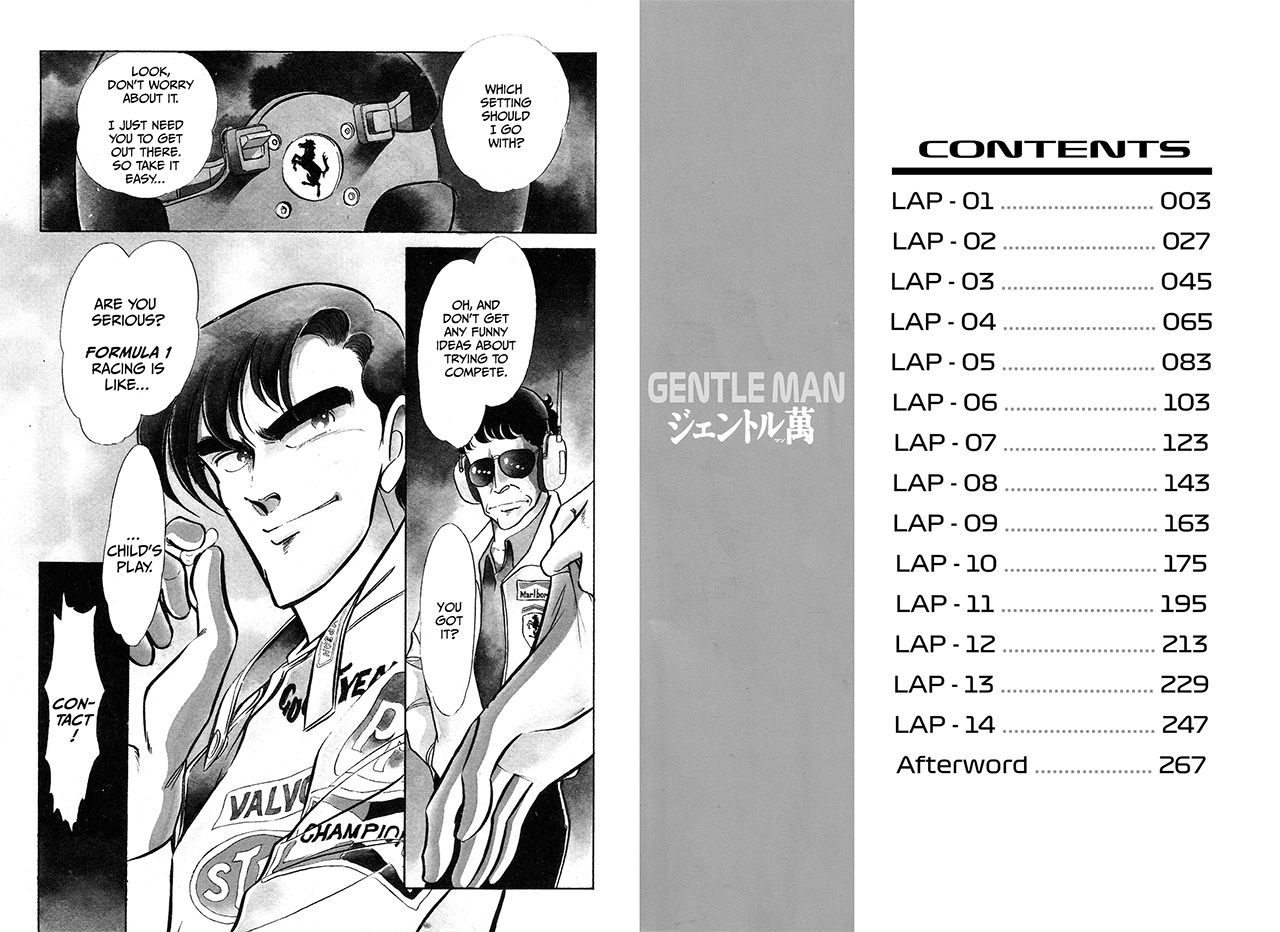


The story:
As anyone who reads this blog will know, I’m a huge fan of Kaoru Shinanti – and have a large (and growing) collection of 1/144 scale Area 88 projects. However, Shintani has a lot more on offer than just his mercenary jet fighter drama. So, being a huge F1 fan, I simply couldn’t resist his Formula 1 manga from the 1991 season, Gentle Man. Unfortunately, due to a shift in editorial direction rather than a strictly sales-based decision, Gentle Man was rather unceremoniously cancelled well short of its potential run. In the end, we only got 3 volumes – and a slapped together wrap-it-all-up ending… but what a glorious amount of action we did get.
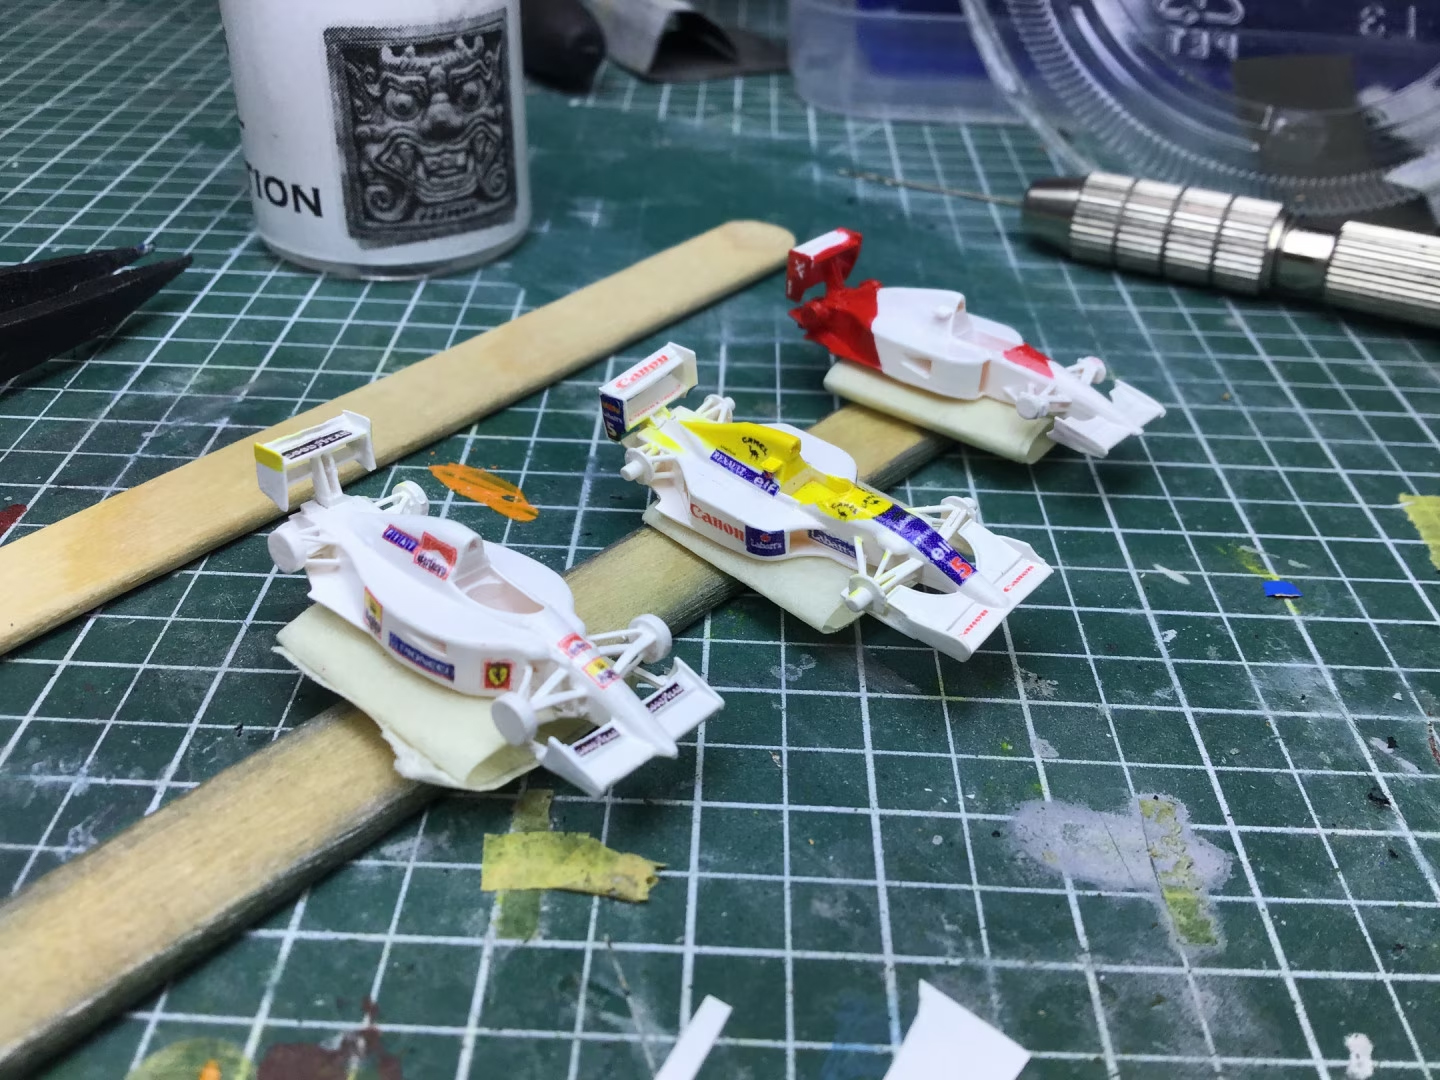
The series covers Man’s quick stint as a Ferrari test driver, his return to his beloved IndyCar circuit and then eventual move back into F1 as the main driver of the fledgling Hearts Group team. The main problem was how to handle F1 action in a diorama. Partially for the sake of project consistency, and partially because I’m running out of shelf space, but I decided to stick to my tried-and-true scale of 1/144. The only problem is how do you get Formula 1 cars in 1/144 scale? Even 1/72 would be a challenge, but 1/144 seemed all but impossible.
The answer, of course, was to go the route of 3D printing my own. This project actually had a few aborted starts as I tried to coax my old Longer Orange 30 into printing some tiny cars – but with no success. Luckily my new Elegoo Mars 3 Pro was more than up to the task! Of course, to print them, I needed to develop some new STL files. My versions of Senna’s and Mansell’s cars were adapted from print-ready files I found on Thingiverse (McLaren MP4/6 | Williams FW14). However, the Ferrari F642 is much more a file of my own creation. I used a couple of non-printable files I found online, but then put in the work to make them ready for printing.
The kit(s):
-
- McLaren Mp4/6 (get the STL file soon!)
- Williams FW14 (get the STL file soon!)
- Ferrari F642 (get the STL file soon!)
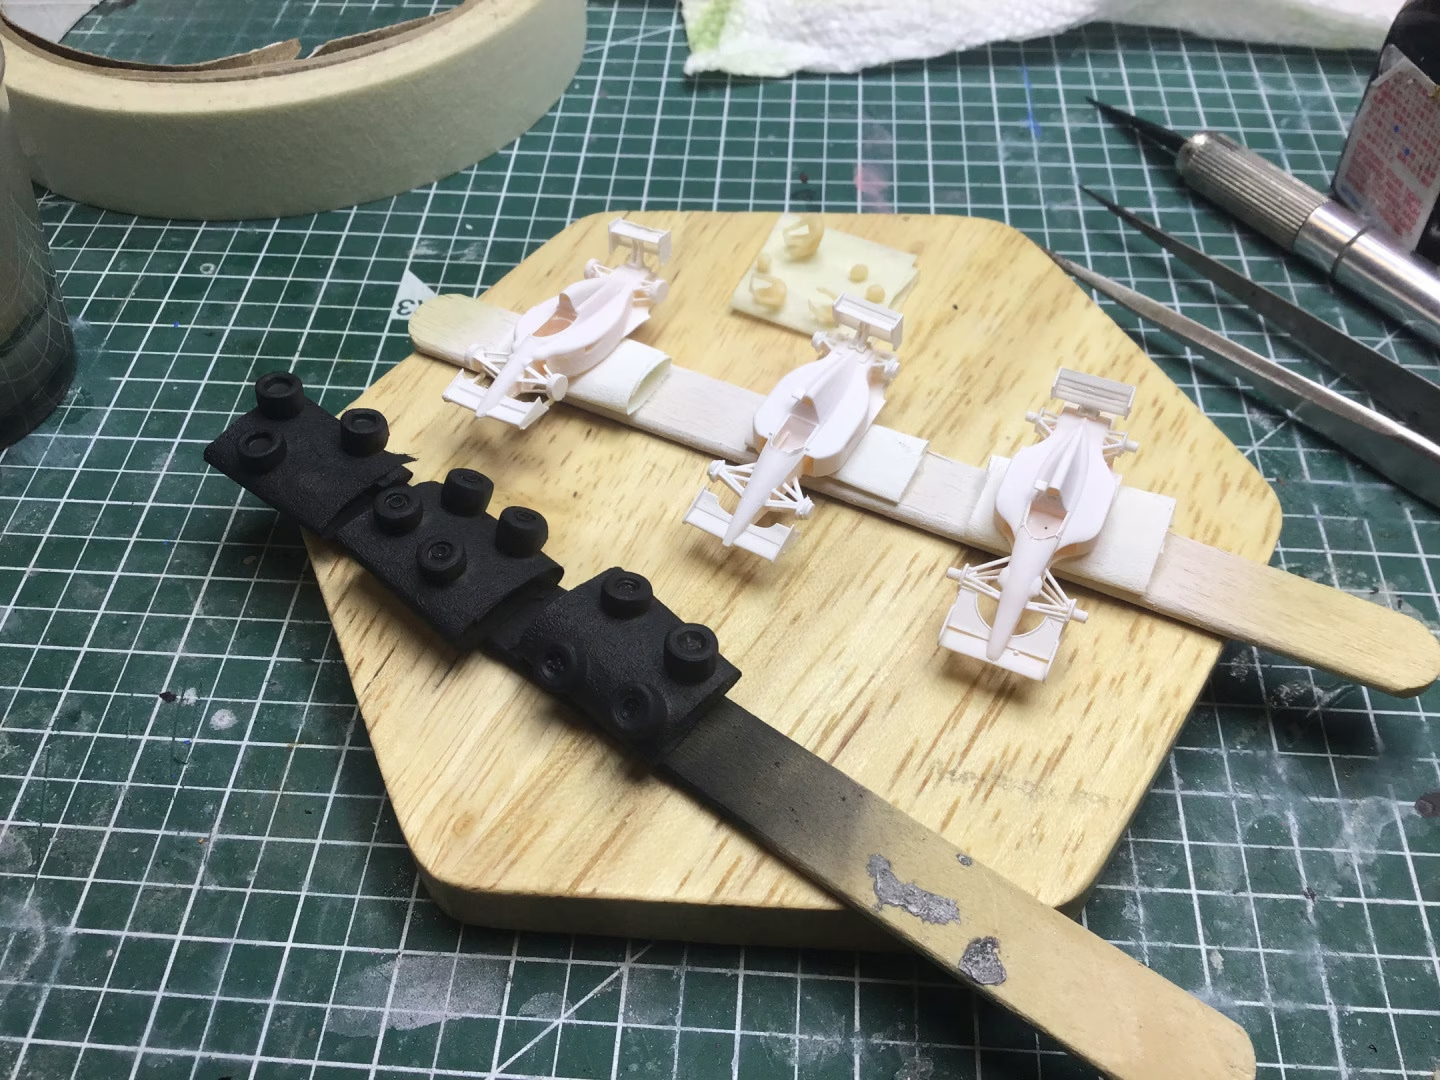
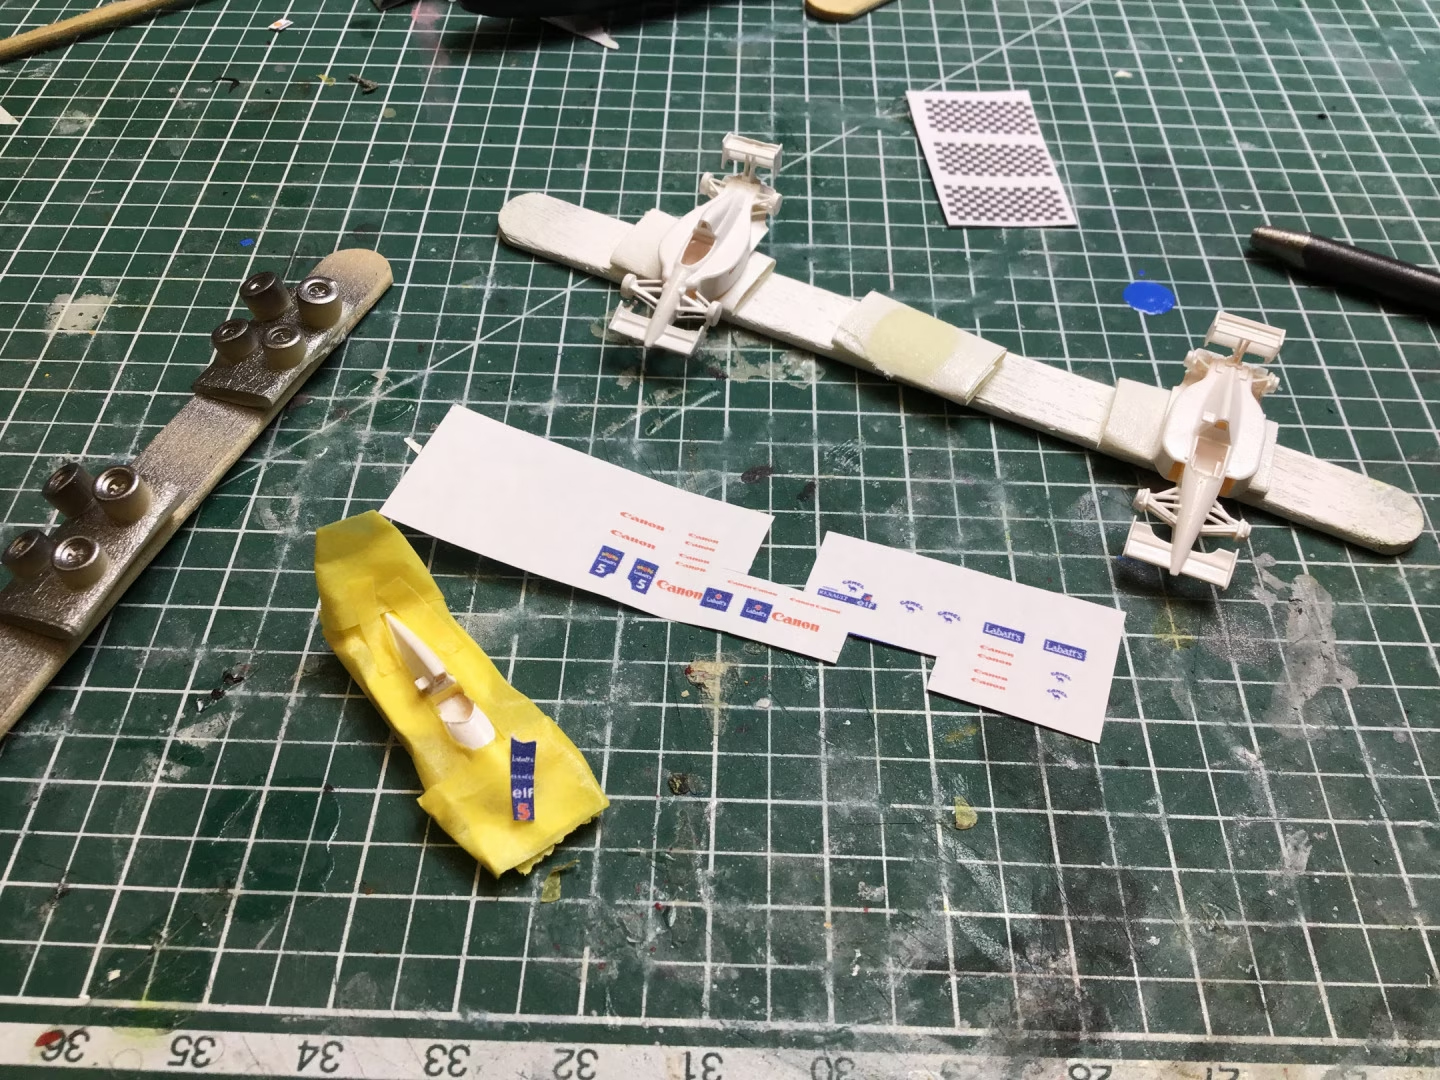
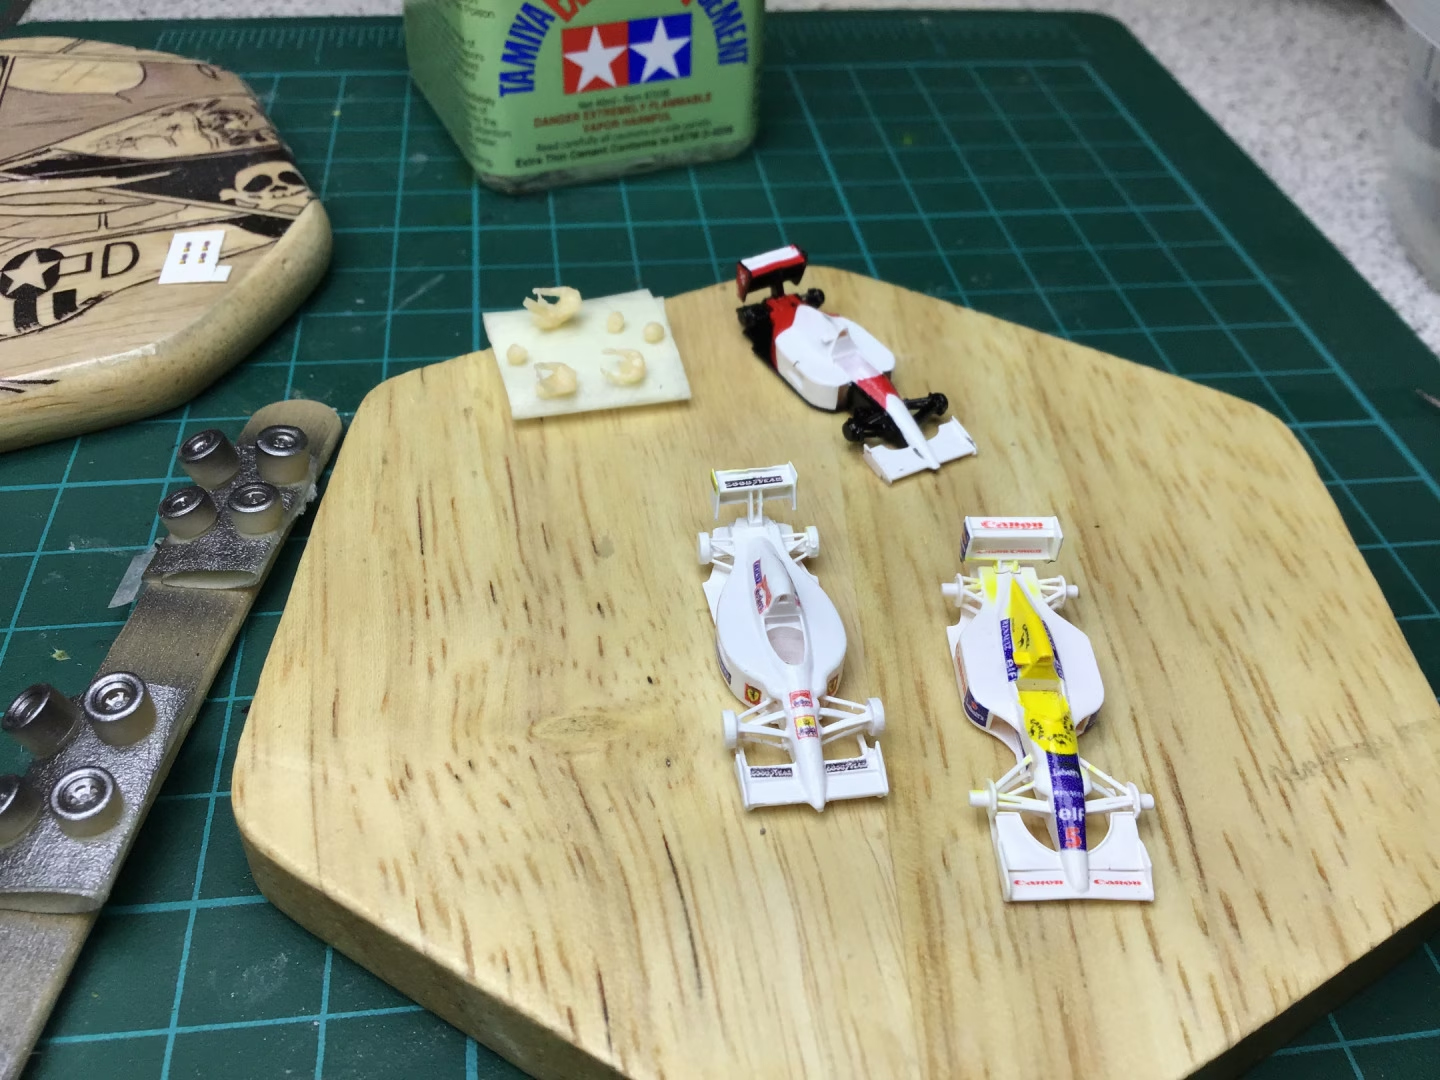
The build:
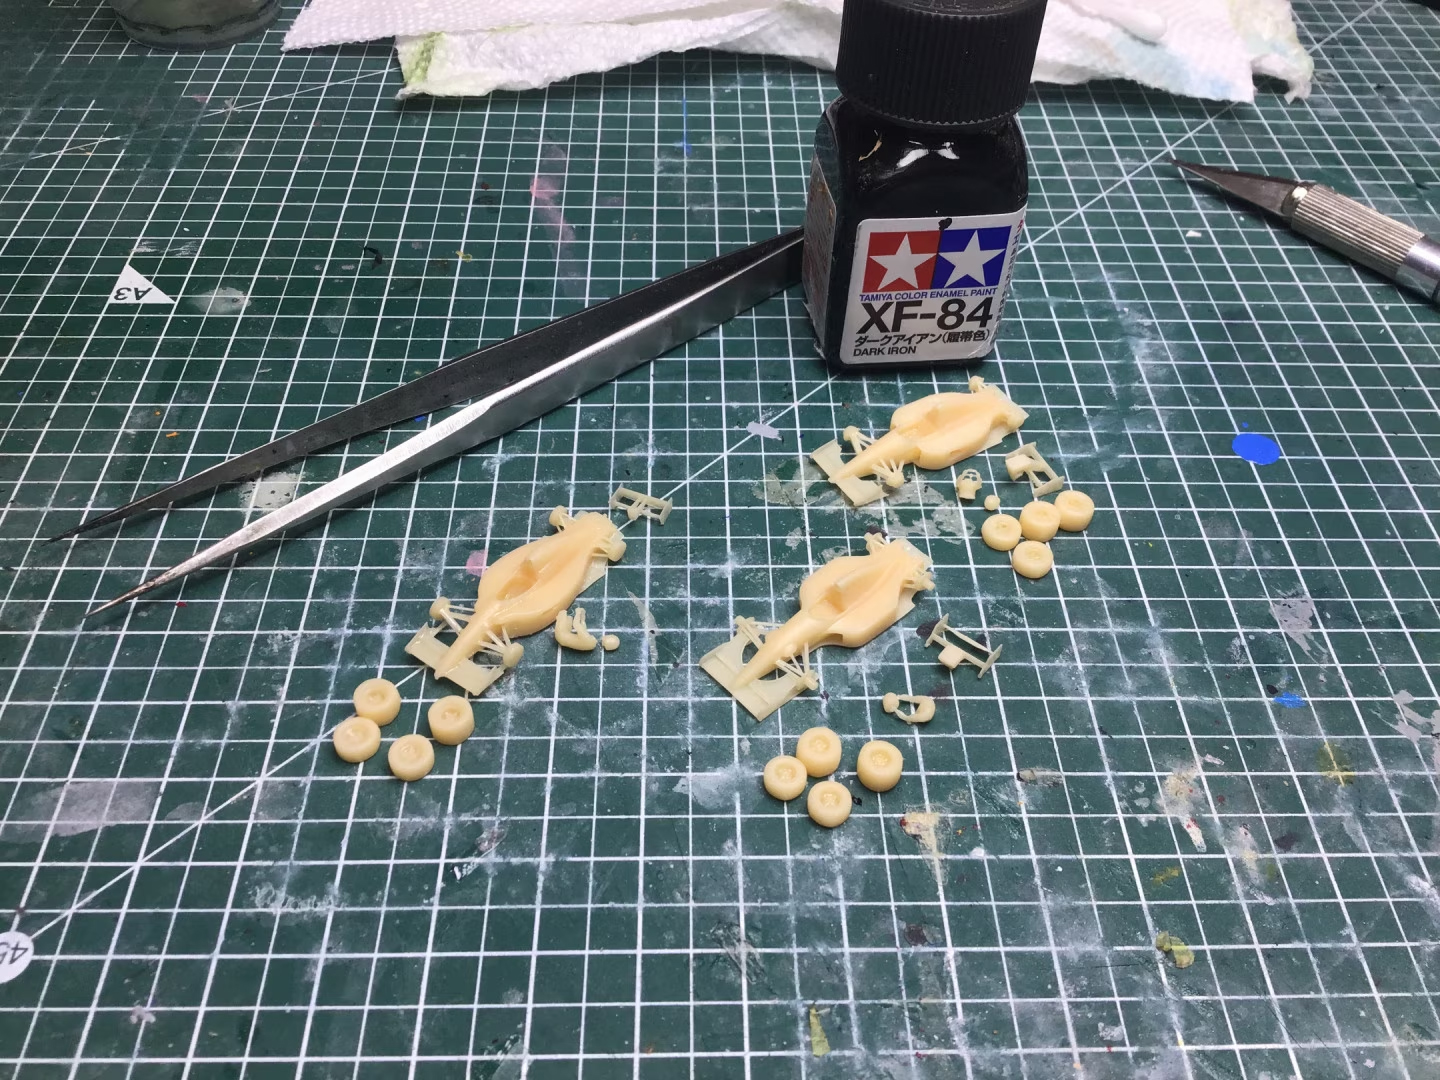
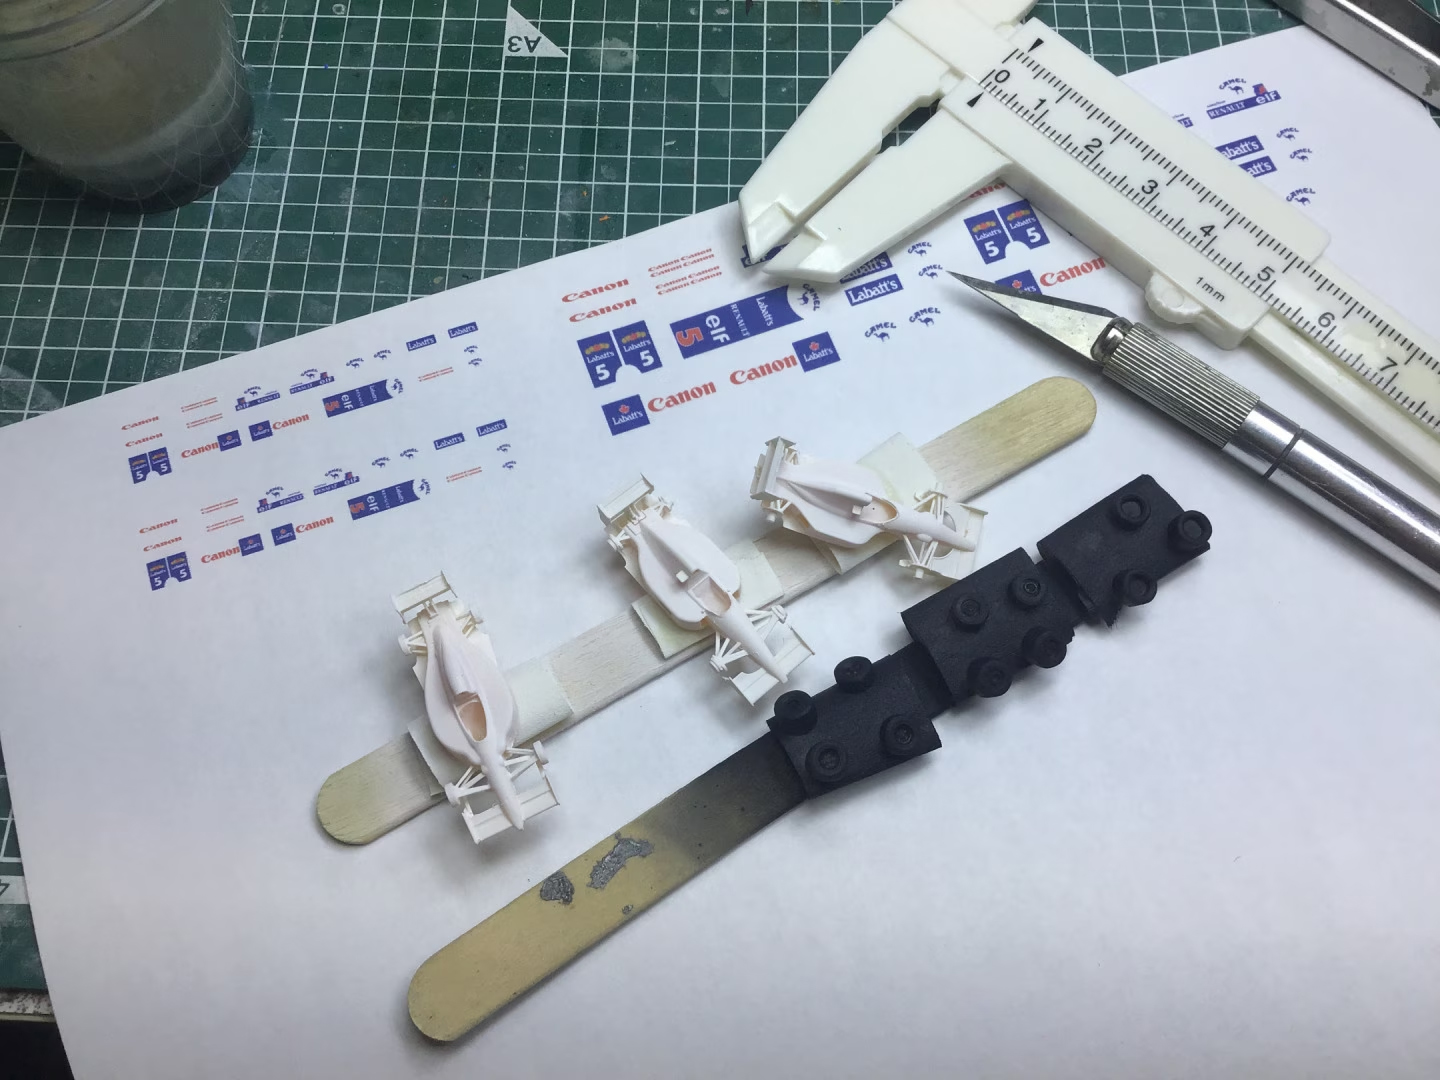
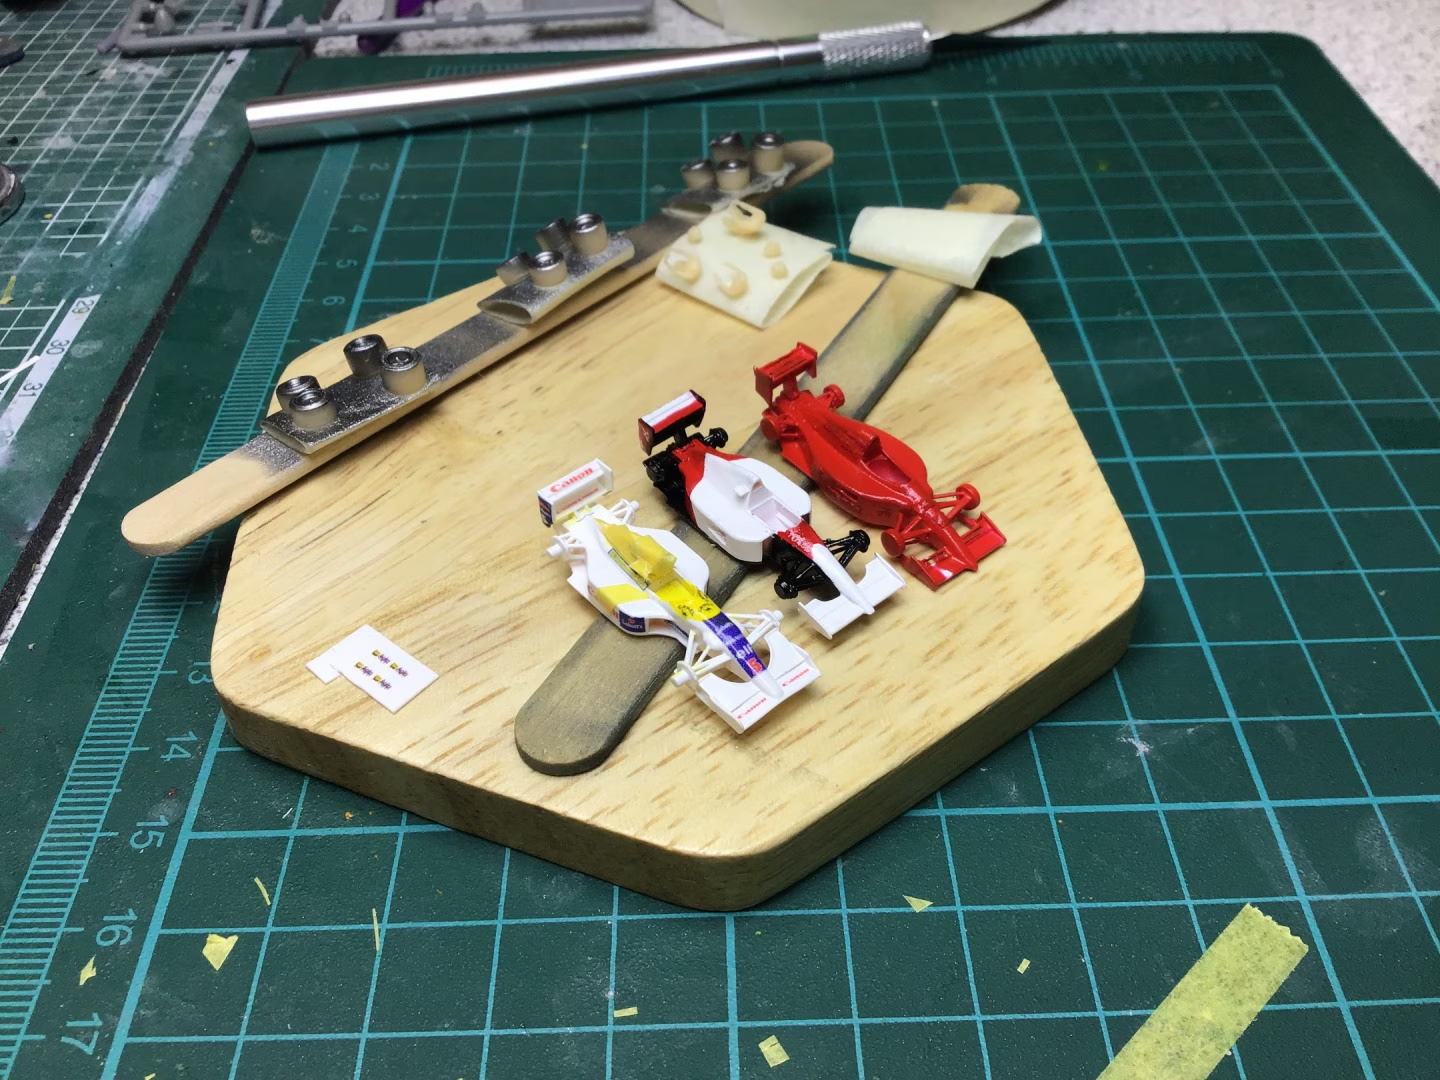
In this case, building the models themselves was largely accomplished on the desktop rather than the modelling bench. After adapting the STL files for my needs, I was able to print them out without much of a fuss. Being so small, they were, of course, super delicate and getting the wings on without breaking them was a bit of a challenge, but not too bad.
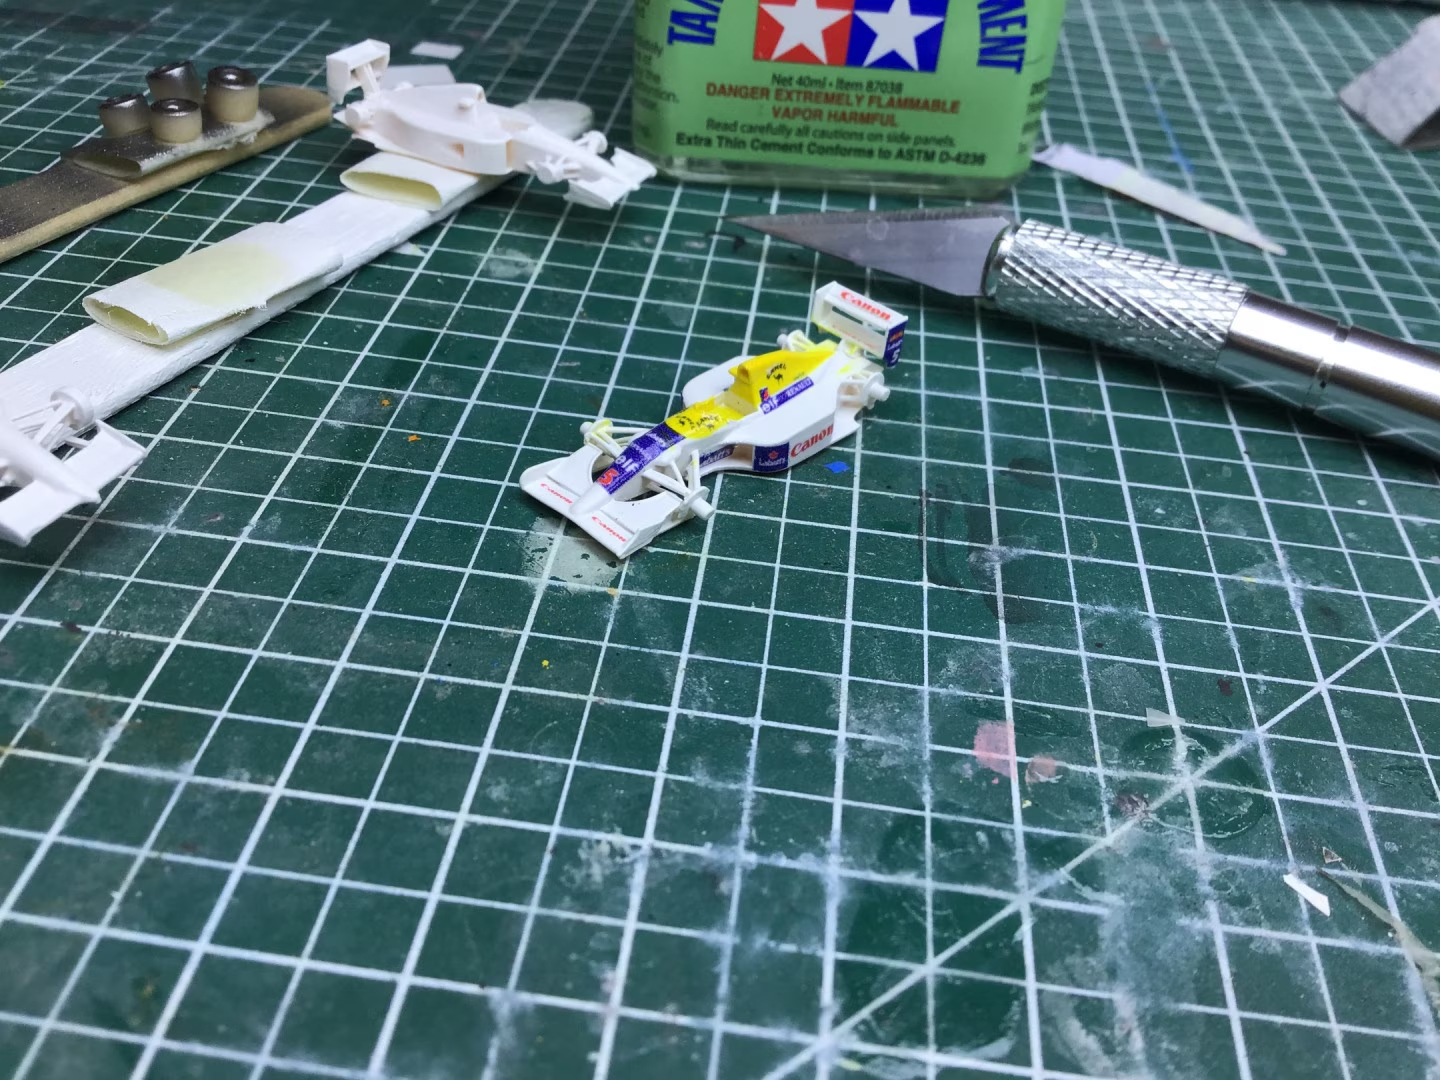
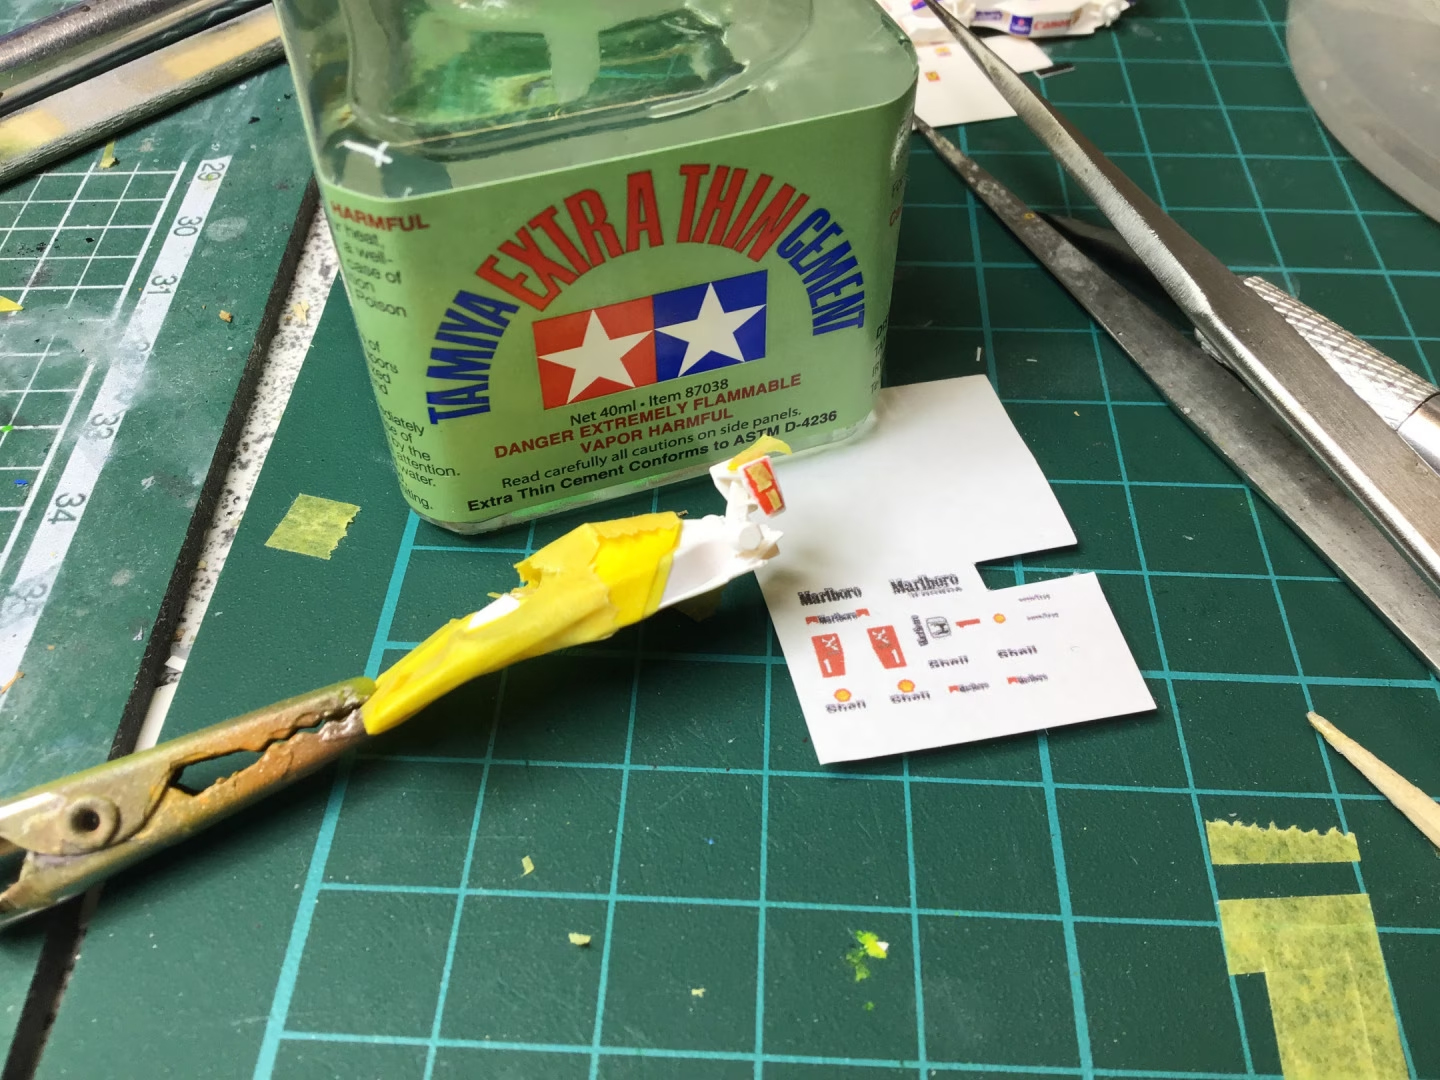
The REAL challenge was in the painting. I used the same technique I’ve used before to apply white homemade decals – basically applying clear decals with a bit of a border on to a white background and then carefully masking the minimum amount possible and then spraying paint over the decals as well. It worked, but I have to say, 1/144 scale F1 livery logos are rather small. So small, in fact, that I couldn’t really get my desktop printer to provide me any real quality. It also involved a couple of dry fits to make sure that I got the dimensions accurate enough to work with.
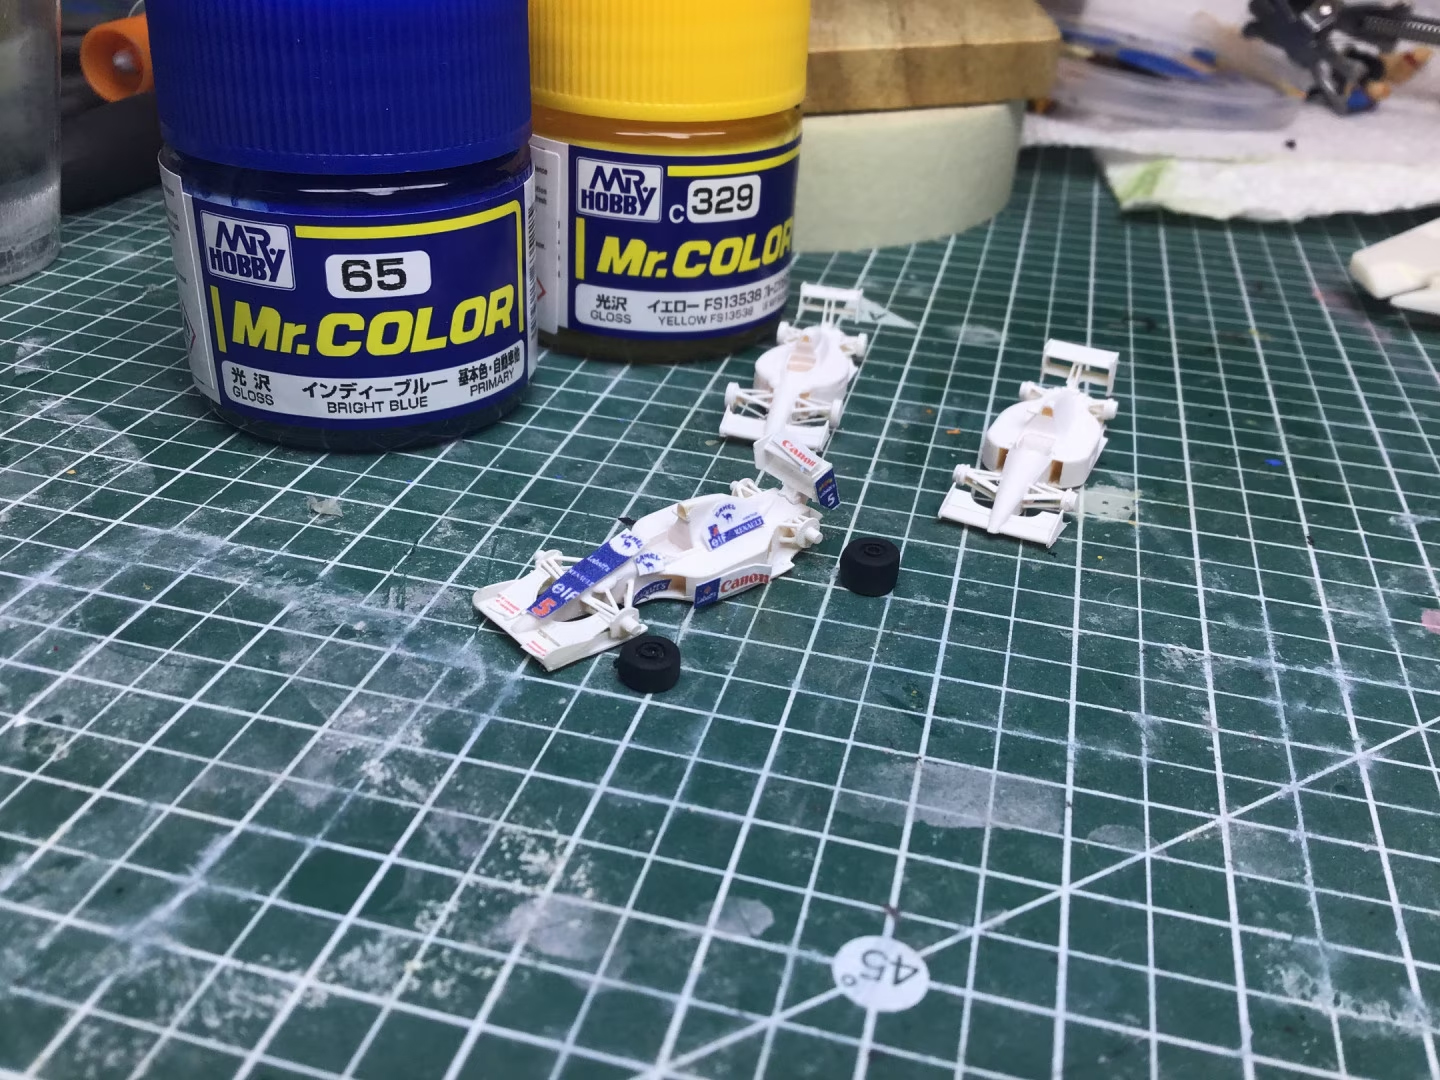
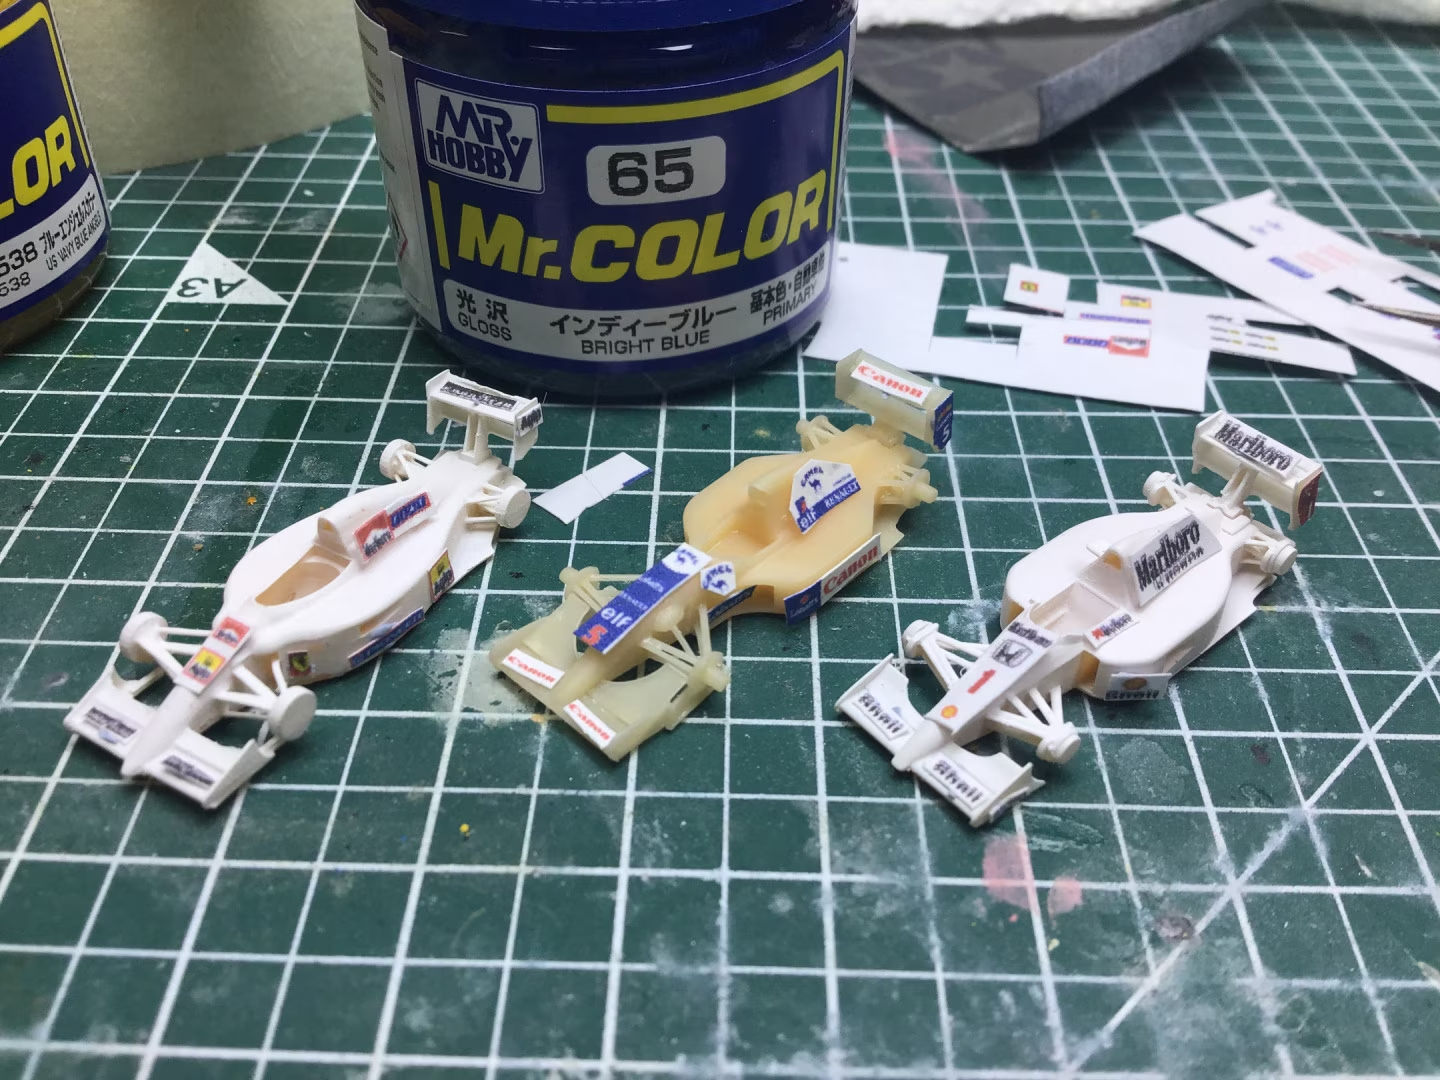
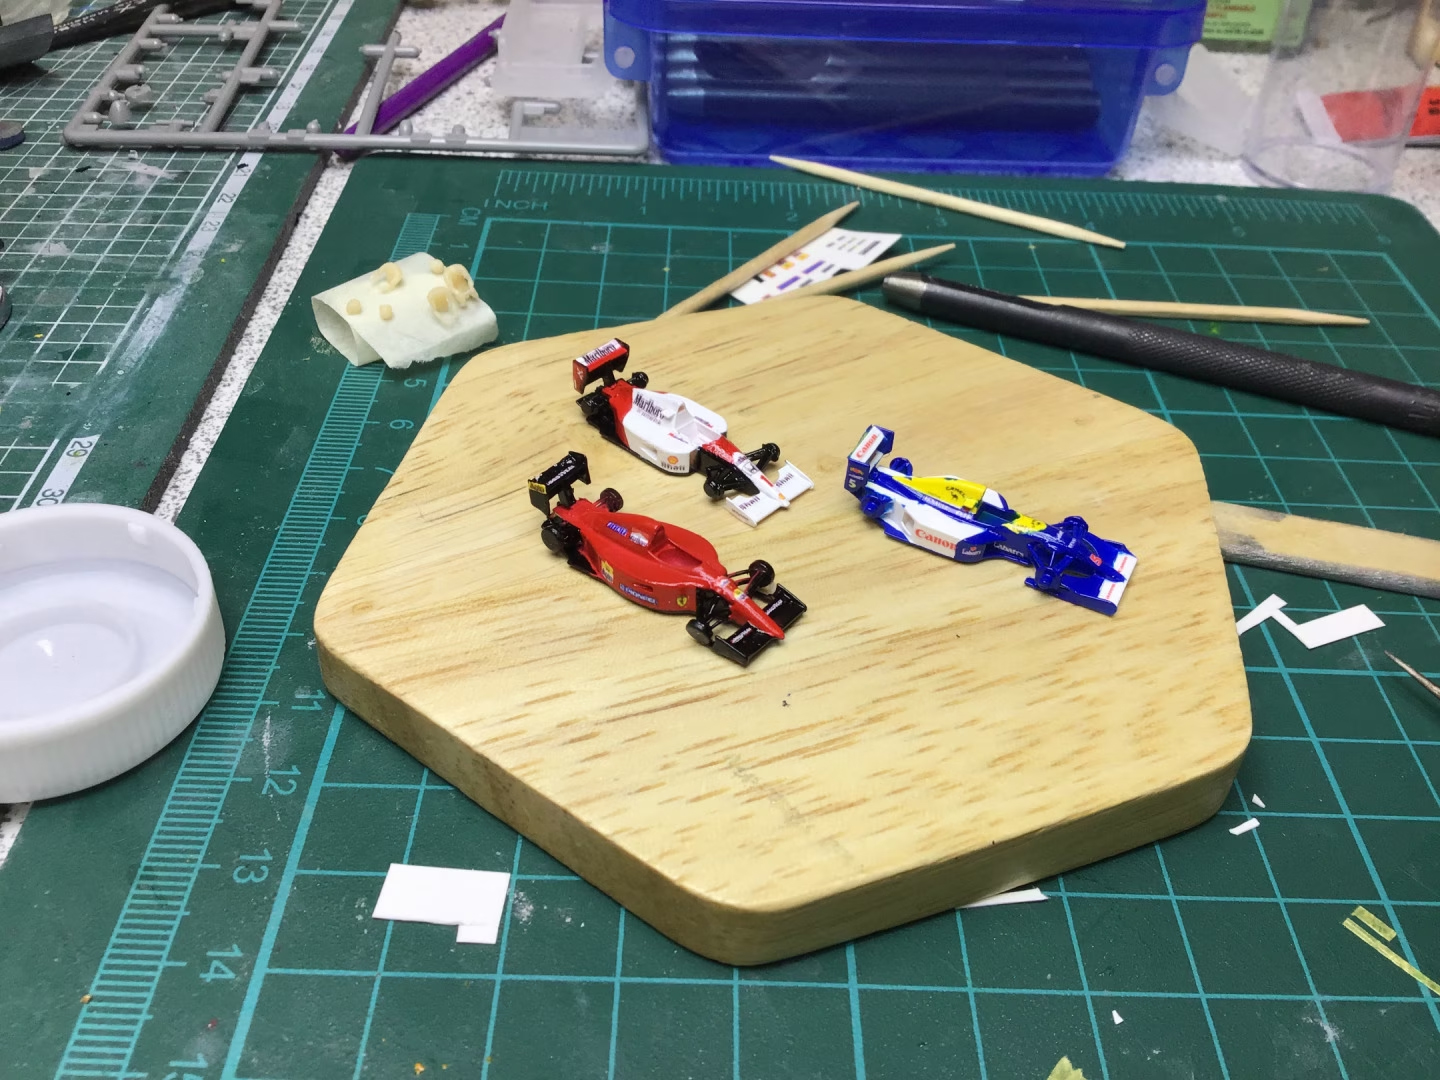
Given the occasion, I decided to cheat on my usual Tamiya selection of acrylics and try out Mr. Color 65 Bright Blue and 329 Gloss Yellow for the first time. They seemed the closest to the Williams FW14 colours out of the bottle, so it was a good excuse to try something new. The paints themselves were good, but I found (unlike Tamiya) that clean up with regular isopropyl alcohol was not that easy – so I don’t anticipate a large scale switch if I’m forced to only use the pricier Mr. Color Thinner for general cleanup. If anyone’s got some good tips on that, the comments section is open. 😉
Of course, despite my careful careful masking, I still got a bit of overspray here and there. It wasn’t too bad, but my recovery efforts (and the subsequent extra handling that came with them) on the FW14 led me to just declare a do-over. In the end tough, I can’t really complain.
I also wasn’t sure what I should do for the base… but in the end I decided to stick with the same “decal from the manga” motif that I’ve been using for my Area 88 1/144 and The Cockpit 1/144 projects. Why change it if it’s not broken.
Anyway, I’m pretty satisfied with the result. I think it does justice to the dramatic little wheel-to-wheel action sequence in the manga, but feel free to tell me what you think.

The Supplies:
XF-01 Flat Black
XF-20 Medium Grey
X-19 Smoke
X-26 Clear Orange
Discover more from strobez
Subscribe to get the latest posts sent to your email.
Apologies for using a comment box for this, but I wasn’t sure how else to reach you.
I’m a long time fan of your work, especially your Tintin pieces. It looks like your Tintin work is now password protected. Is that a permanent change? Is something you are willing or able to share?
No need to “publish” this comment. Fee free to email at raphaelthedeacon@gmail.com