32: Curtiss P-40F Warhawk
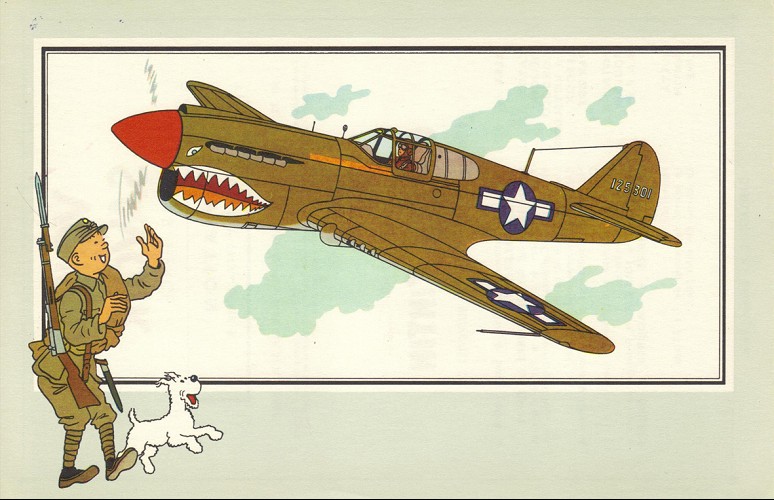
LE Warhawk dérivait du fameux chasseur Curtiss P-36 Hawk, dont il conservait la voilure et le fuselage. Un nouveau moteur ainsi qu’un capotage-avant entièrement redessiné avaient transformé l’appareil et lui fournissaient une vitesse de pointe supérieure. Il fut commandé en série par la France pour remplacer ses P-36, surclassés en armement et en vitesse par les Messerschmitt-109 ; mais il ne put être livré à temps. Les commandes françaises furent reprises par la RAF, l’U.S. AIR-ForCE et la NAVY, qui expédièrent les nouveaux appareils dans le Pacifique (à Pearl-Harbour, notamment). En 1941, lors de l’attaque-surprise des Japonais, les P-40 se firent littéralement massacrer, la plupart au sol. Les appareils du type B et C résistèrent comme ils purent aux terribles Zéro japonais, mais rares furent les pilotes américains qui sortirent sains et saufs de ces rencontres inégales.
Le P-40 F possédait une entrée d’air de capot plus importante que les types B et C. Il fut livré aux volontaires américains, les Tigres Volants, qui, sous le commandement du général Claire Chennault, se couvrirent de gloire en livrant de nombreux combats à l’aviation japonaise. Ce furent d’ailleurs les Tigres Volants qui, les premiers, songèrent à peindre une gueule de requin sur leurs appareils. Livrés à la RAF, des P-40 s’illustrèrent également en Afrique du nord, en Égypte et en Libye, sous le nom de Kittyhawk. Mais lors du débarquement anglo-américain en Afrique du nord (Algérie et Maroc), les P-40 furent retirés progressivement des combats pour laisser la place à des chasseurs plus modernes et surtout plus rapides.
Caractéristiques : Envergure : 11,30 m. – Longueur : 10,20 m. – 1 moteur Allison V-1710-39 de 12 cylindres de 1.150 C.V. sur le P-40 F, et Rolls-Royce-Packard de 12 cylindres en V de 1.659 C.V. sur le P-40 K. – Armement : 6 mitrailleuses de 12,7 mm. + 3 18 kg. de bombes.
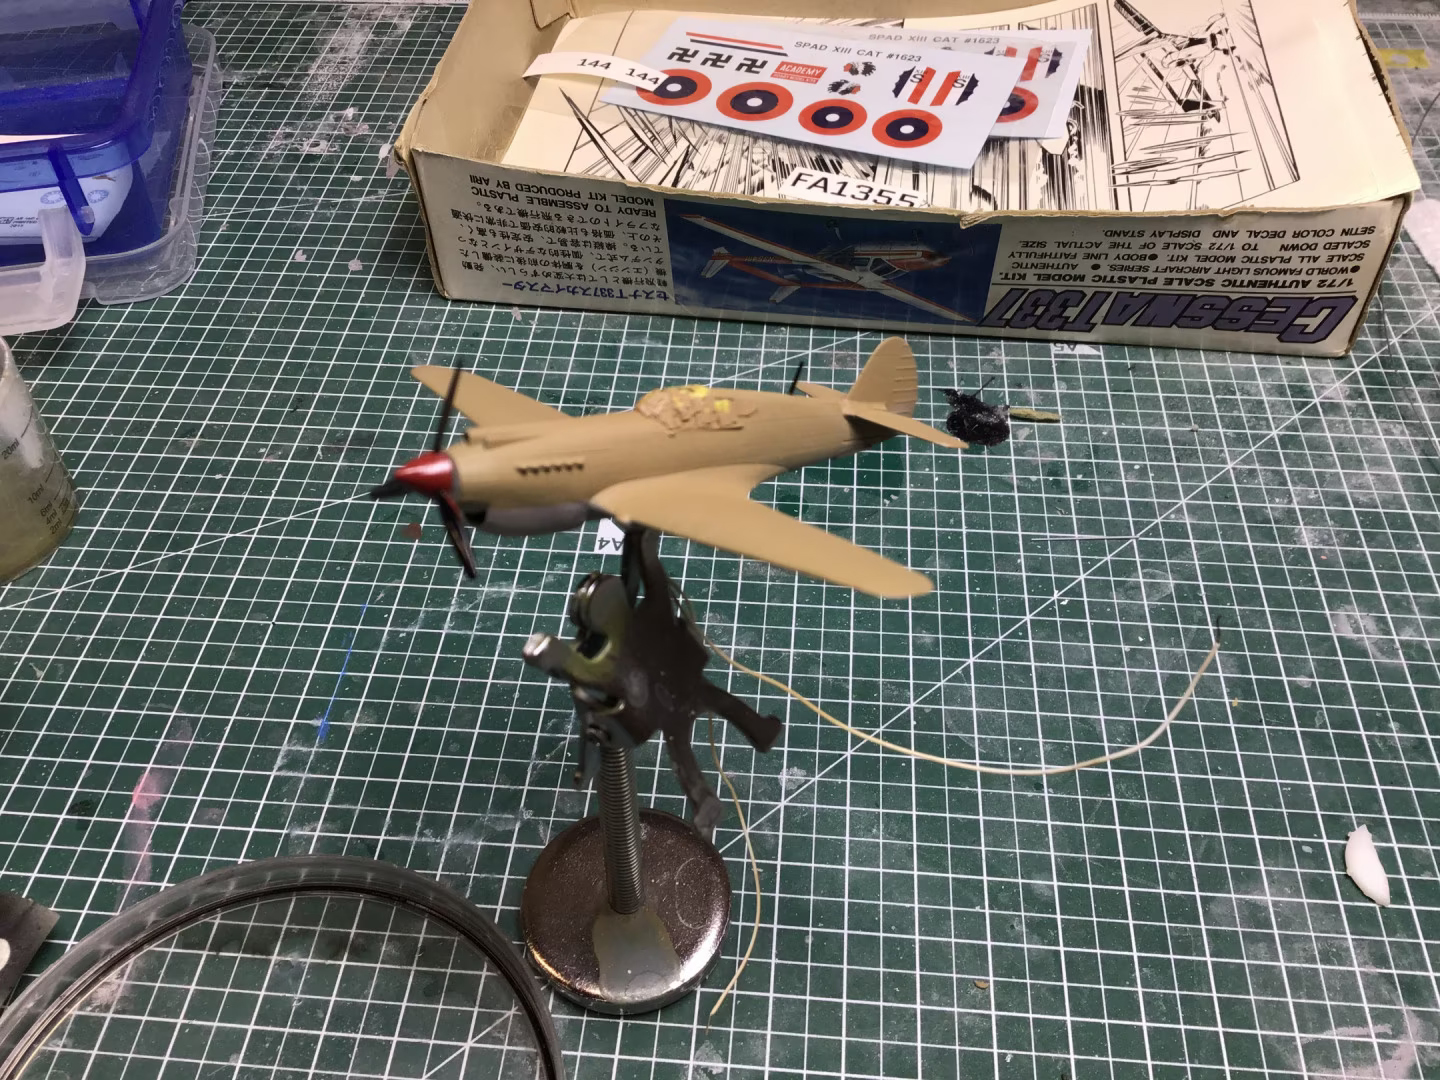
The finished model:


The video:
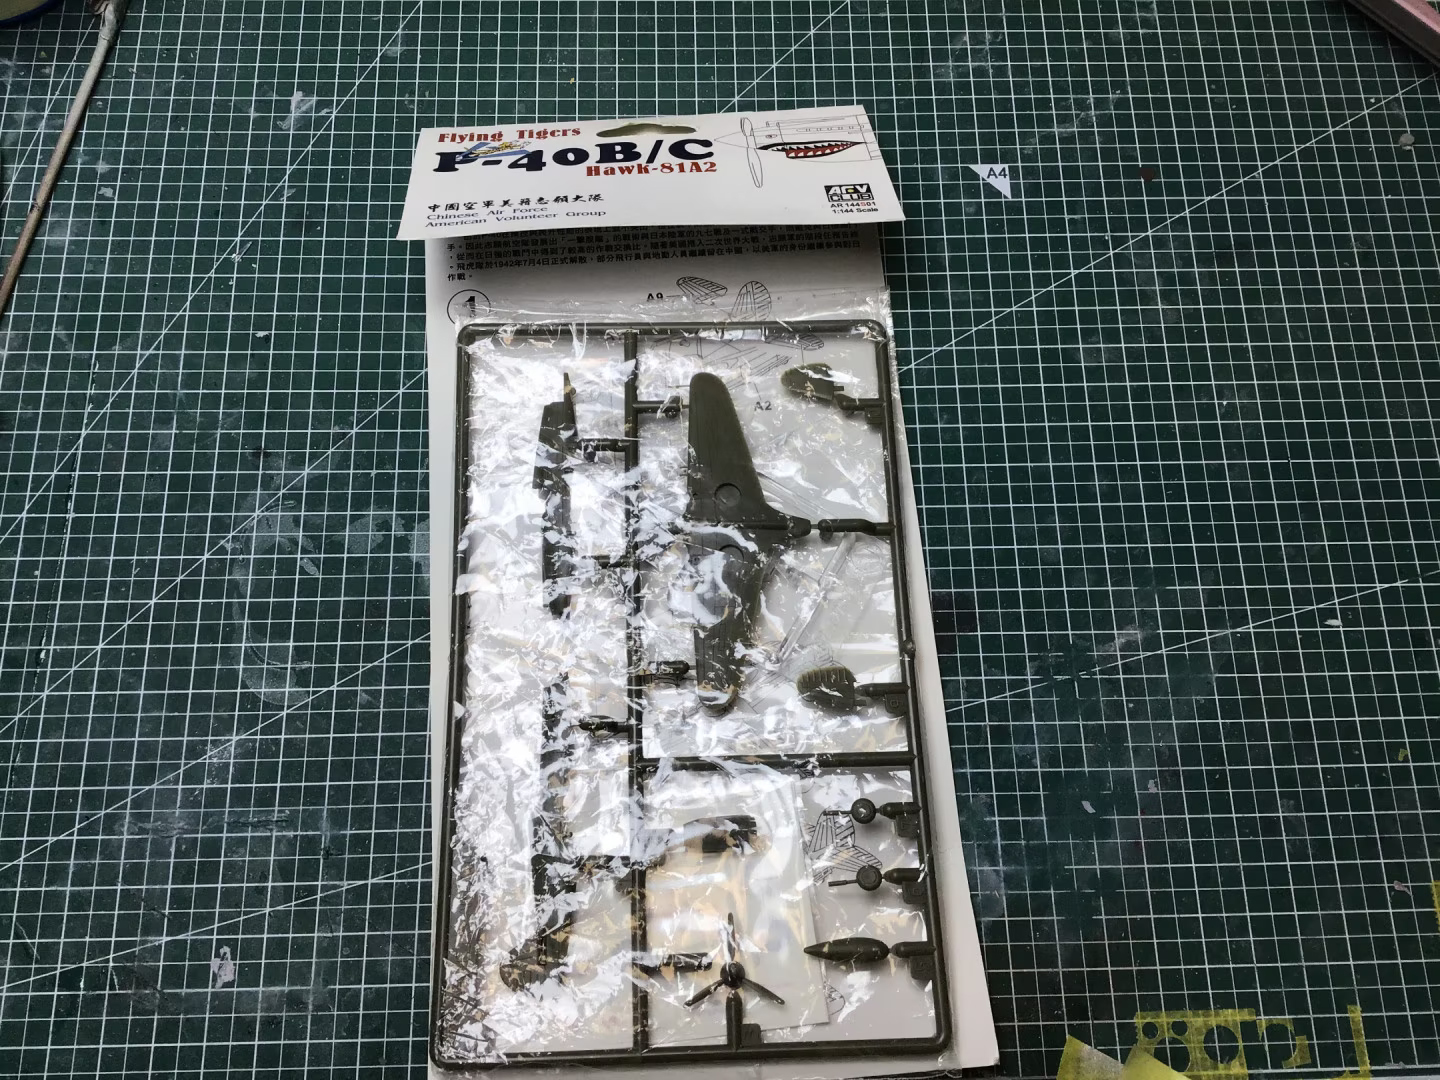
The kit:
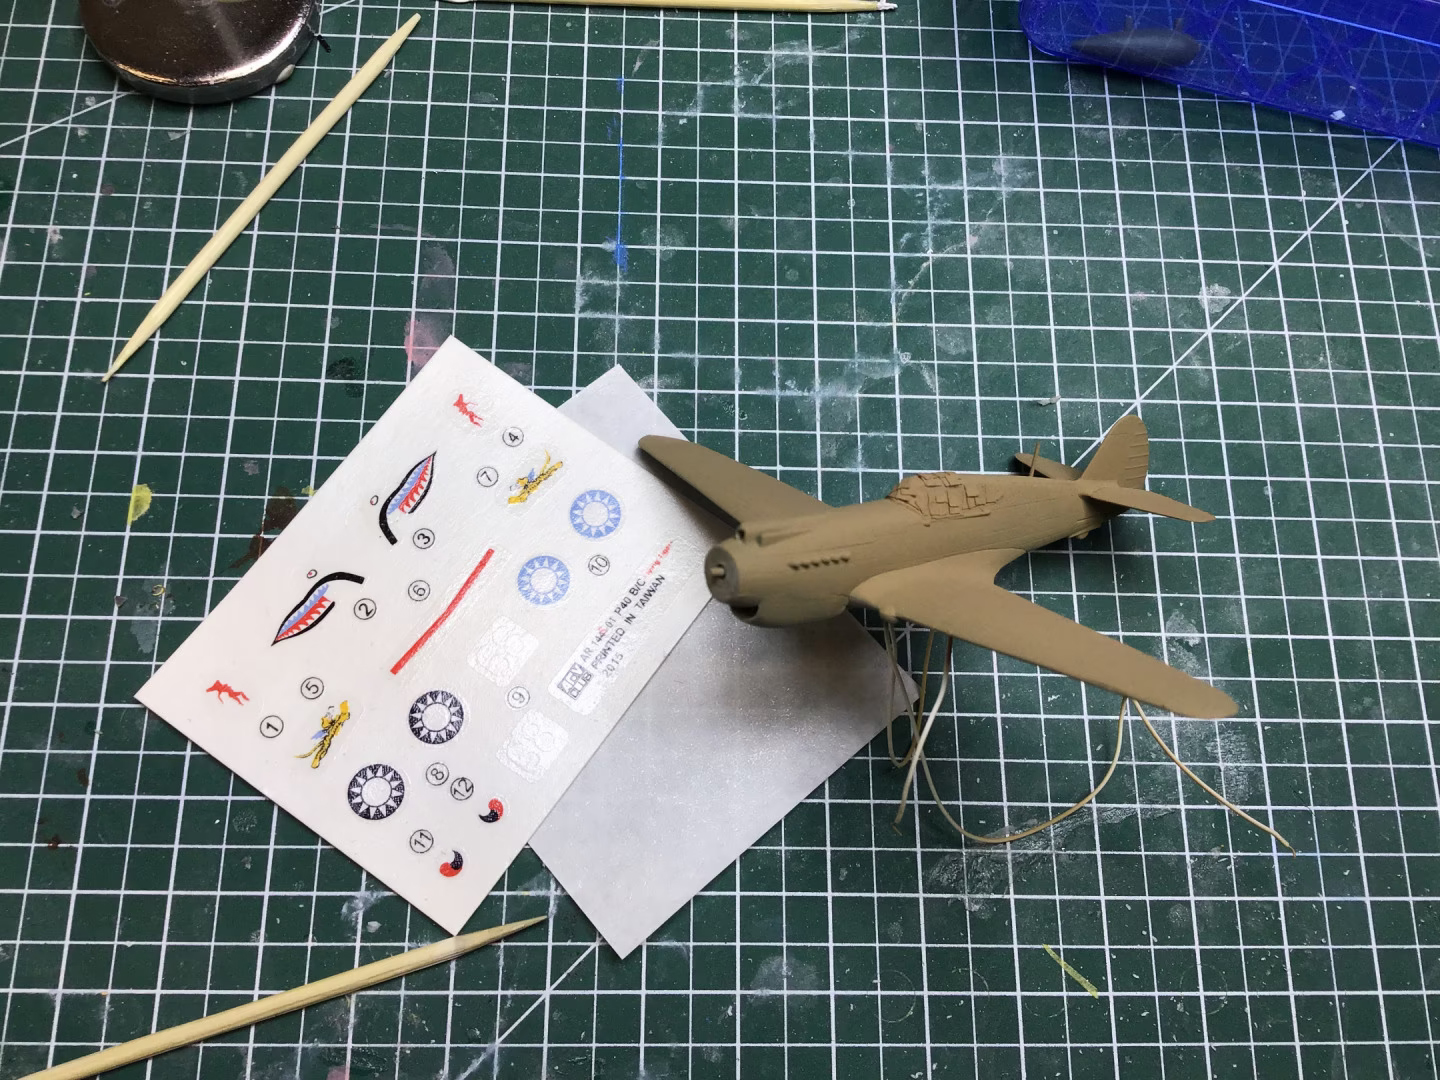
- Flying Tigers P-40B/C Hawk-81A2 (by AFV Club)
The vision:
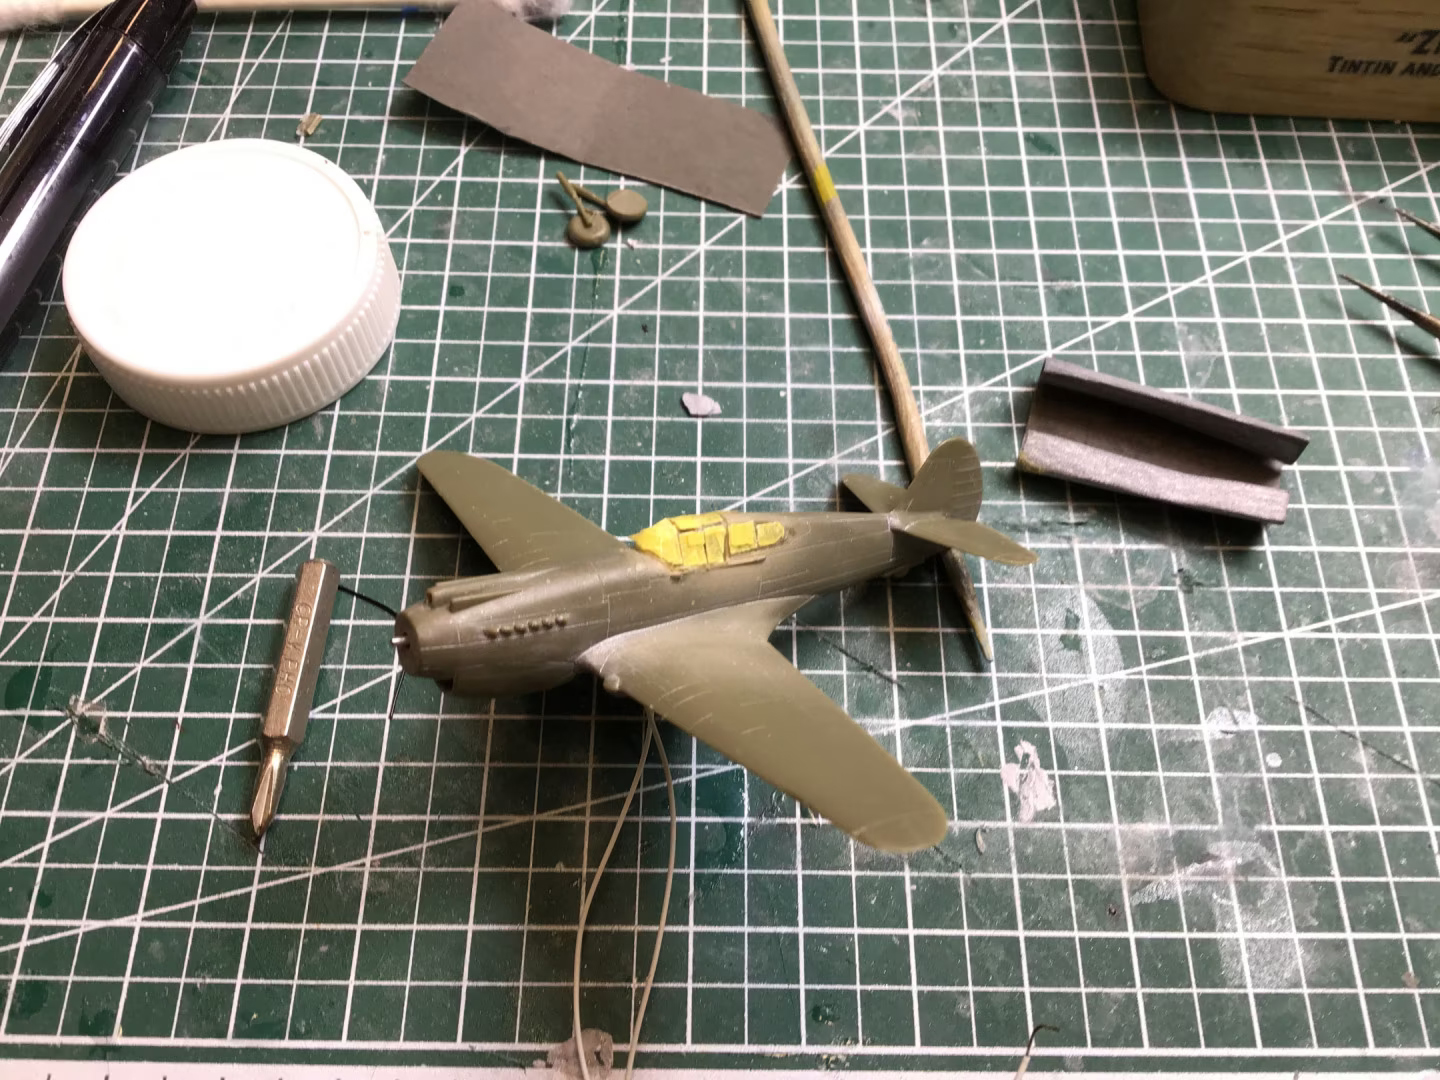
It had been a while since I’d added to my Voir et Savoir collection. So, scanning the stash, I decided to drop this beautiful little kit by AFV Club on my workbench. Not too hard, not too easy… just right!
The build:
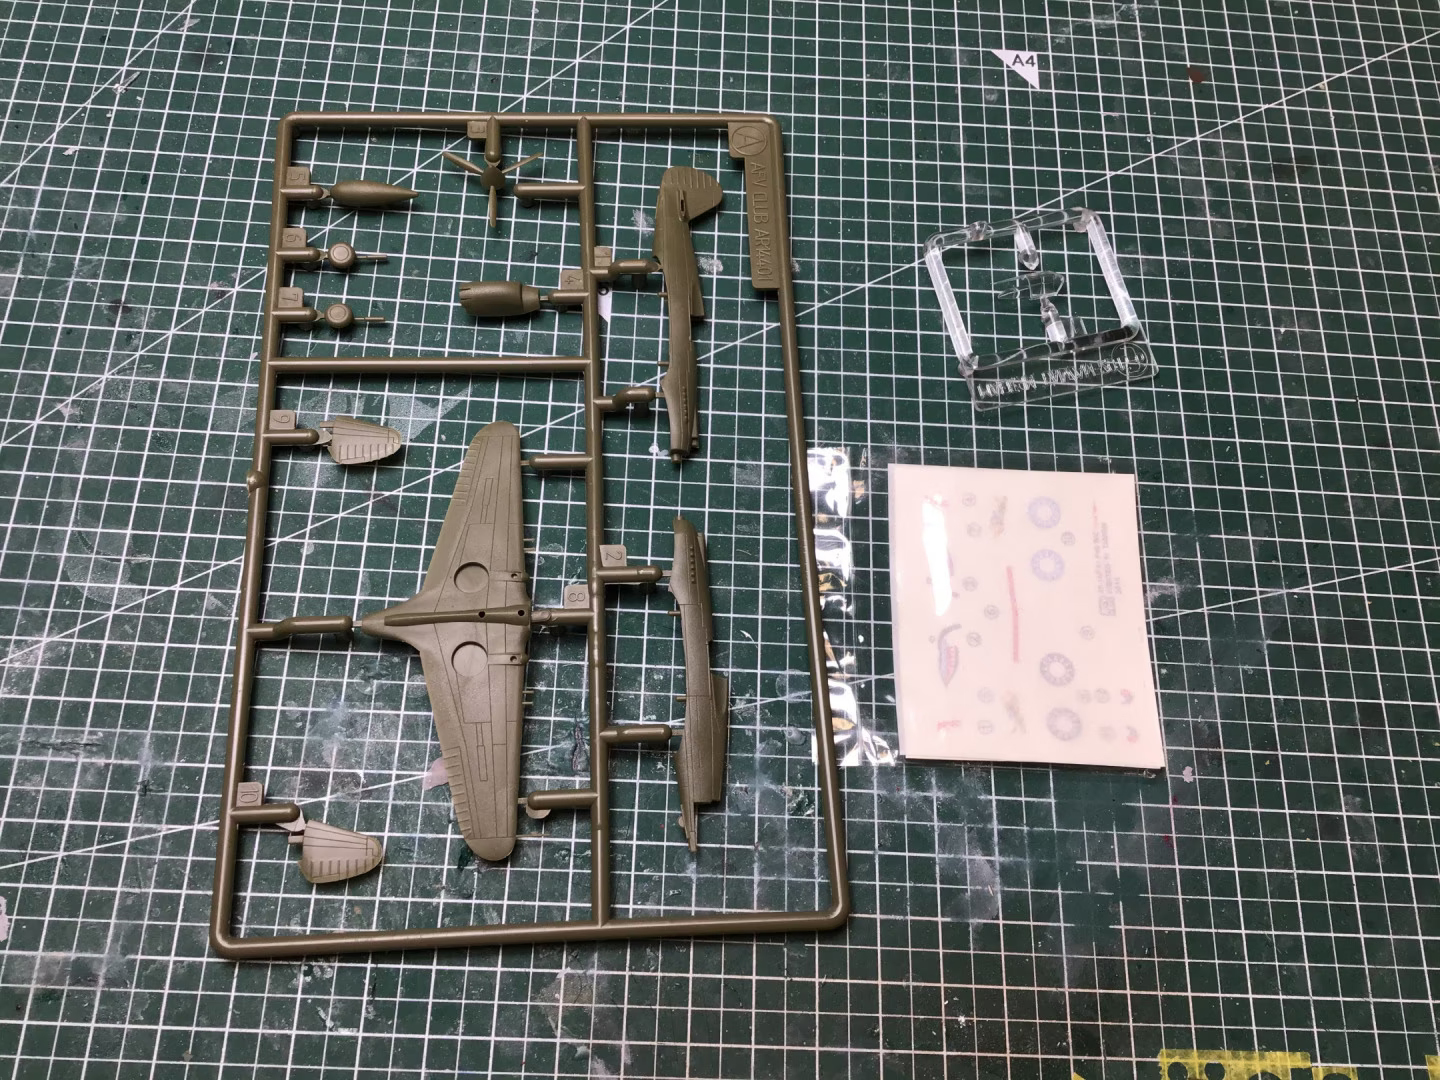
Trying to ease back into my Voir et Savoir 1/144 project, I figured the AFV club kit would be just right. It’s got a lot of detail, so I wouldn’t need to try to upgrade it particularly – and I was right. Maybe not quite on the level of Sweet or even Platz, but AFV makes some nice little kits. Honestly, the build went together like a dream. There was plenty of room for the micro DC motors I use in these builds to spin the props, so I didn’t even really need to get all that creative with the placement.
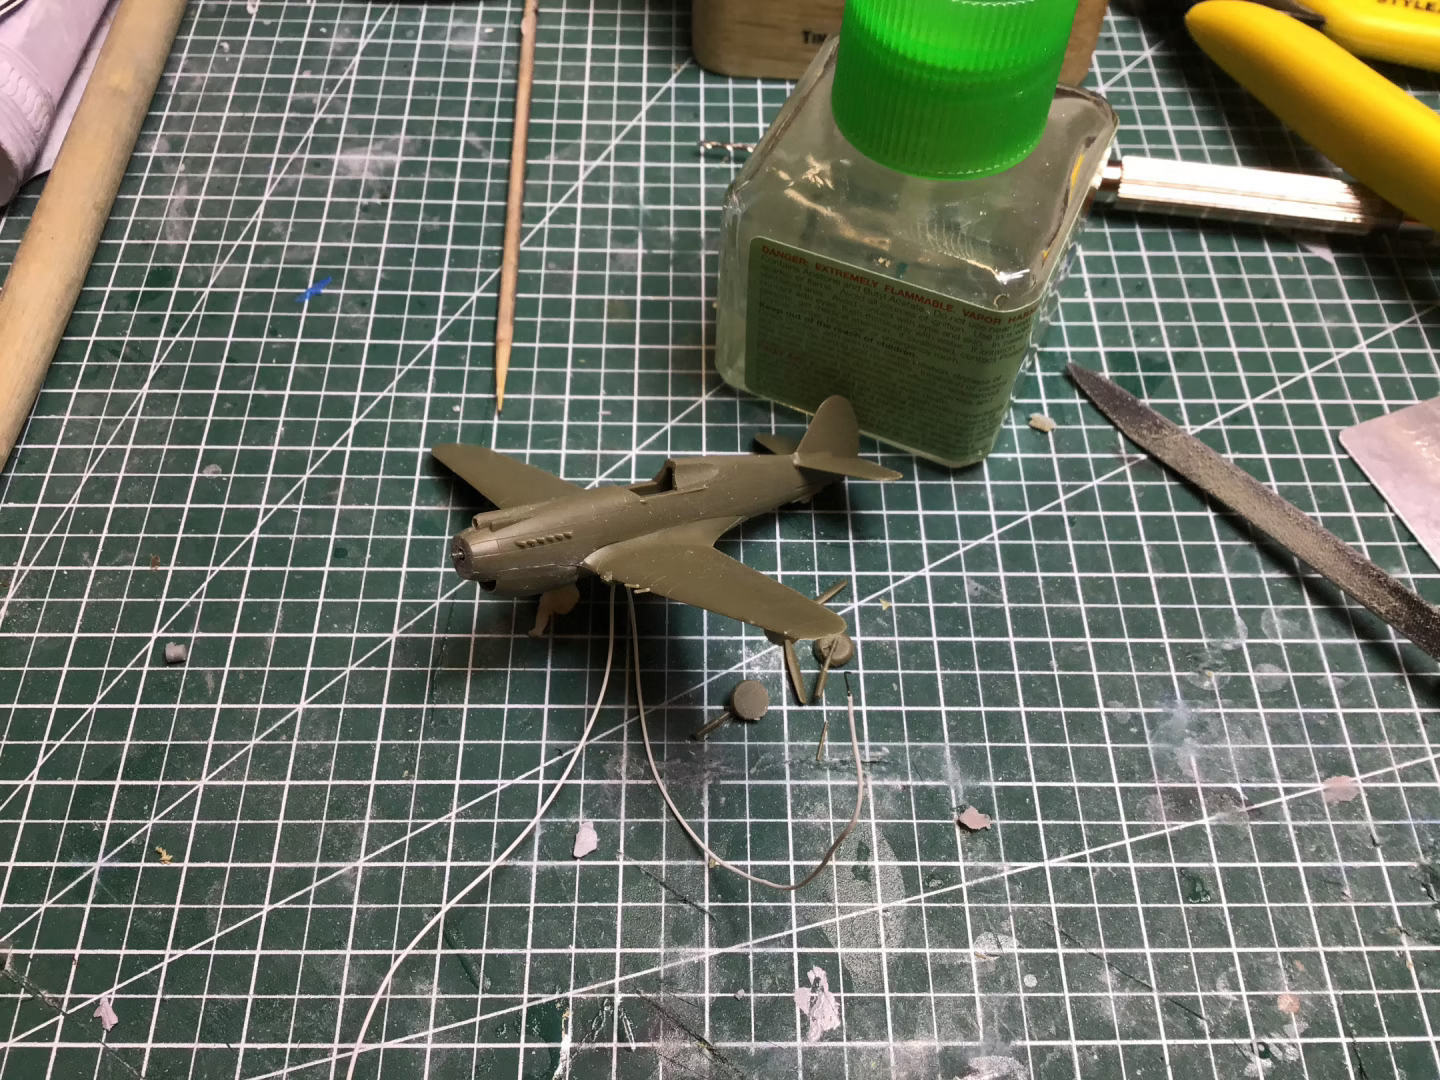
I really only had two issues with this build… one of which was totally of my own making. The first though, was the canopy. The P-40 has the canopy cover part of the fuselage behind the pilots head. I’m no engineer, so I’m not sure what the purpose of that is, but I can tell you, when you’re trying to paint behind them in 1/144, it’s a pain. Well, the paint went on okay. The issue started when I tried to glue the canopy in place. I’ve had plenty of “fingerprint episodes” in the past, so I’m usually very careful with where I dab the cement. However, in this case, because there was such a small gap between the fuselage and the clear part, the cement got sucked into the space and caused havoc – both on the clear plastic as well as muddying-up the paint job. So frustrating, but not much I could do. I tried to sand out the clear part on the inside as best I could, but there’s not much plastic there. I started to get worried about breaking the thin area, so I just had to leave it more or less as-is.
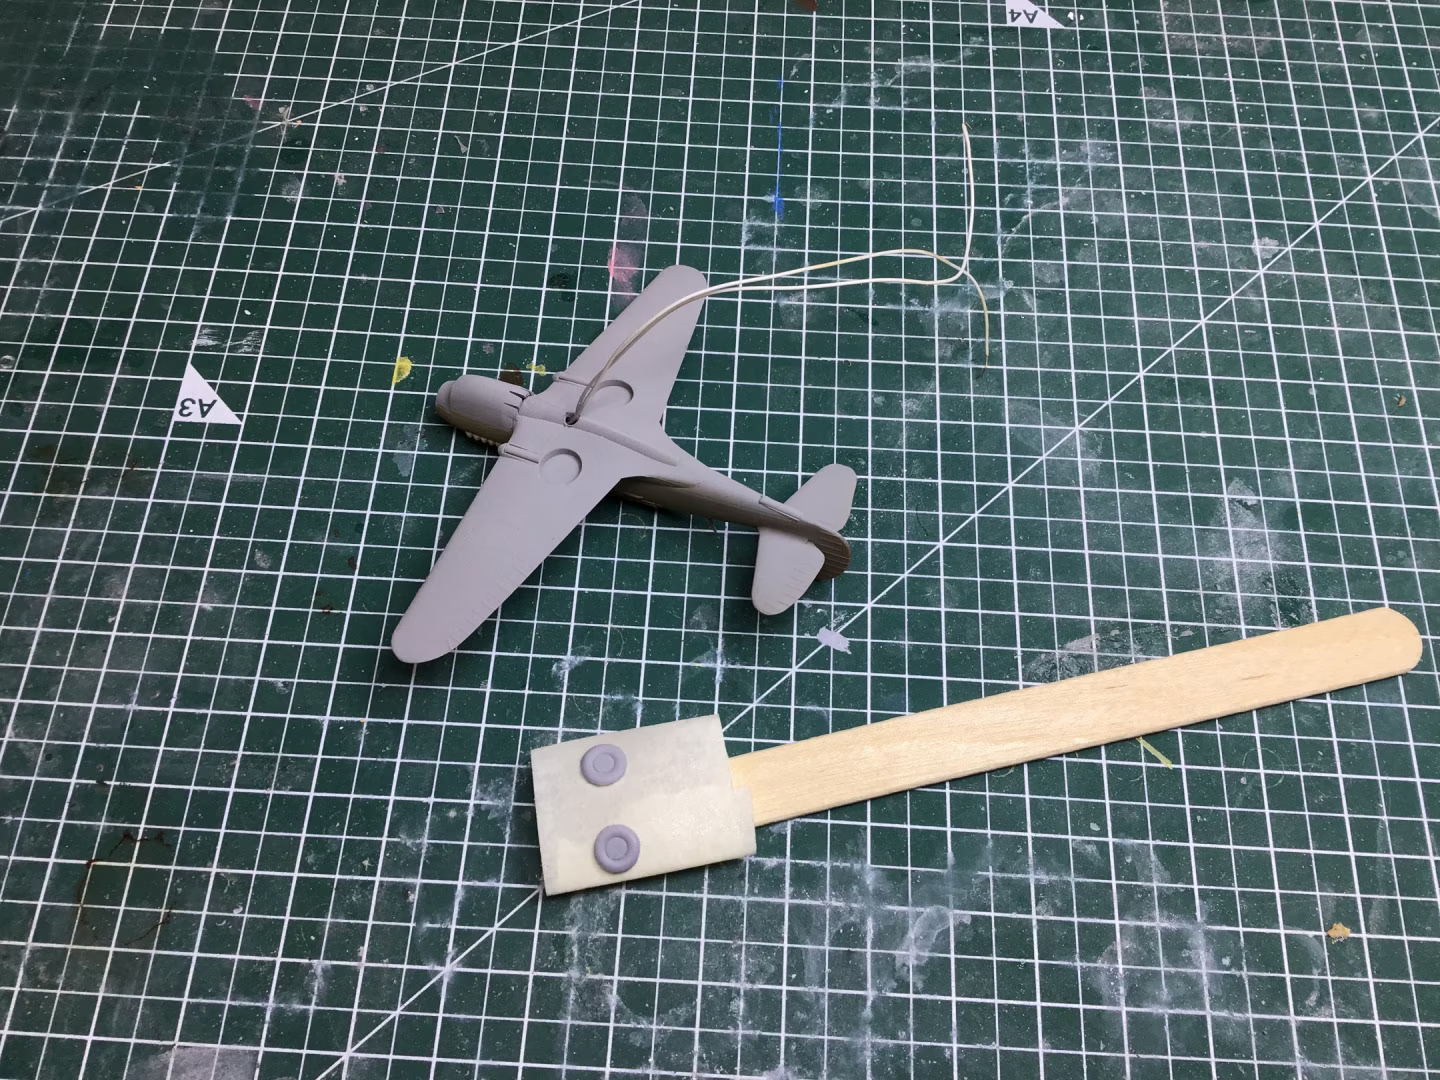
The second issue was the wheels. Oh, they’re nice enough. And if you sand the back side down on them, they fit very nicely into the (slightly shallow) wheel wells. However, if you walk away from the project for several months, shuffle around countless boxes full of kit parts in the meantime, and clean the room 2-3 times… they have a tendency to disappear. I’m quite sure I put them in a little clear plastic bag “for safekeeping” but if someone could tell me where I put it, I’d be grateful. 😉
Well, maybe not. In the end I just decided to rifle through the spares boxes, found a couple of wheels that look passably close… sanded them to fit, and got on with the build.
All in all, I’d say I’m happy with the build. Feel free to leave me a comment and tell me what you think.


Discover more from strobez
Subscribe to get the latest posts sent to your email.