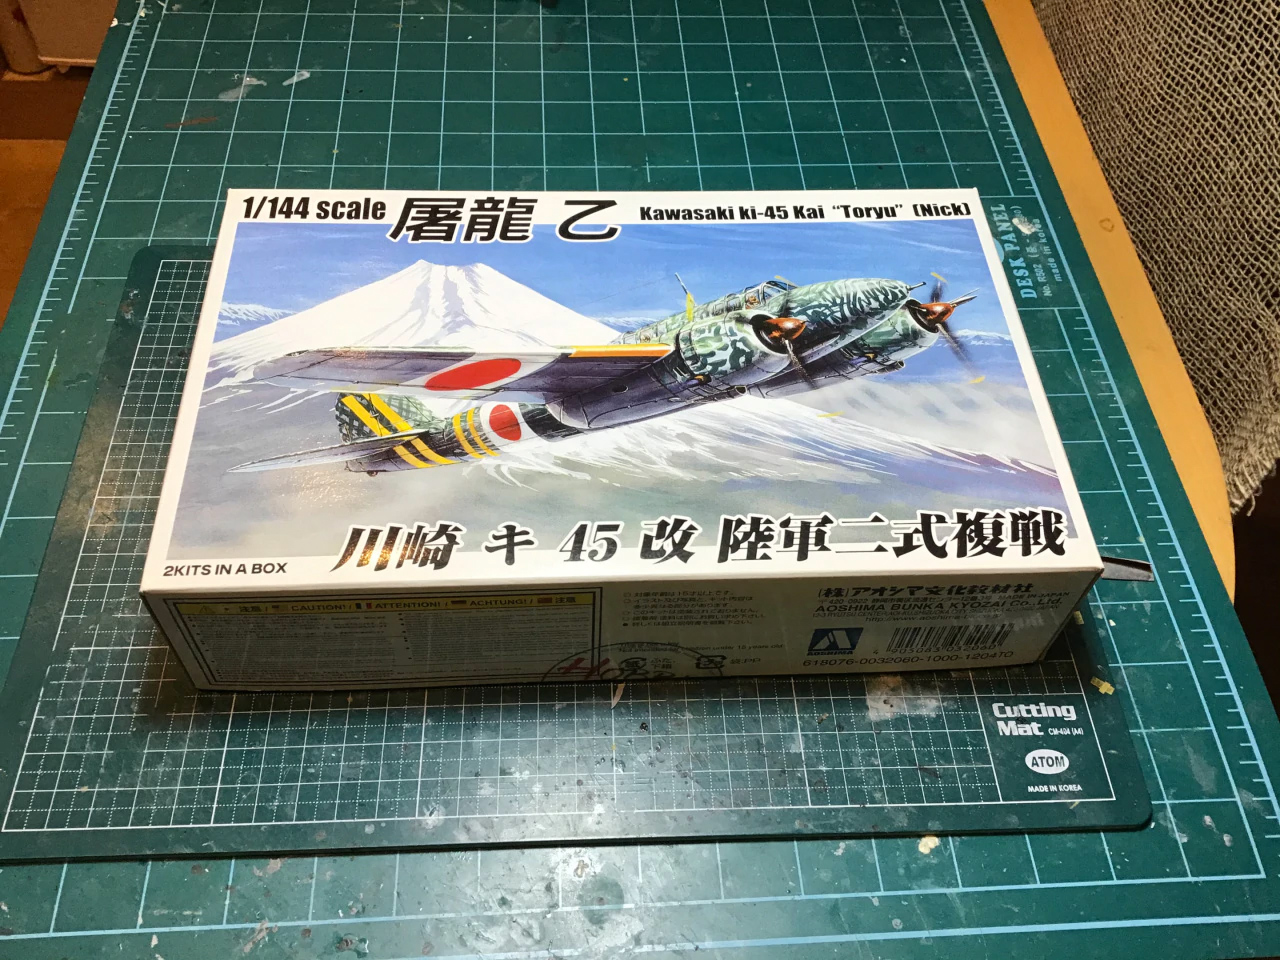
P09: Kawasaki Ki-45 “Toryu” (Nick)
In October 1940, the Imperial Japanese Army (IJA) rejected the Toryu’s predecessor, the original prototype Ki45, but followed the rejection with orders for performance improvements on the design. The Kawasaki company, at one point ready to give up any hope of being able to improve the performance, turned the project over to technician Doi Taeko, who had been behind the successful Ki-48 (Type 99 twin-engined bomber) design. Doi put his experience to work on developing the new Ki-45 kai, and the resulting prototype first flew in September 1941. Although the design kept the original Ki-45 designation, it was, for all intents and purposes, an entirely new and different aircraft. The elliptical wings were exchanged for straight-line tapering ones and the fuselage configuration was simplified. The Ki-45 Toryu (屠龍, “Dragonslayer”) was designated by the Imperial Japanese Army as “Type 2 Two-Seat Fighter” in February 1942. The Allied reporting name was “Nick”.
Specs : Wingspan : 15.02 m. – Length : 11.0 m. – 2 HaL02 engine, 1080 hp. – Armament : 1x 37 mm machine cannon + 1x 20 mm machine cannon. – Maximum speed : 540 km/h.
The finished model:


The video:
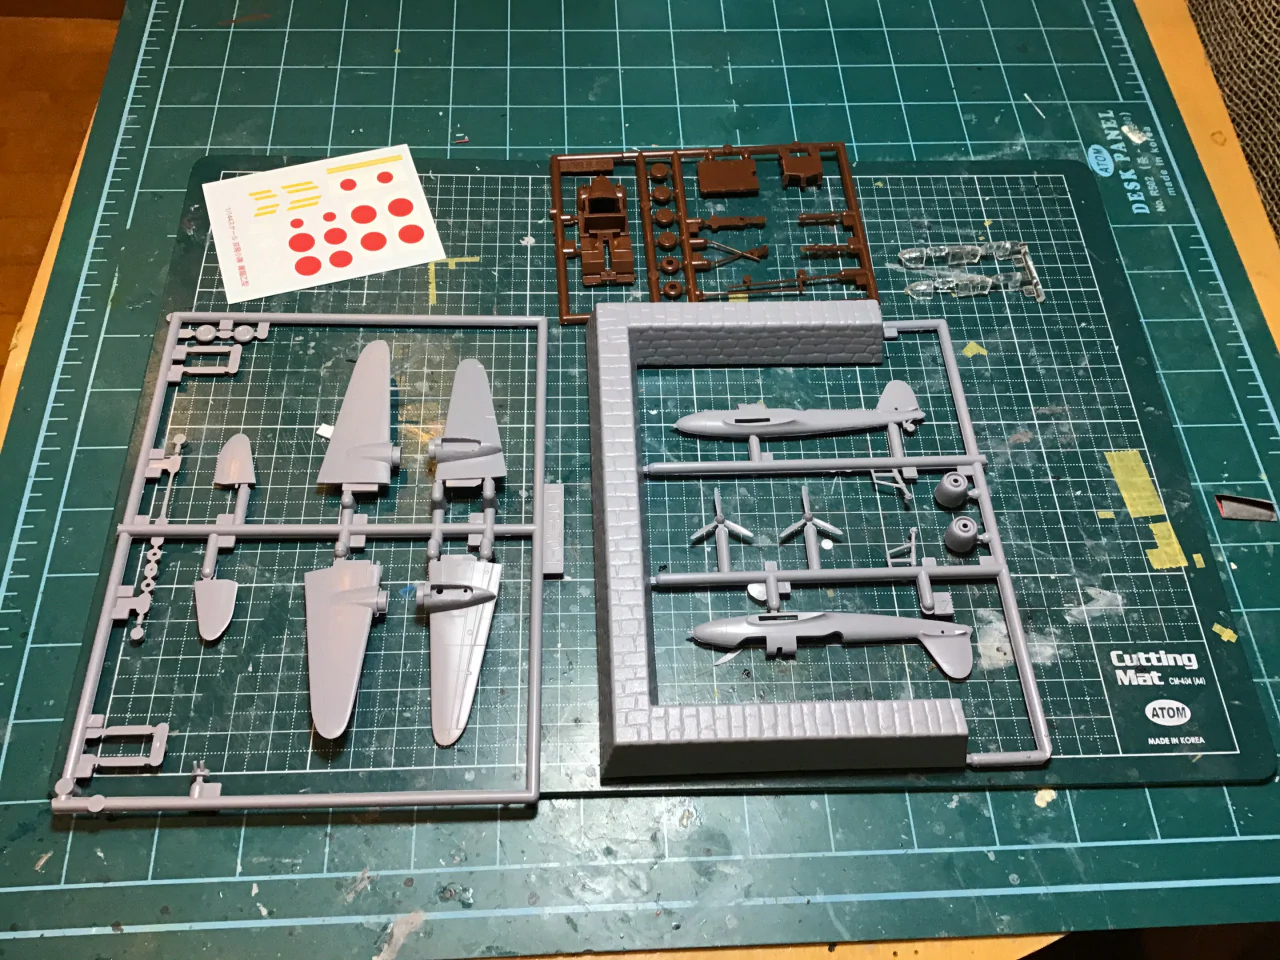
The kit:
The vision:
You ever just see a box on the shelf at the local hobby shop and say “oh, this looks like fun!” and buy it even though you weren’t particularly looking for it? Well, that’s what happened here. This one and a Kawasaki-Ki48 (Lily) were sitting on the shelf at Joy Hobby just staring me in the face, so I had to get them.
One of the reasons I started an expanded 1/144 Voir et Savoir PLUS project was because the original Voir et Savoir list is really light on Japanese WWII planes. They are interesting subjects all on their own, so I thought it was a shame not to have an excuse to build some… so I made the blanket excuse and now we’re all happy.
The build:
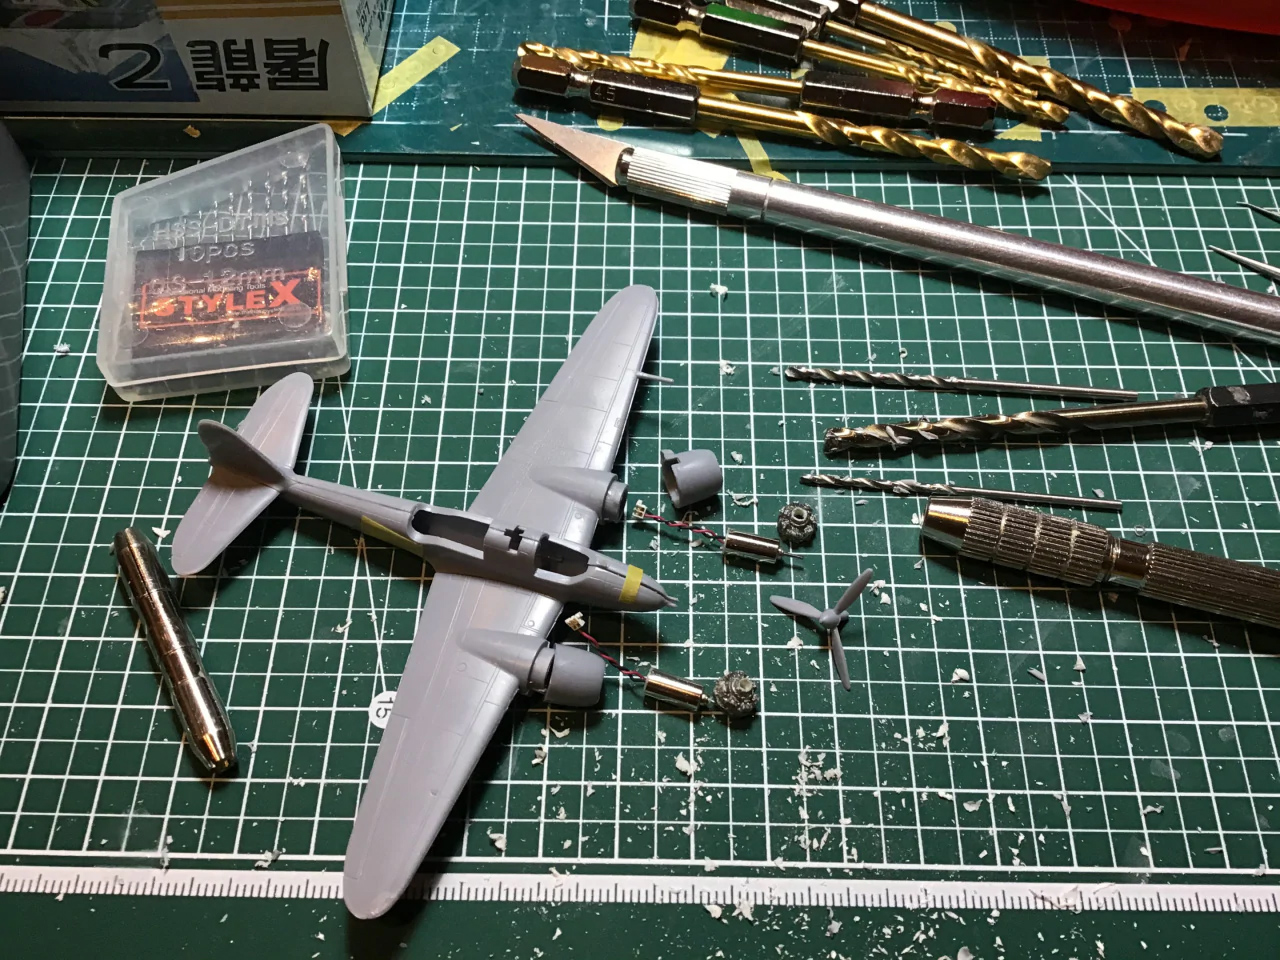
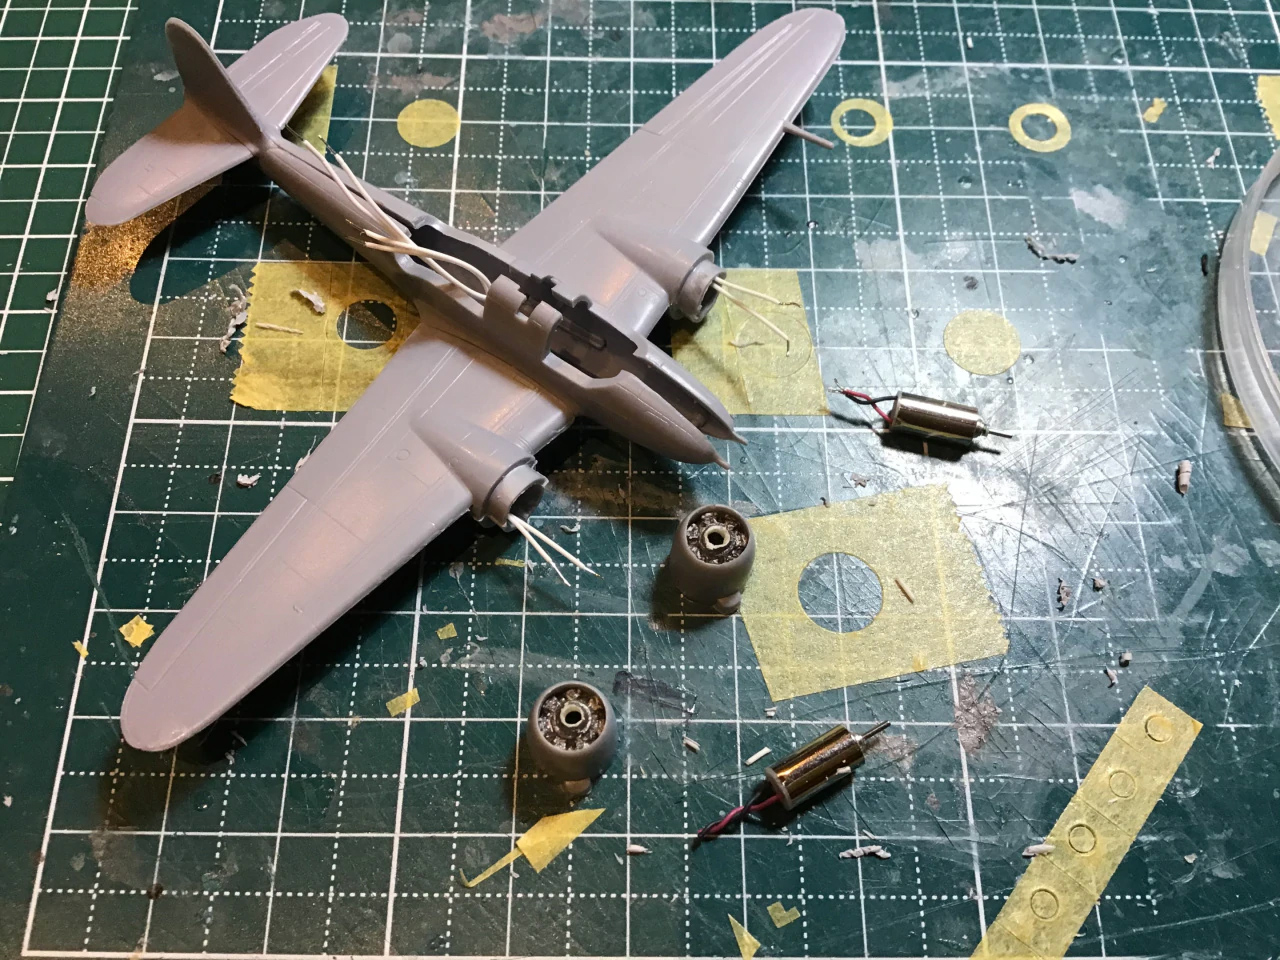
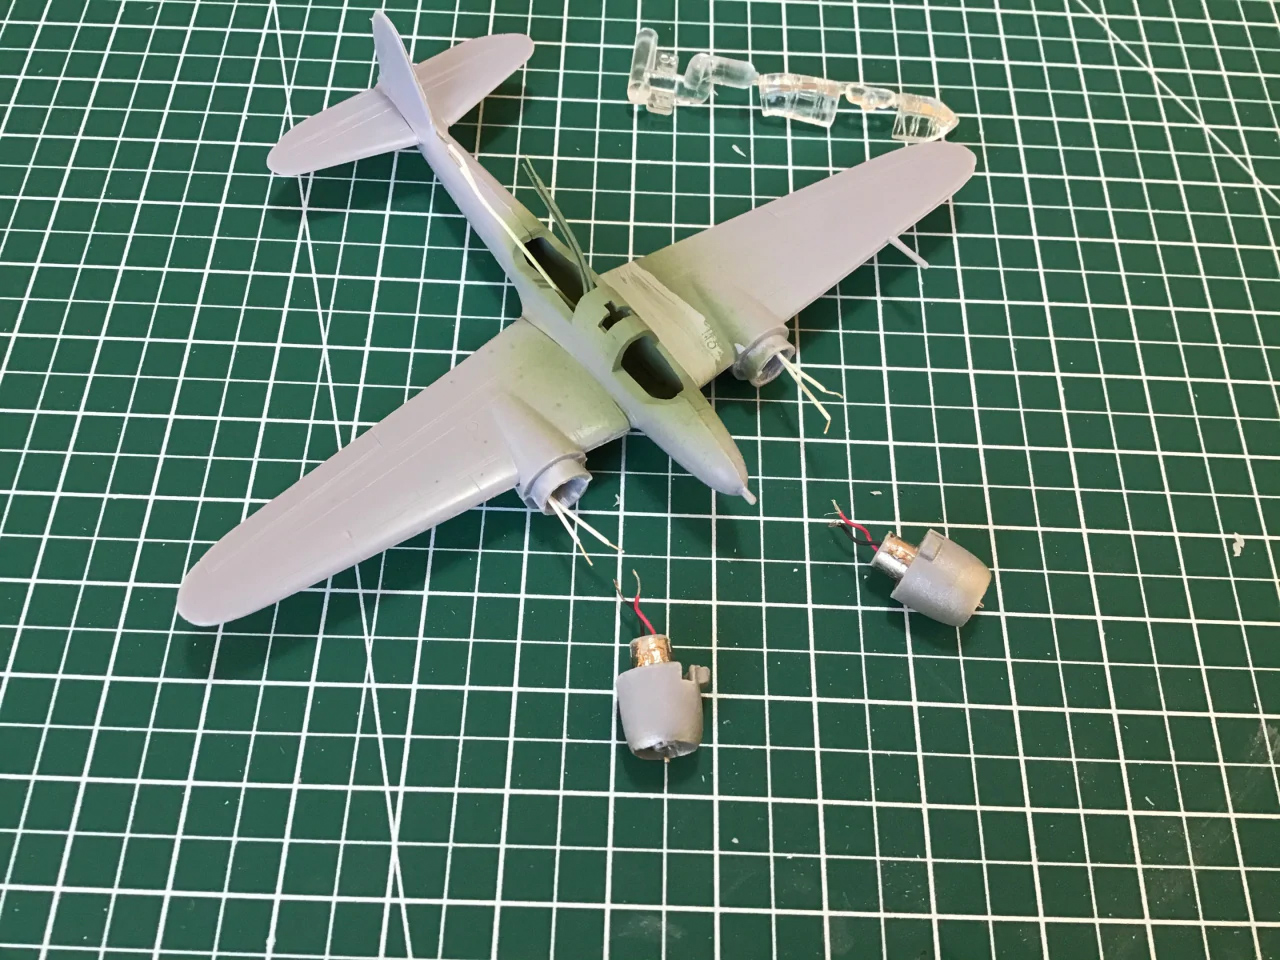
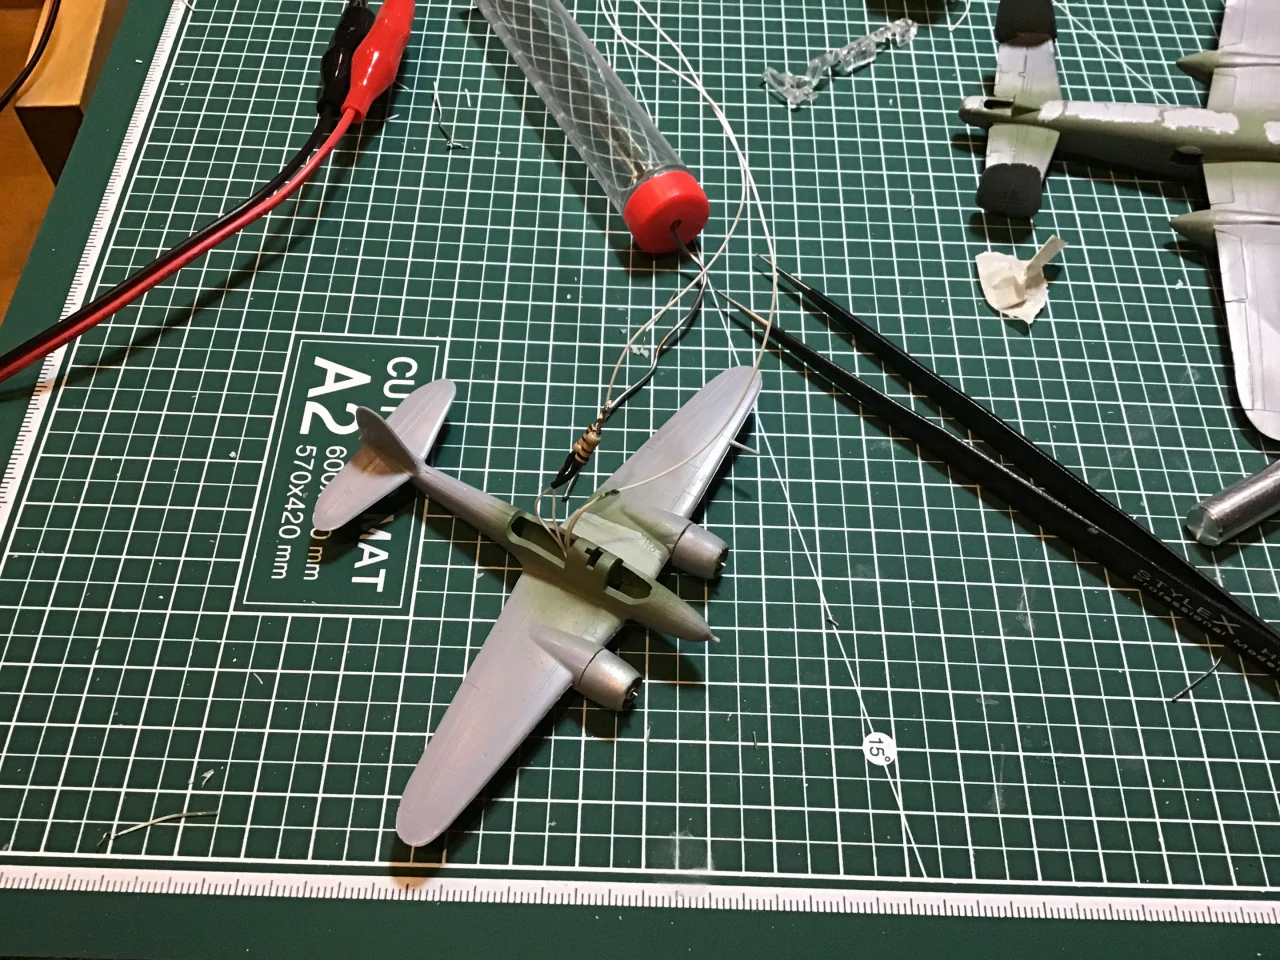
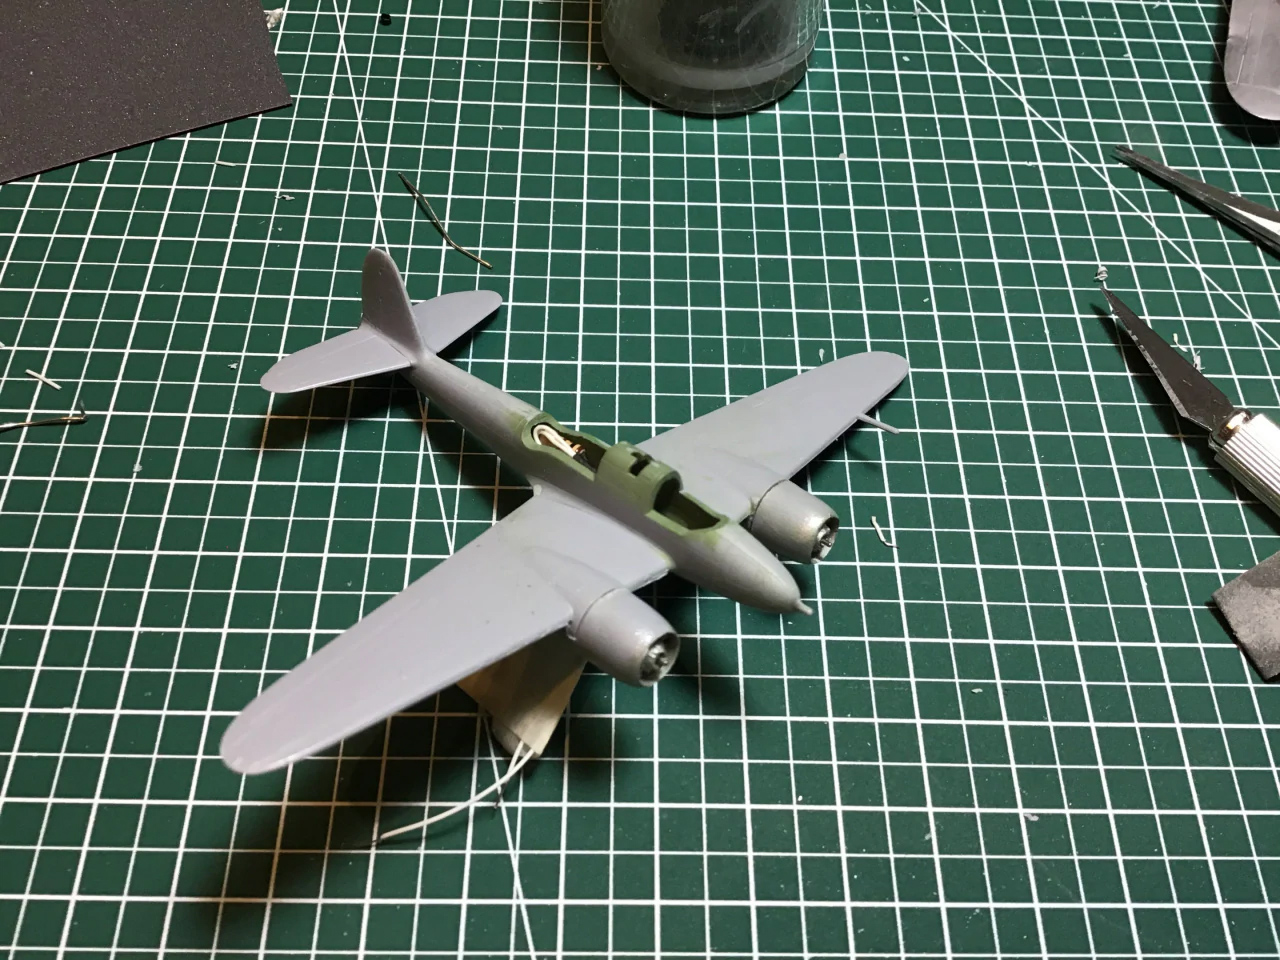
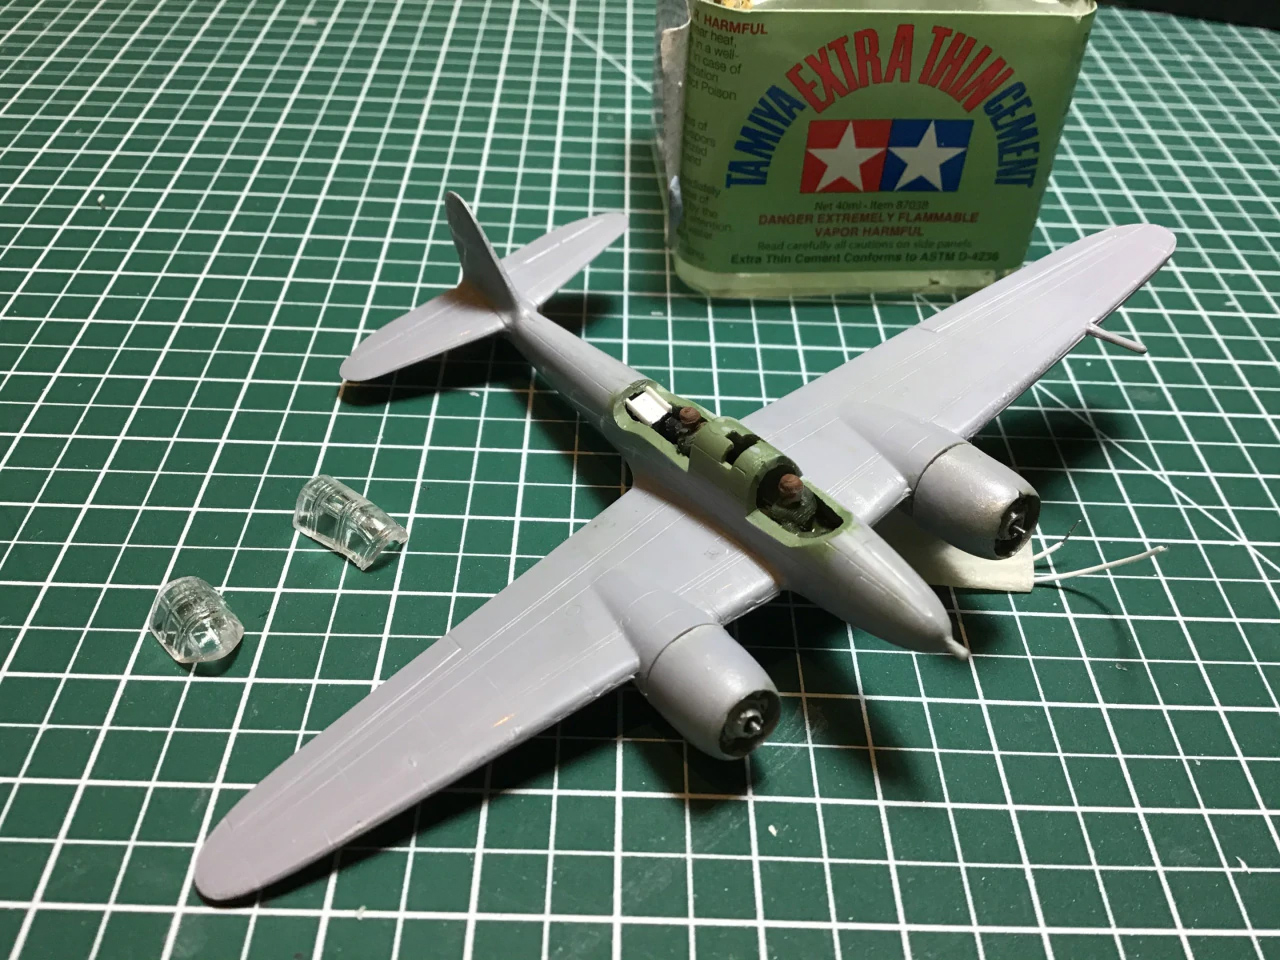
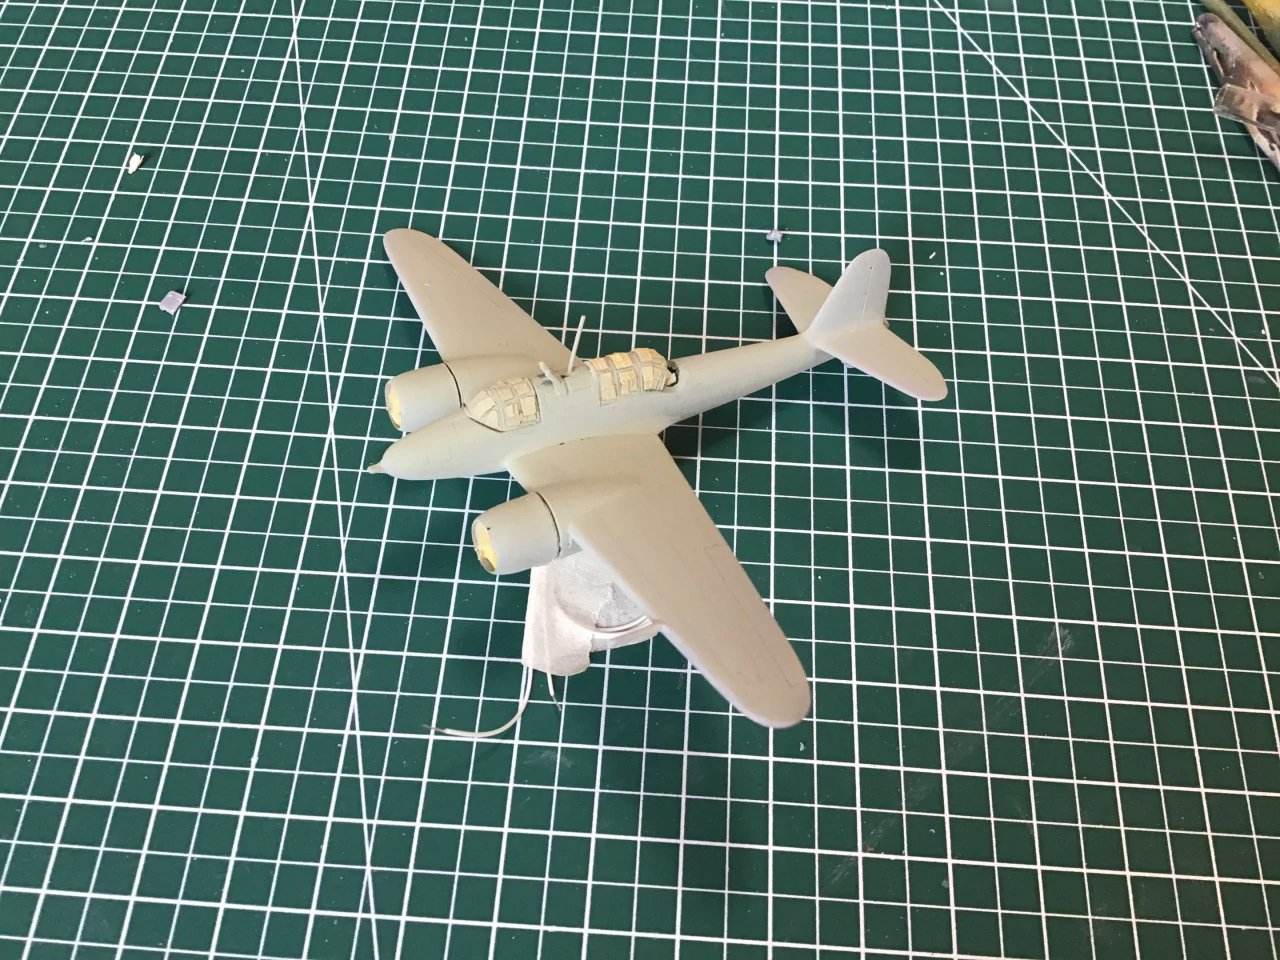
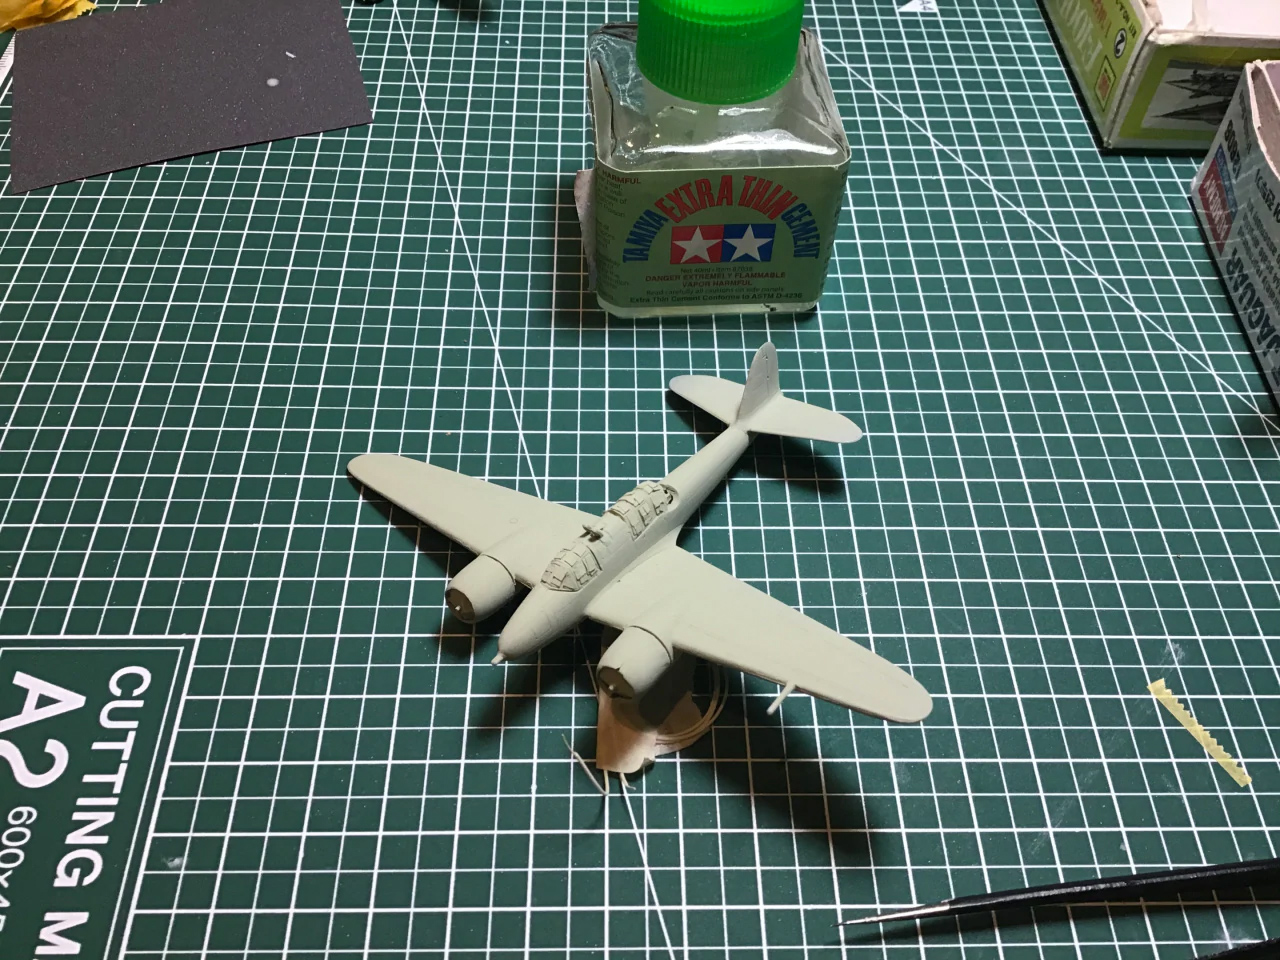
You’d think this one would be easy enough. It’s a bit of an older kit, but still pretty well-detailed all things considered. Although it was a bit of a challenge to close up the wheel wells (which obviously weren’t meant to be closed), I got it done reasonably well. Luckily I was also able to find room to fit in the electronics for both the twin motors inside the main fuselage. So not much to report on that front either. Probably the trickiest thing about the build itself was getting the engine nacelles drilled out. I used re-cast engines from the spares box (they’re not great, but they look better than the blank space that was there), but I accidentally over-drilled the left side nacelle. That meant it was a little thinner around the engines than I would’ve liked, but it is what it is.
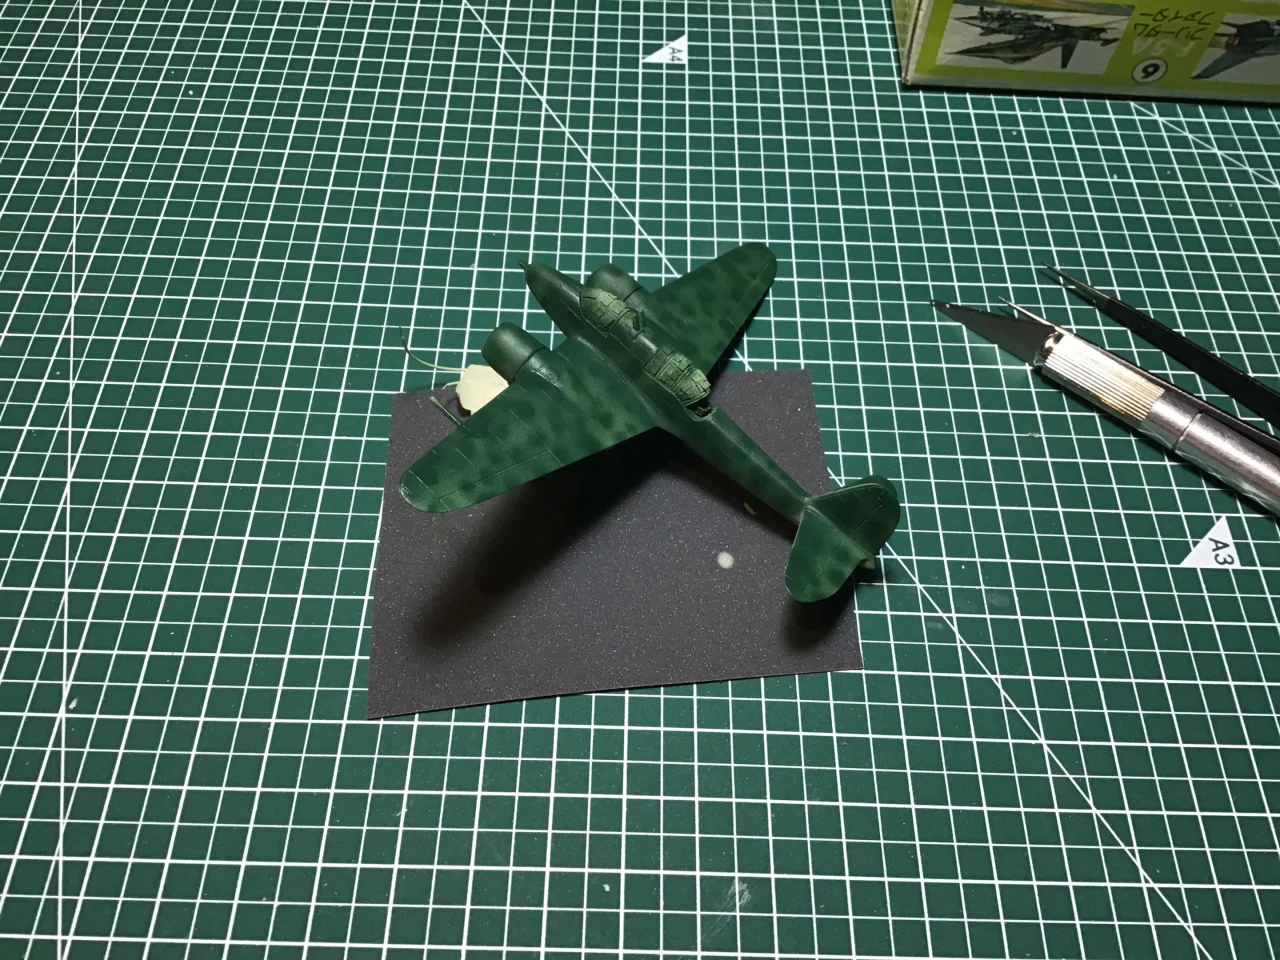
I also tried to get a bit more creative than usual with the paint job, but I wasn’t quite happy with the way the result was going, so I ended up mainly just painting it green. Perhaps I should’ve been braver and try something further outside my comfort zone… but baby steps I guess.
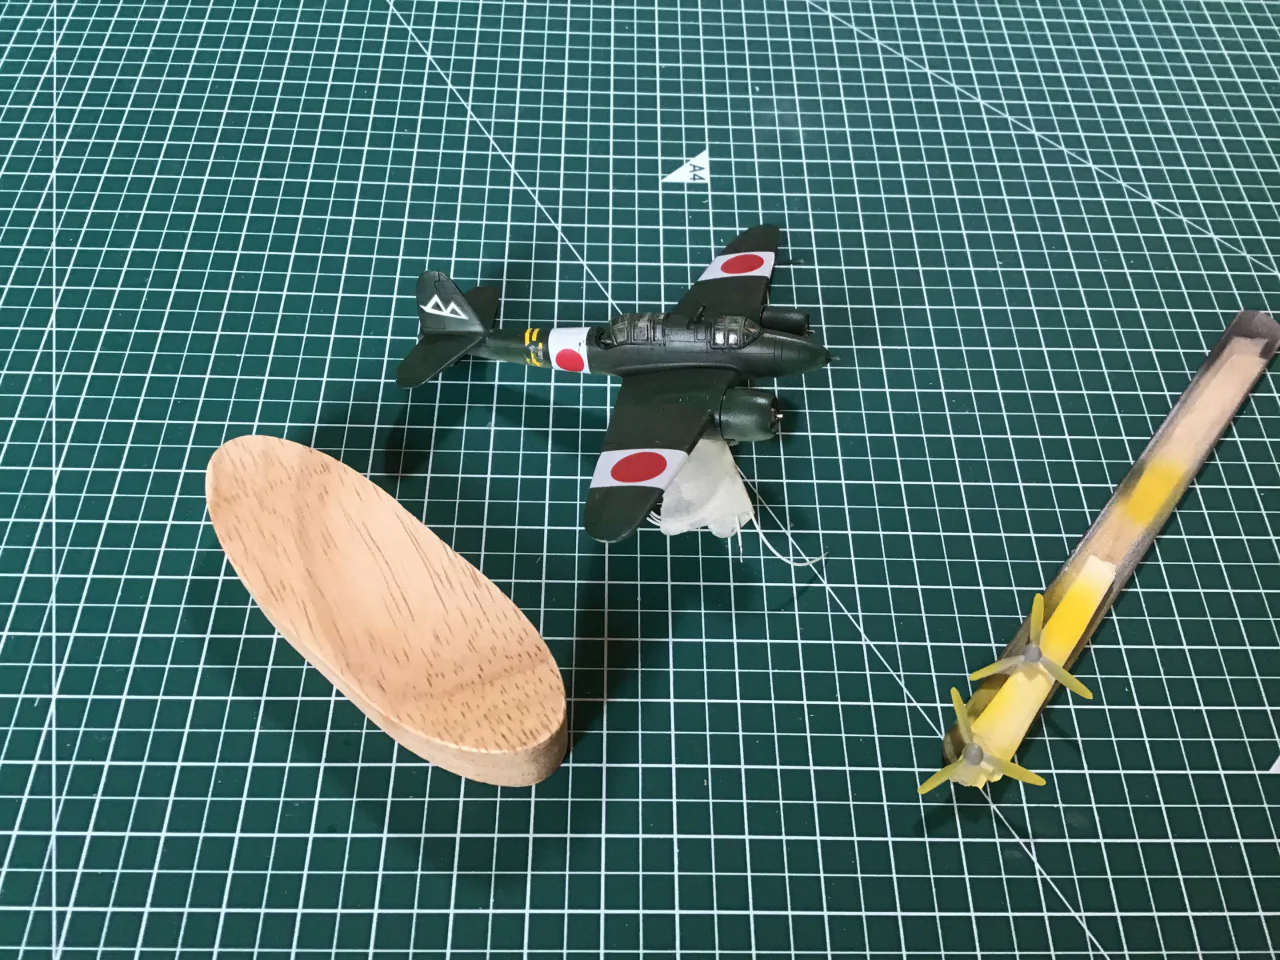
The biggest problem I had with the project was really the decals. I didn’t think they’d be much of a challenge – they’re relatively new and didn’t seem overly fragile. The problem was really that the directions in terms of placement were almost non-existent. I had a heck of a time getting the white “Hinotori” markings on the right wing so that the fold would fall naturally. Then, when I we to apply my hard-learned lessons to the left wing I realized the pilot tube made them practically useless since I had to cut it and just do my best.
The markings on the side of the fuselage were a bit easier, but the overlap of the decals on the wrap-around made it hard to align them properly – and then I forgot what I was doing for a second and managed the smudge the wet decals and destroy them on the right-side of the fuselage. Sigh… some days you just can’t win.
This one seems like a prime candidate for a “do-over” – especially since there were two kits in the box and the other one has no other project assignment. Oh well… we shall see. After all, this is a Voir et Savoir Plus project – so there’s less of need to strive for excellence in a project add-on… right?
Feel free to leave me a comment and tell me what you think.

Discover more from strobez
Subscribe to get the latest posts sent to your email.