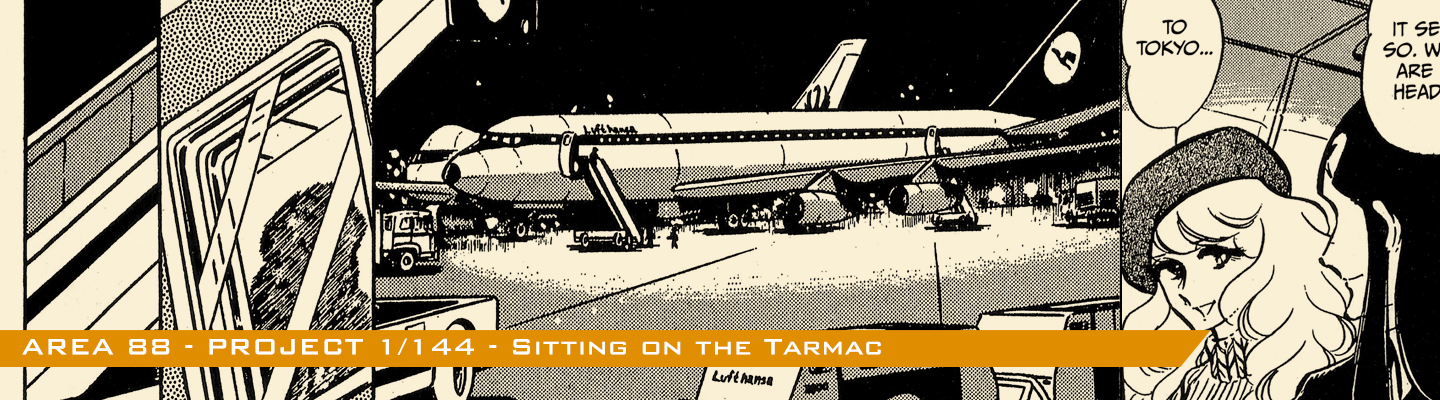
Sitting on the Tarmac (Area 88)
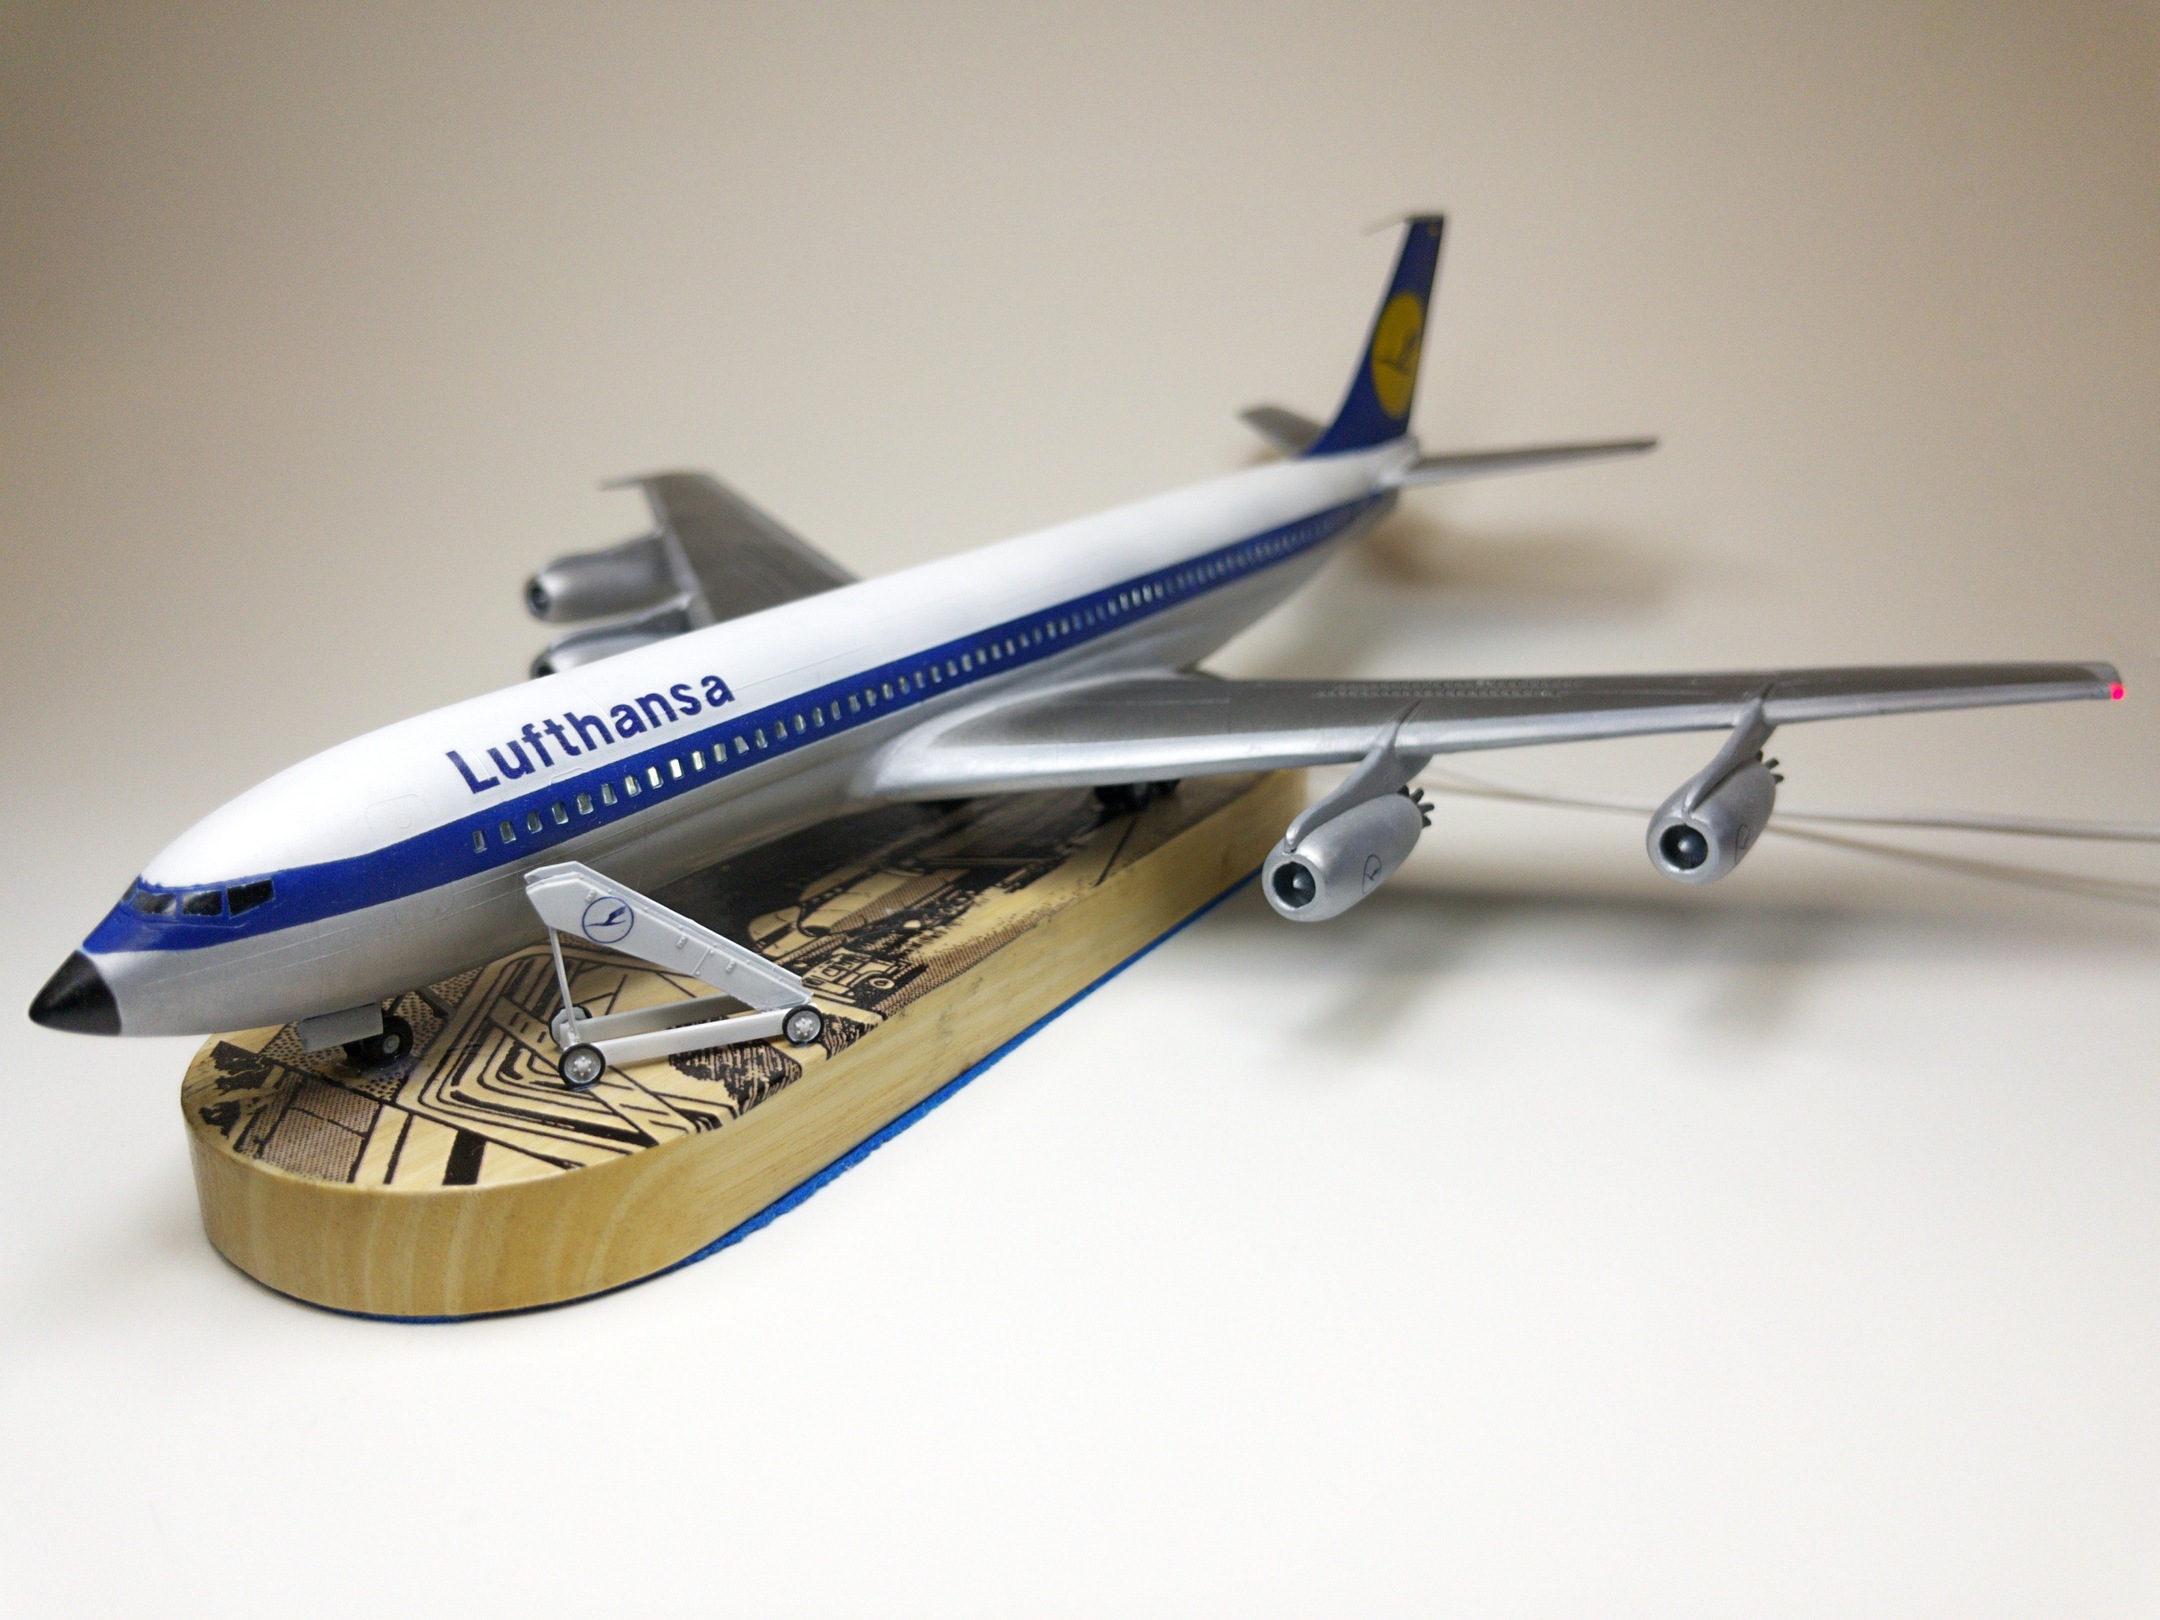
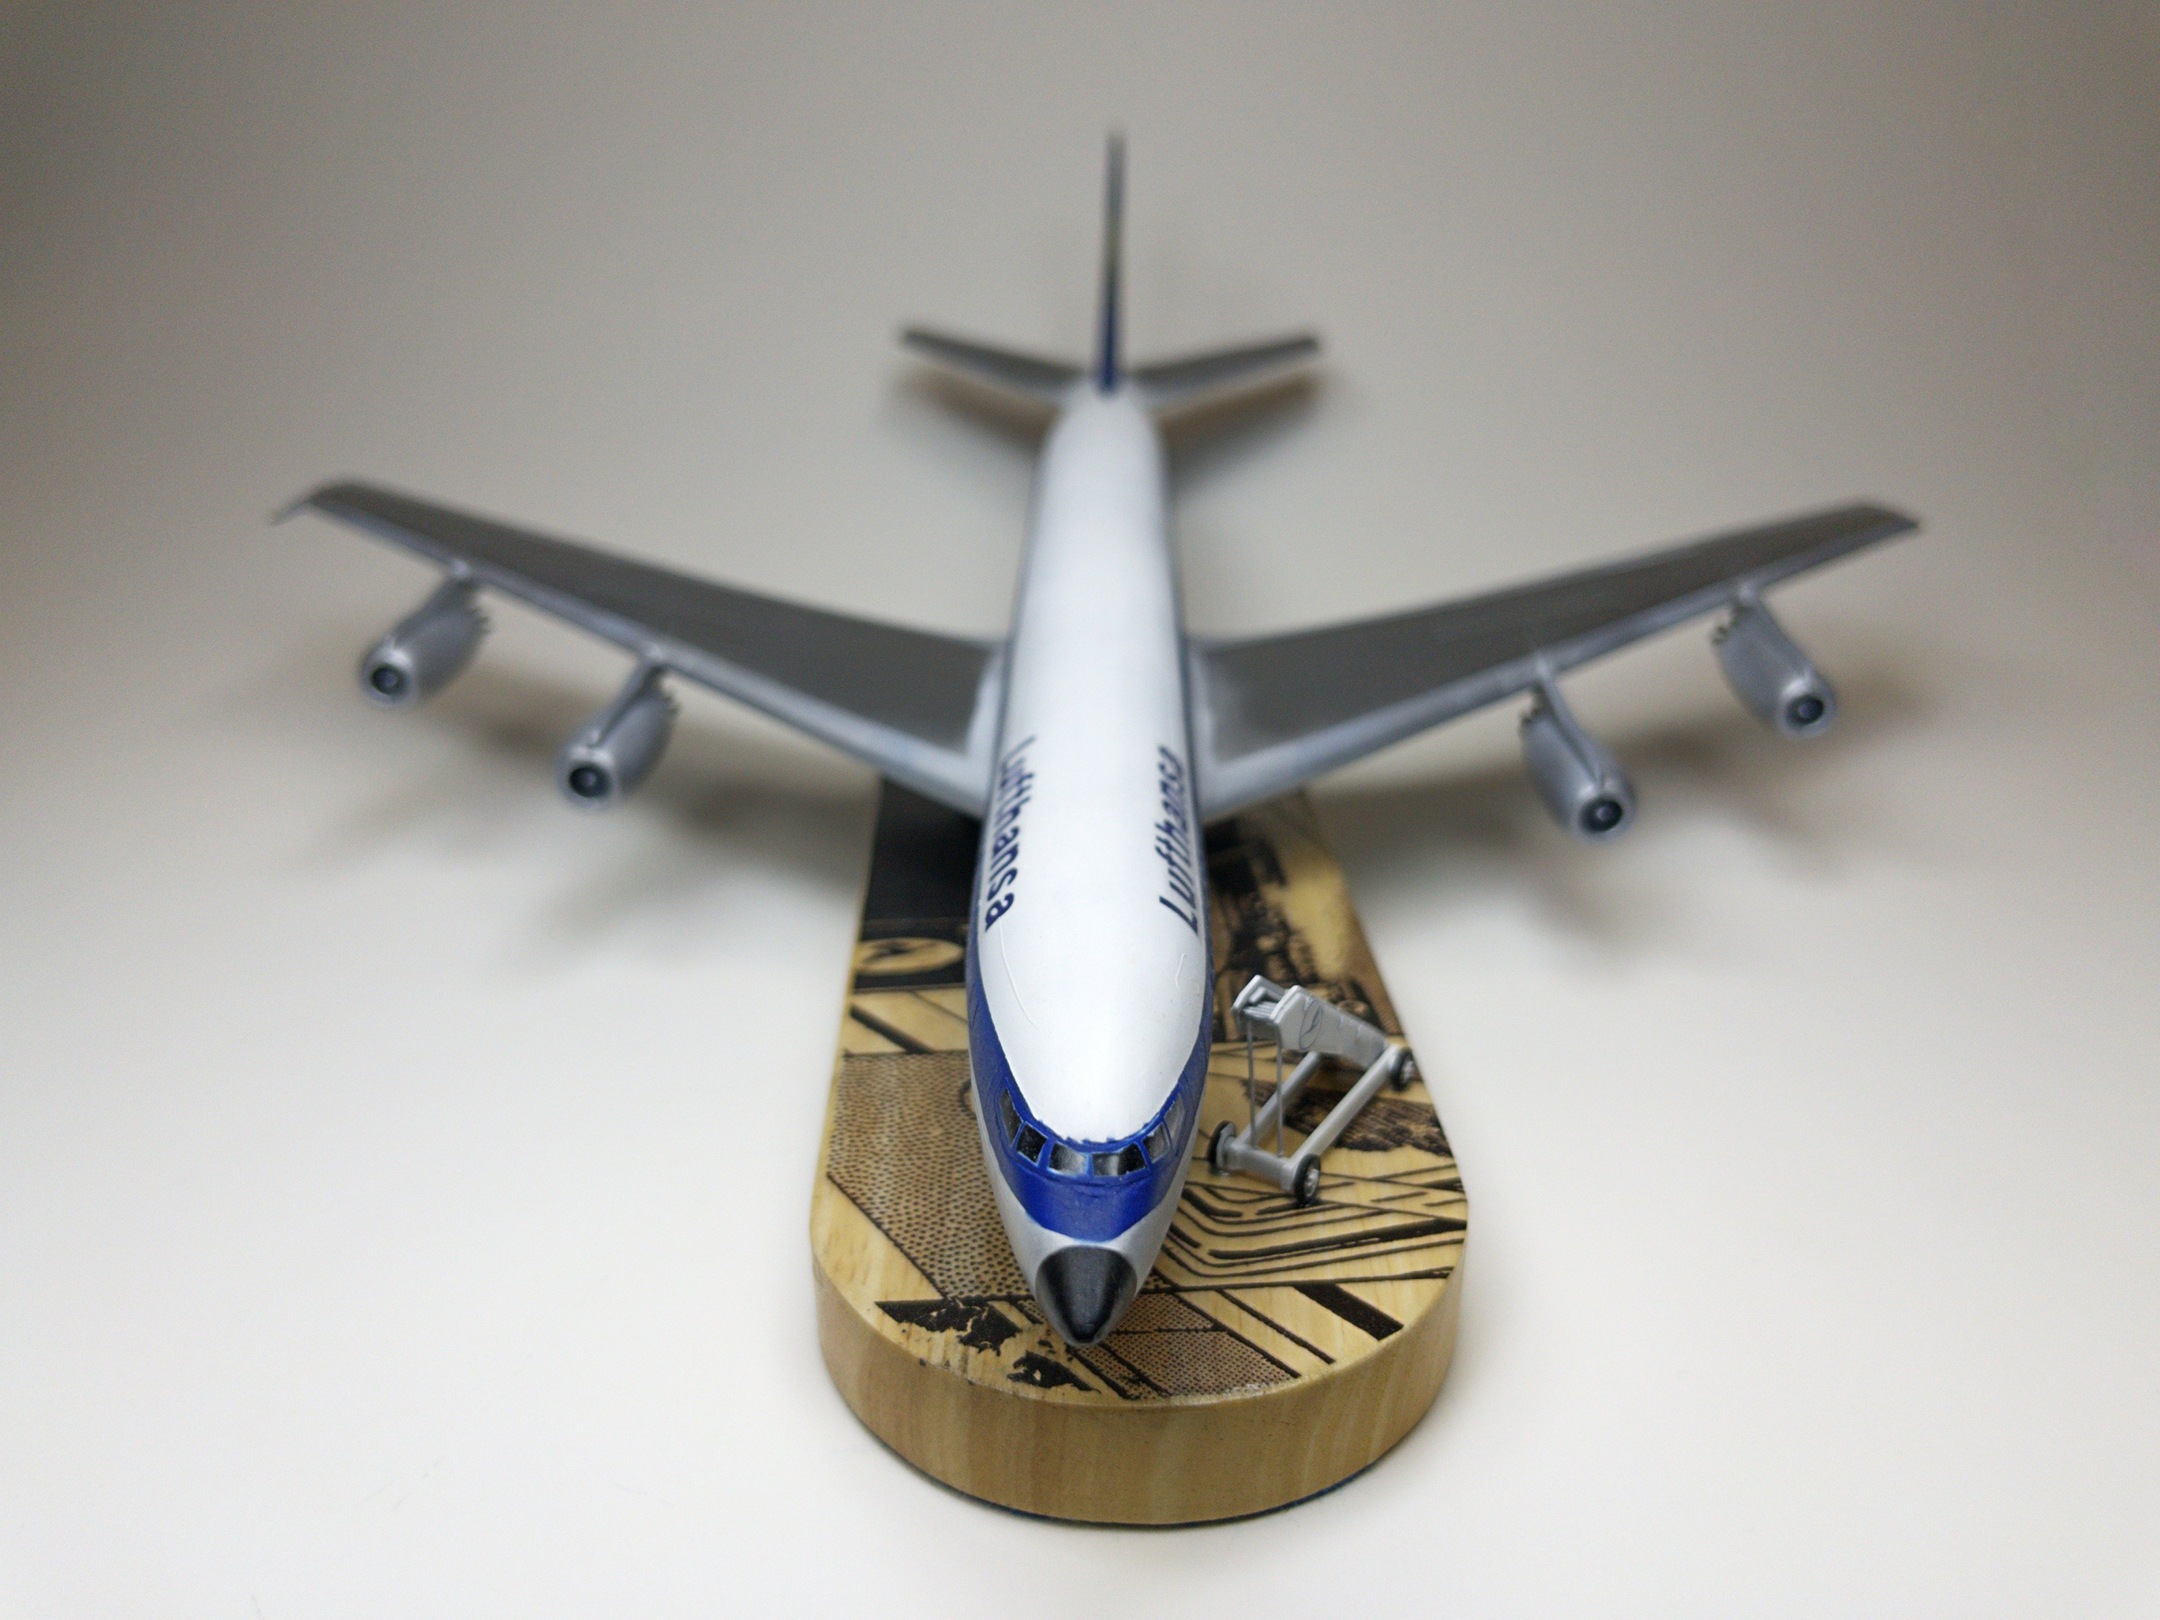
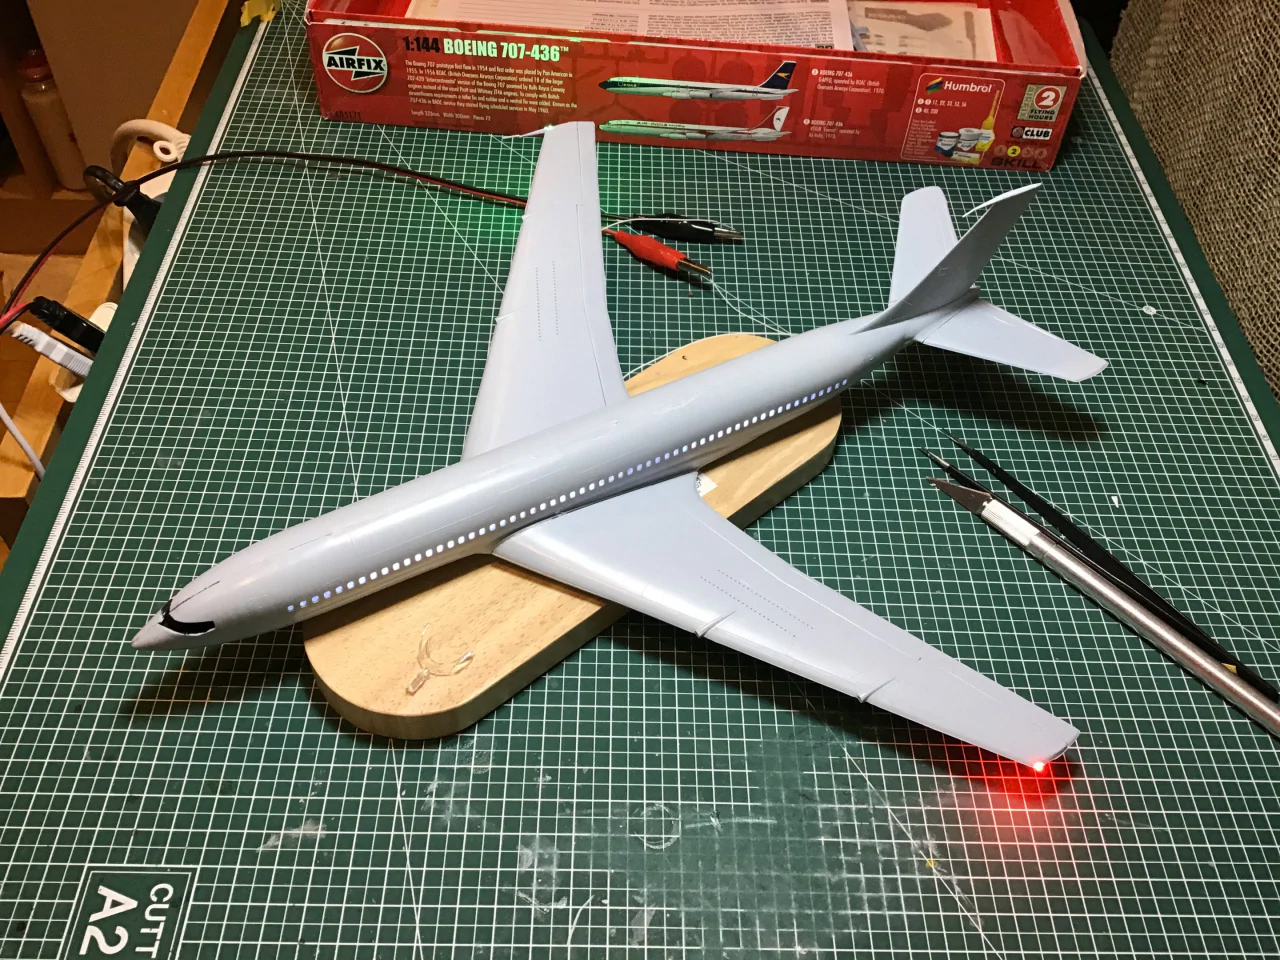
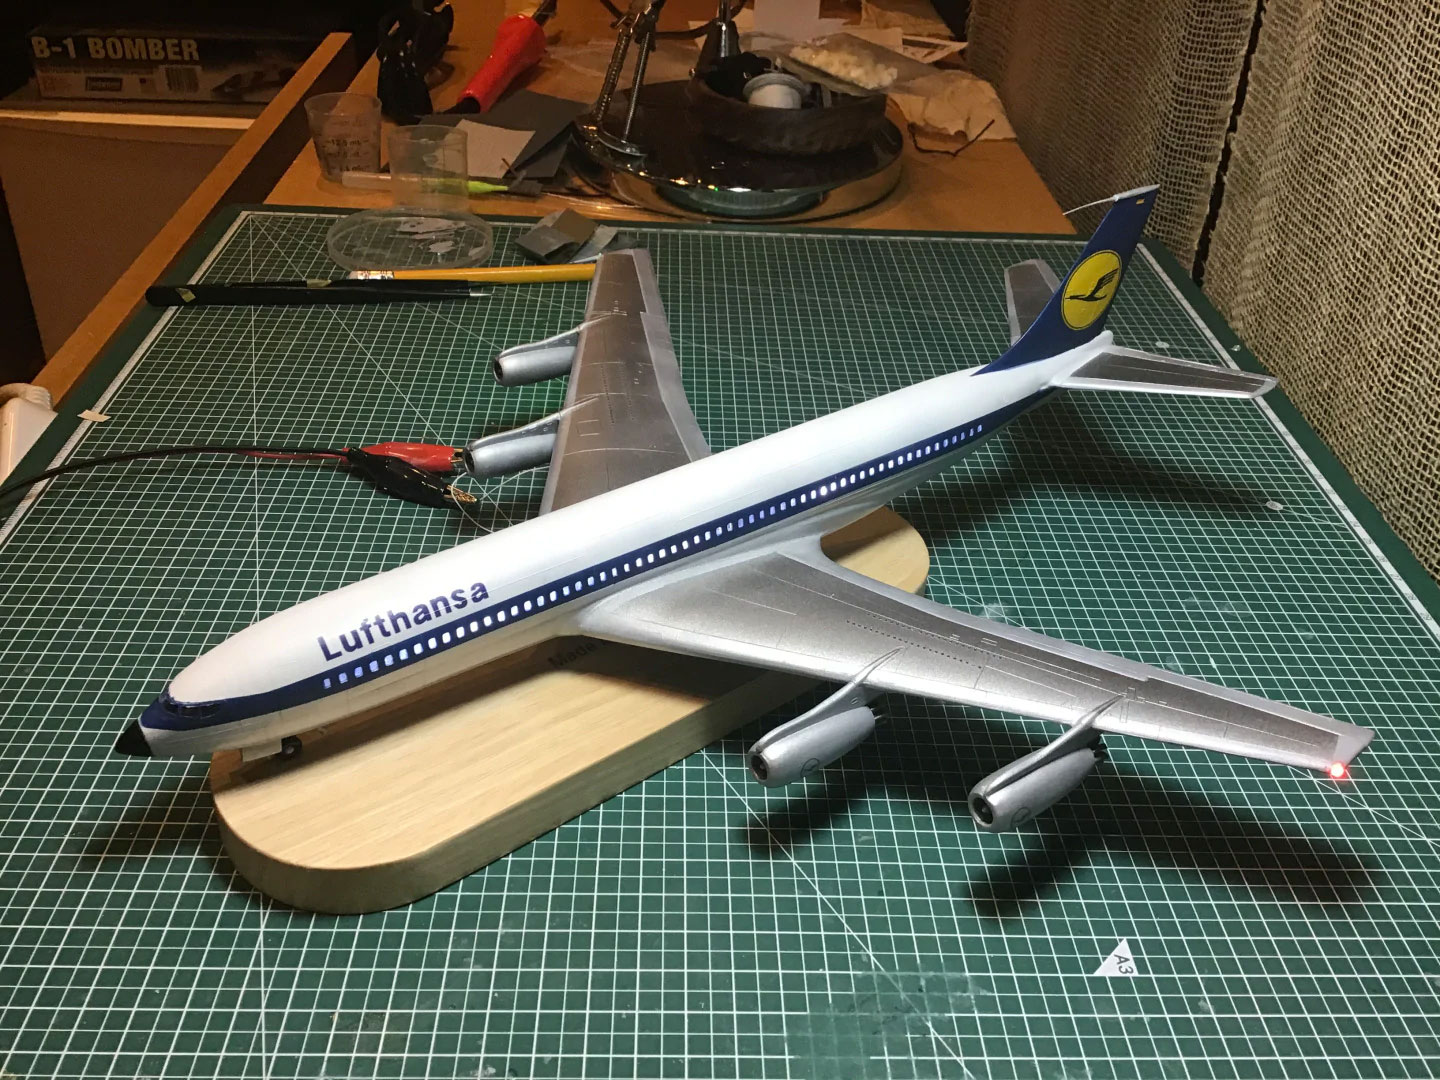
The finished model:


The video
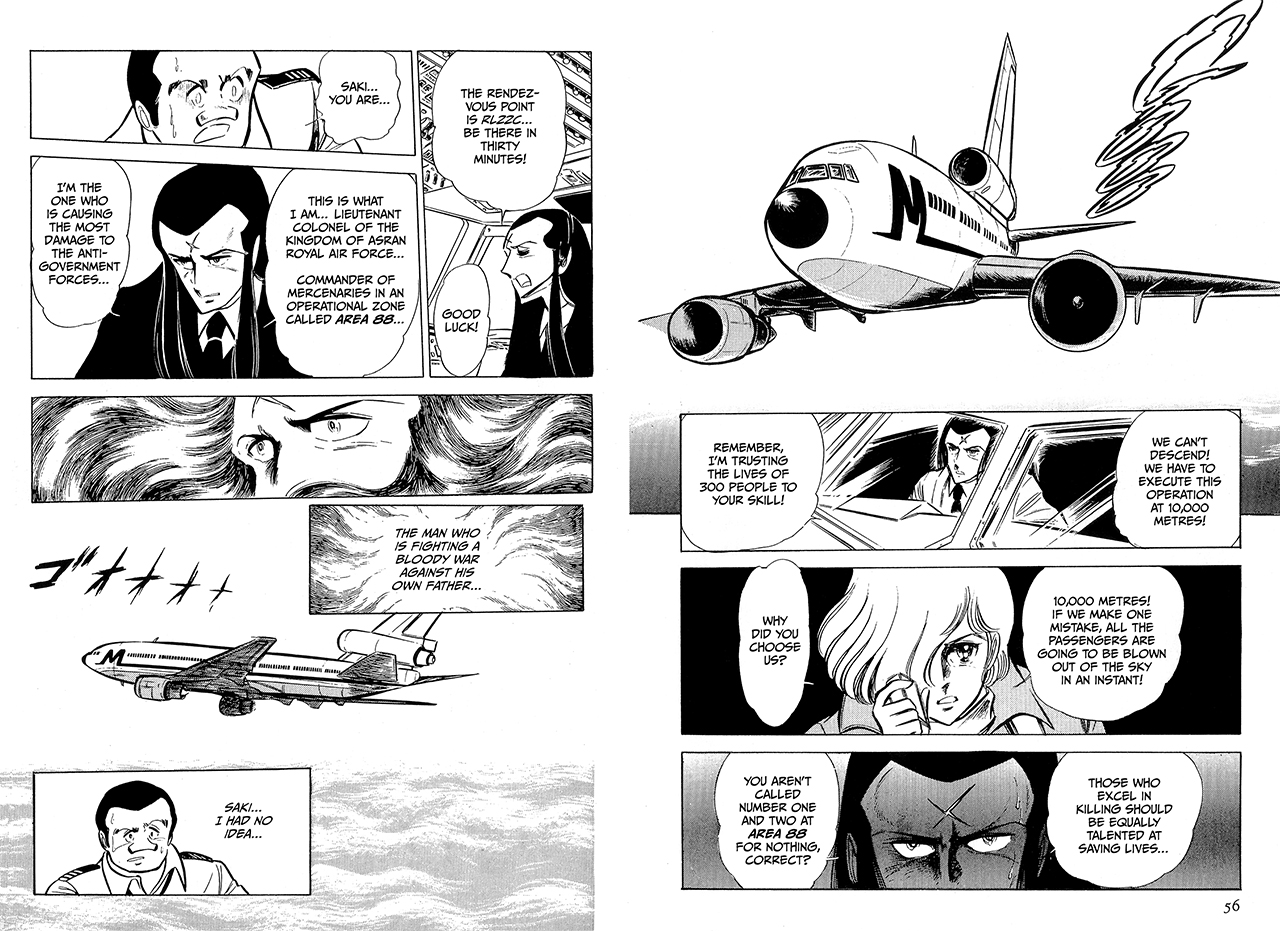
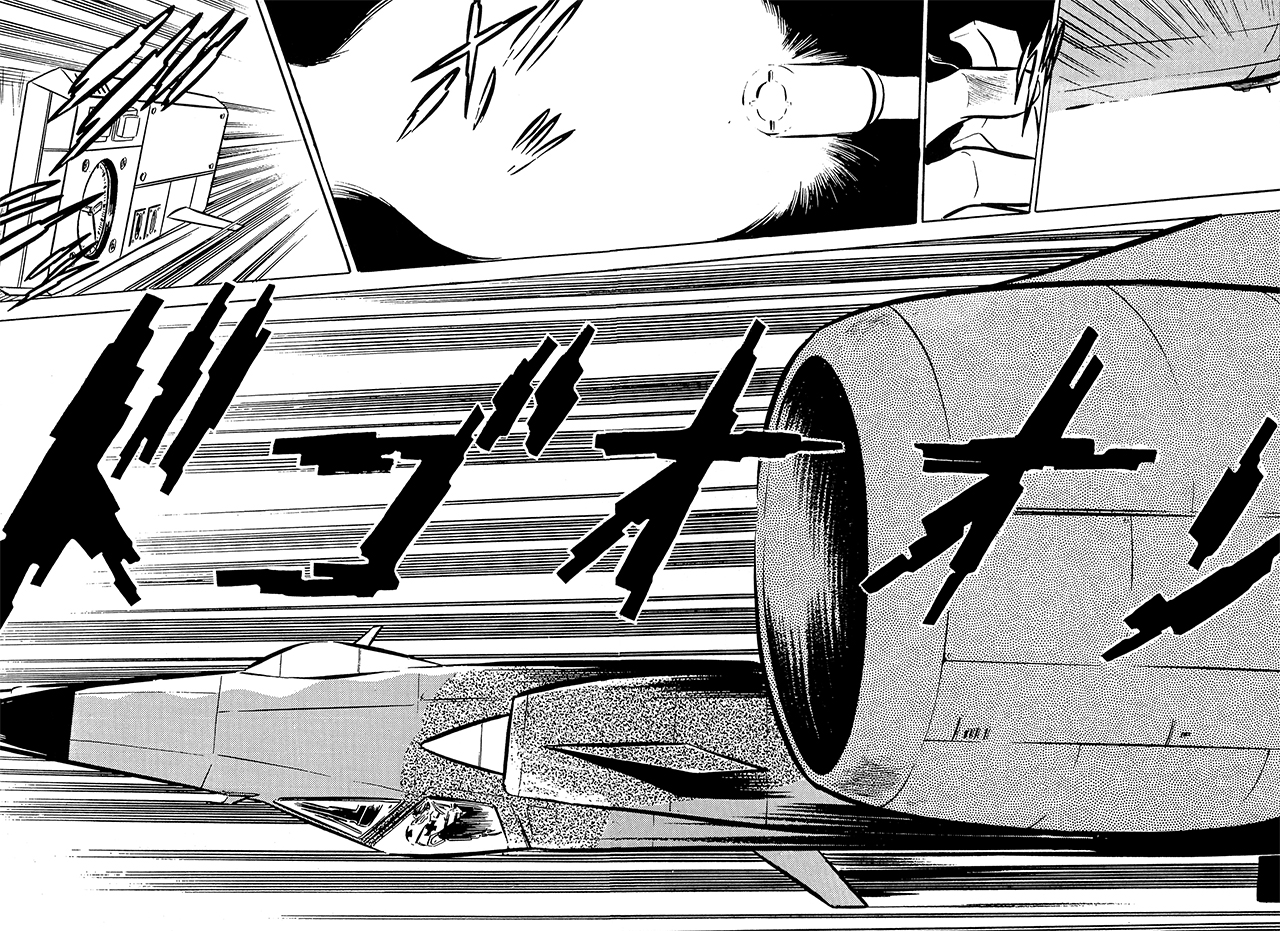
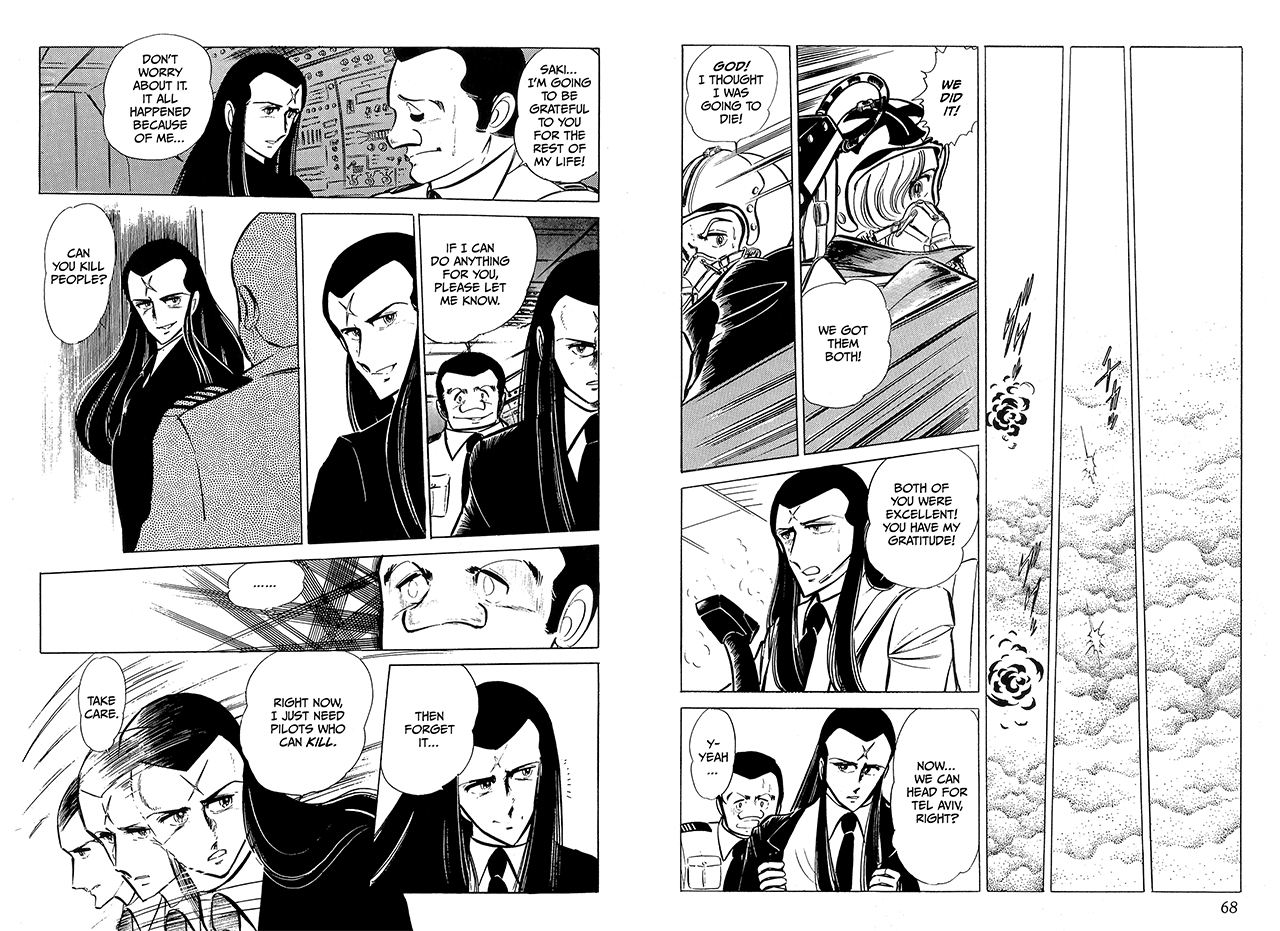
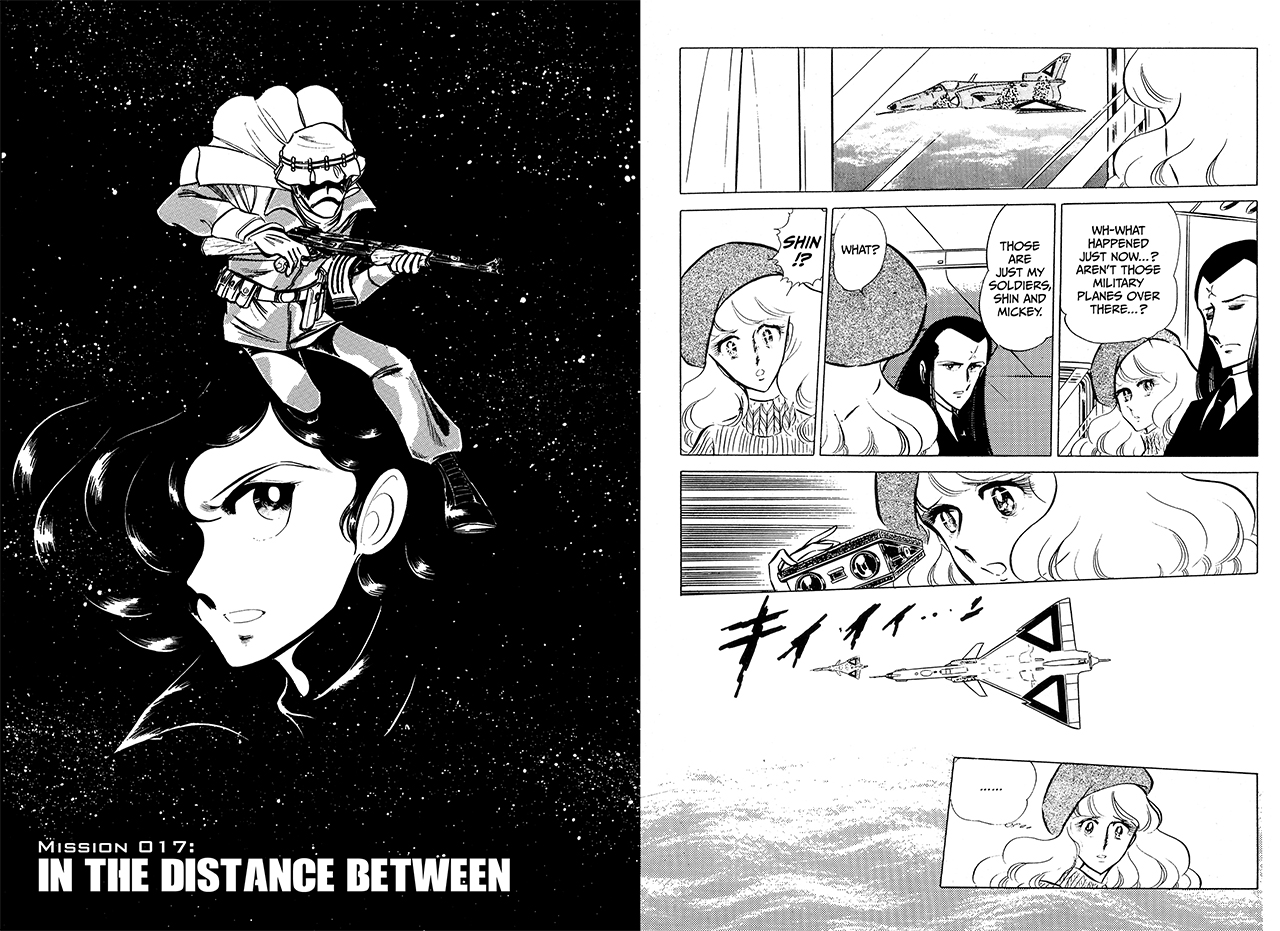
The scene:
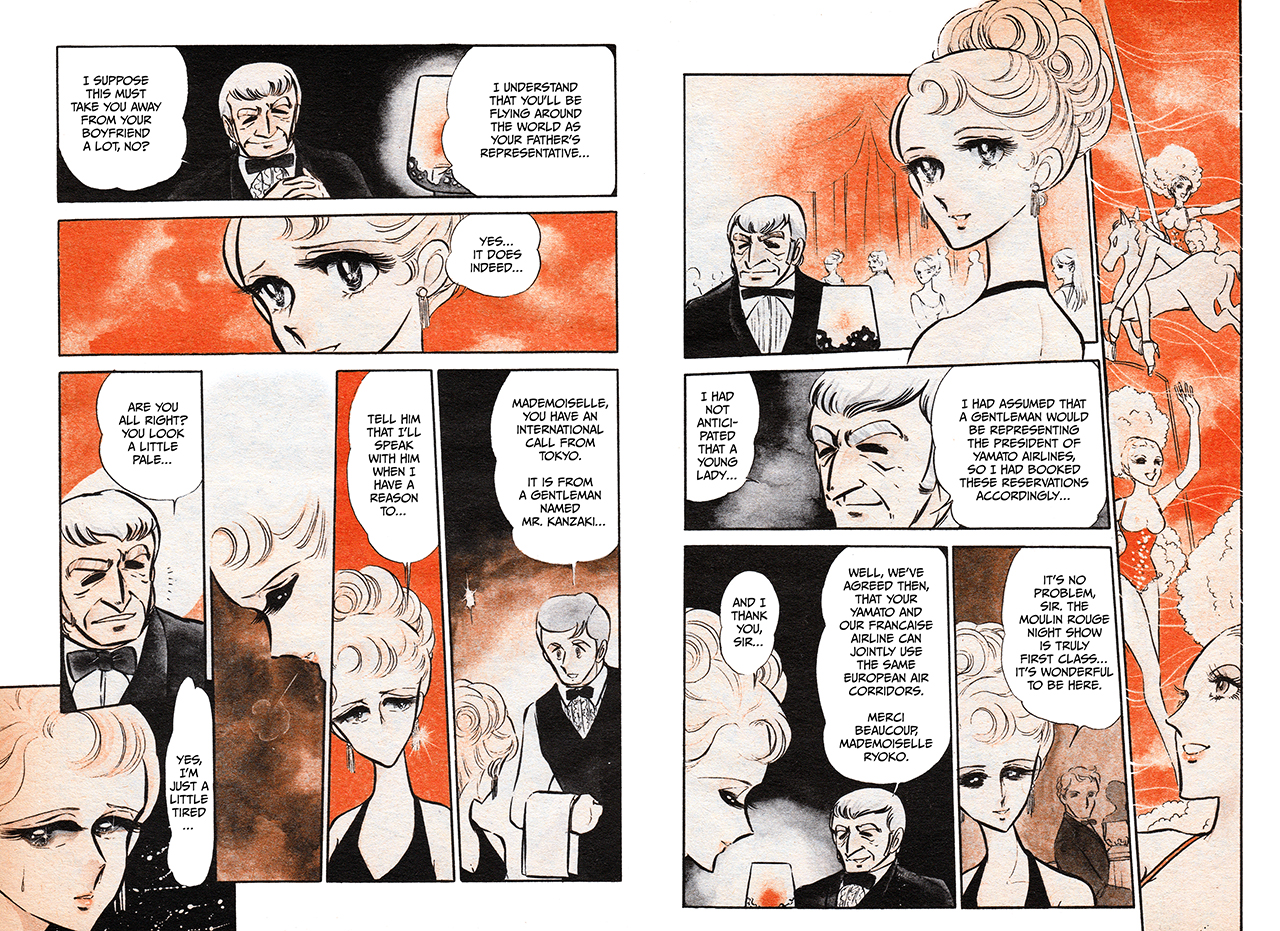
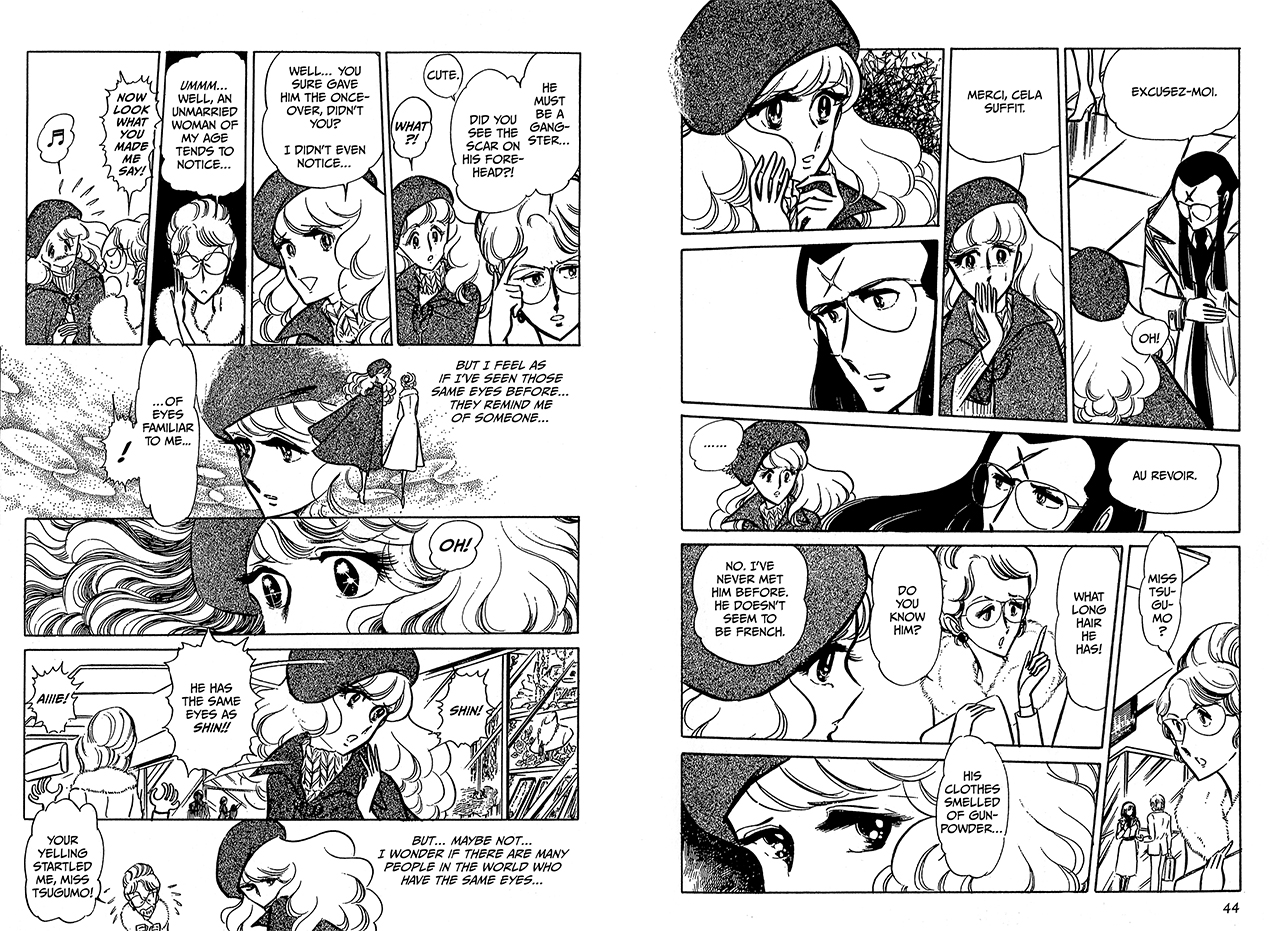
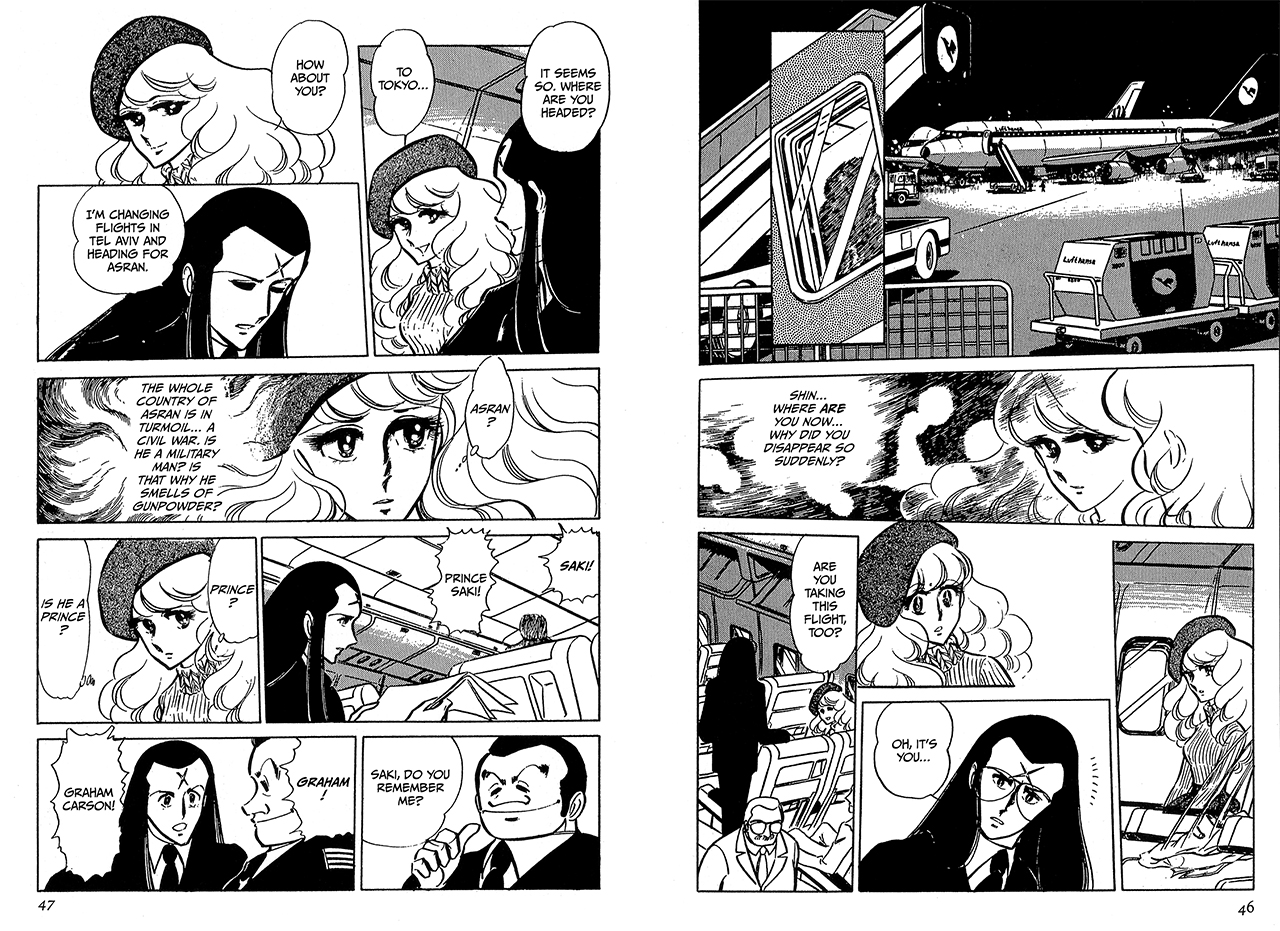
After her father instructs her to return to Japan, Ryoko and Taeko book a flight on MacGregor airlines after all the Yamato Airlines flights are sold out. At the Charles De Gaulle Airport in Paris, Ryoko has a chance encounter with Saki Vashtar which makes her suddenly reminisce about Shin. As she gazes wistfully out her window, she spots a Lufthansa B-707 on the tarmac, loading passengers and cargo.
Check out the original manga scene from Chapter 016 “The Explosive Sky” here:
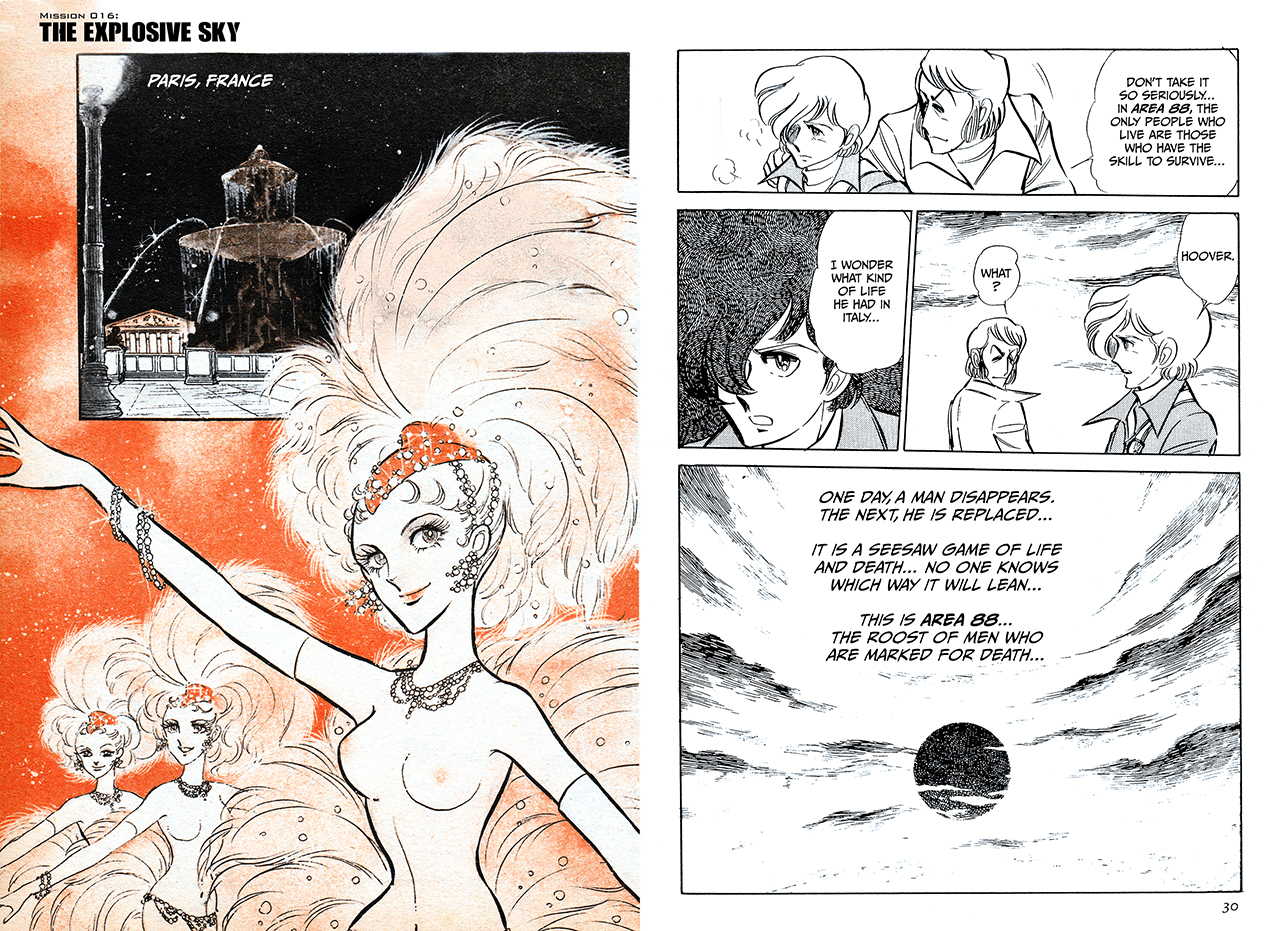


The story:
Urm… okay, I’ll confess… there’s not really much of a story in this case. Ryoko’s fortuitous meeting with Saki is really better defined by the “Upside Down Bomb” build I already did. However, I had so much fun building that DC-10, that I started thinking about what other airliners I could incorporate into my Area 88 1/144 project. Of course, I’ve got plans for a B-747, an A-300, and a Lockheed Tristar already, but each of those will be bigger and better projects. For this one, it was really the fact that a) I could I identify the B-707 from the panel image and b) it was just sitting there on the shelf at Neighbour Hobby waiting for me to pick it up and carry it home. This is probably the build with the most tenuous connection ever to Area 88 – none of the characters (major or minor) even come close to it. But… who cares? Right?
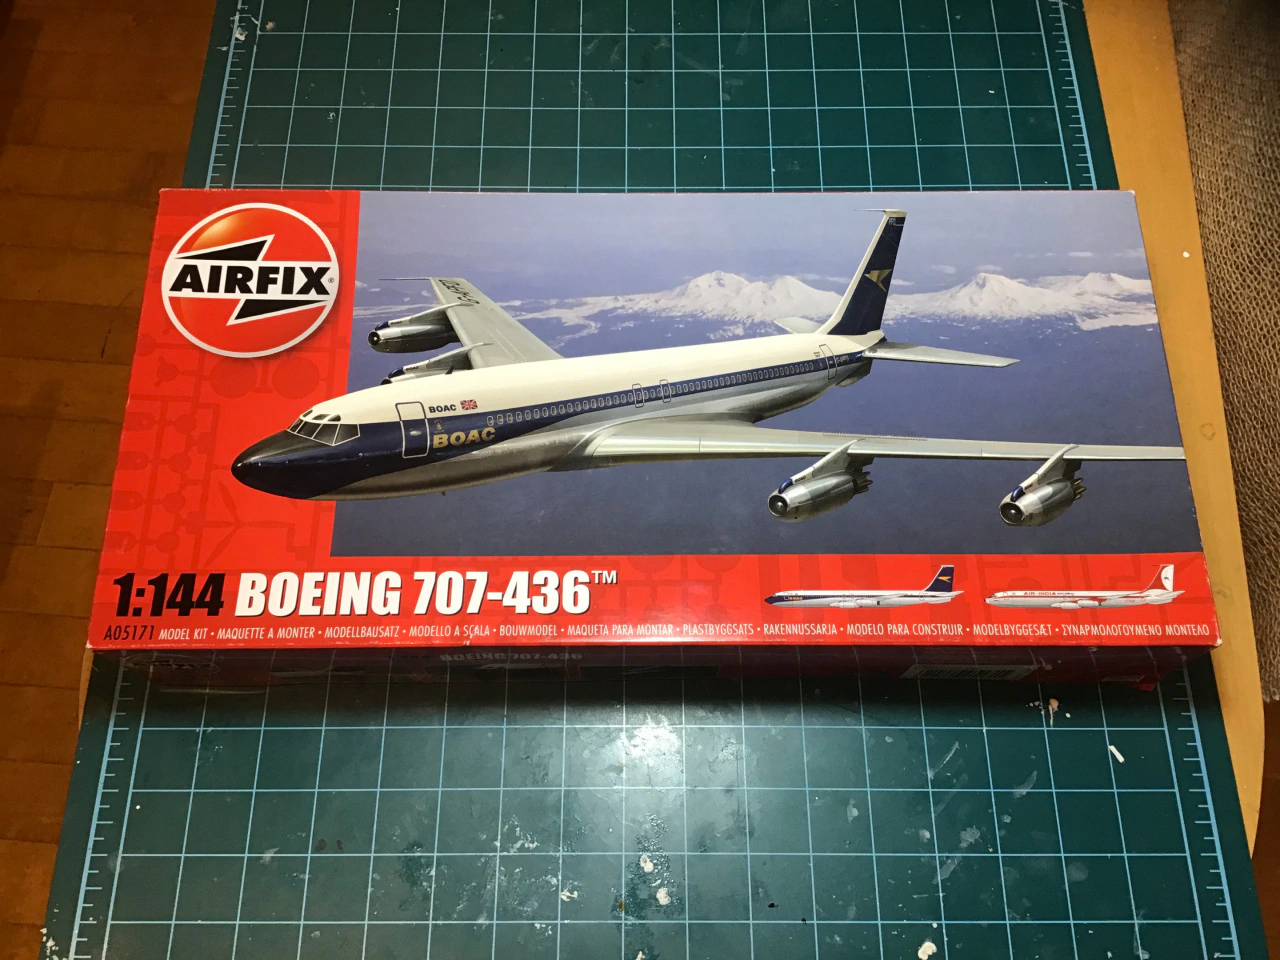
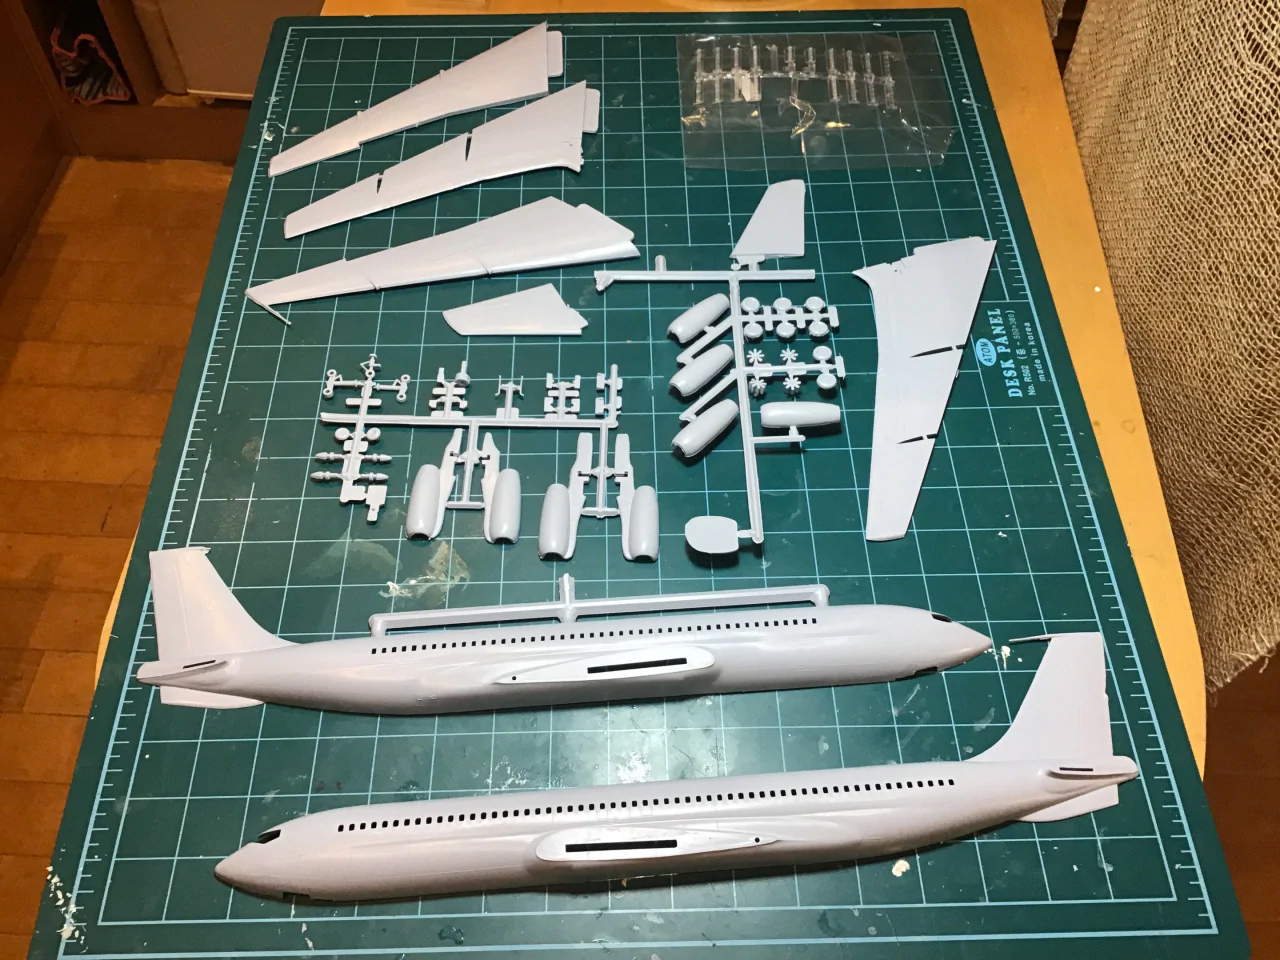
The kit(s):
- Boeing 707-436 by Airfix
The build:
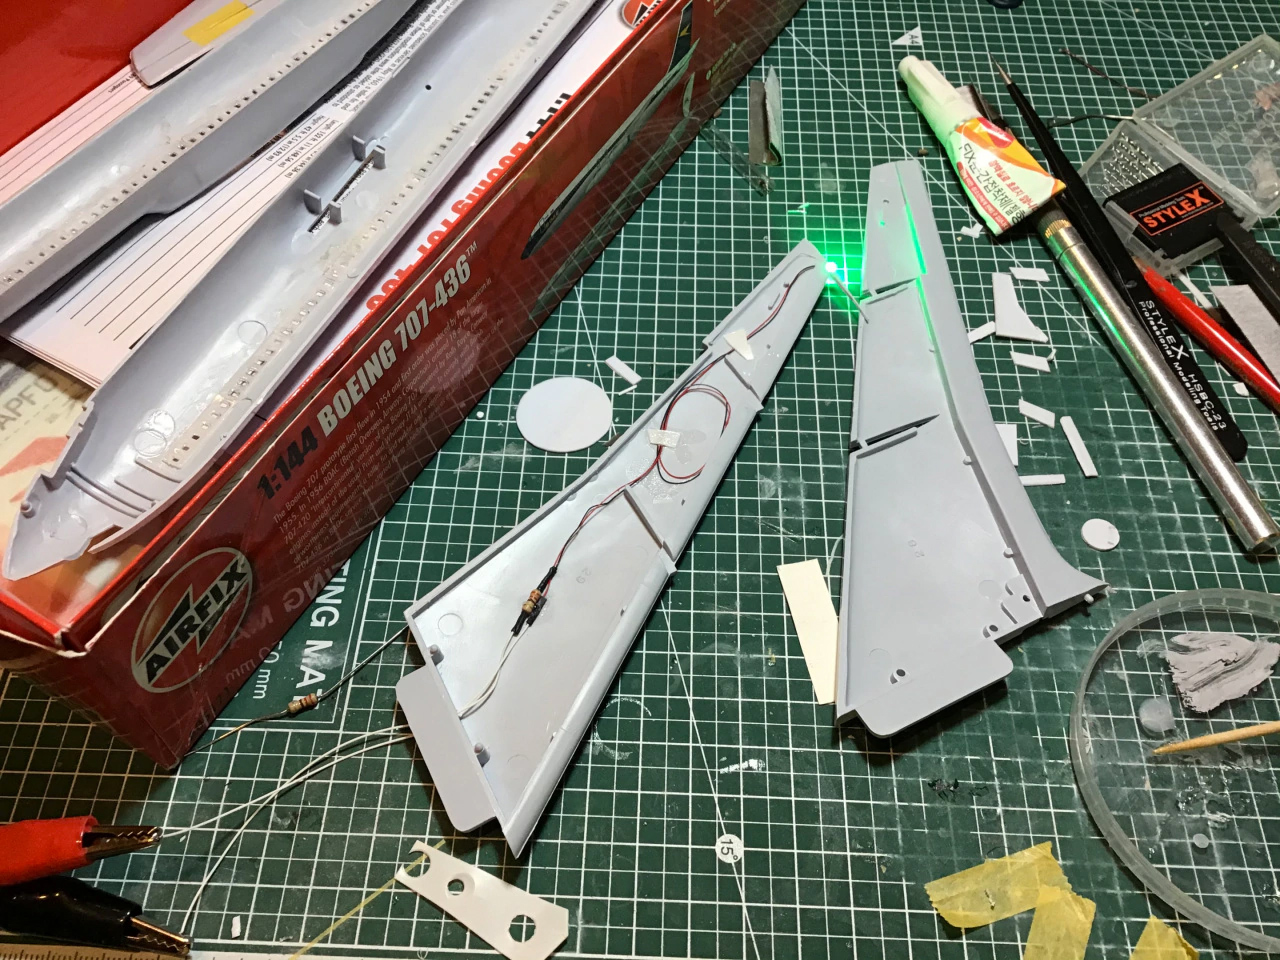
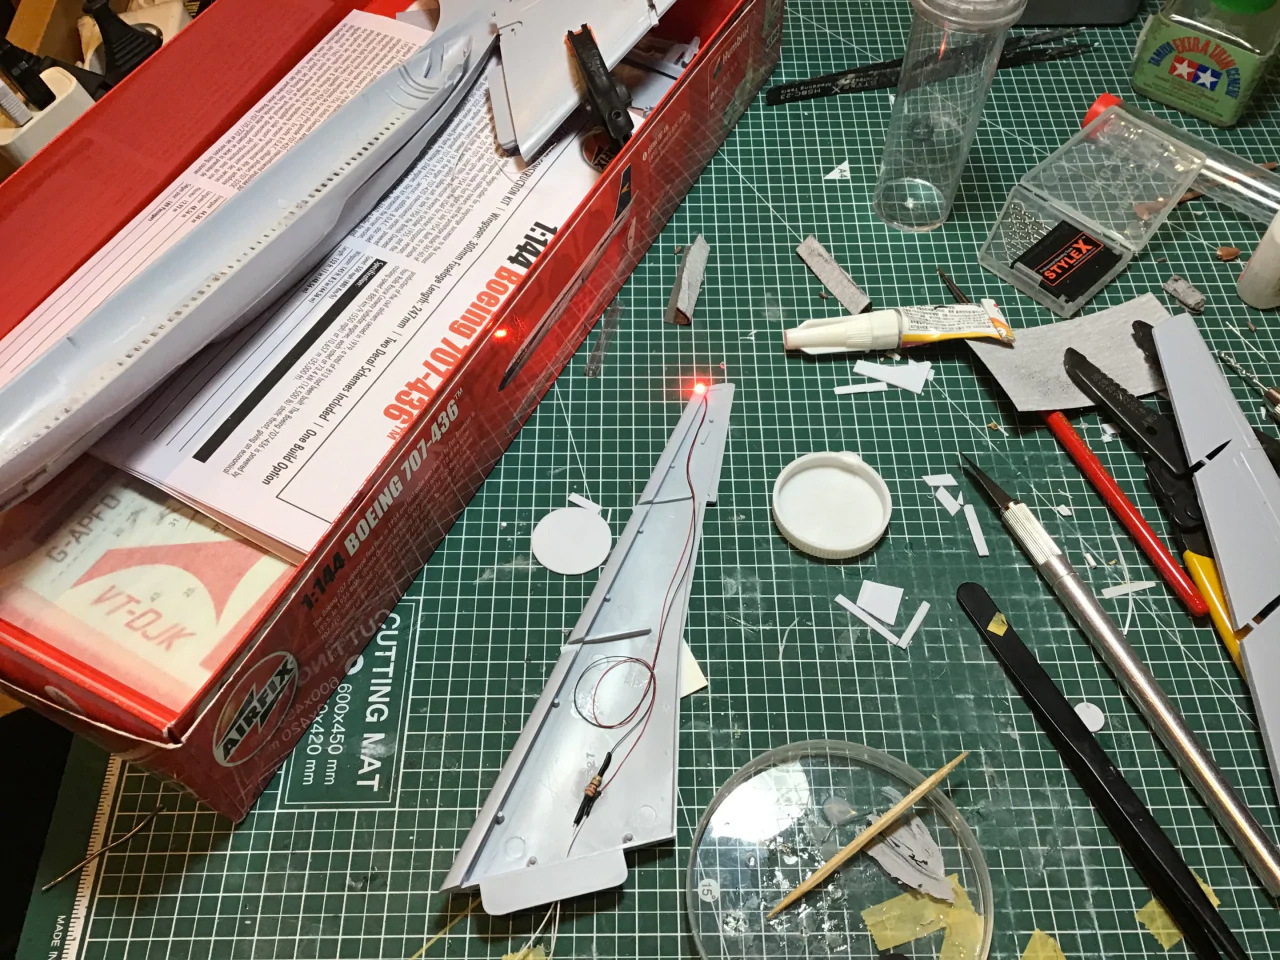
This build took a while to really get rolling. One of the reasons it stalled out was because I couldn’t quite figure out what the lighting should look like. After working on the DC-10 in my “The Upside Down Bomb” project, I had a good sense of what lights would be on while flying, but what about parked at the gate? There’s lots of information about what all the lights do, but it’s extremely hard to find out exactly when and where they’re used. Luckily a kindly soul named Chaz Gordon at Scalemates.com offered up this bit of advice:
“General rule – If there are steps or Jetway positioned to the aircraft – Interior only
No equipment Around – All Marker & navigation lights running
Parked and closed aircraft would be chocked with no lights running”
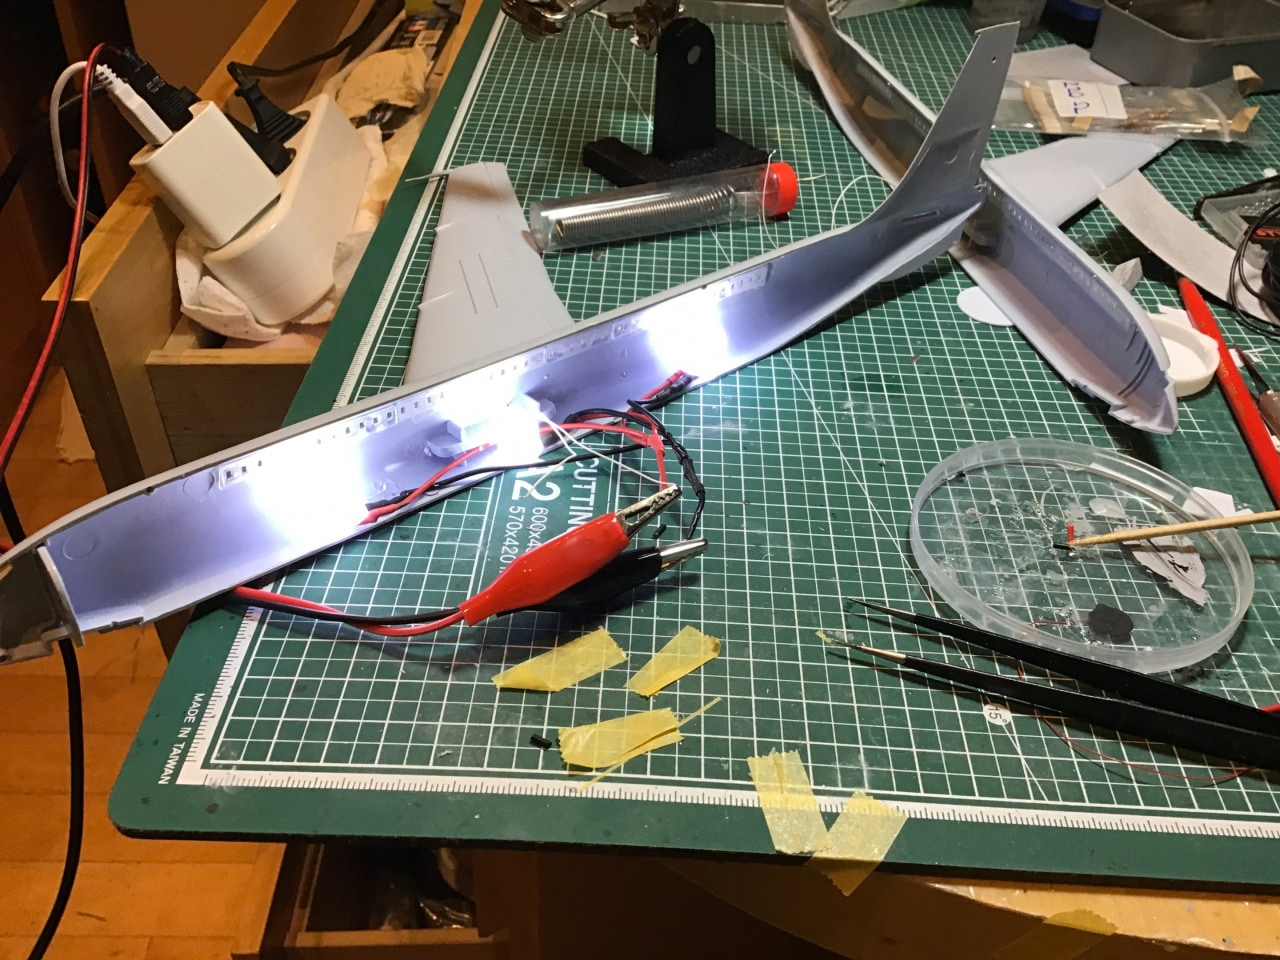
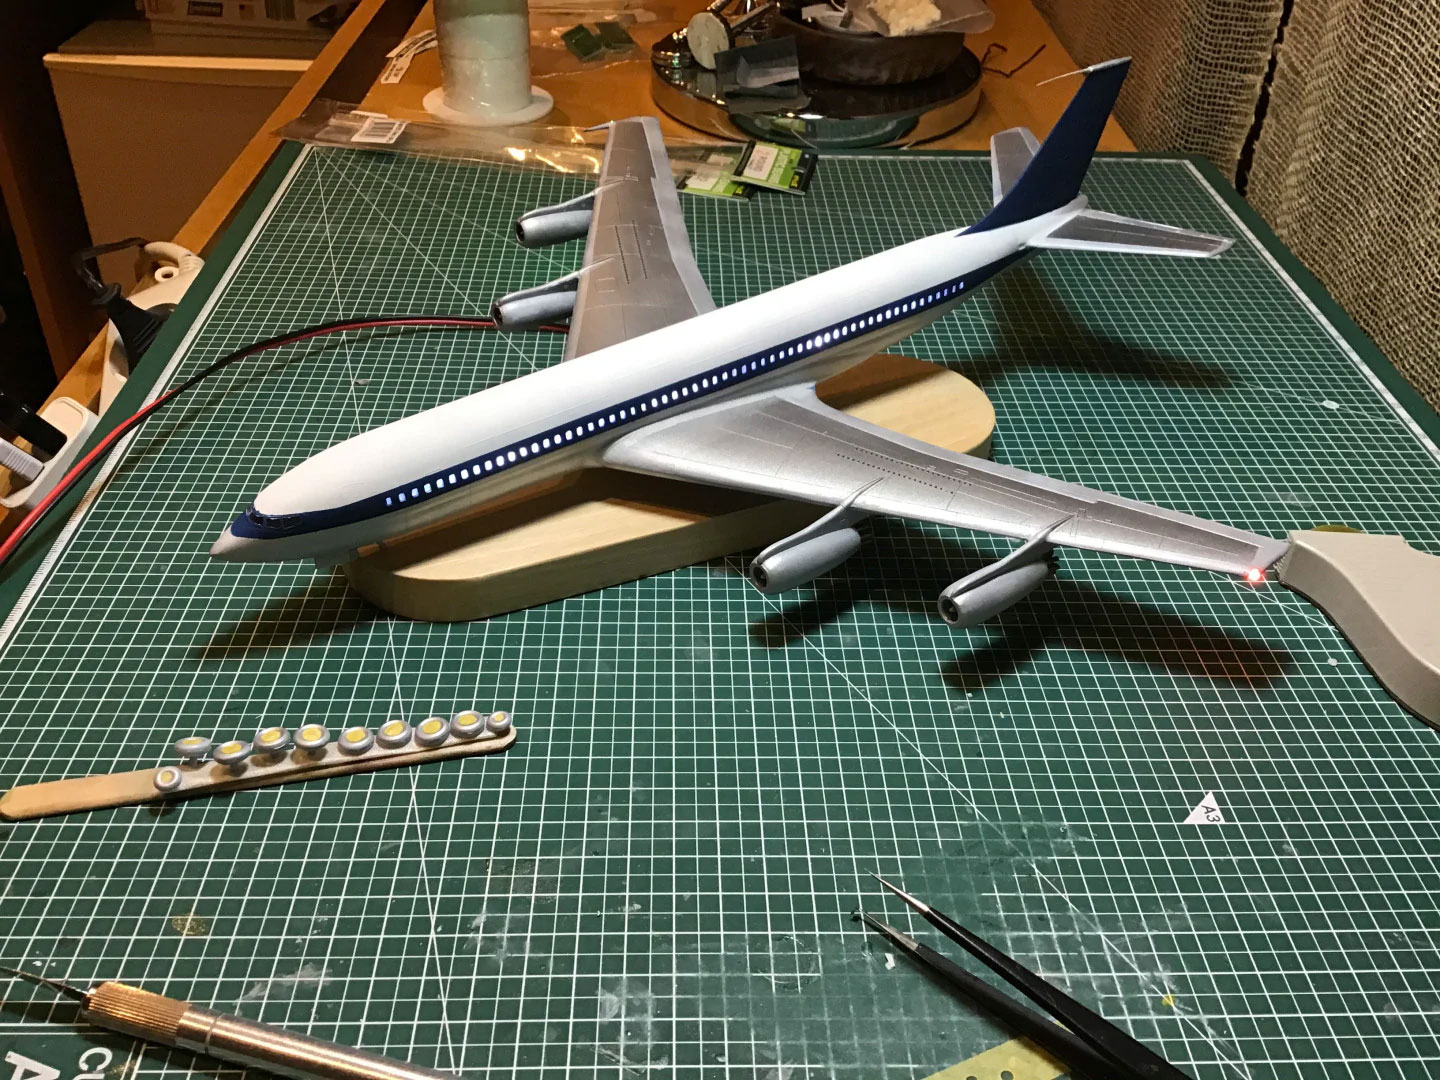
So, with that in mind, I decided to go ahead and just fill the cabin with some diffused white LED light… but I also added the red/green wingtip position lights, just because they look pretty.
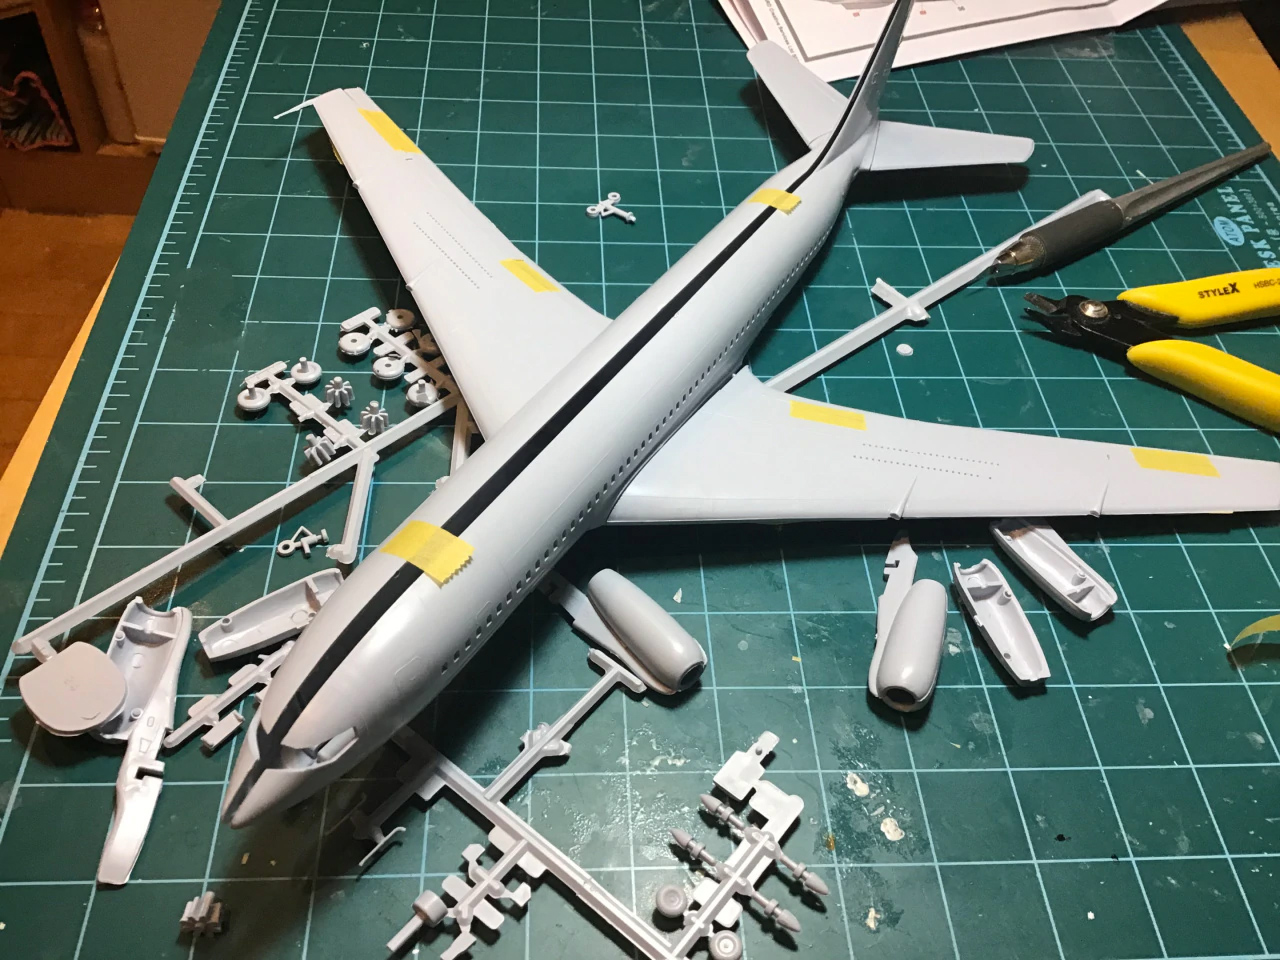
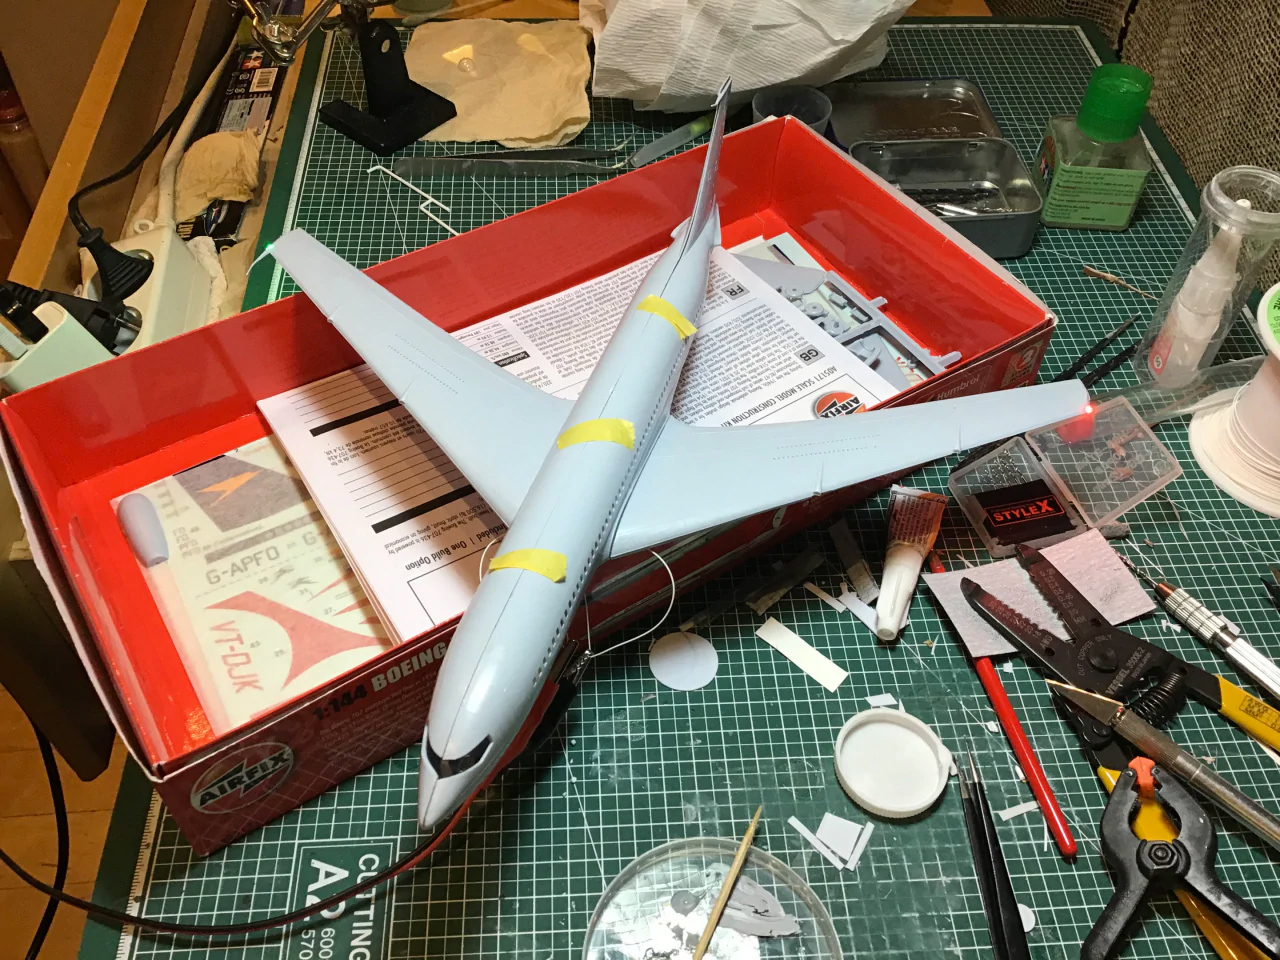
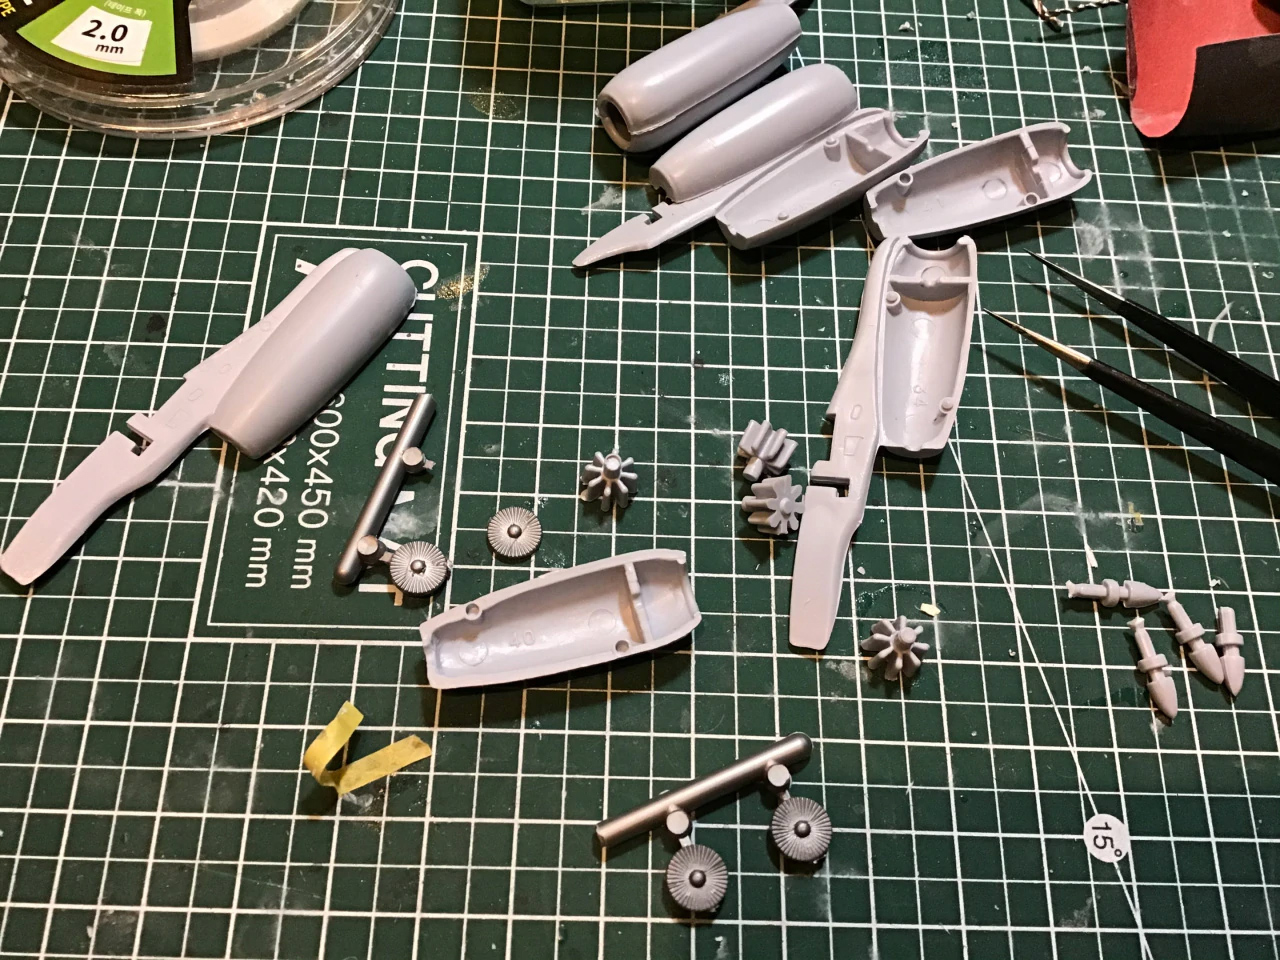
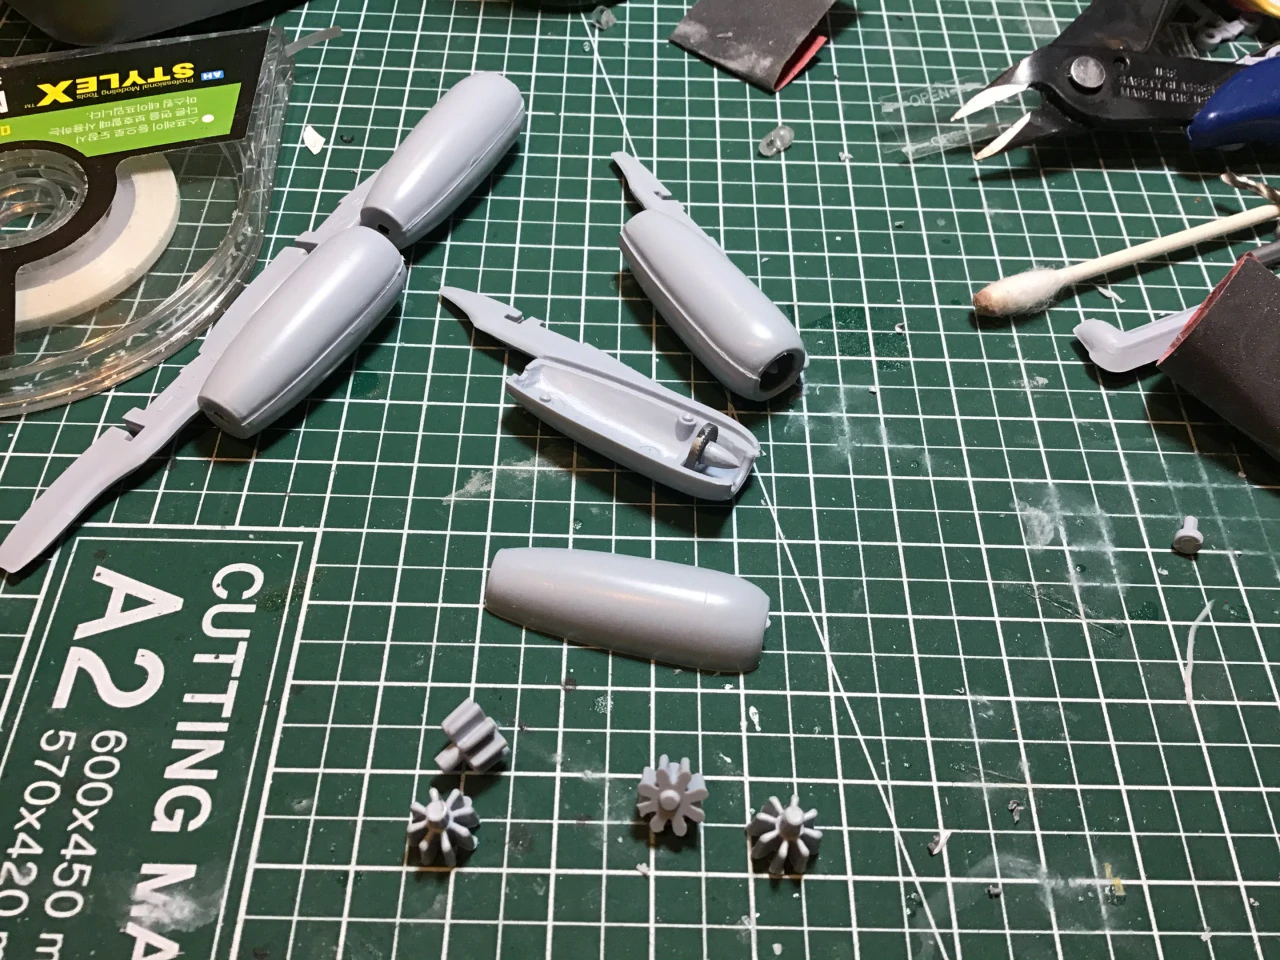
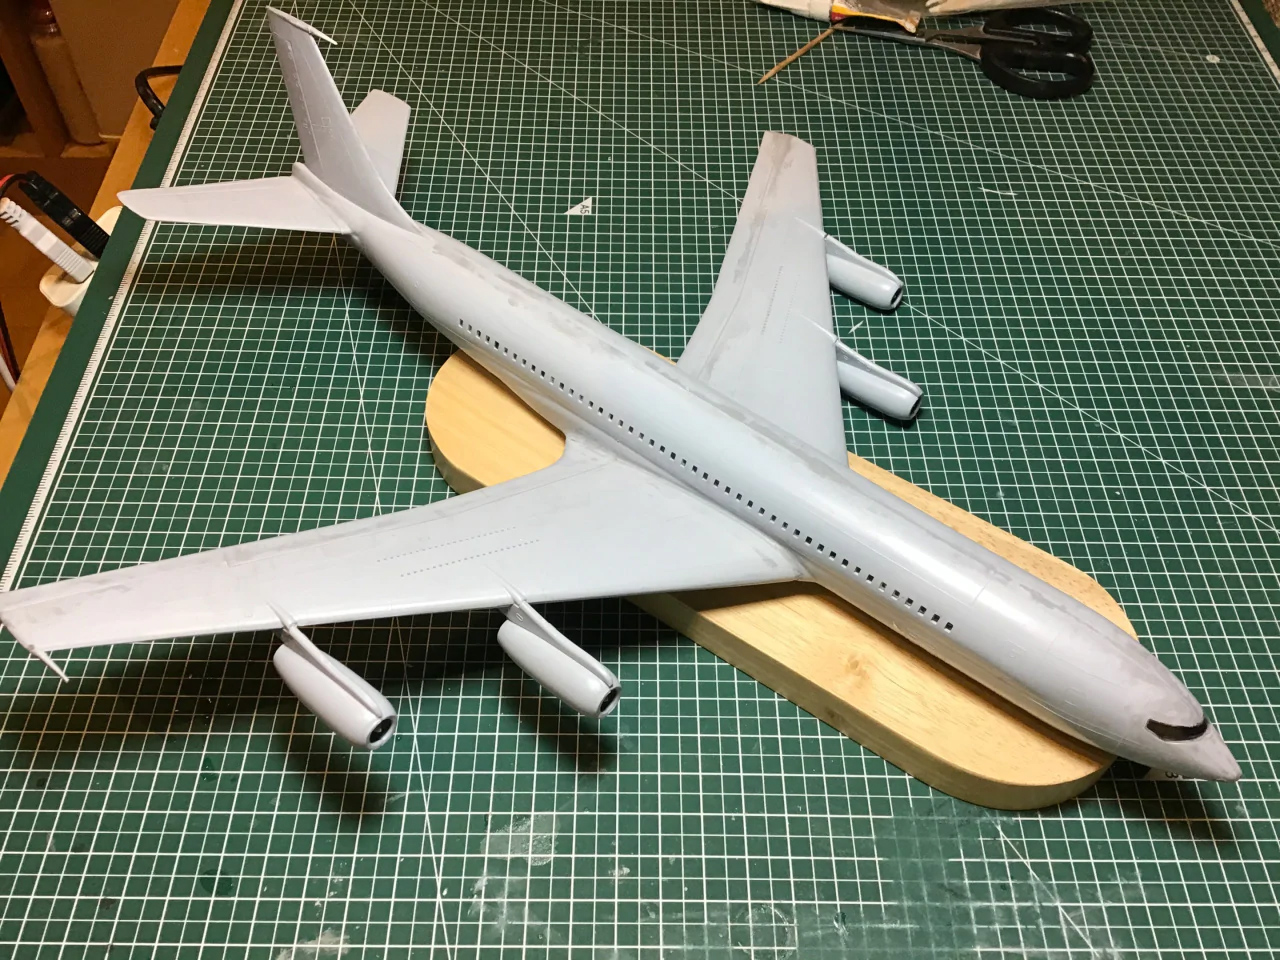
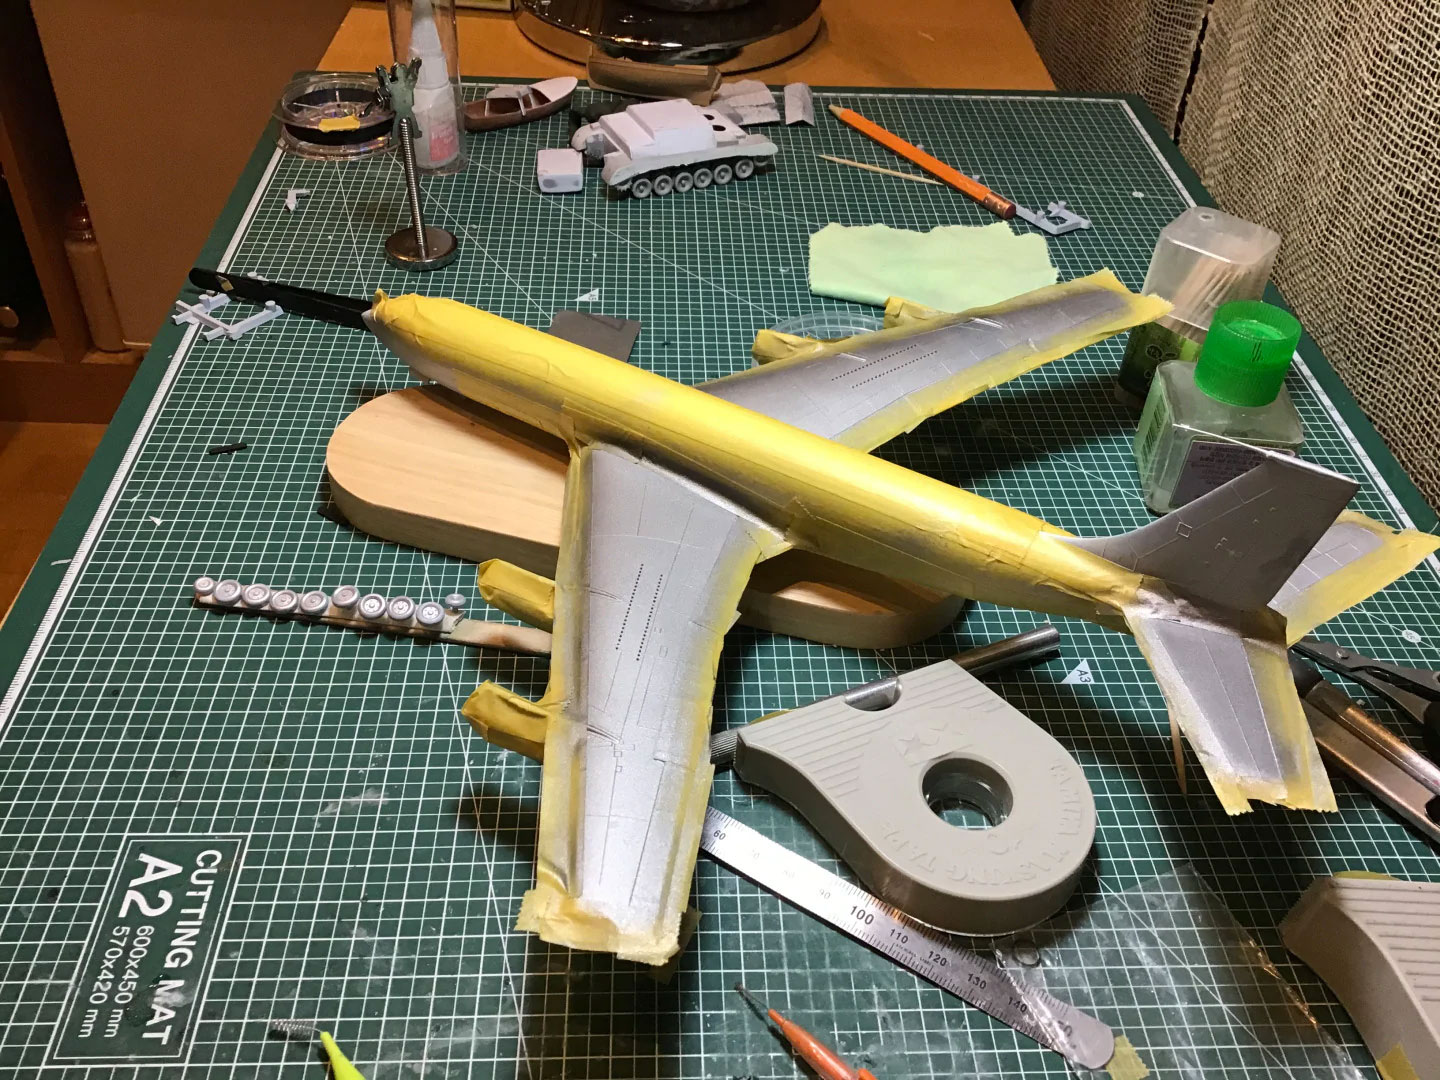
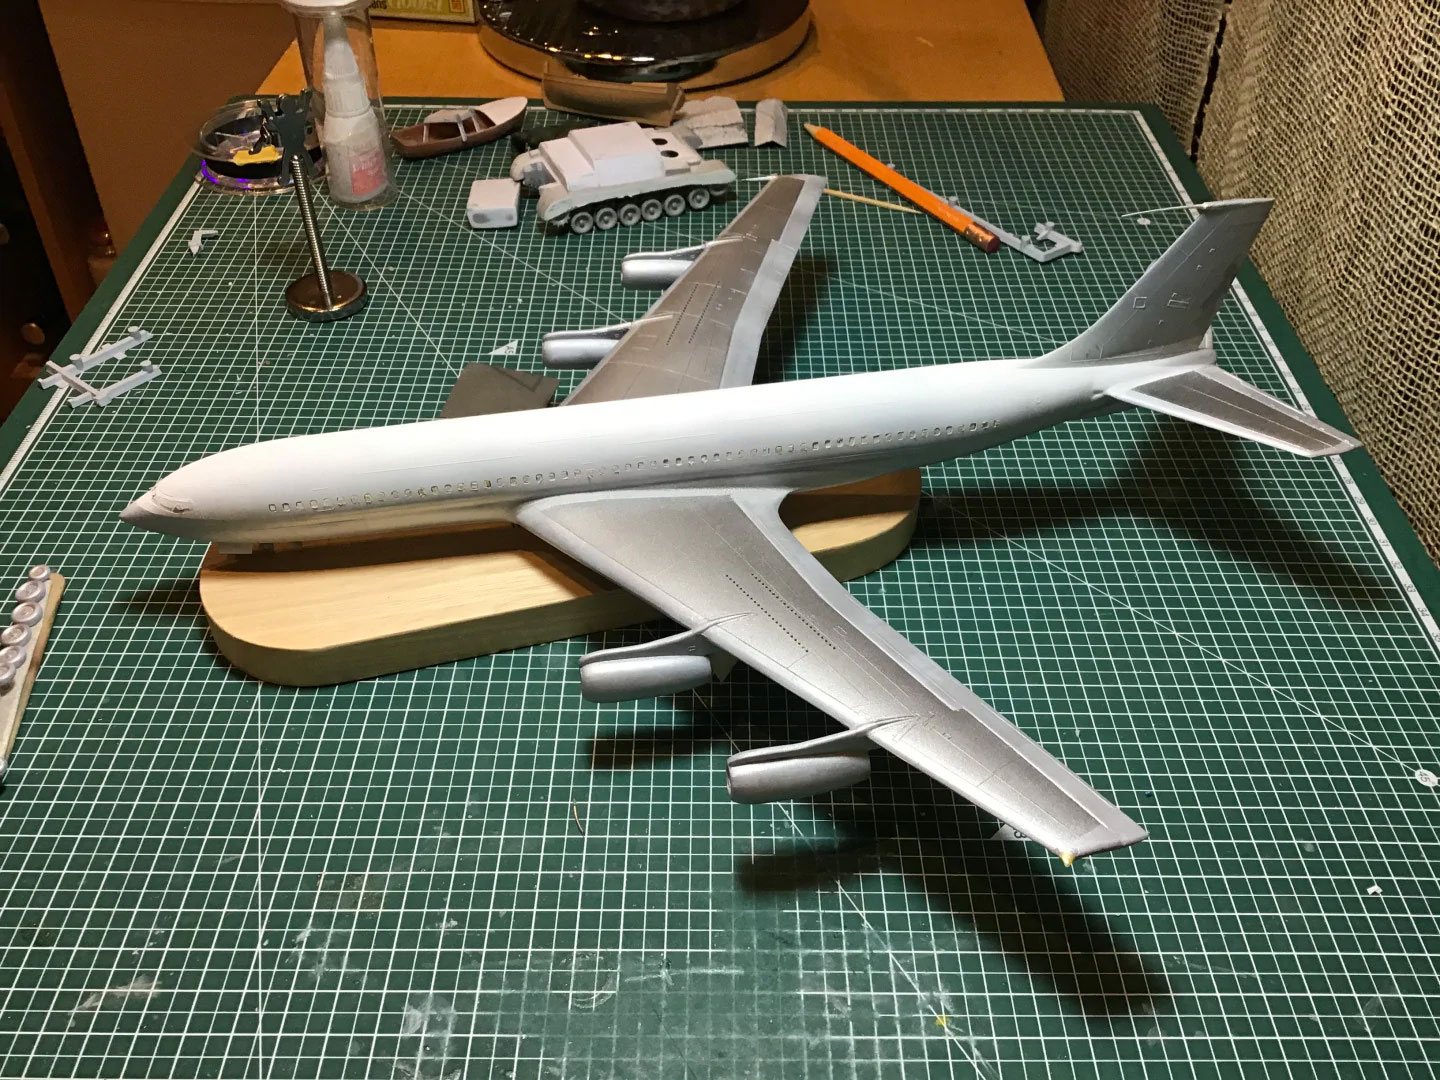
Once the lighting was more or less organized, the build was pretty straightforward. One thing about these old Airfix kits – the fit is atrocious! It took a lot of squeezing, twisting, cutting and cursing to get this baby glued together. The engine pods had to be trimmed considerably to get them in the slots. Since this is a tangental build, I didn’t want to go to town, but I was able to upgrade the plane jane engine nacelles a bit with some fans from a 1/288 B747 found in the spares box. They’re a bit small, but I really don’t think you can tell once they’re deep inside.
The one major setback I suffered was with the wingtip lights. I covered the SMDs in CA gel to provide some protection, but apparently not enough. While sanding the dried and hardened get smooth, I somehow managed to cut the wire. I don’t actually know how I did it, it was a small disconnection, but enough to do the damage. So I had to pull the wingtip apart, wire in a new red, SMD and put it all back together again. I reapplied the CA gel, but I made sure there was enough to completely cover it for SURE this time. After I was certain it was fully dried, I sanded it very carefully with the lights on. The slightest flicker and I would’ve stopped. Luckily it never came to that, but after staring at the light, I’m still seeing red dots!
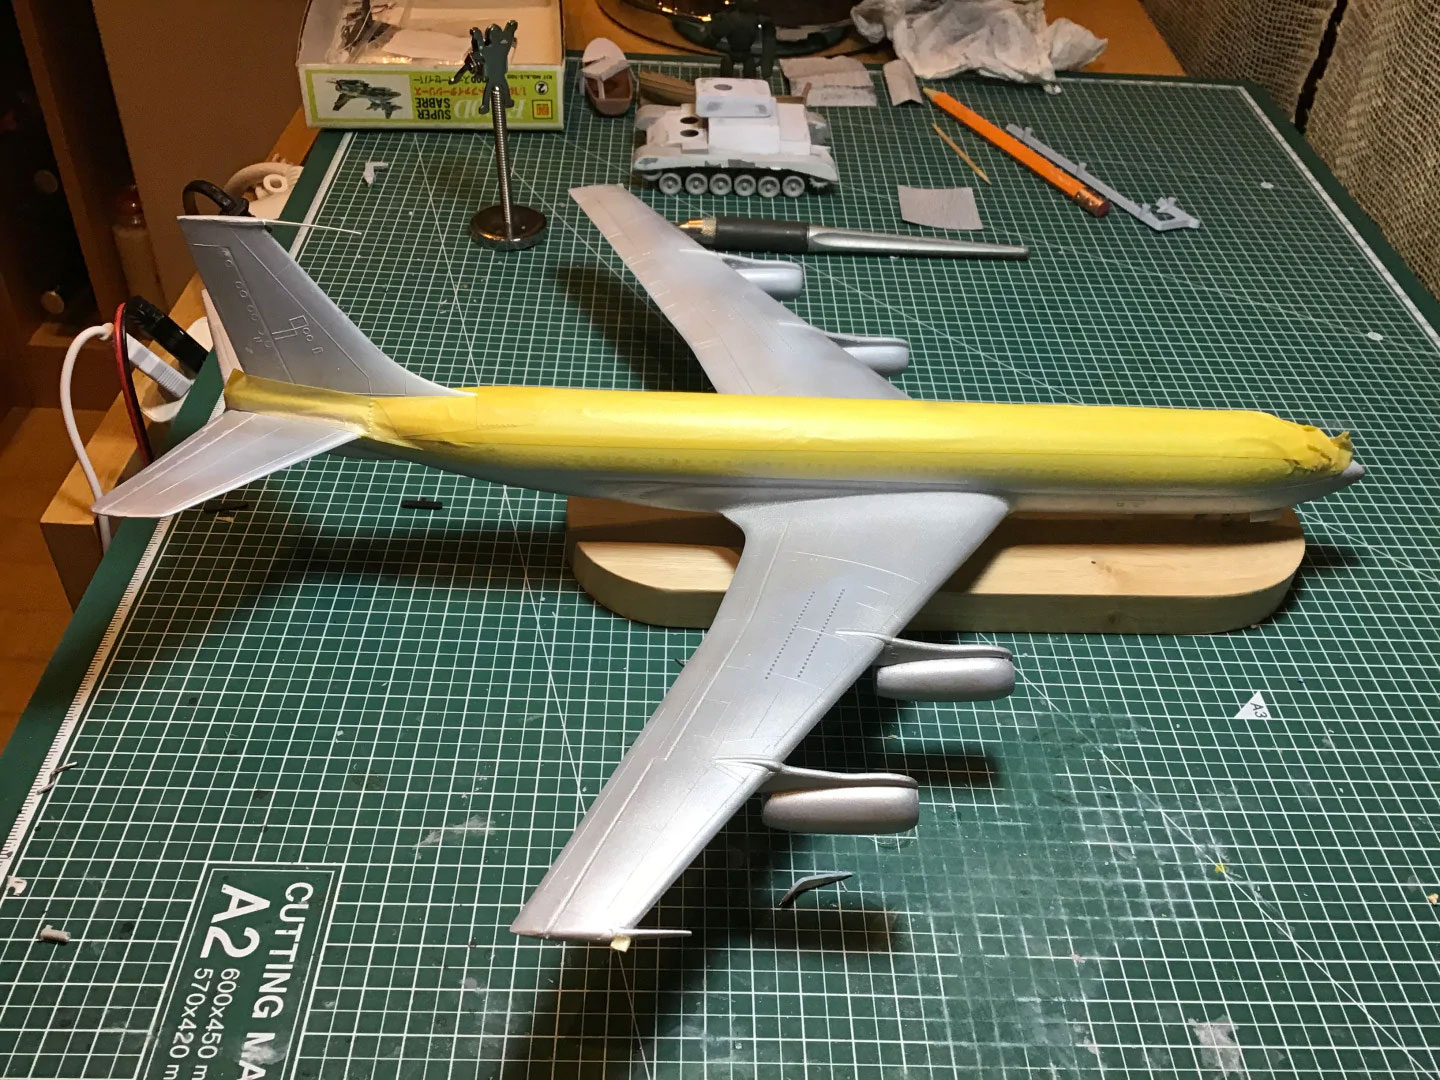
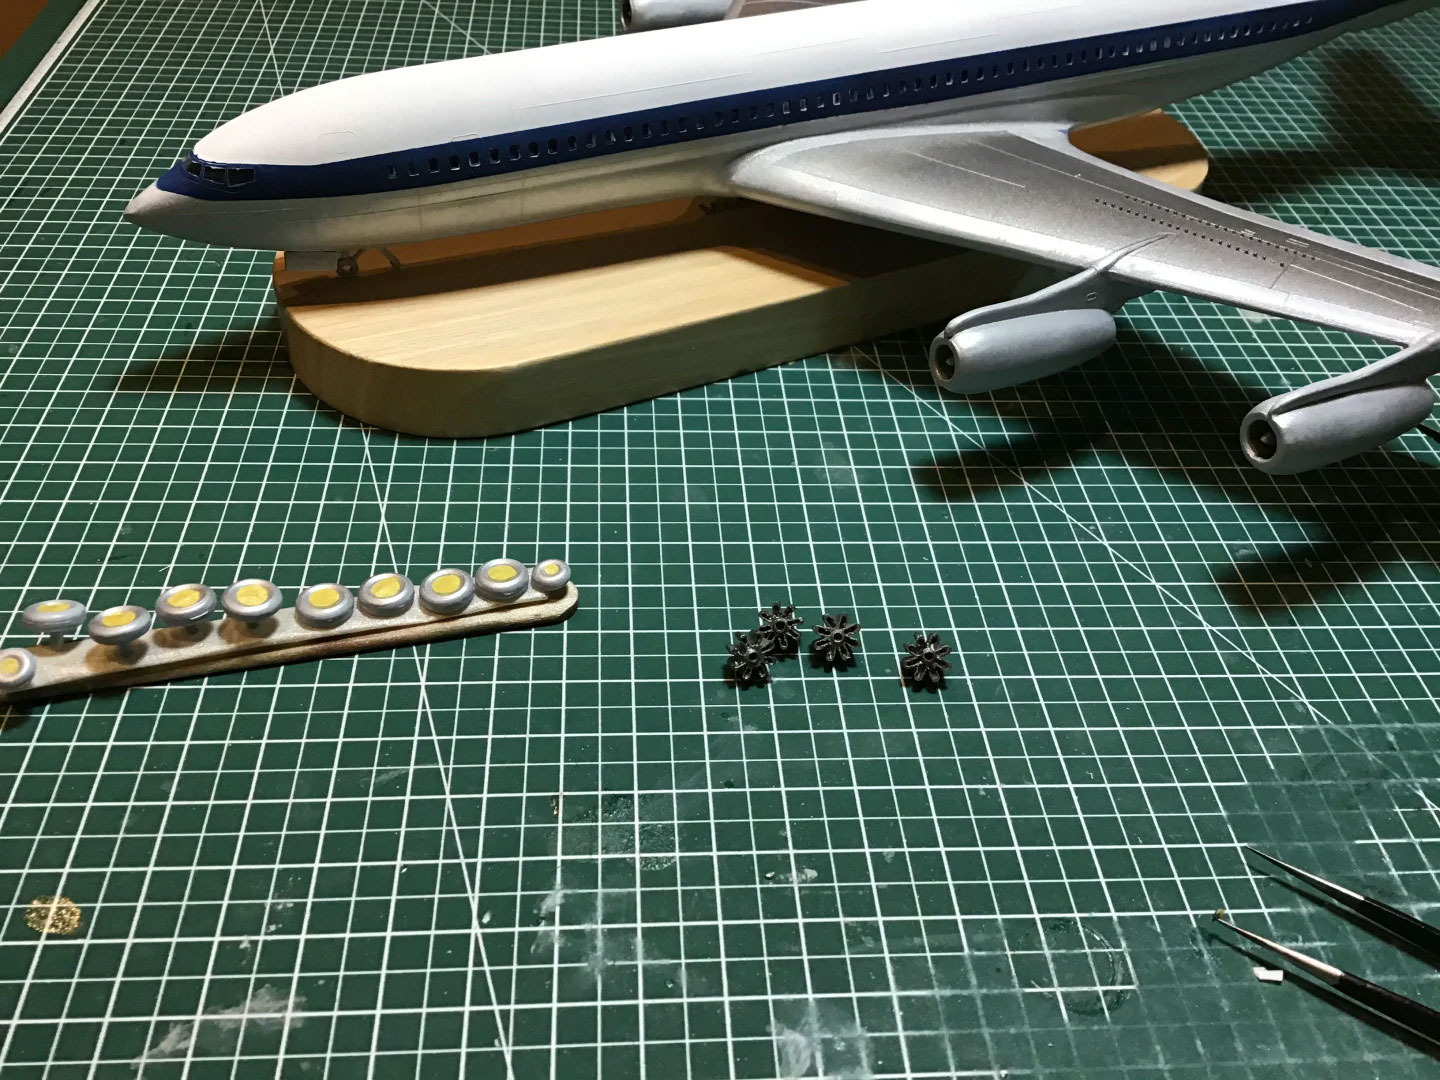
The painting was pretty straightforward, even though I had to do a few touch ups after the tape pulled off some of the aluminum, and a errant dirty finger smudged the white top of the fuselage. Luckily I found some Lufthansa decals in a box of an Airbus A300 that I have earmarked for a future Area 88 build. They’re maybe a bit too large, but who’s really counting here. Let’s call them “comic book sized” and leave it at that.
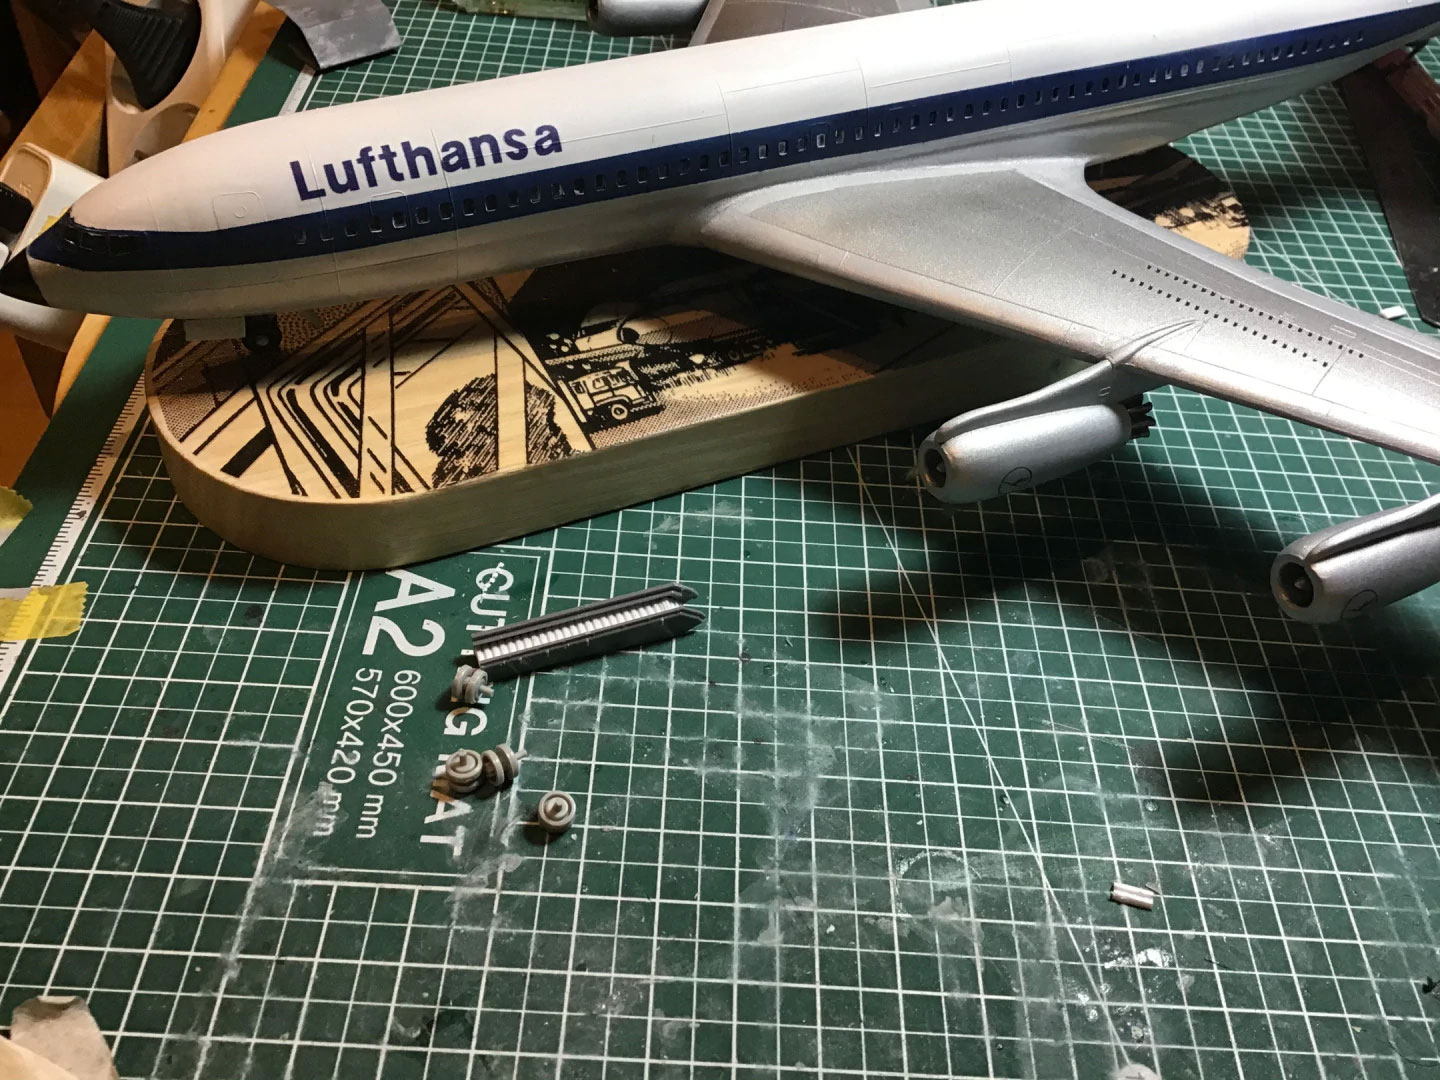
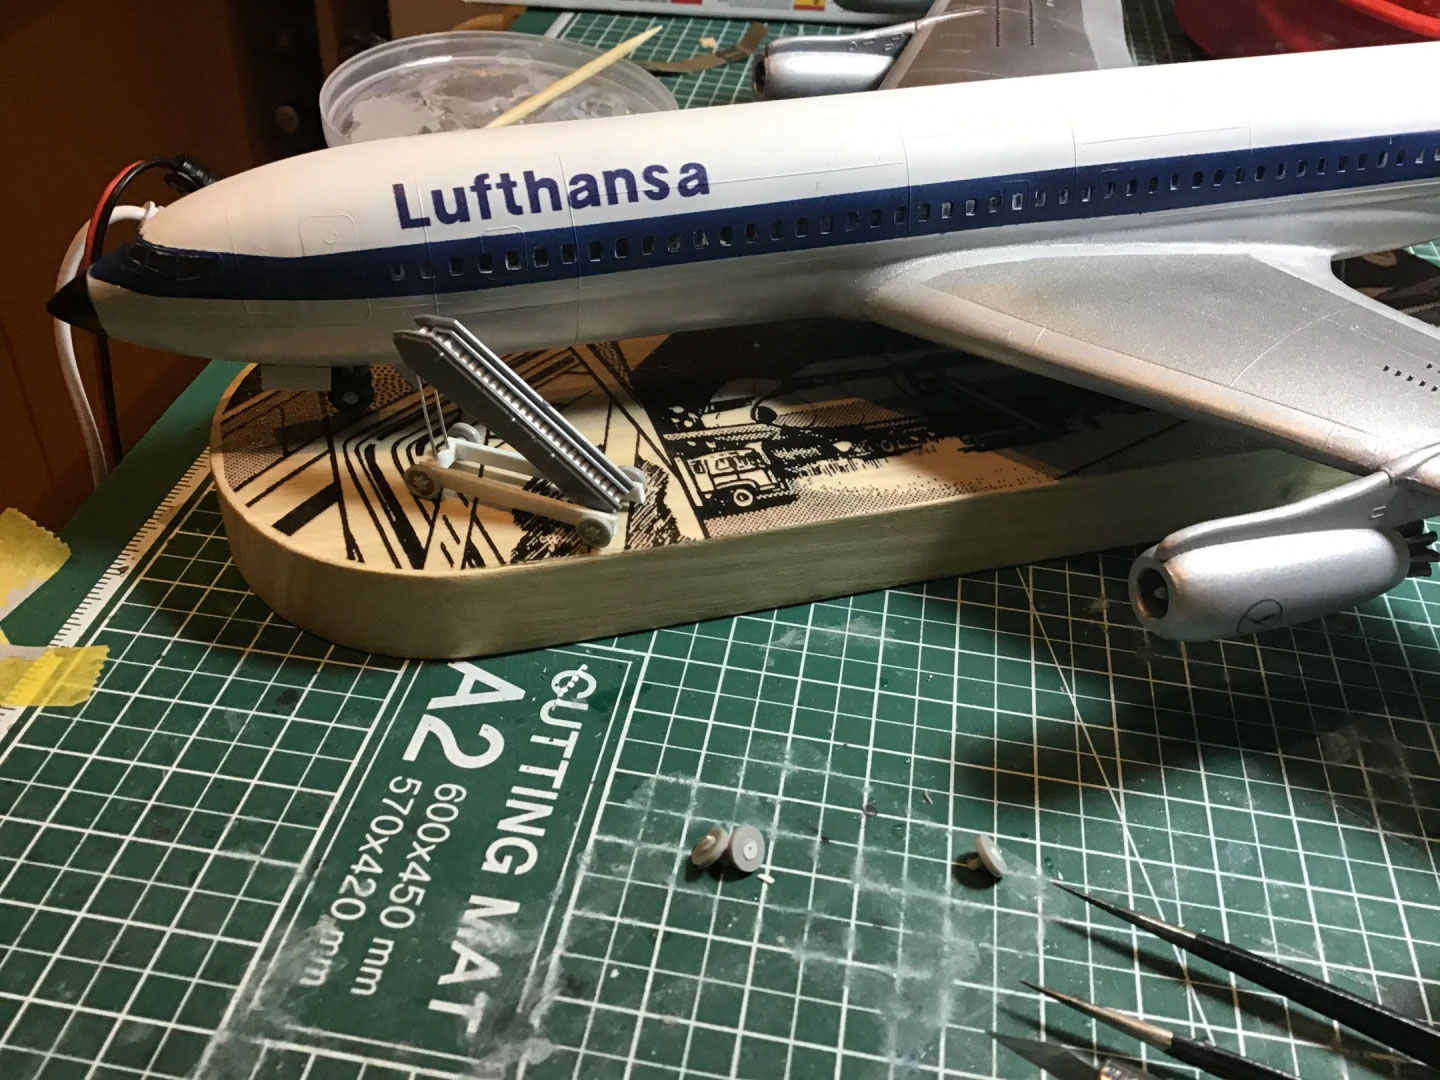
Last, but also least, I scratched together some passenger stairs using the skirt off of a tank, a few small wheels, and some polystyrene rods and a bit of wire. I think it adds something to the completed build, but feel free to tell me What you think.


Discover more from strobez
Subscribe to get the latest posts sent to your email.