Call In Hawkeye! (Area 88)
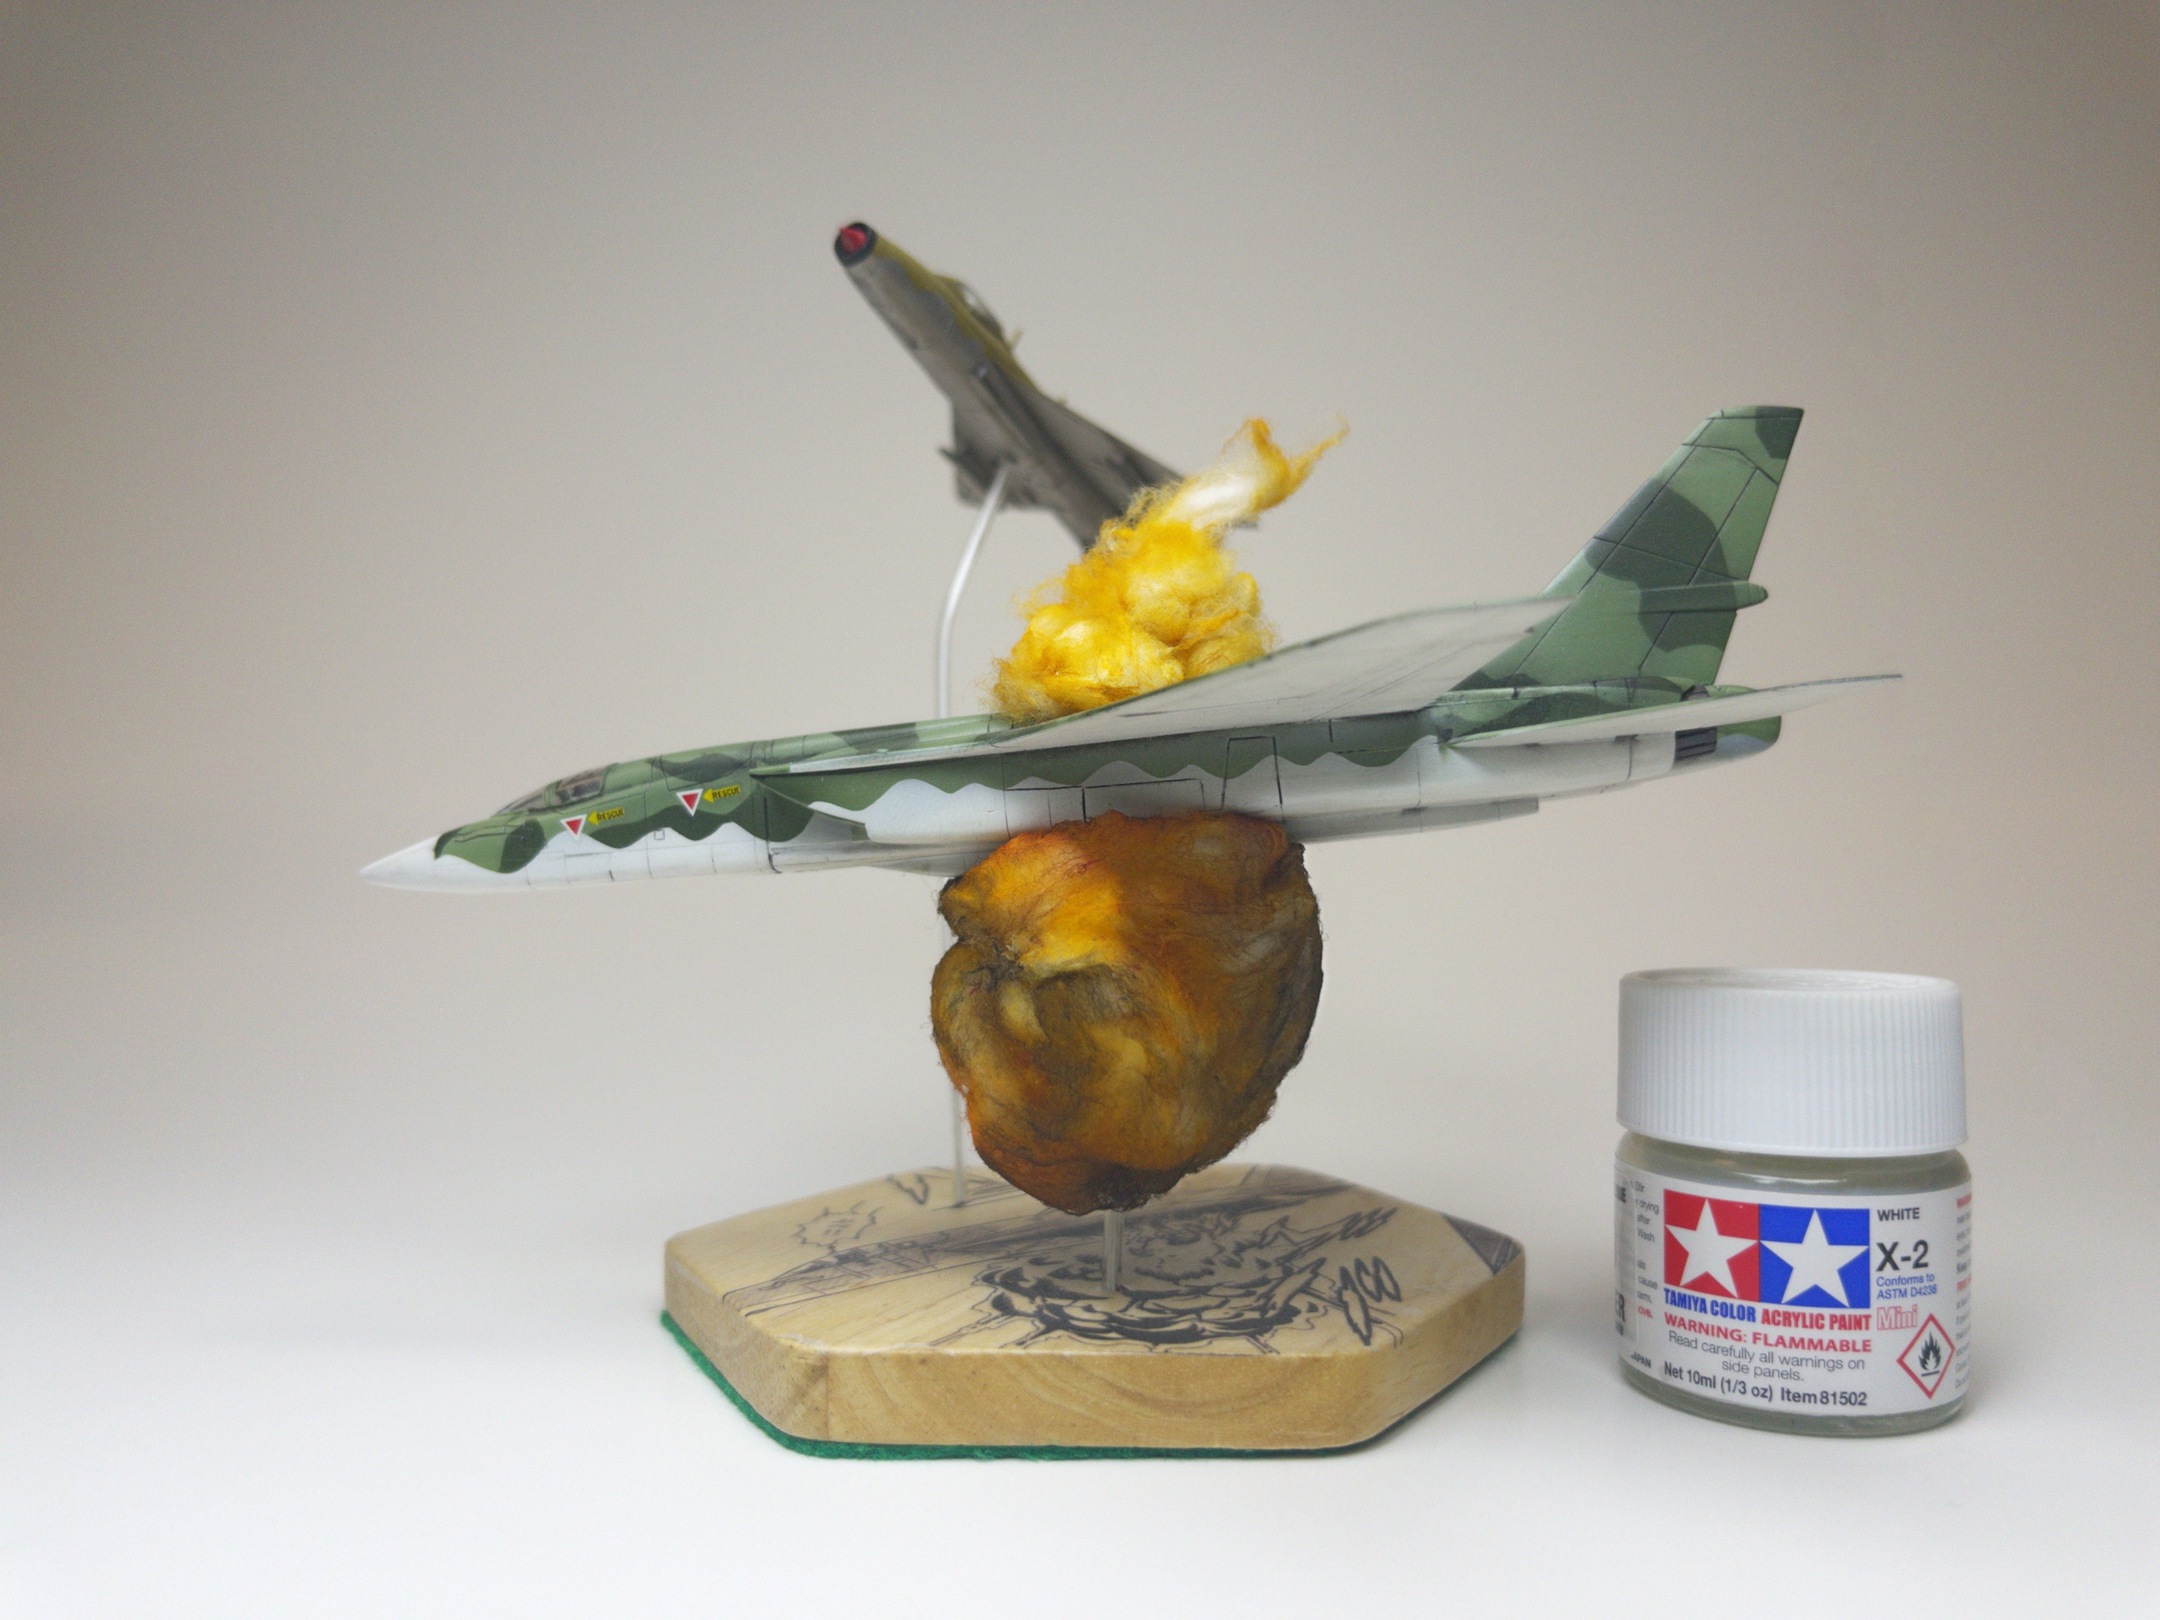
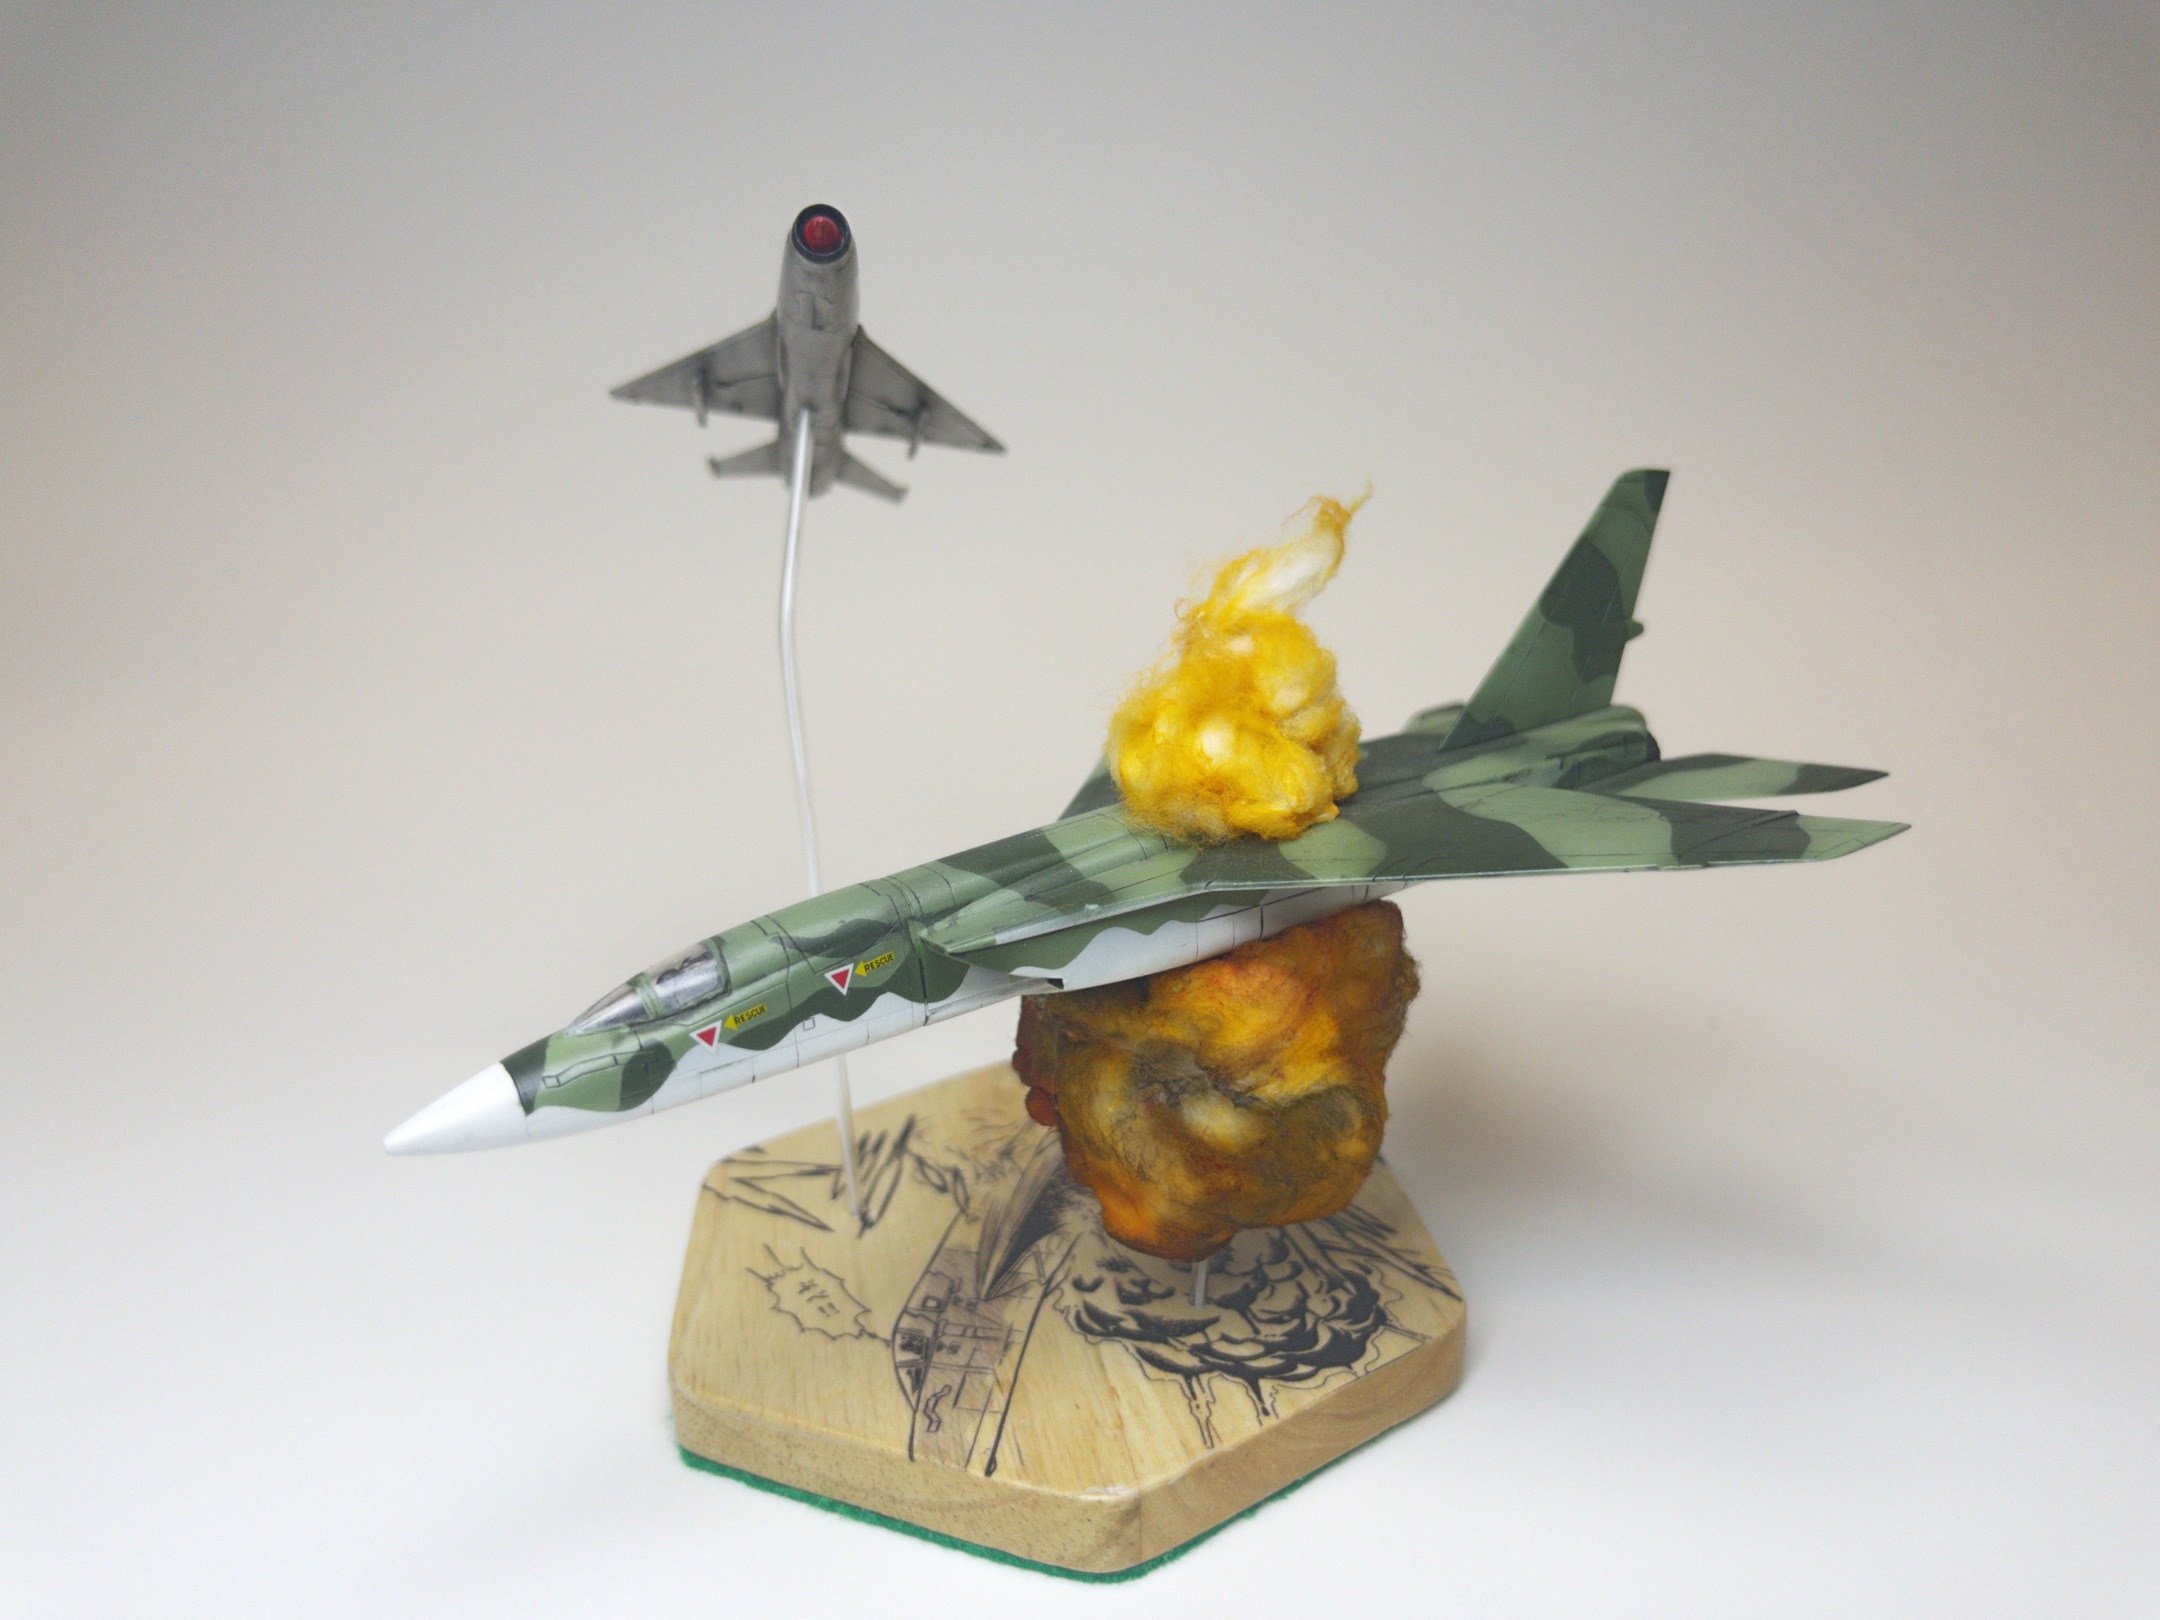
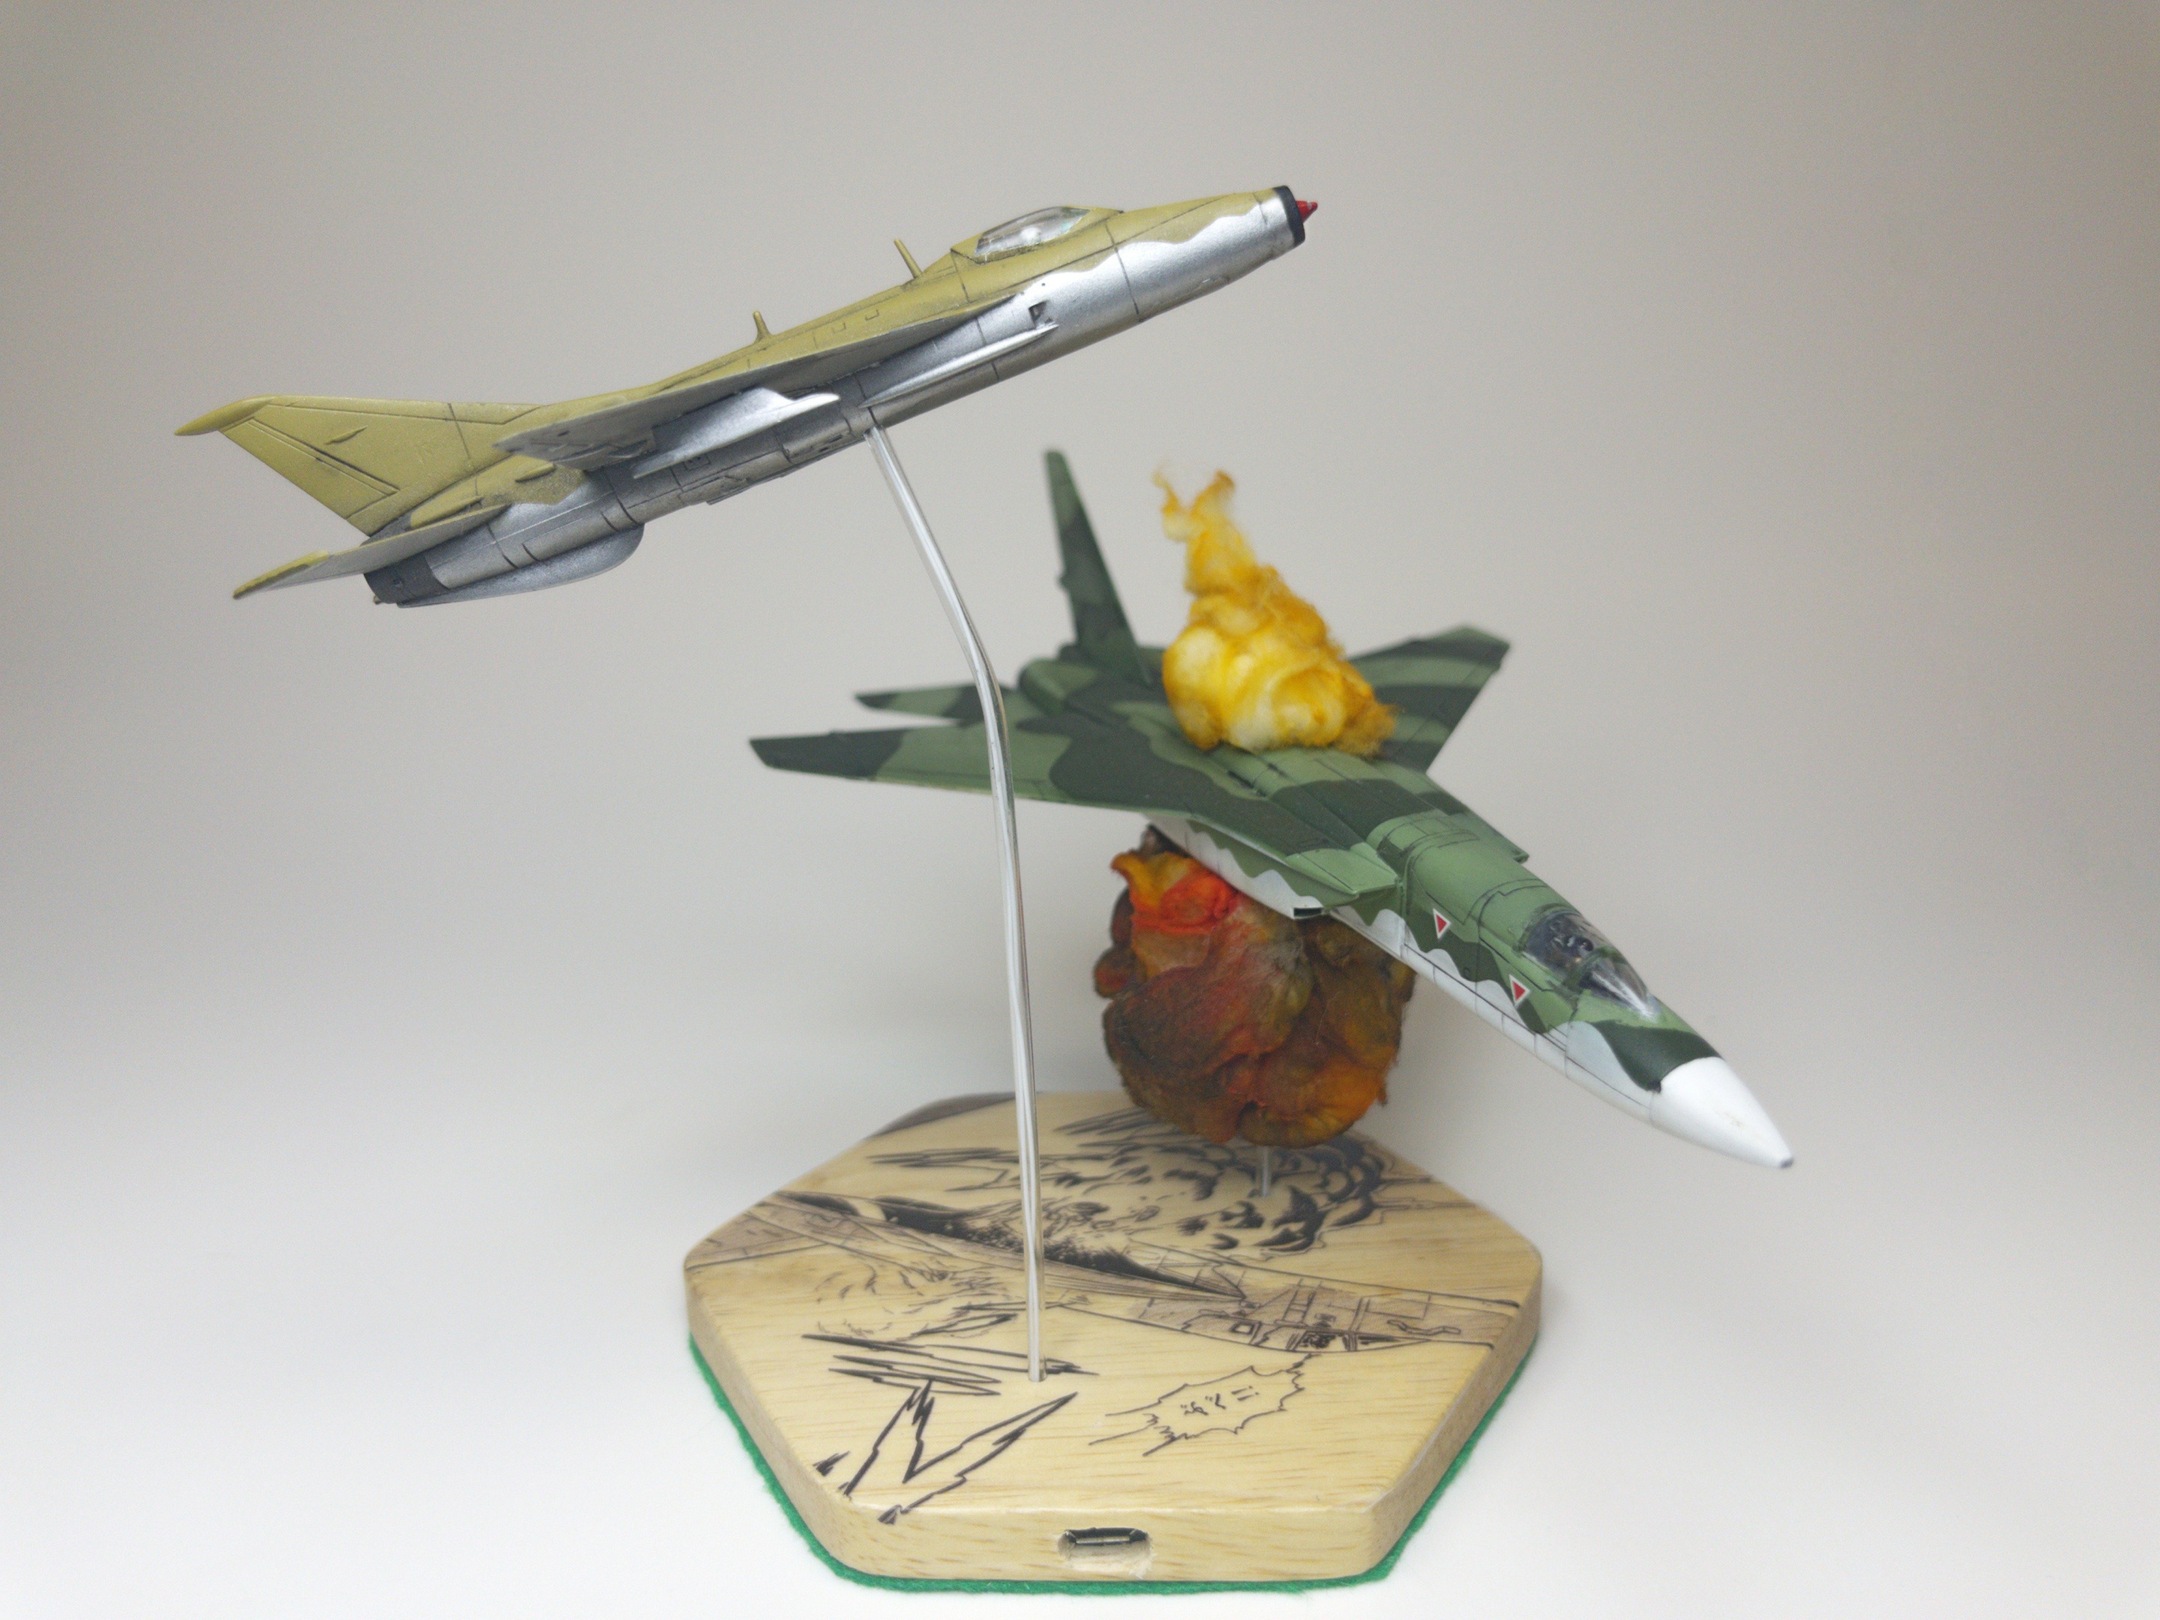
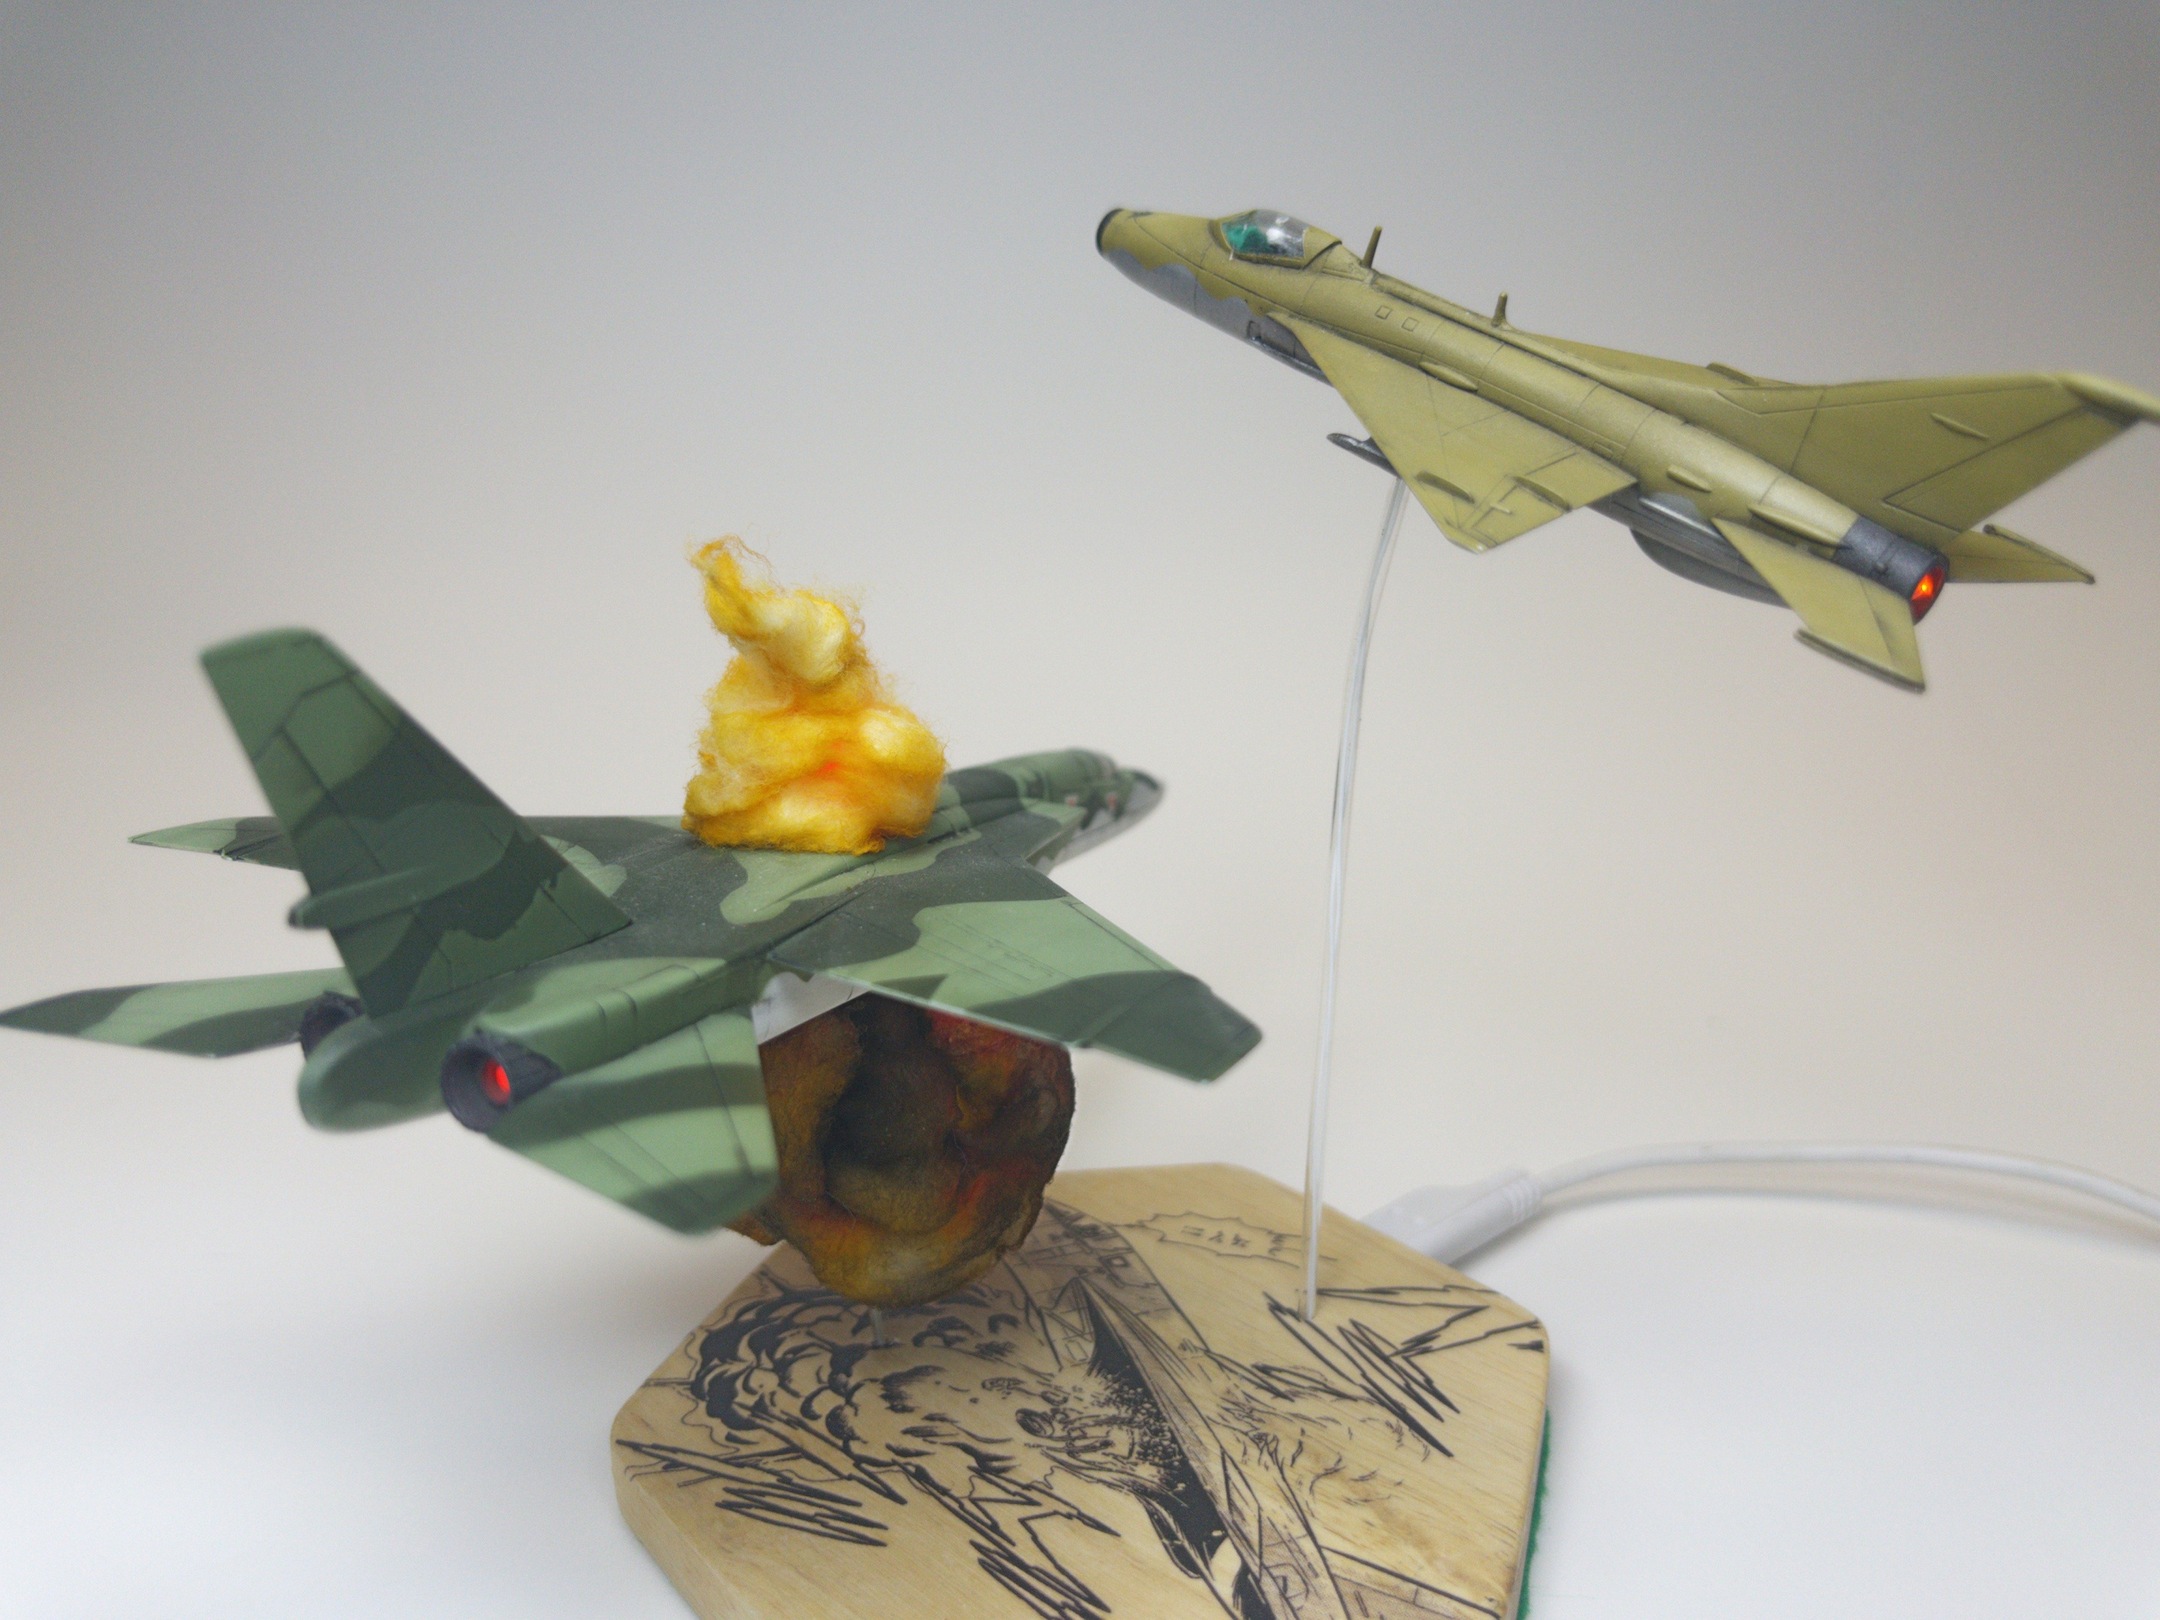
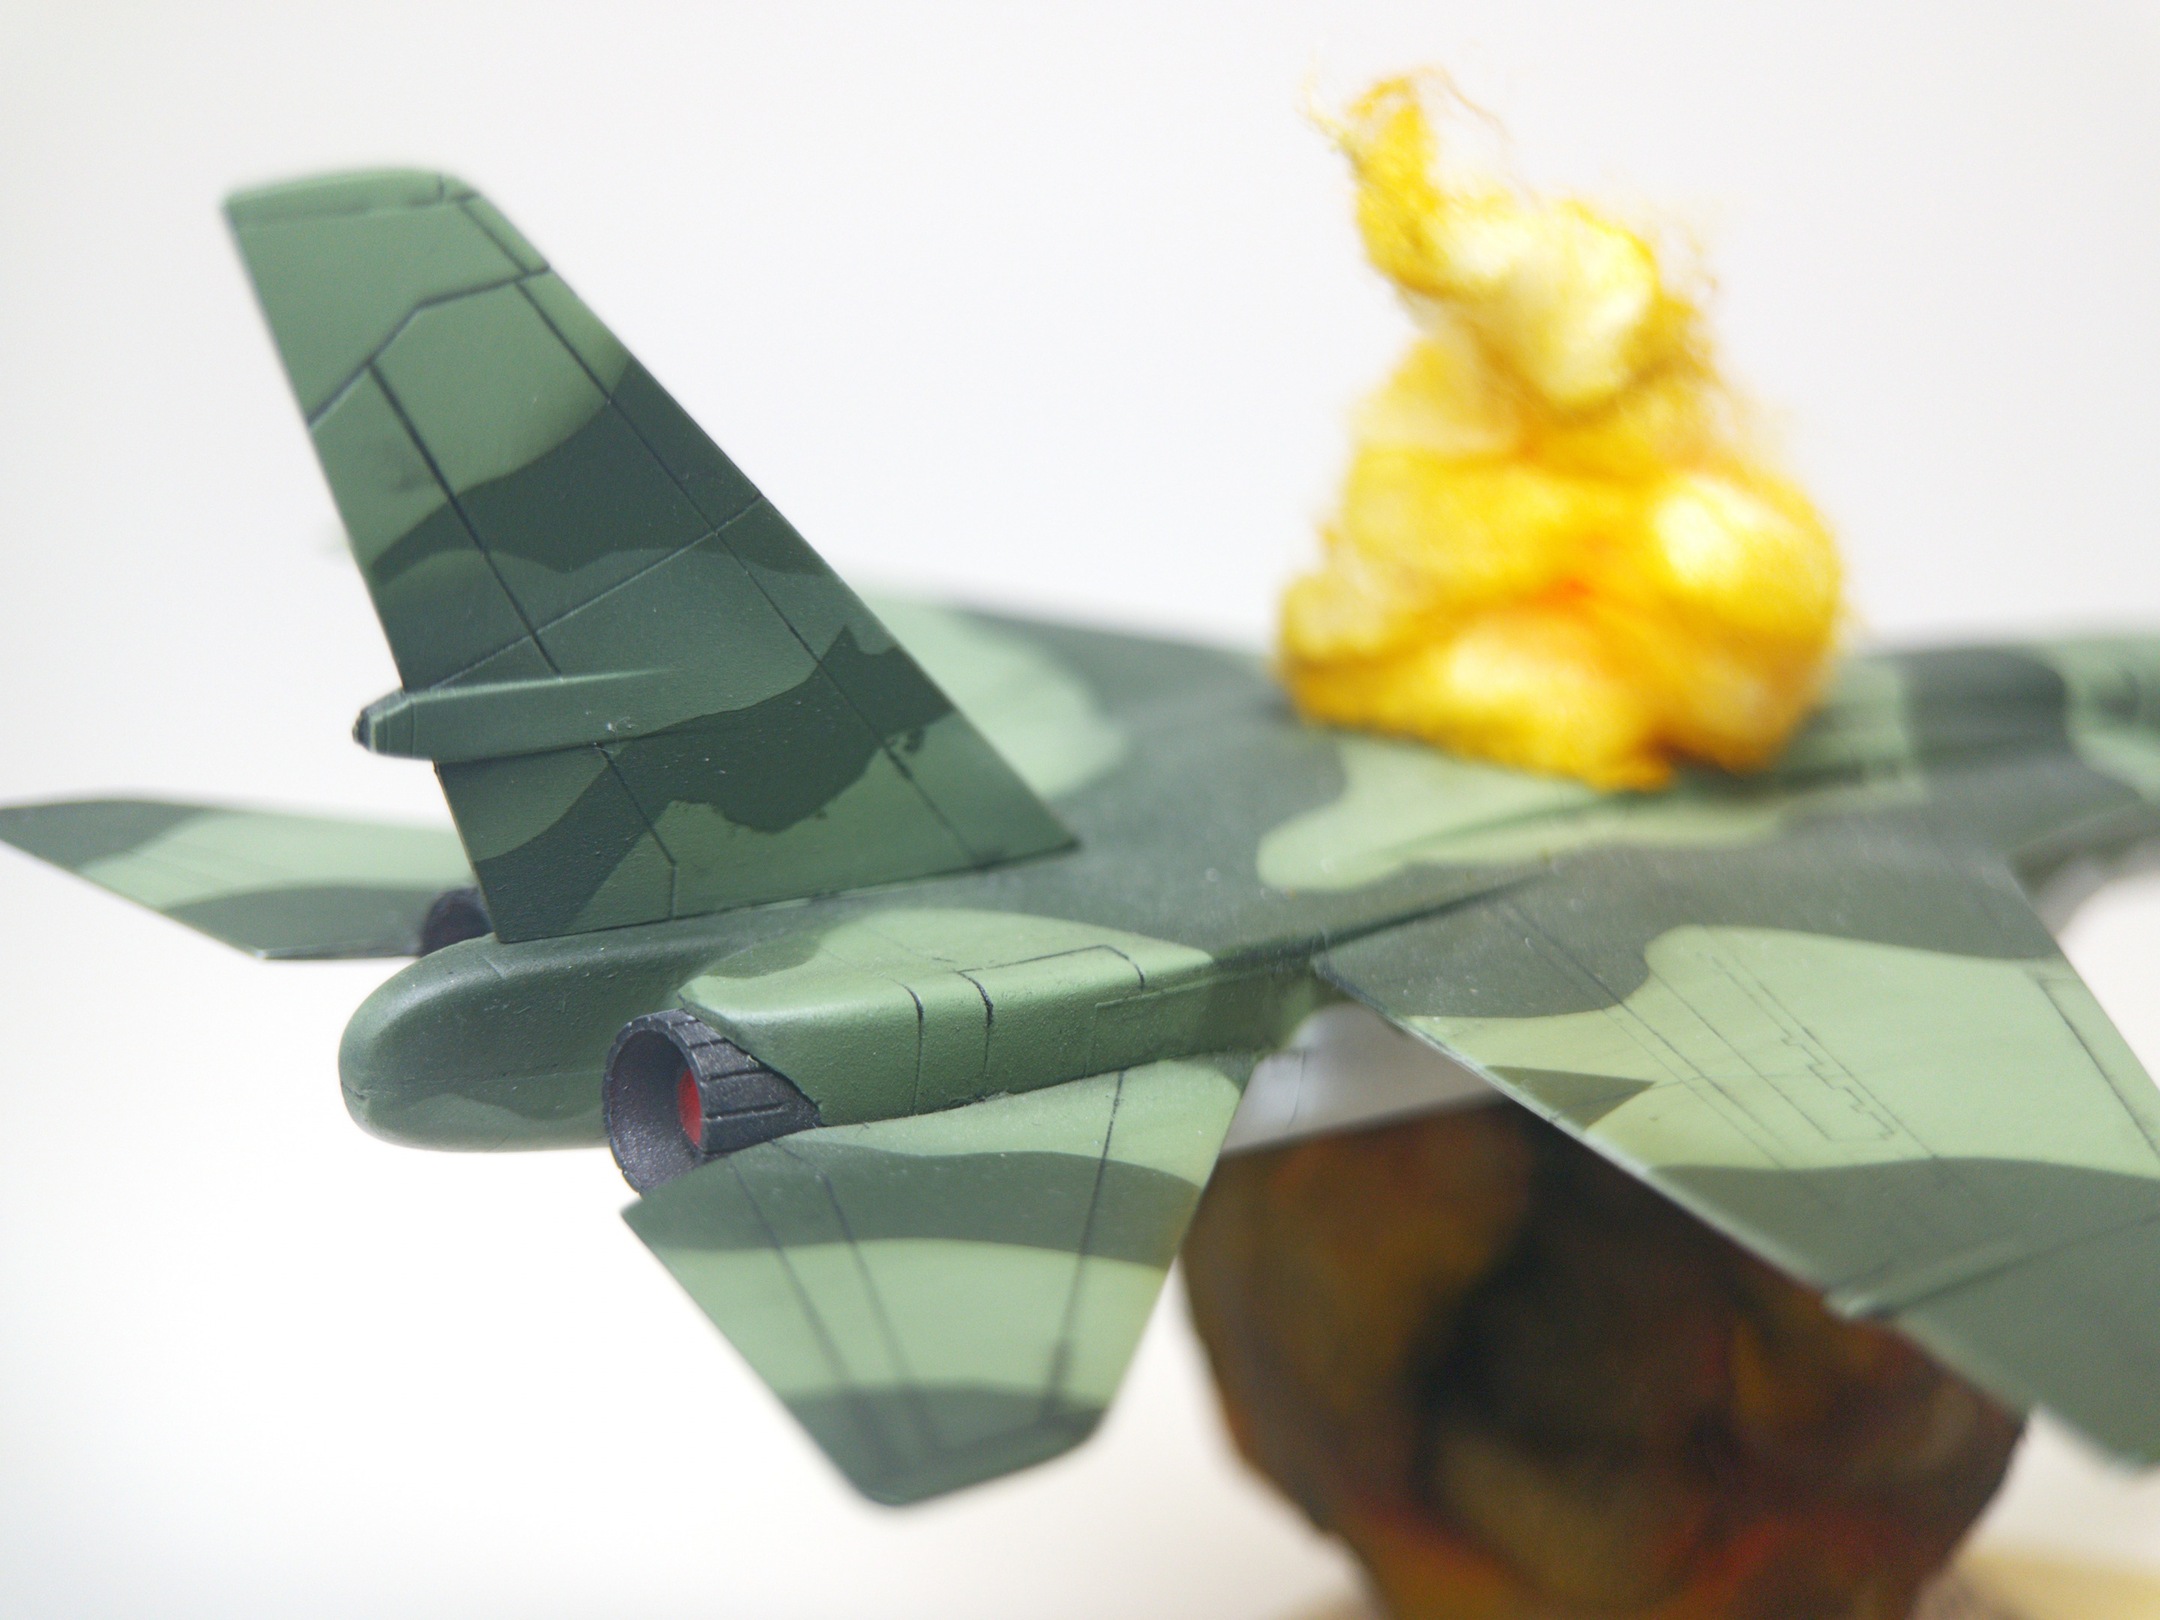
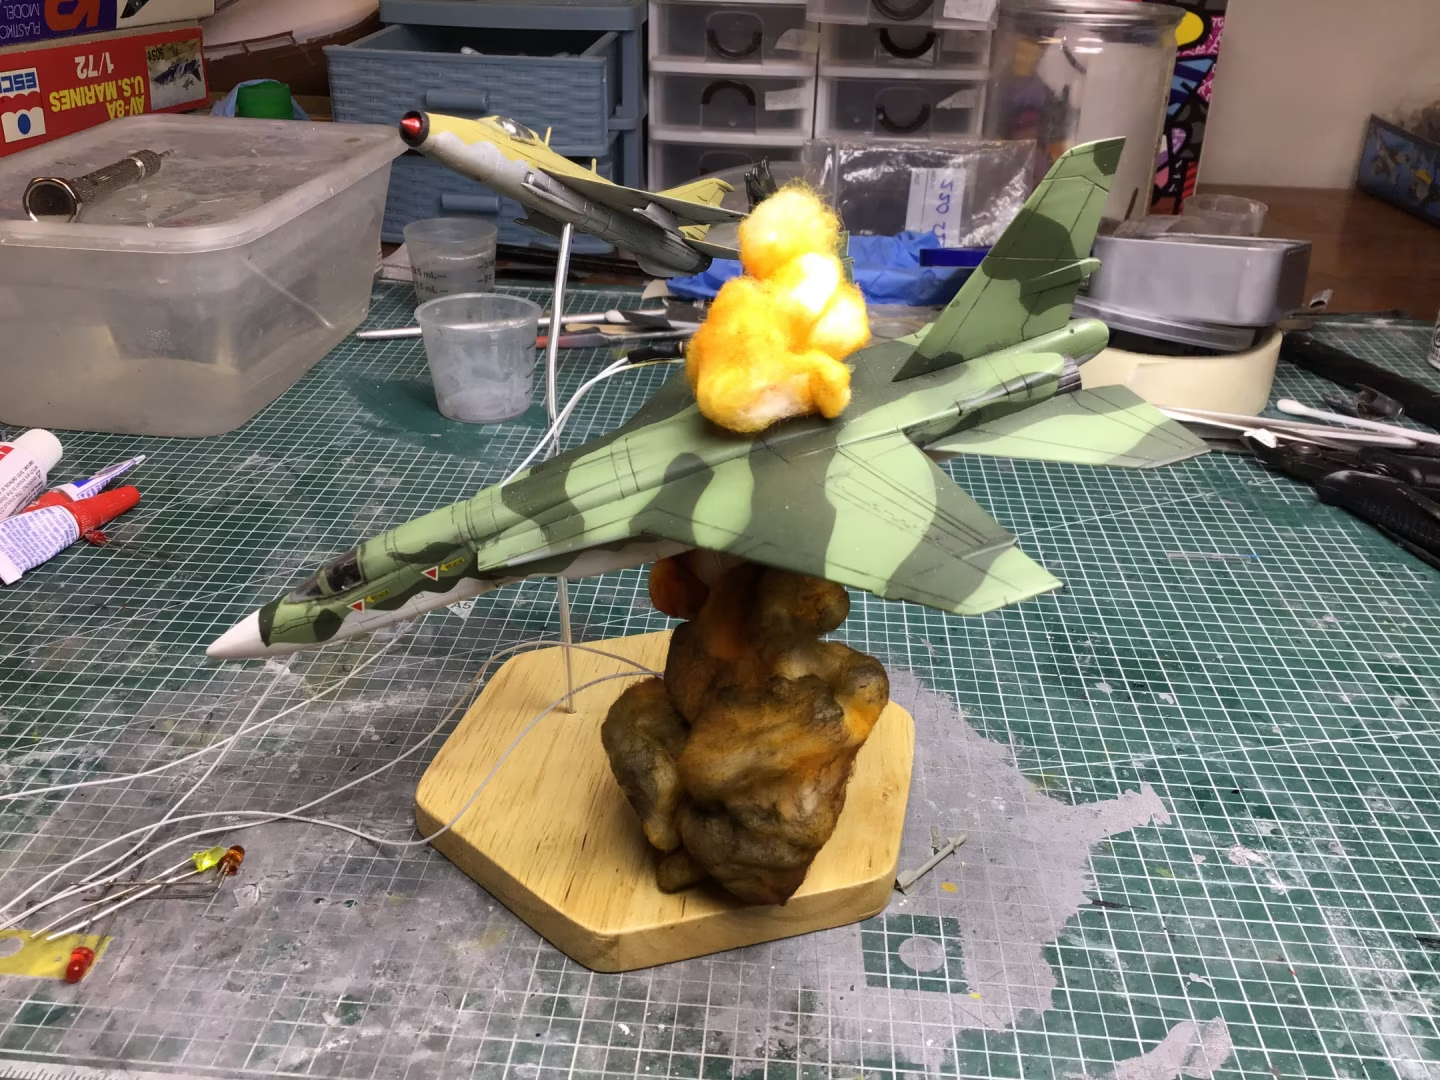
The finished model:
The video
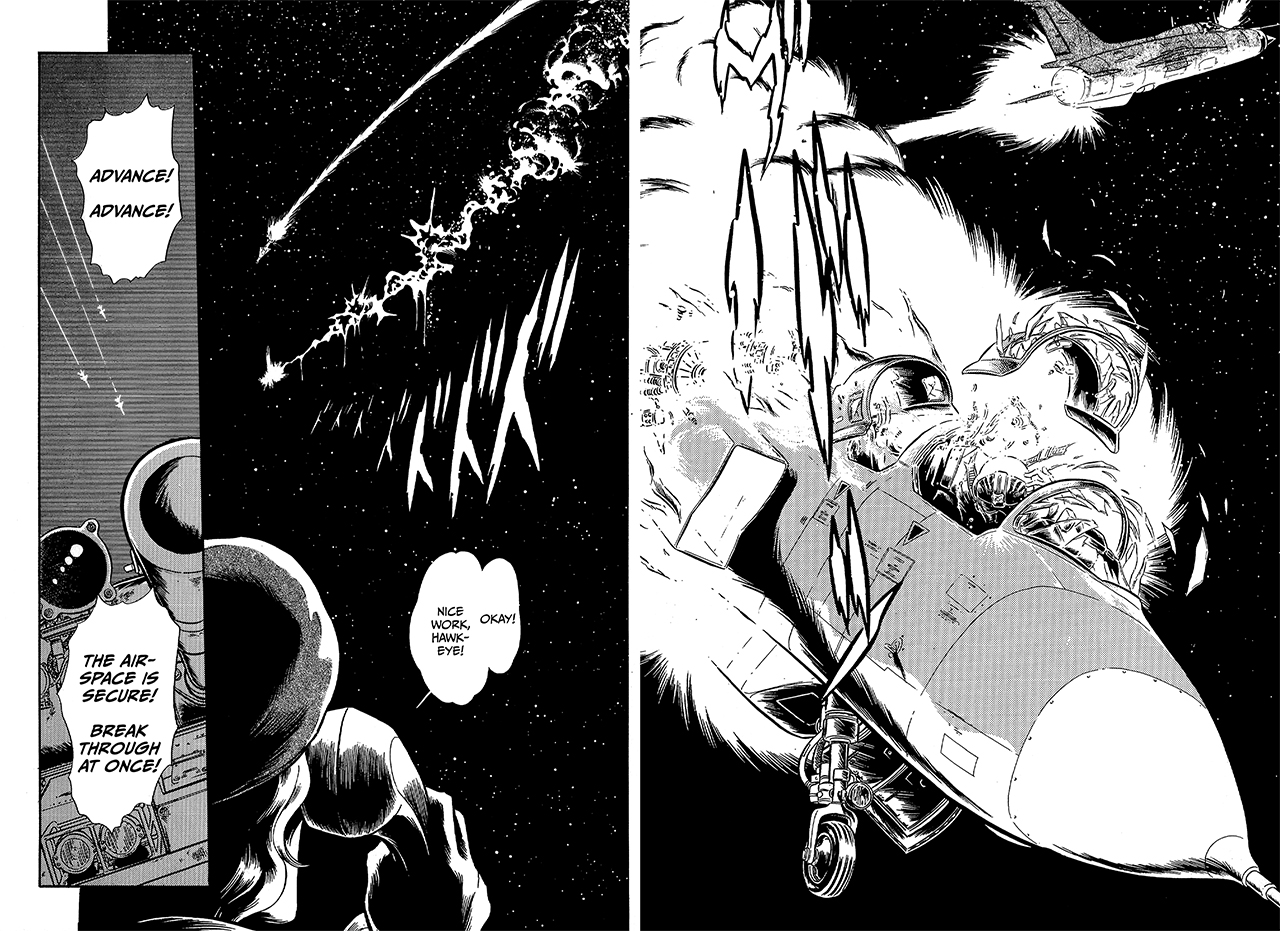
The scene:
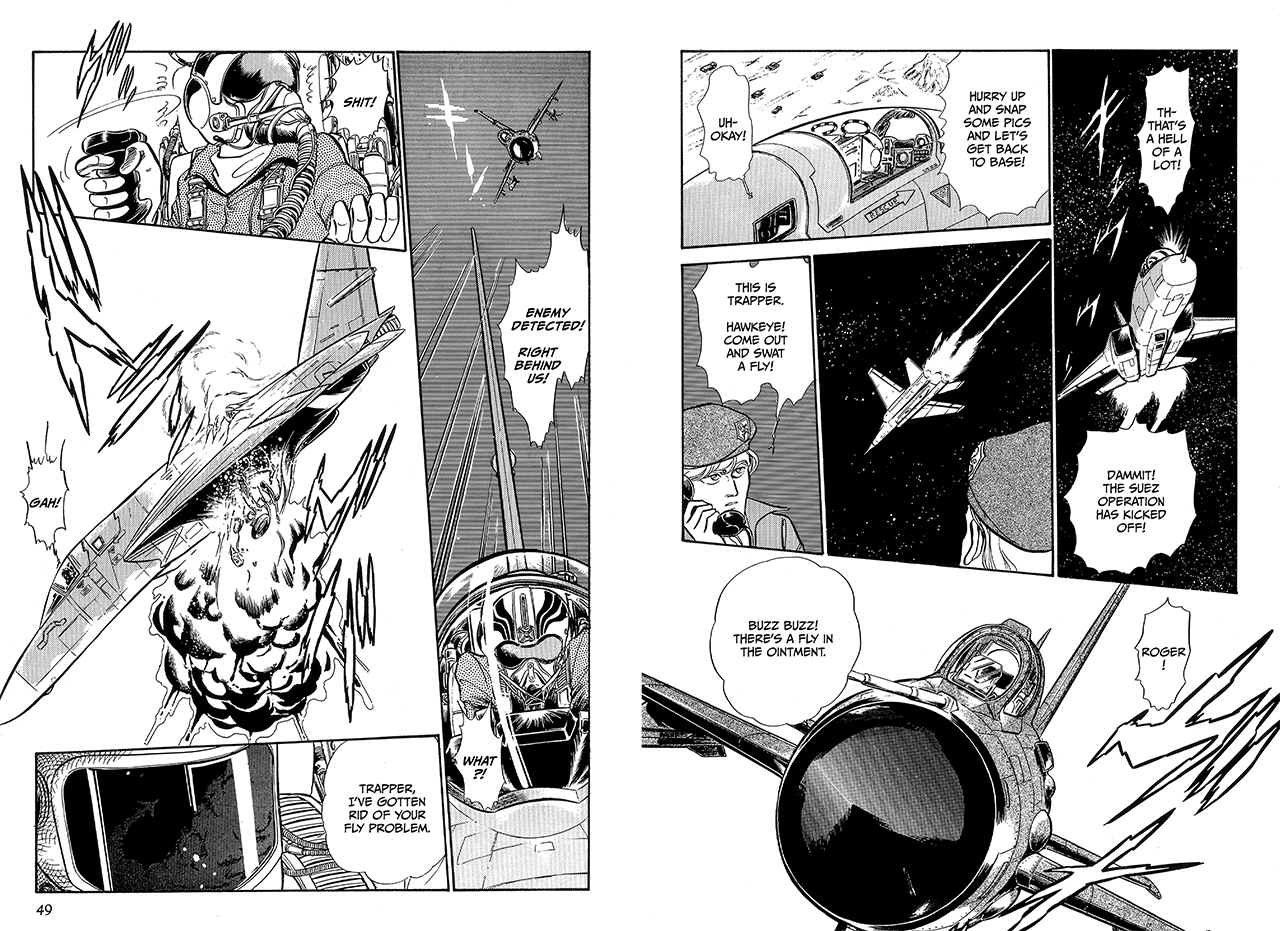
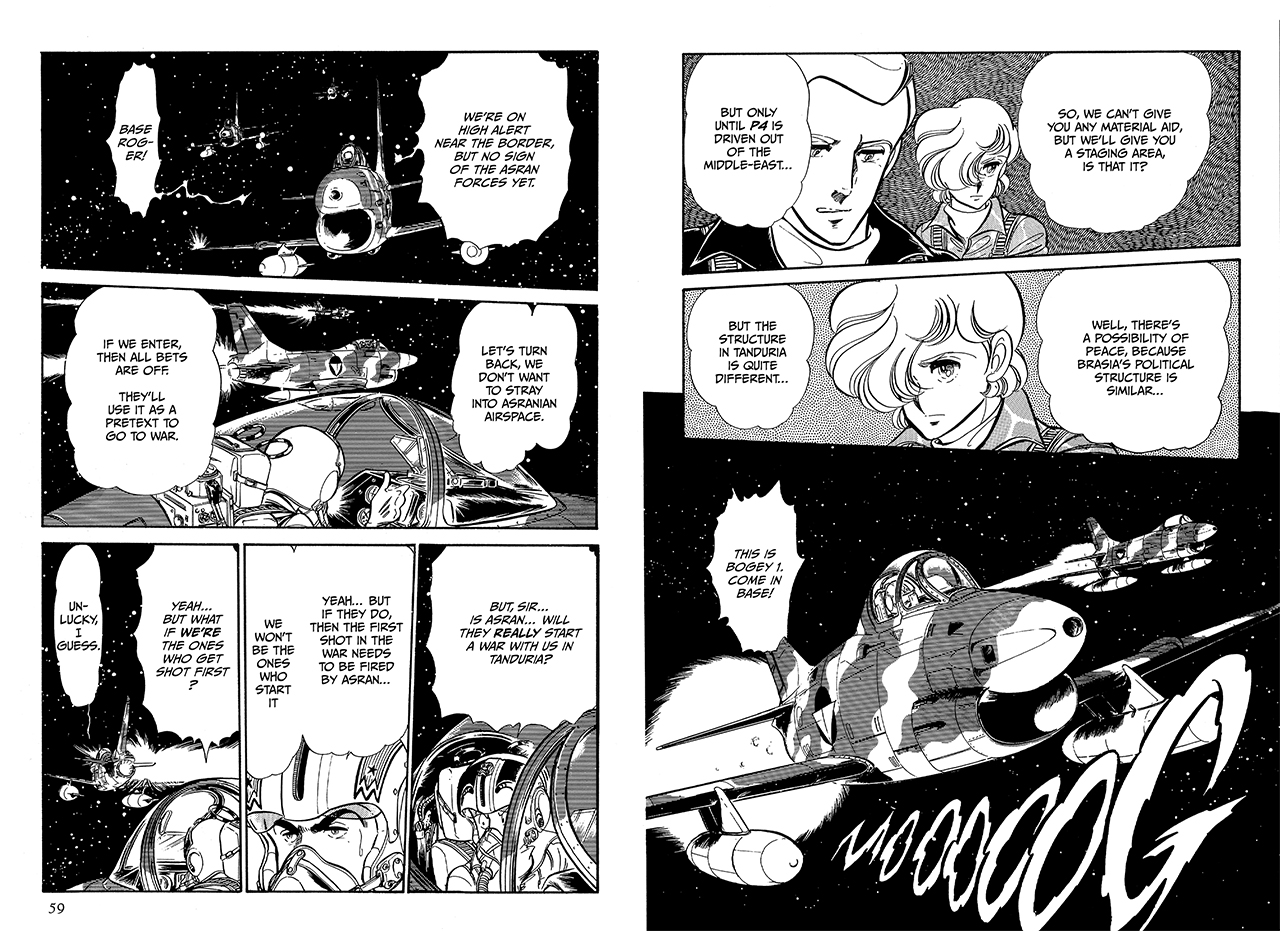
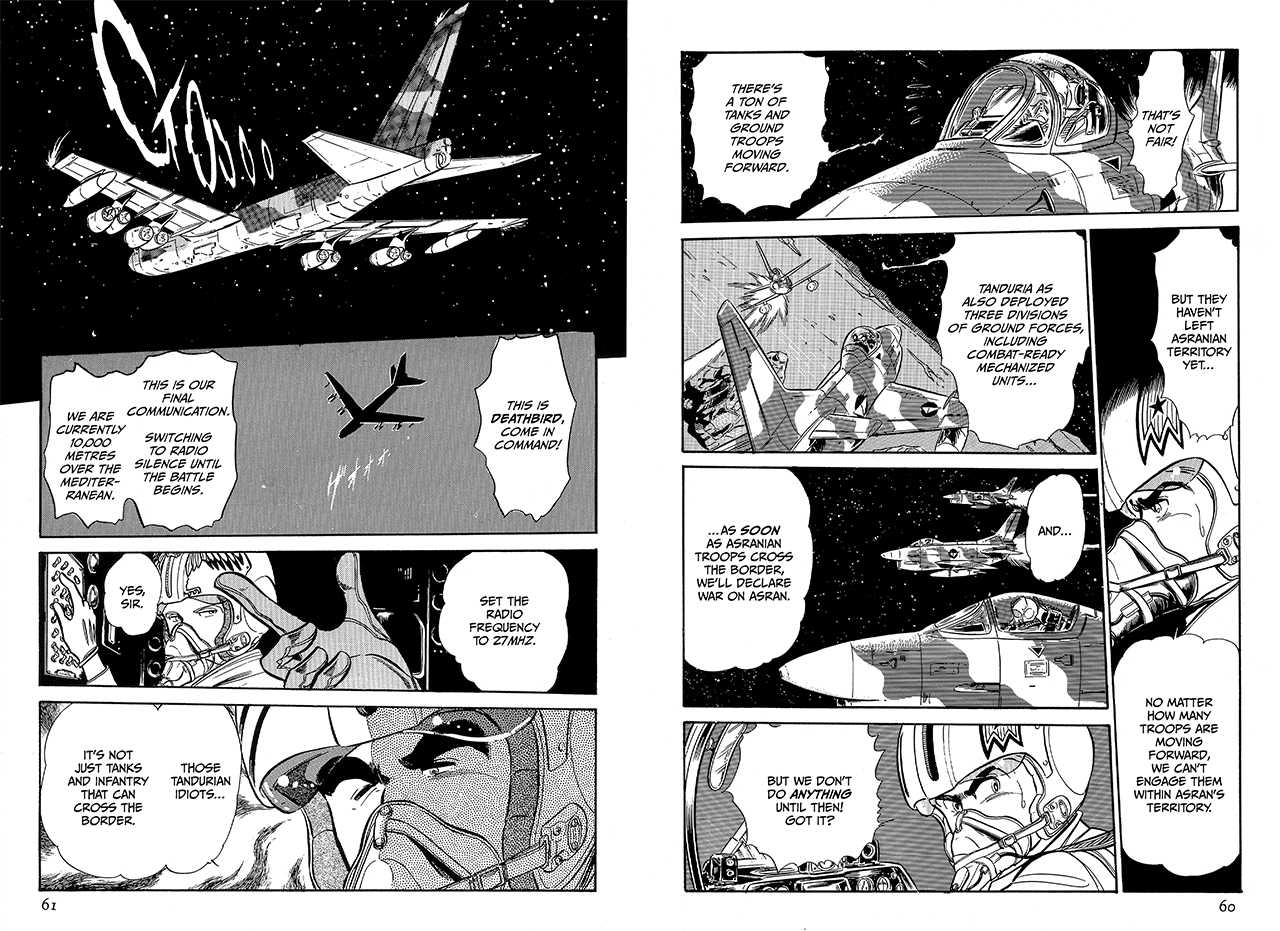
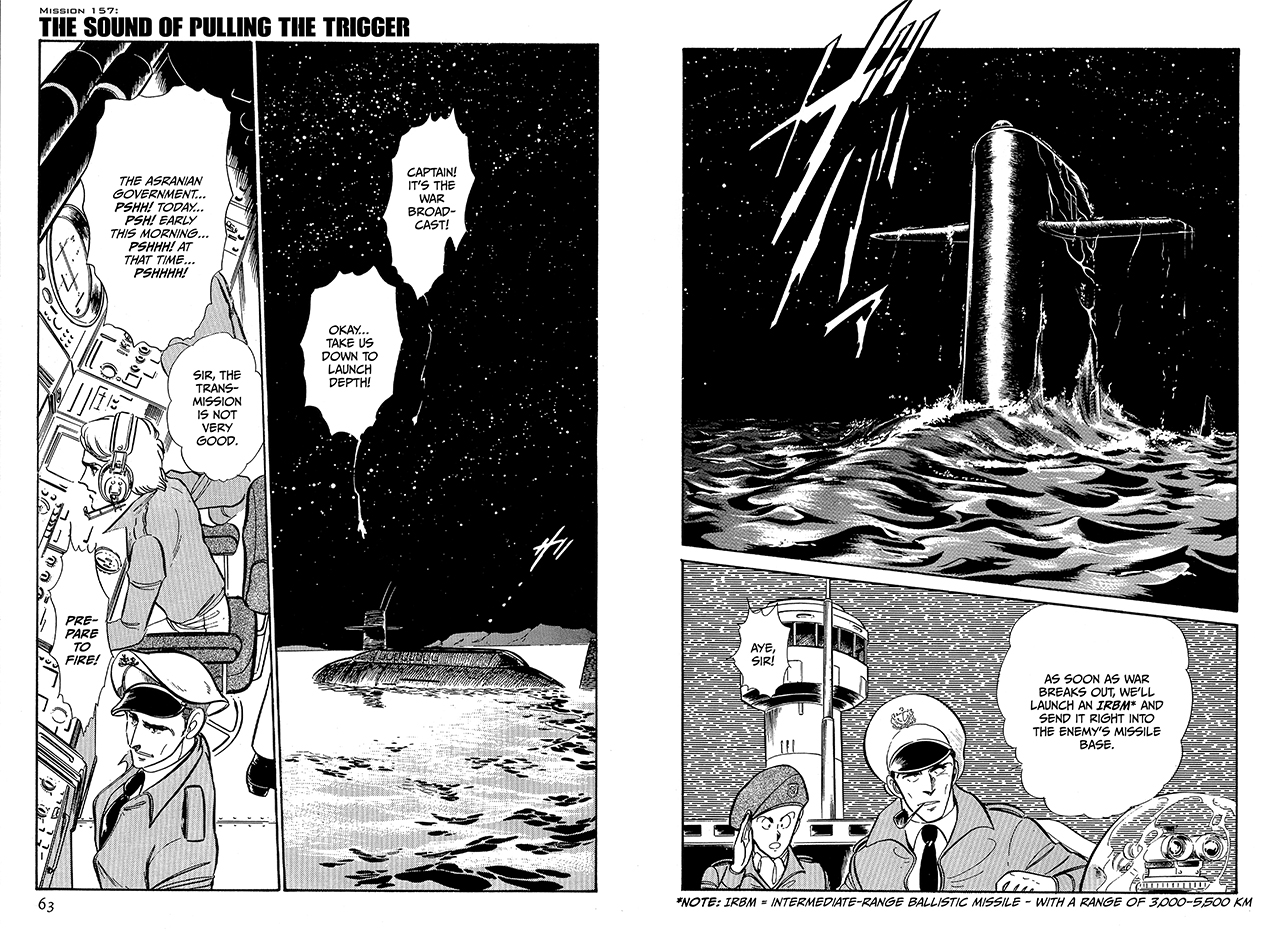
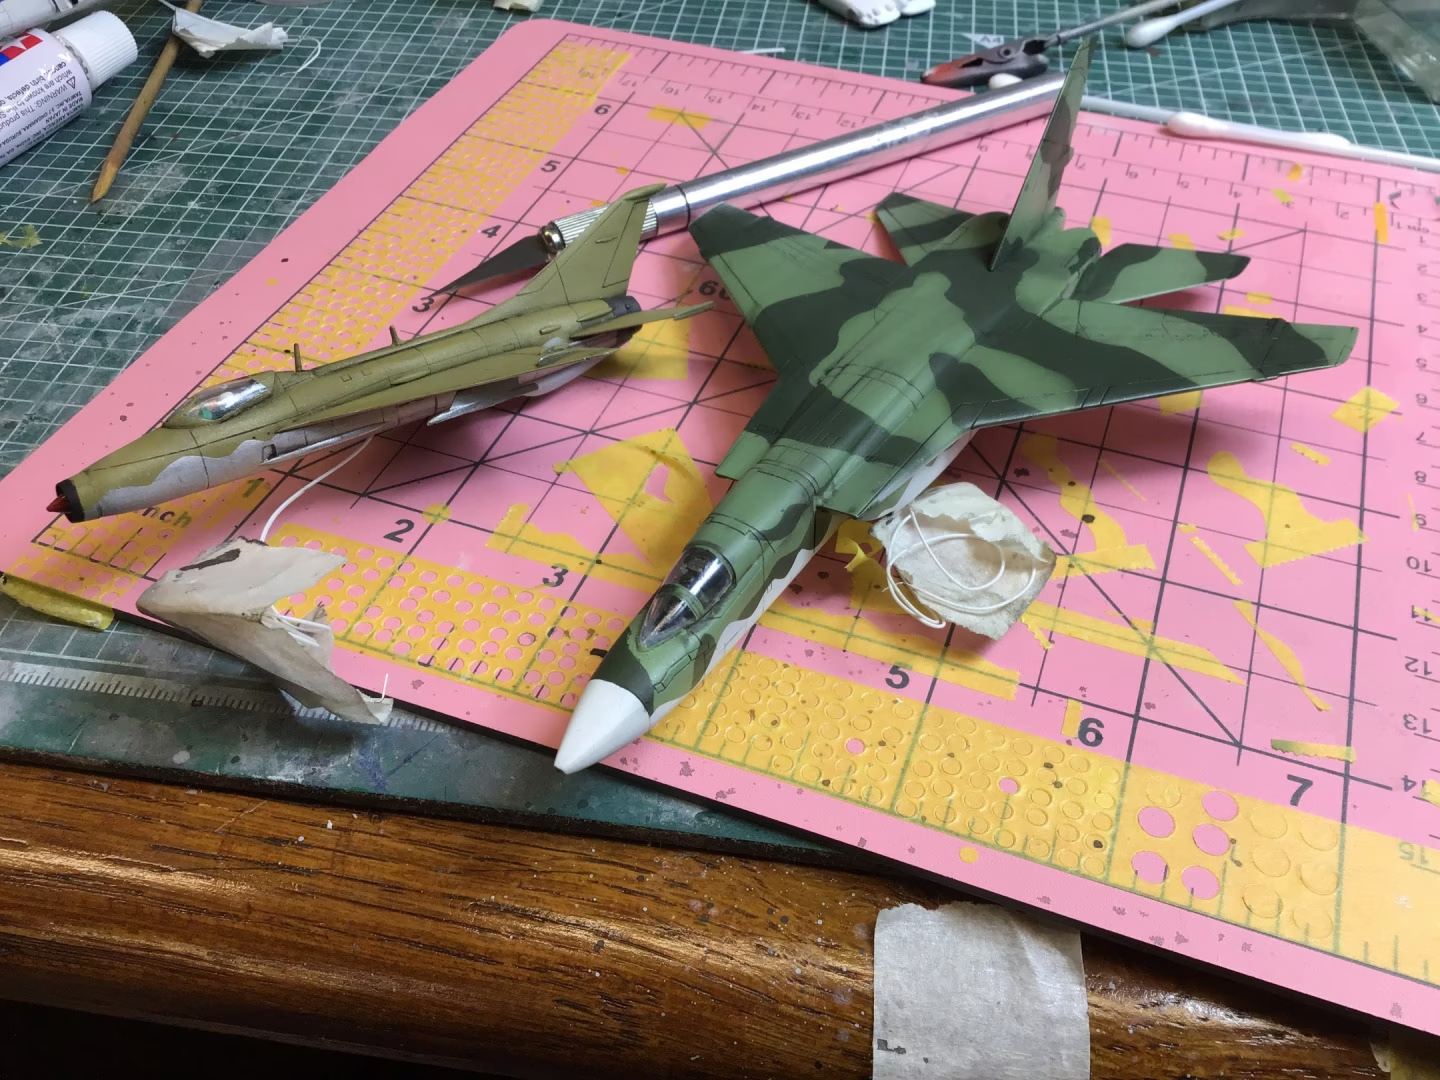
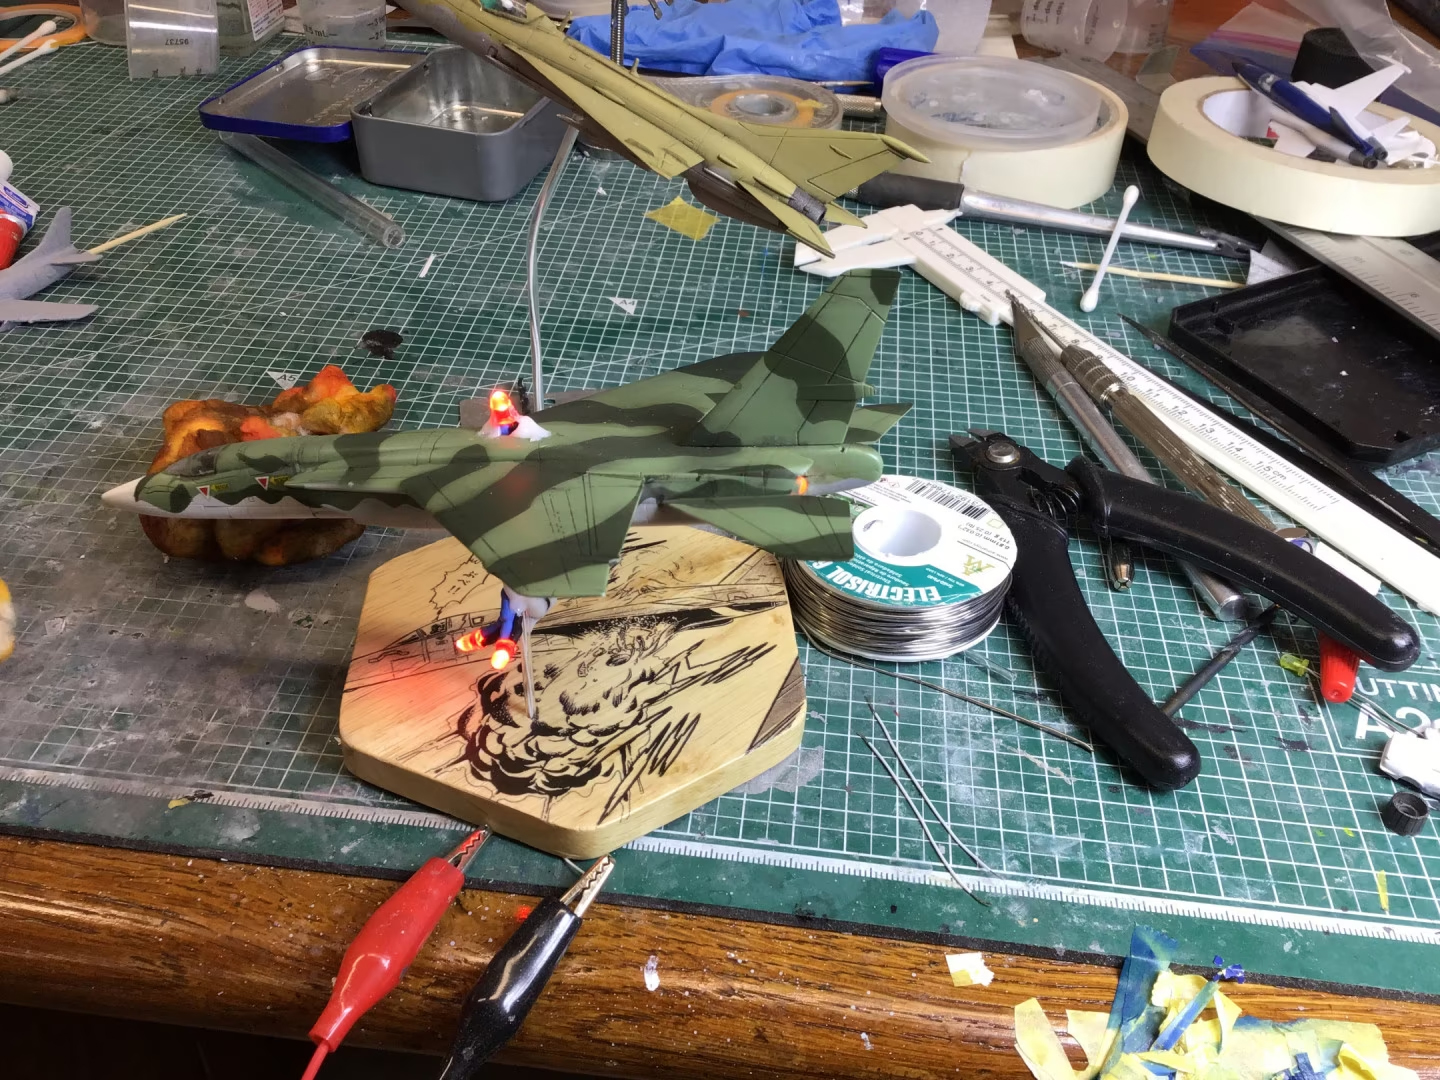
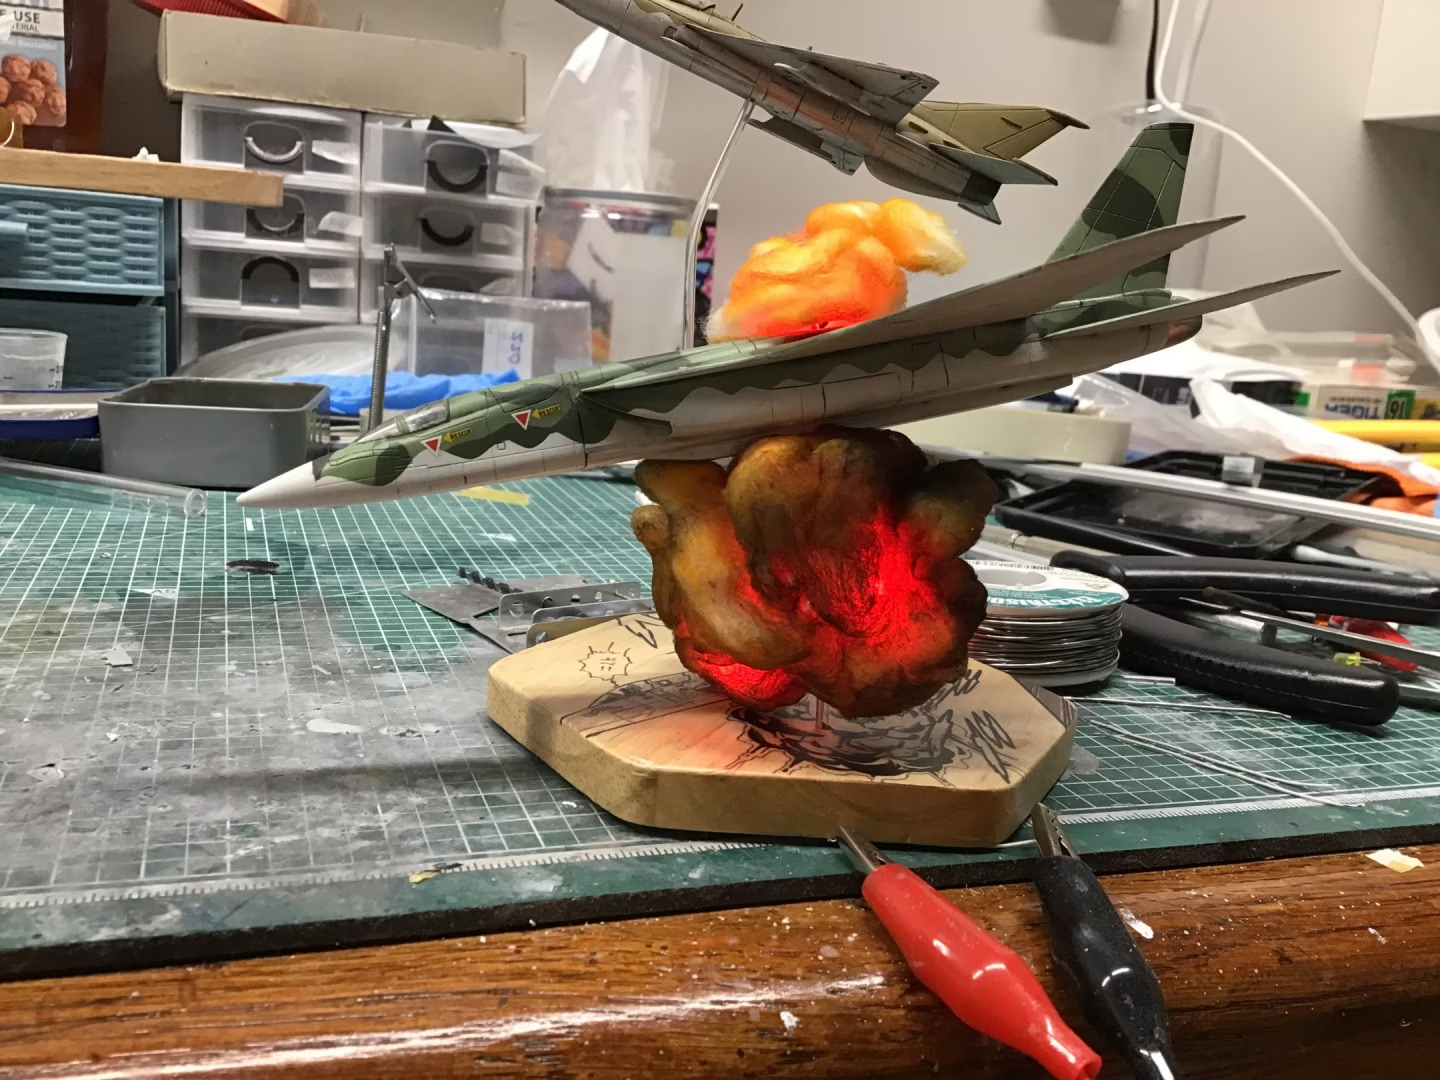
During the invasion of Tanduria, Project 4 ground forces “Trapper” call in “Hawkeye” a MiG-21 to swat down a pesky fly… a RA-5C Vigilante recon plane from Area 88 that is getting intel on the progress of the invasion.
Check out the original manga scene from Chapter 156 “Border Zone” here:
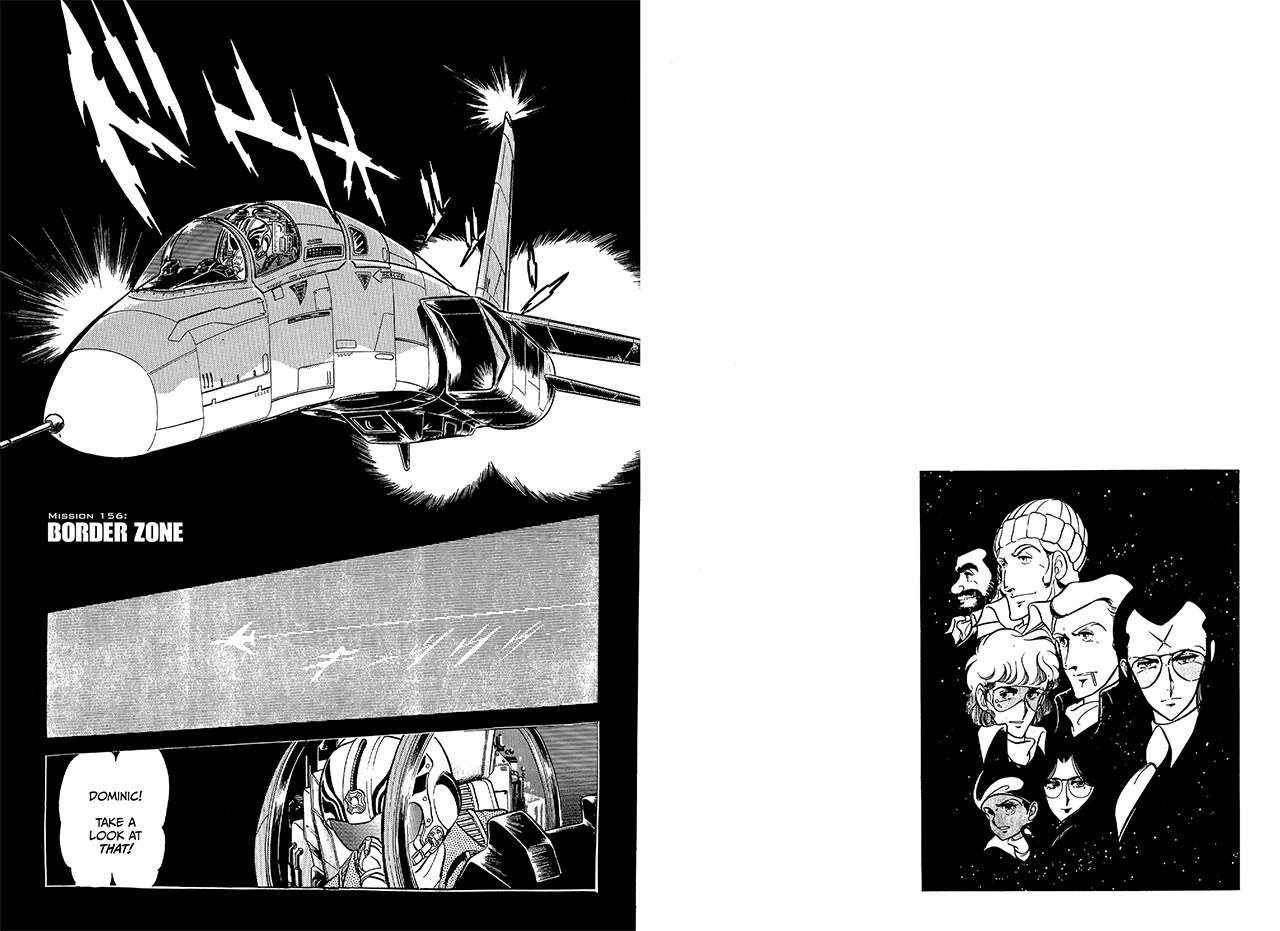
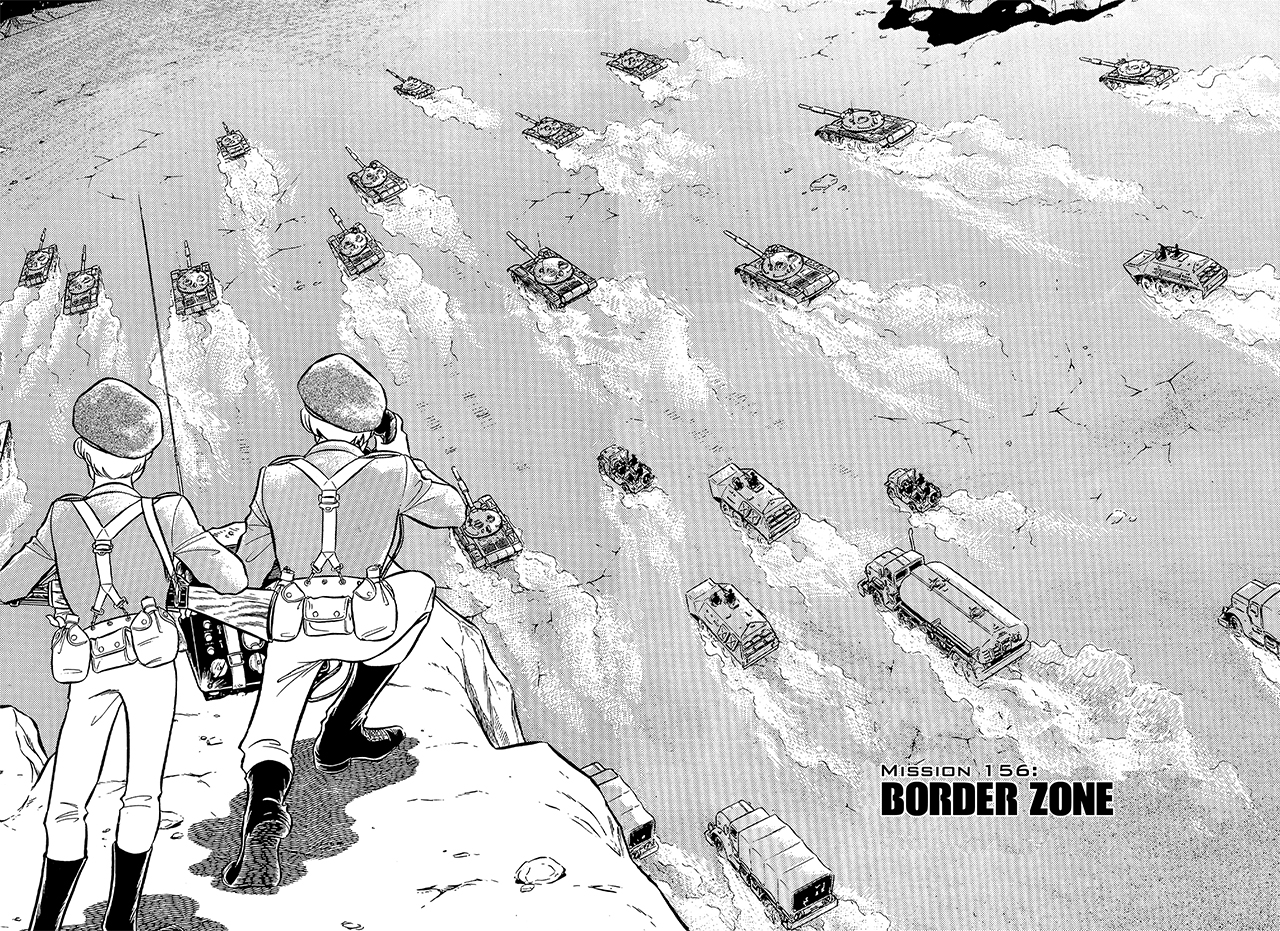
The story:
When I decided to make this build a part of my Area 88 1/144 project, I didn’t really have much more of a reason than the fact that I’d get to build something a bit different – in this case the RA-5C Vigilante. I’m not sure why, but I really like the look of that plane. It wasn’t until I went to translate the scene that I realized that this might be Kaoru Shintani’s nod to M.A.S.H. I can’t really confirm it… but it seems quite likely given the call signs – “Trapper (John)” and “Hawkeye” are, of course, two of the main characters of the long-running popular T.V. show based on the the Korean War, M.A.S.H. Of course the timelines don’t quite line up – M.A.S.H. went off the air in 1983 and this chapter “Border Zone” is one of the final few chapters of the Area 88 manga, published on Nov. 8, 1985. Who knows, though? Maybe the broadcast was a bit longer/later in Japan.
Regardless, I got to build yet another older Japanese 1/144 scale aircraft kit (in this case a 1990s ARII boxing of the old Otaki kit from the 1970s). What could be wrong with that?
The kit(s):
-
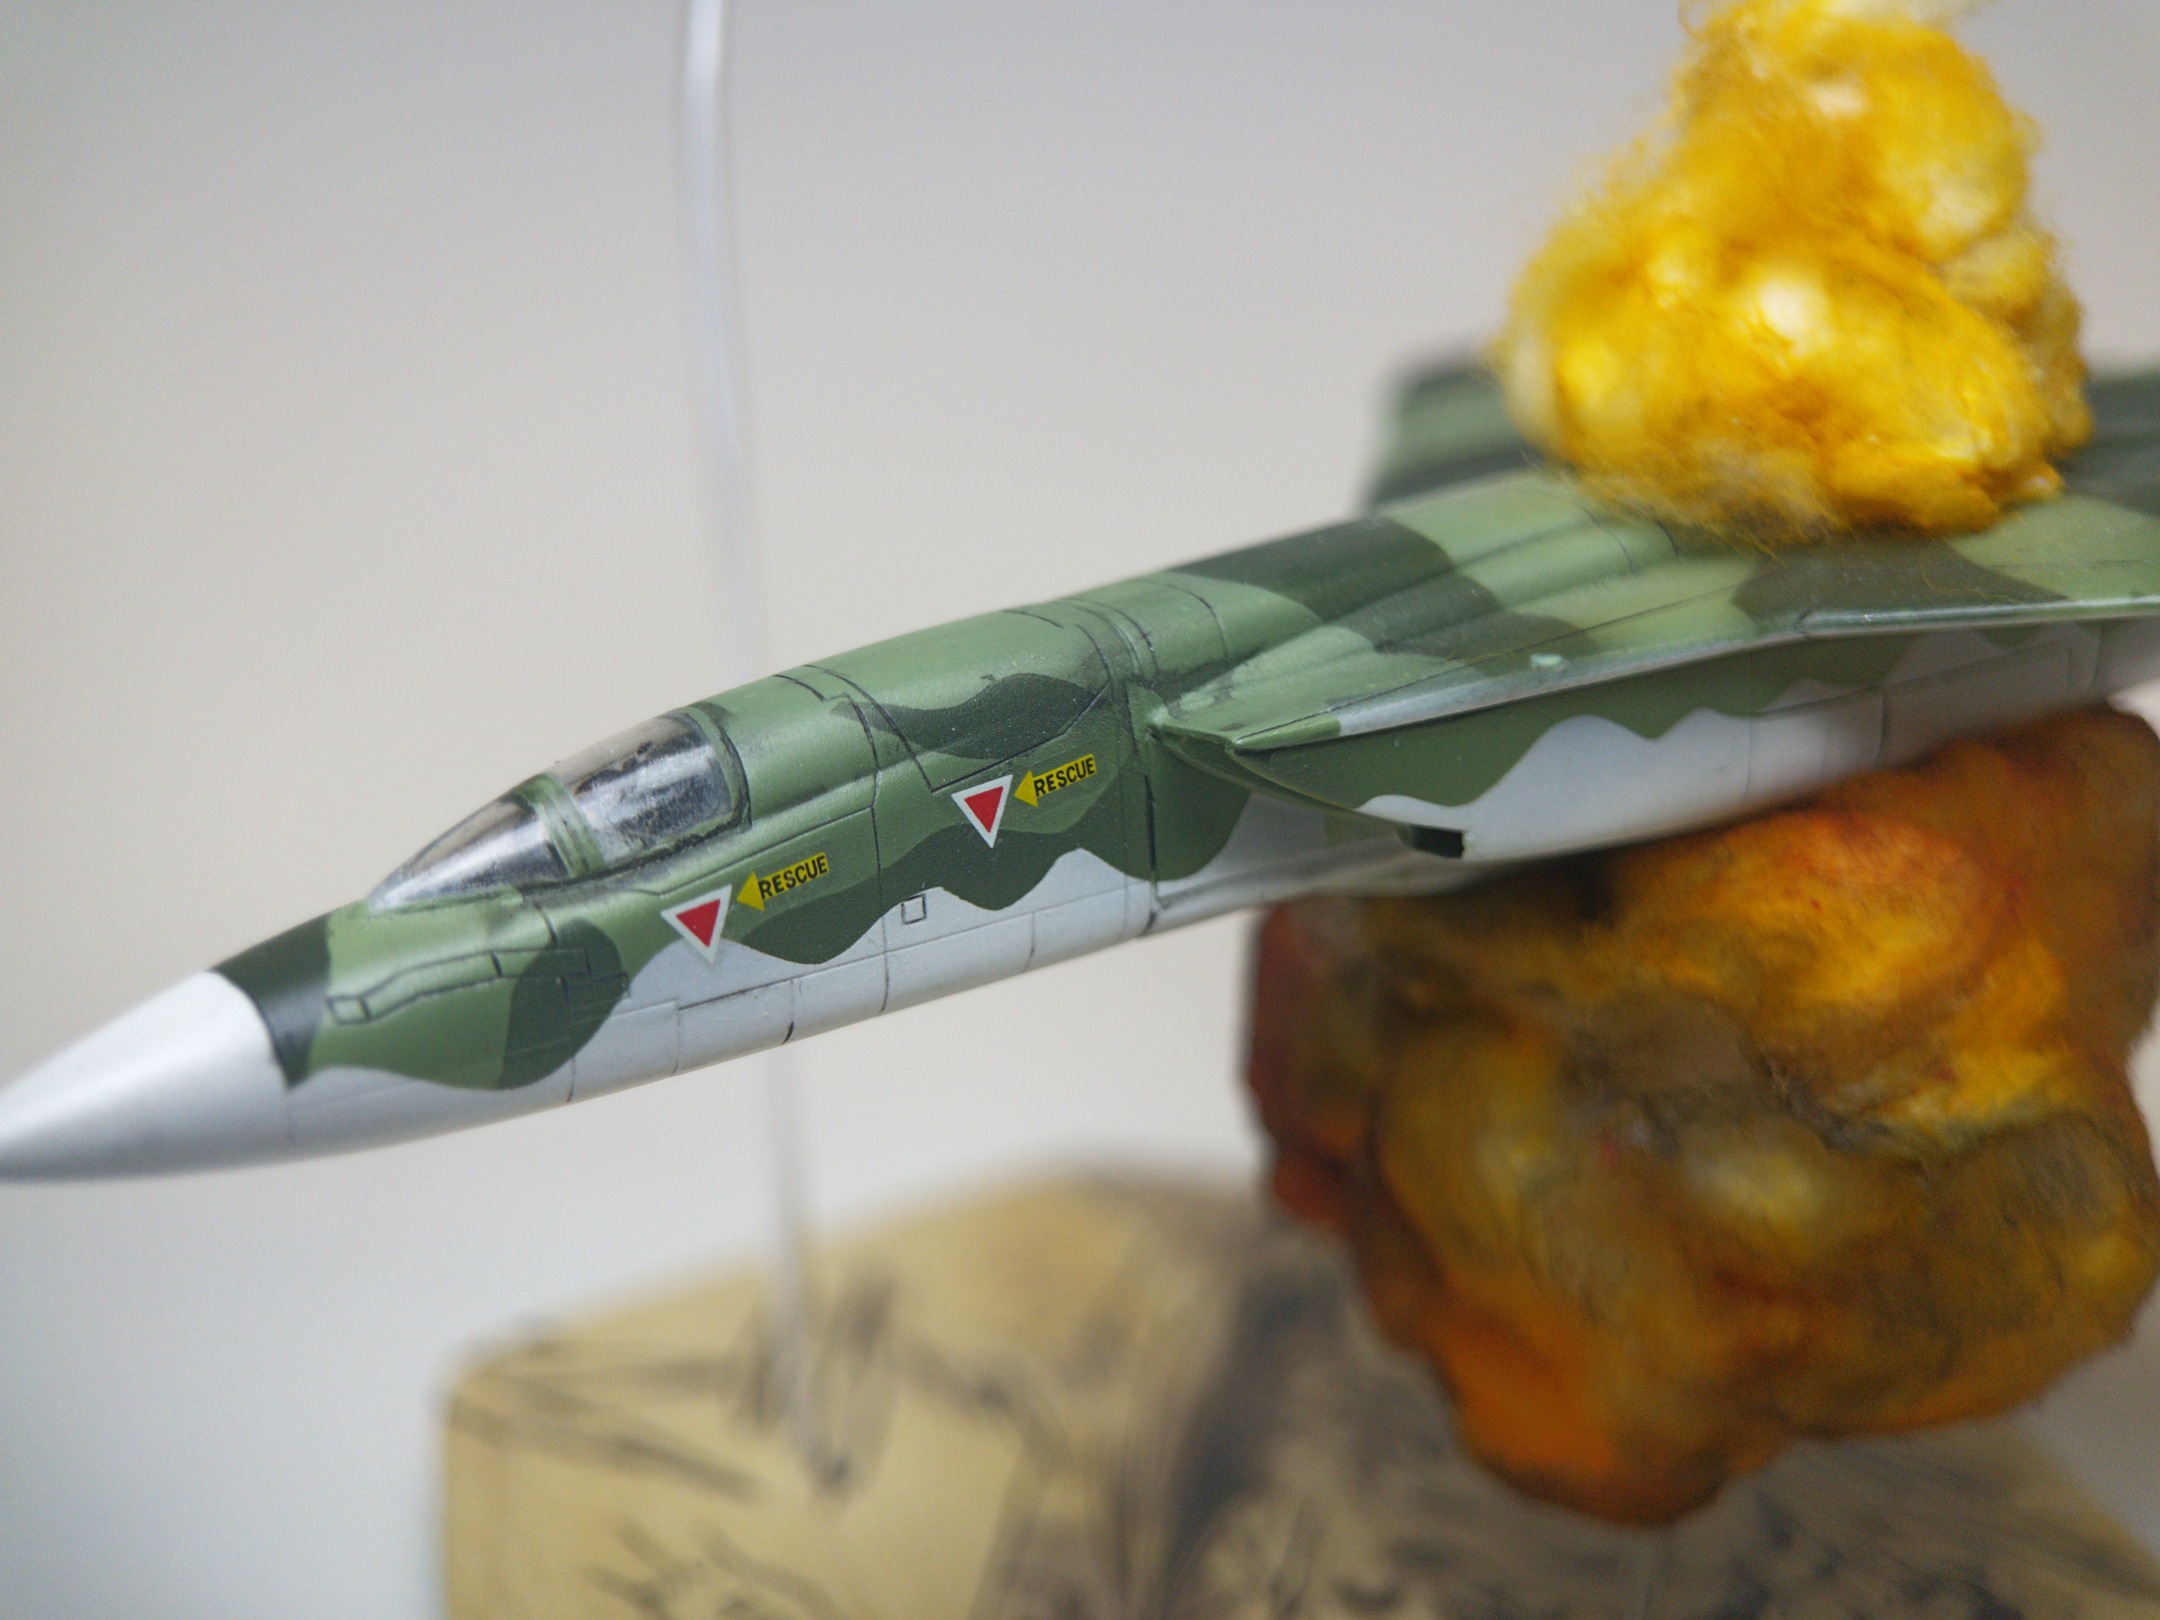
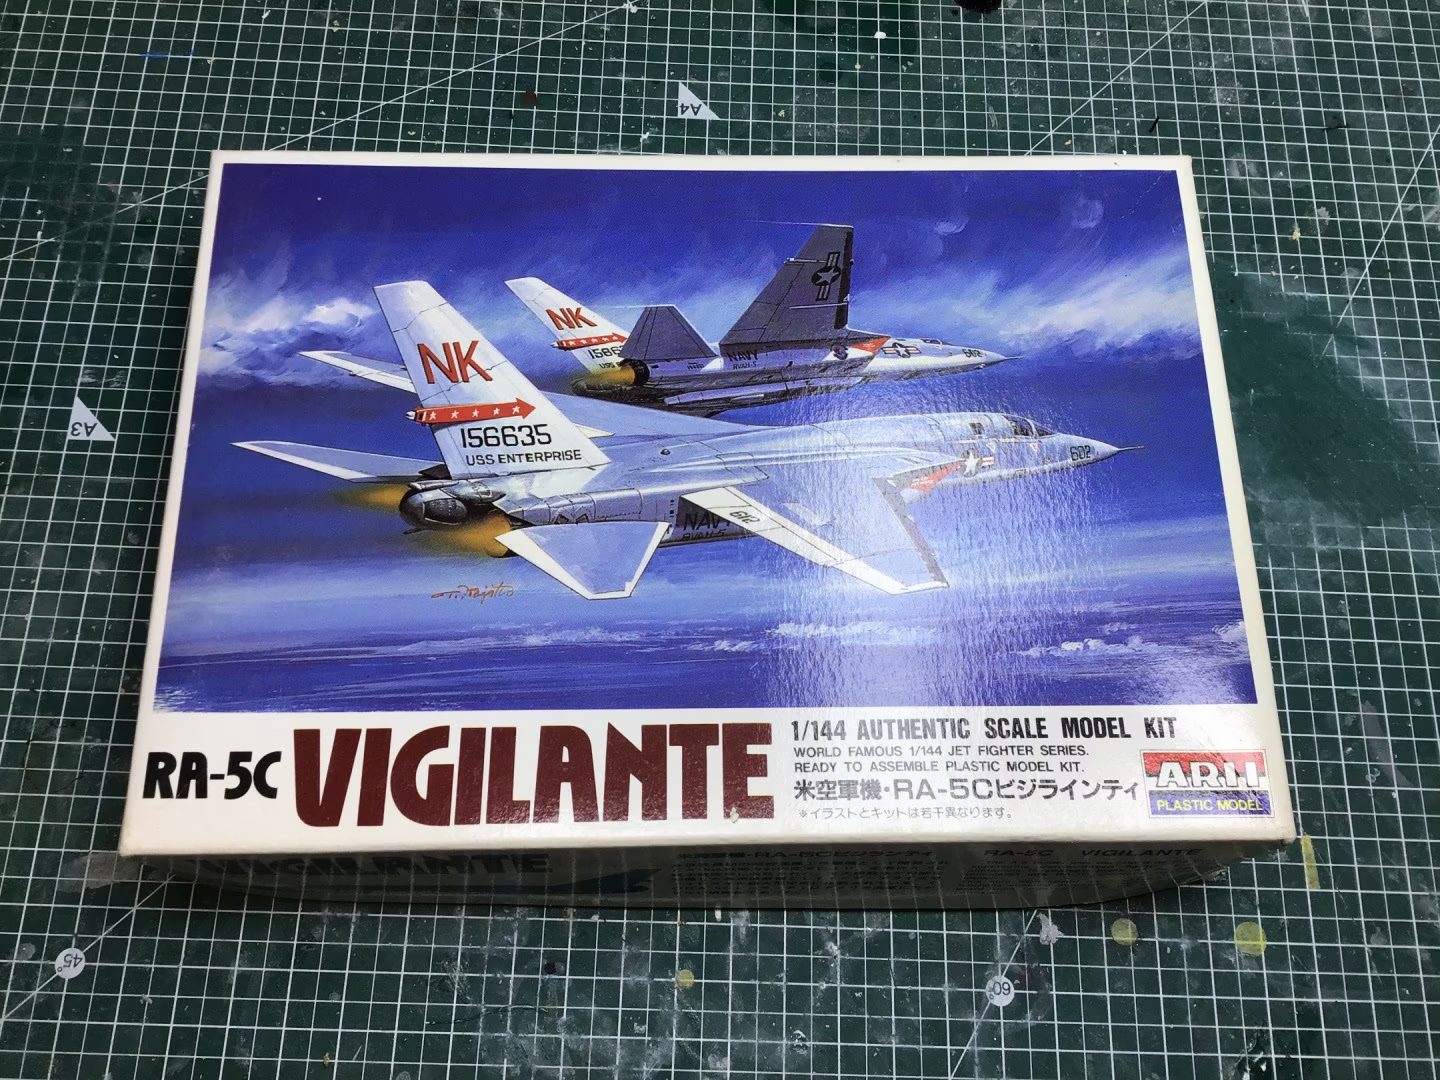
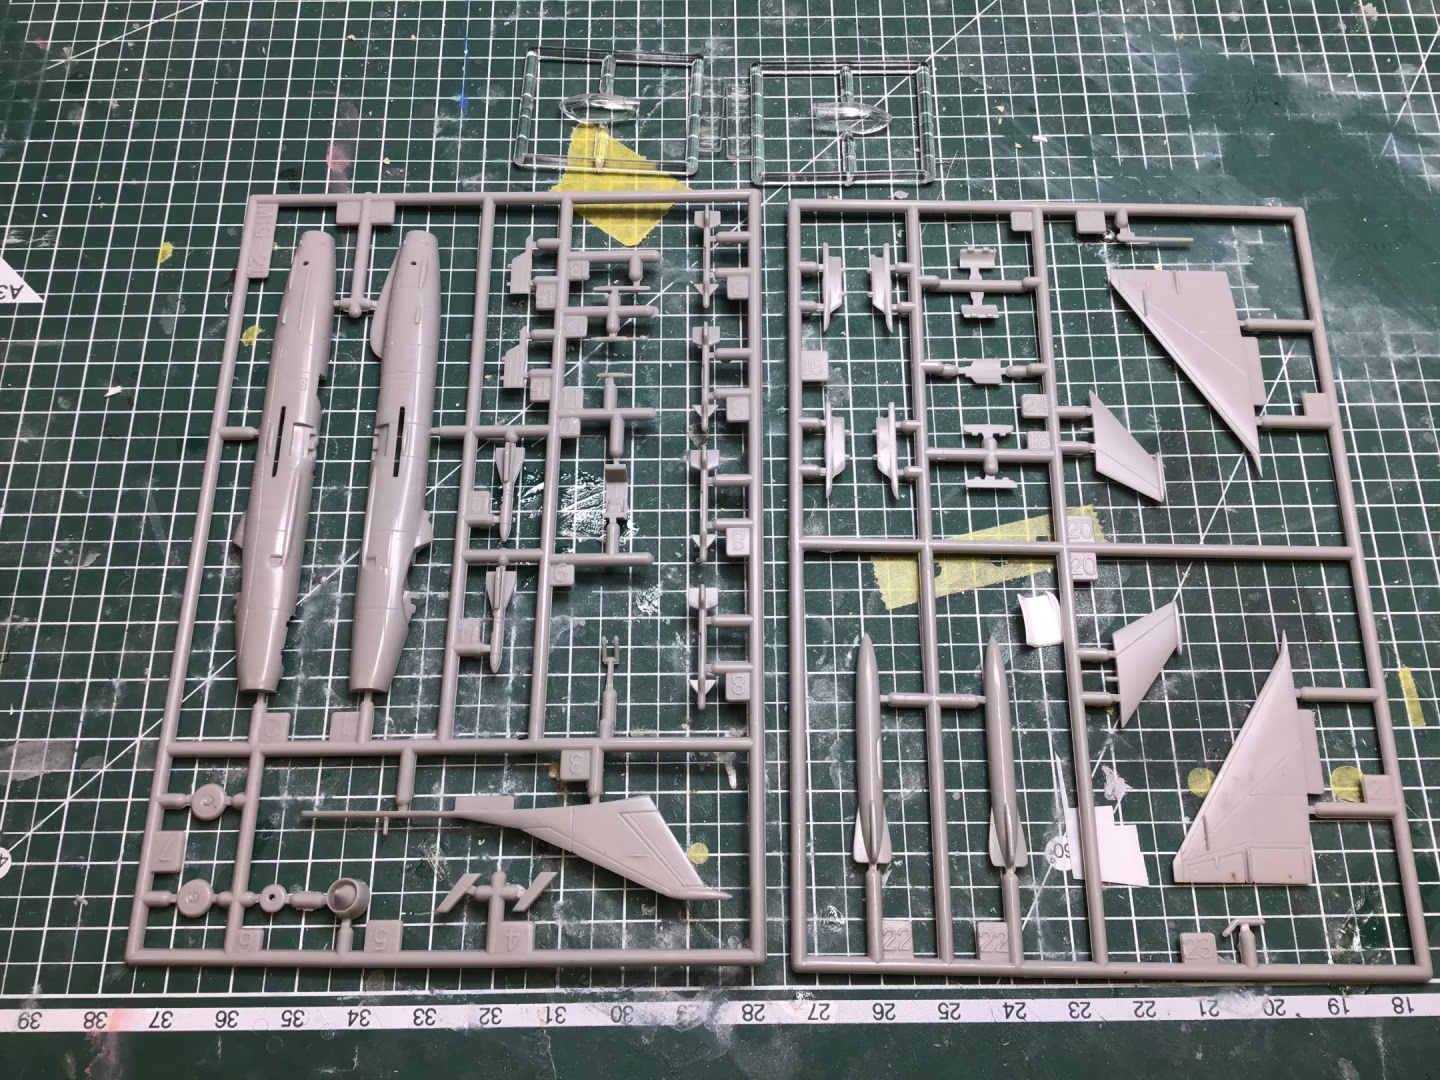
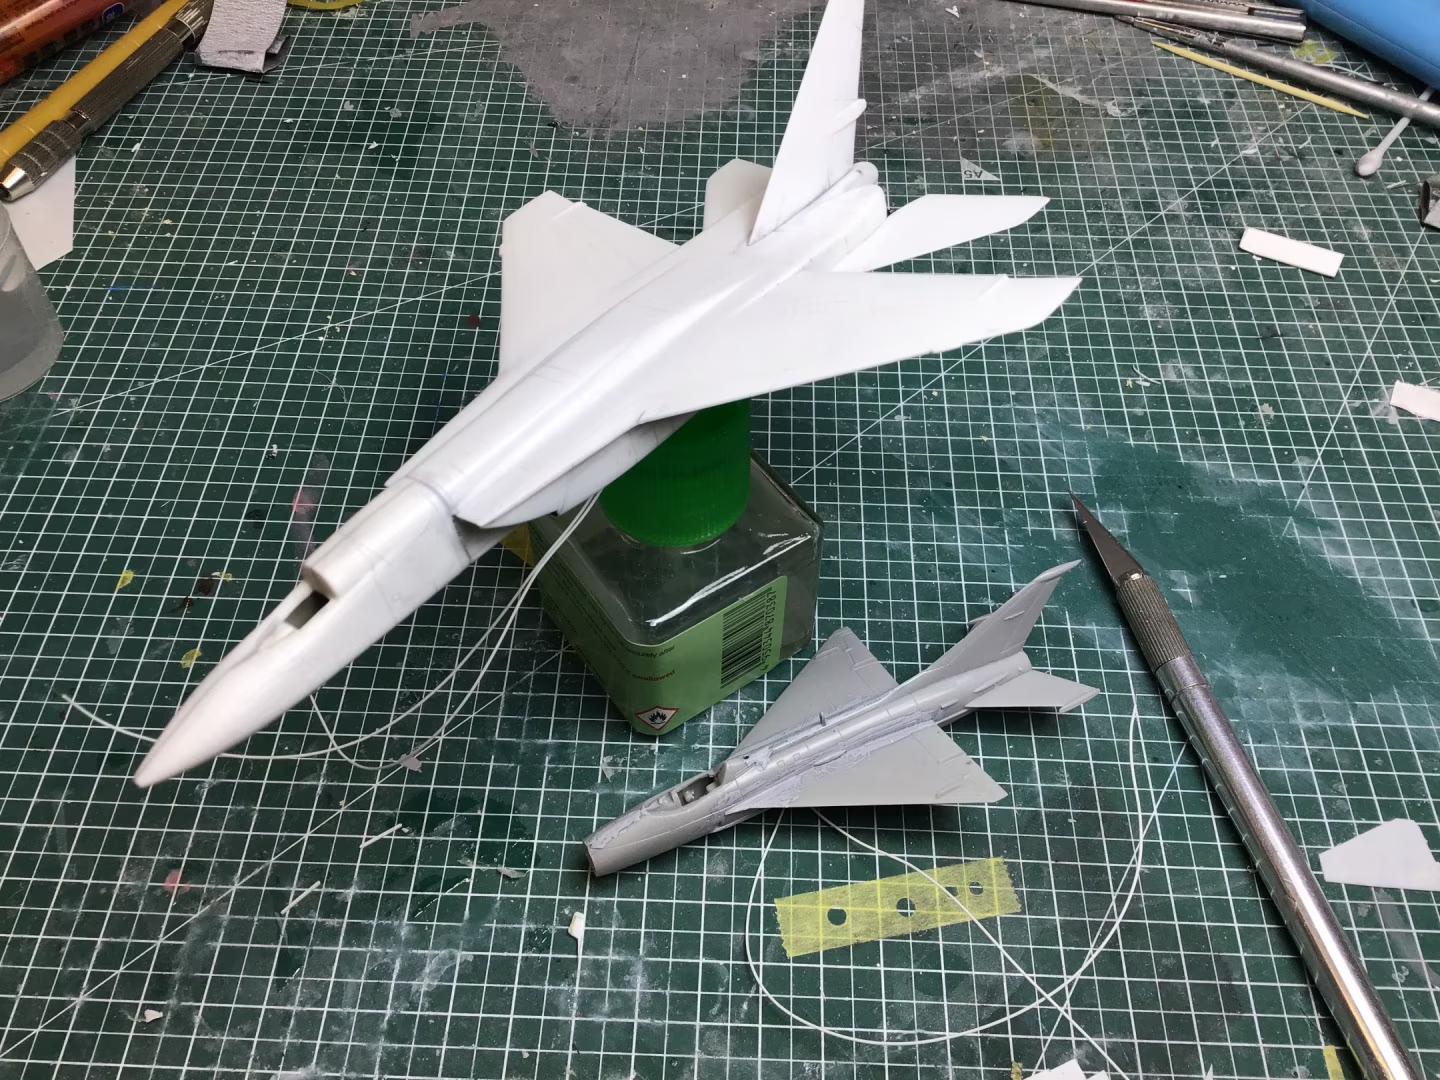
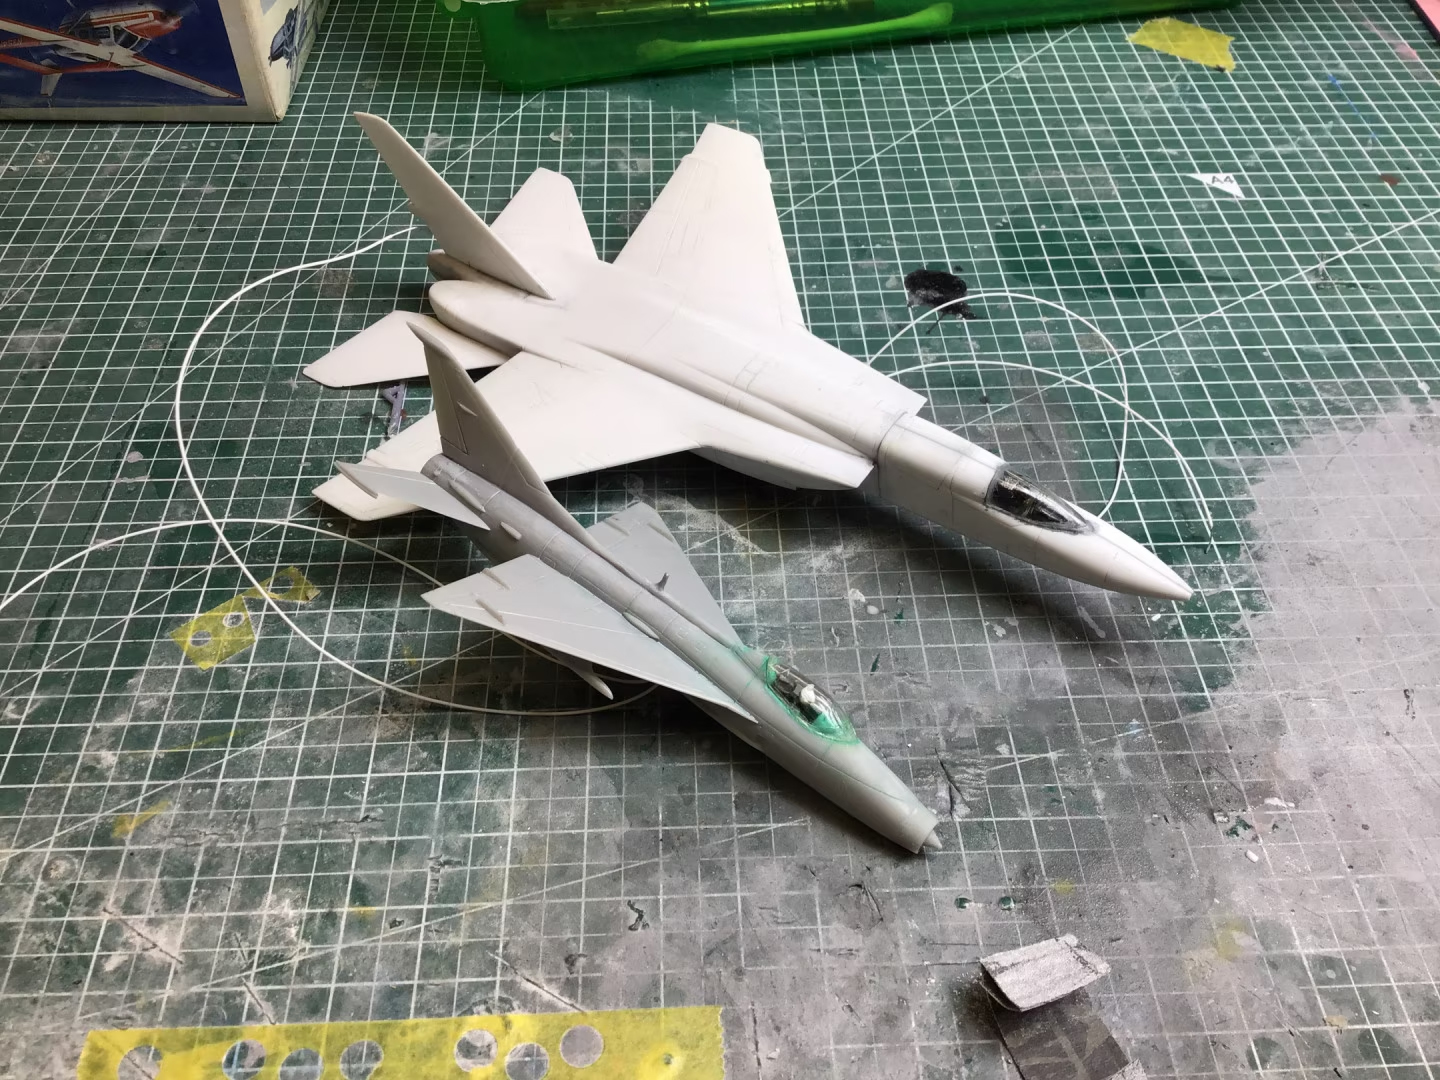
- RA-5C Vigilante by Arii
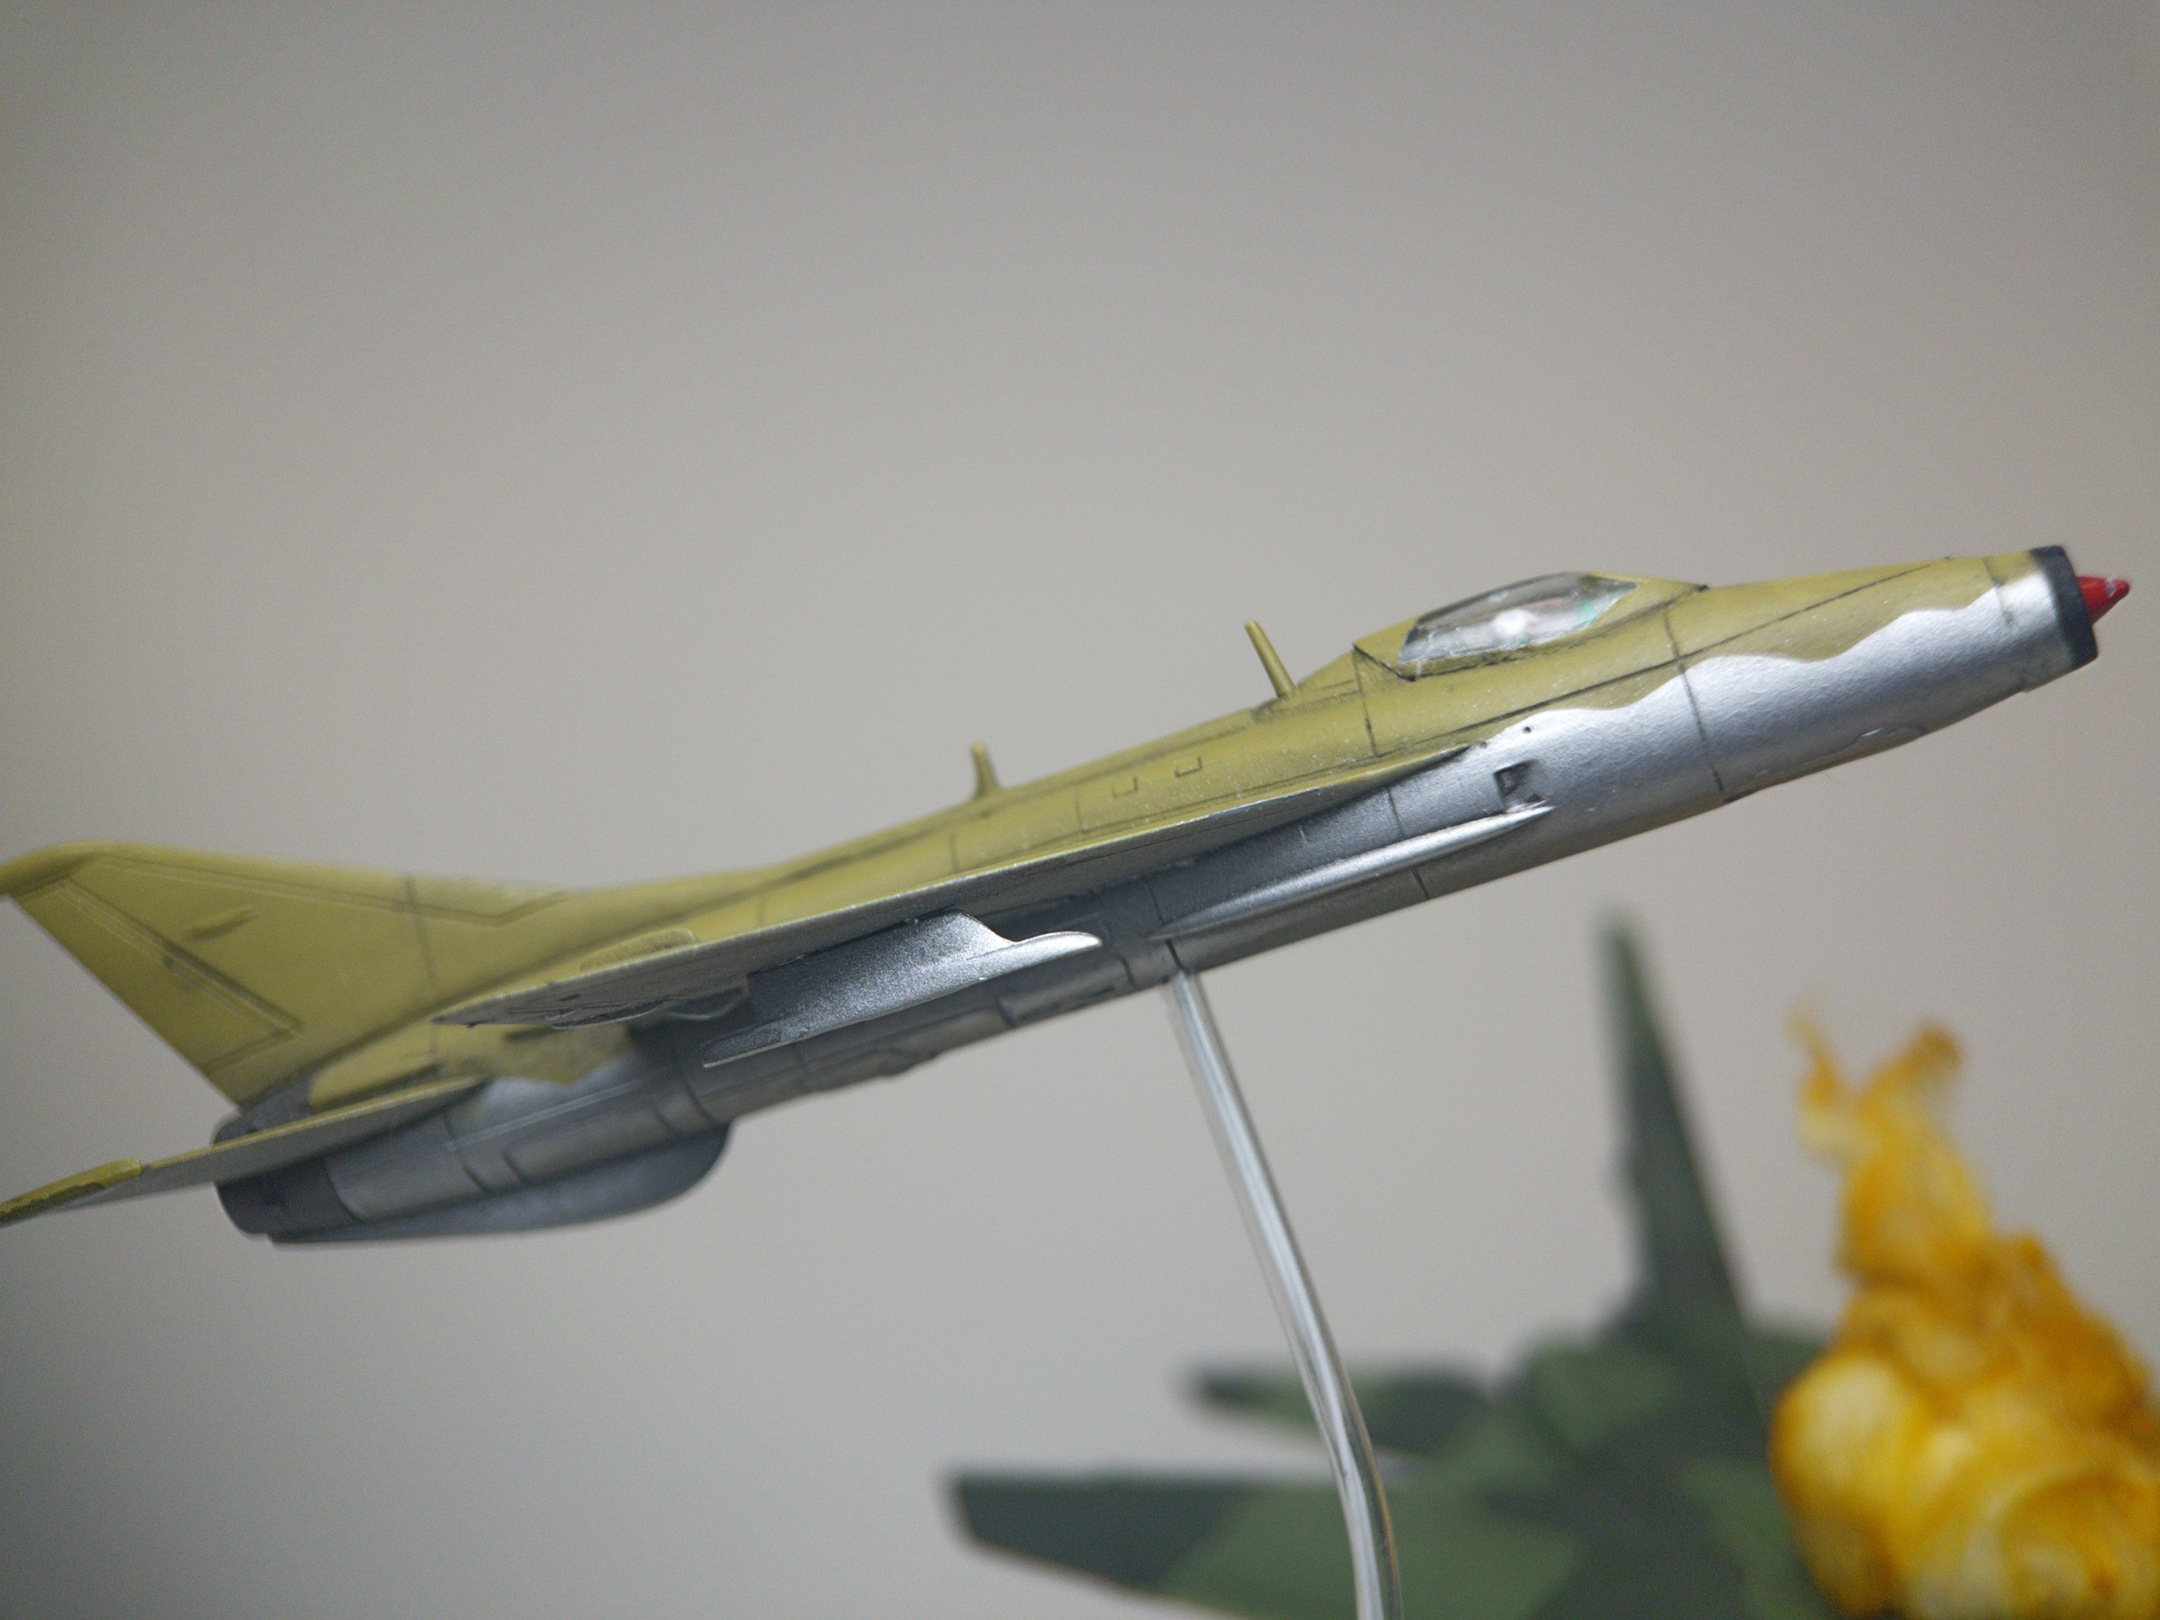
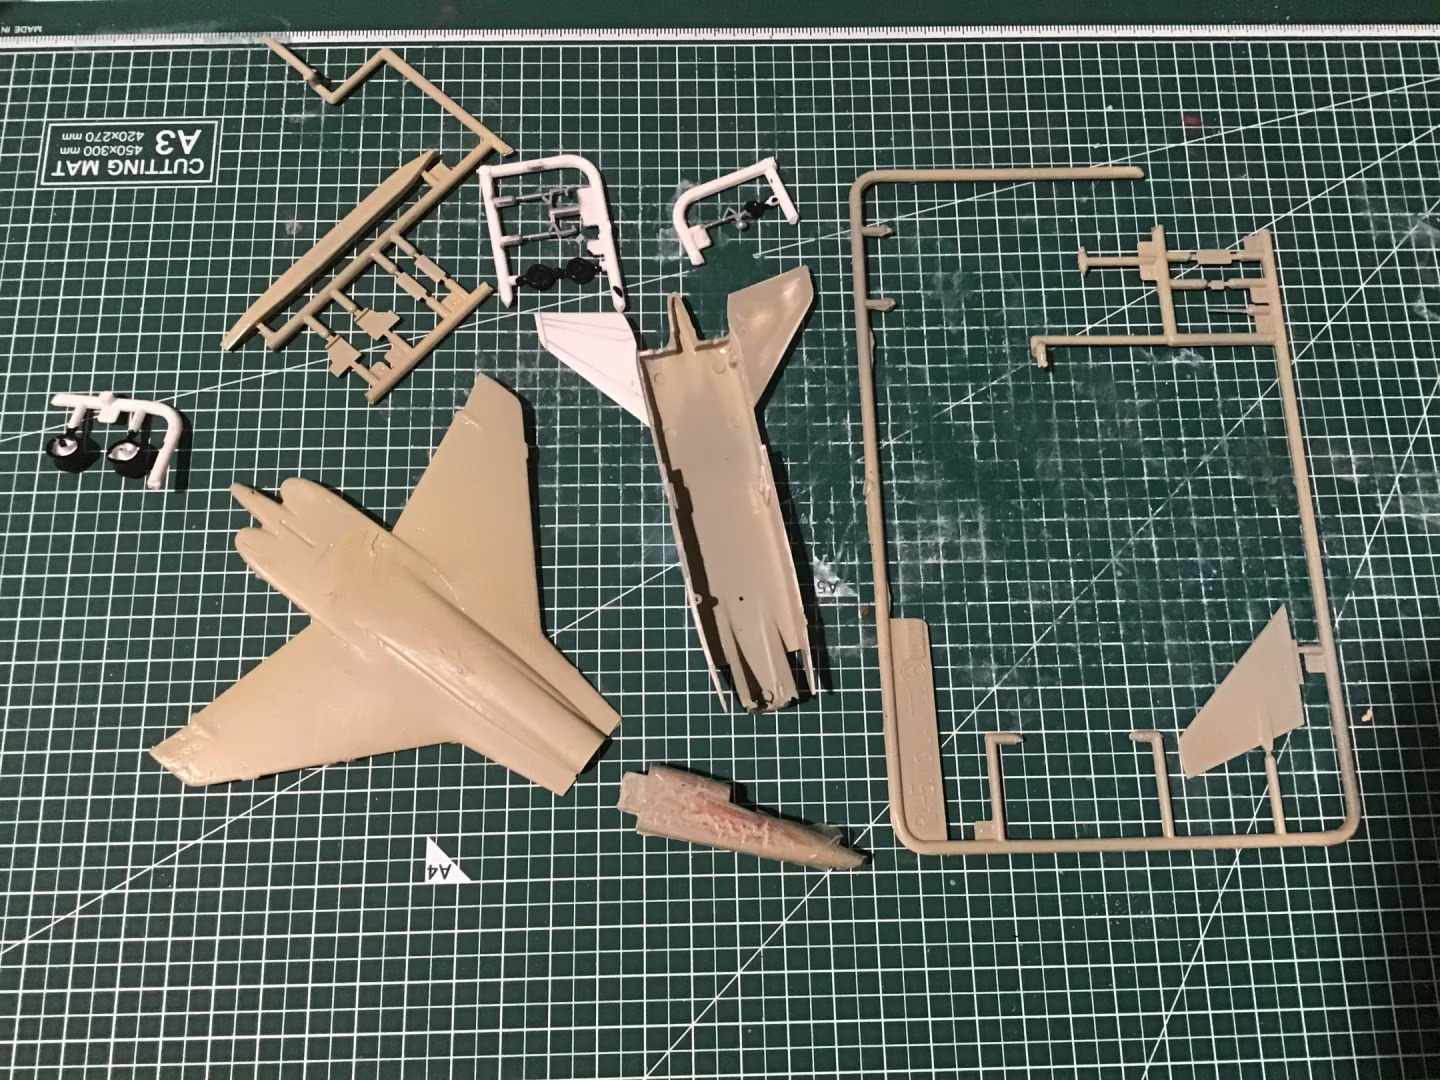
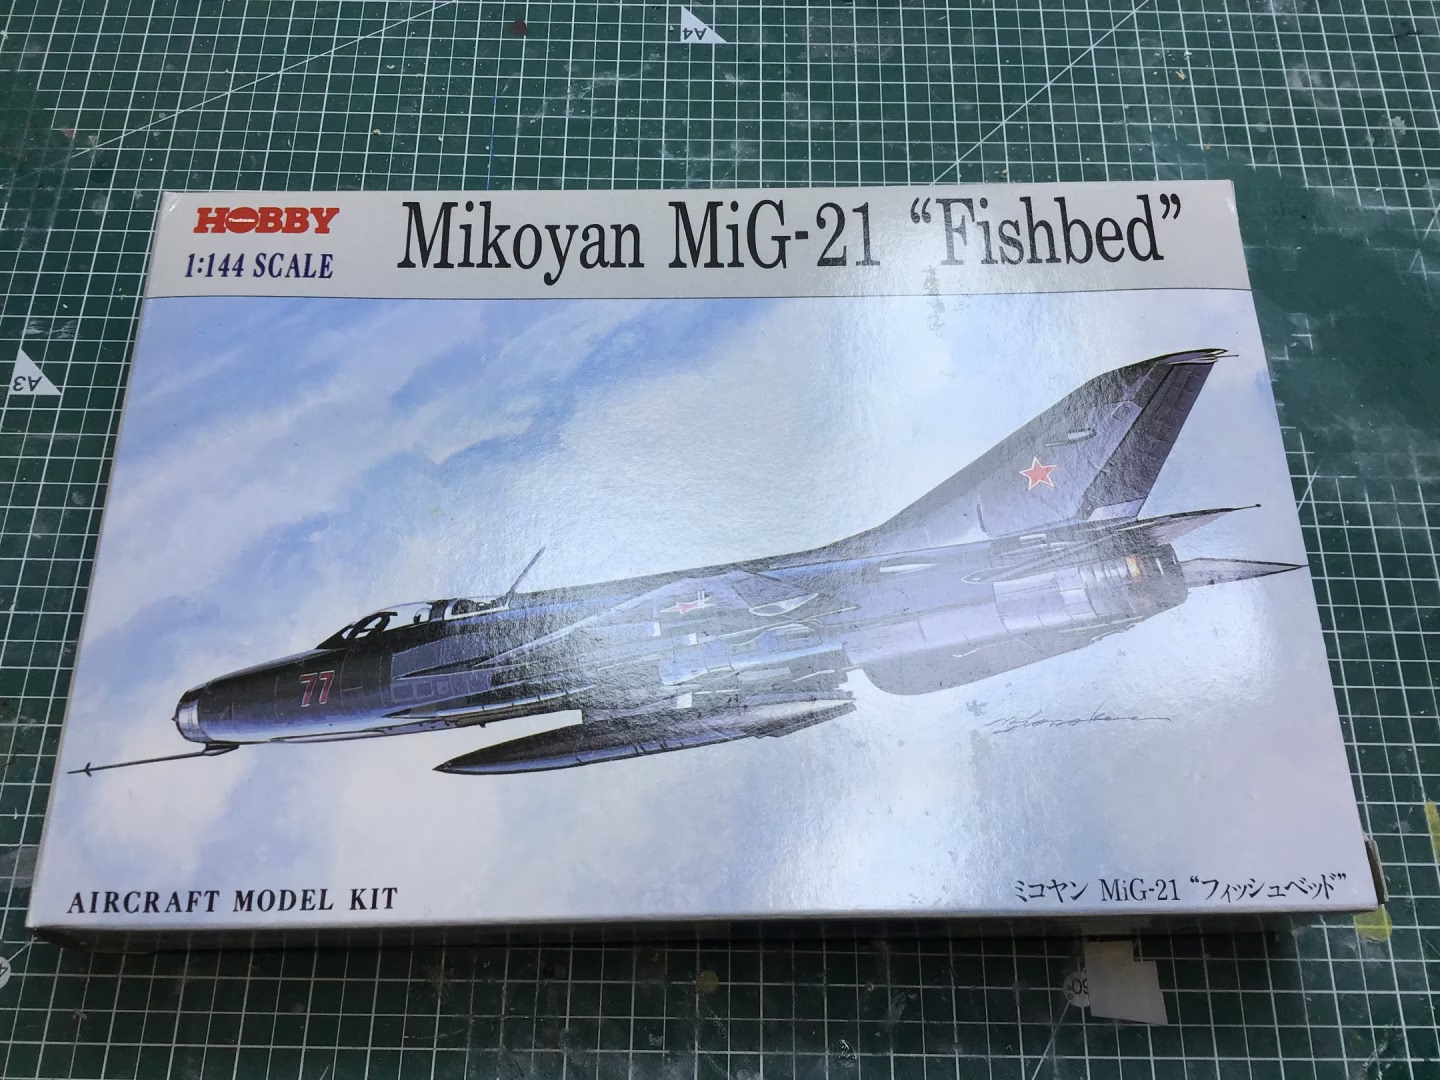
- Mikoyan Mig-21 “Fishbed” by Tsukuda Hobby
The build:
I’m not quite sure why I love these old 1970s/80s Japanese 1/144 scale kits, but I do. So when I found the RA-5C Vigilante by ARII, it went right on the list for my Area 88 1/144 project. This is a case of the kit leading me to scour the manga to find a scene I could use as an excuse to build it.
However, when I went looking for the kit, I found it quite difficult to get my hands on it. I’m not sure if there’s a reason – maybe it was just the turn of the seasons, or the tides of the moon, but I couldn’t find it anywhere. When it did finally pop up on eBay, I didn’t really like the price.
That’s why I jumped at the chance to “refurbish” a kit that had already been started. The price was a lot cheaper and it’s not the first time I’ve reversed someone else’s vision and bent it to my will instead. However, when the box arrived on my doorstep, I was wondering if I’d maybe made a mistake.
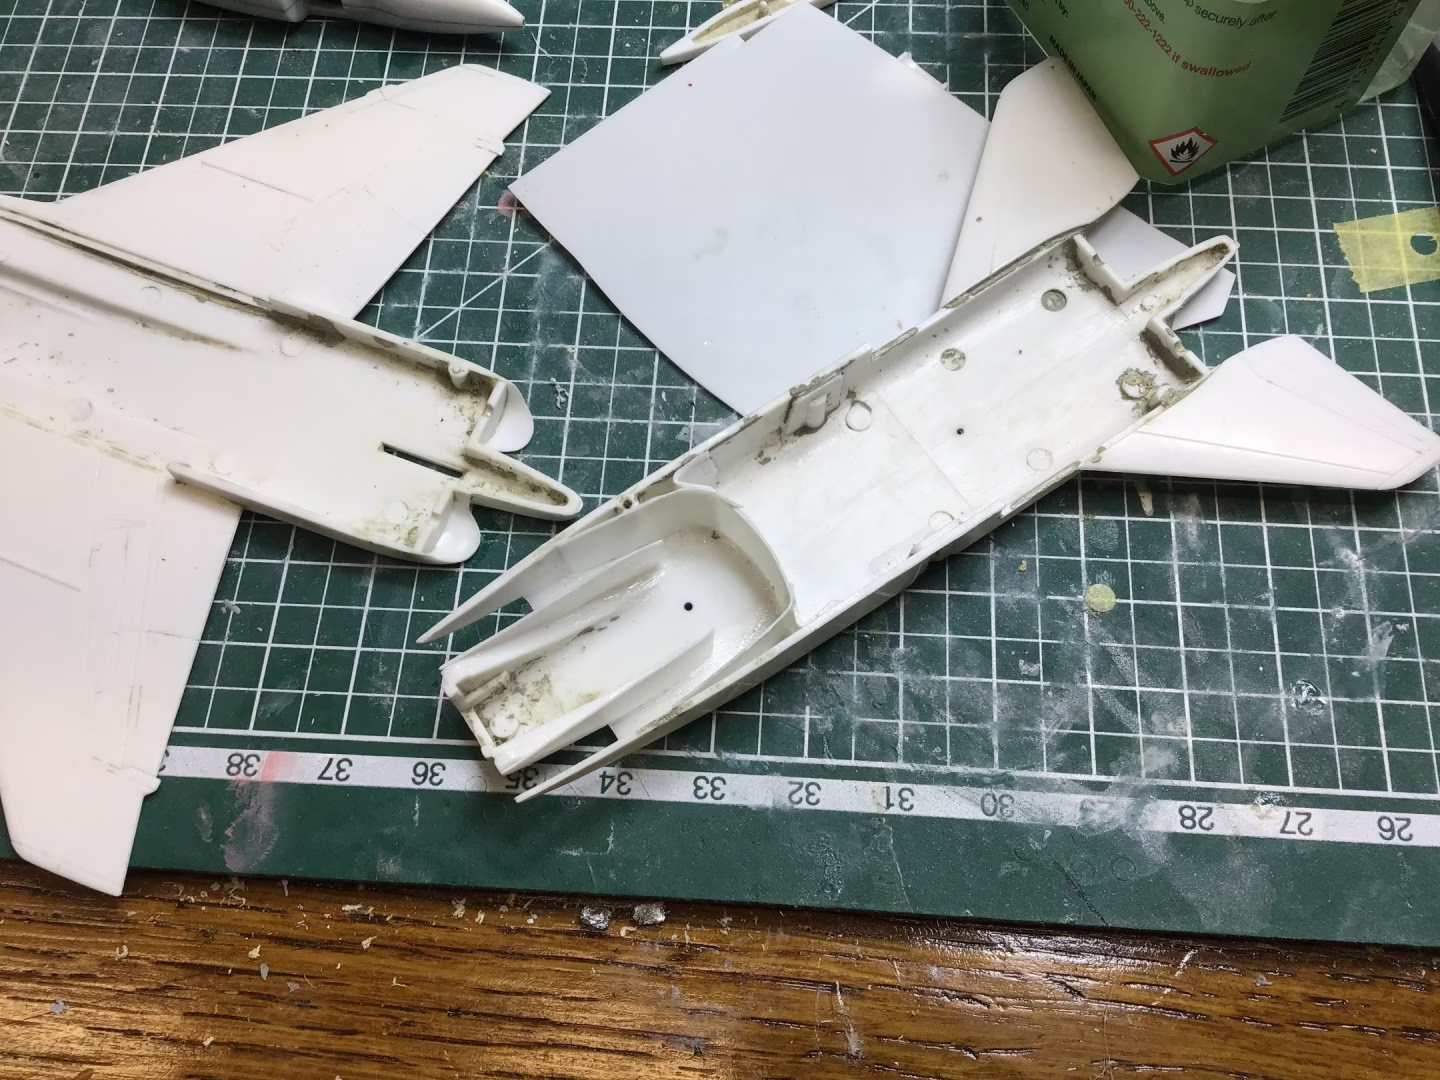
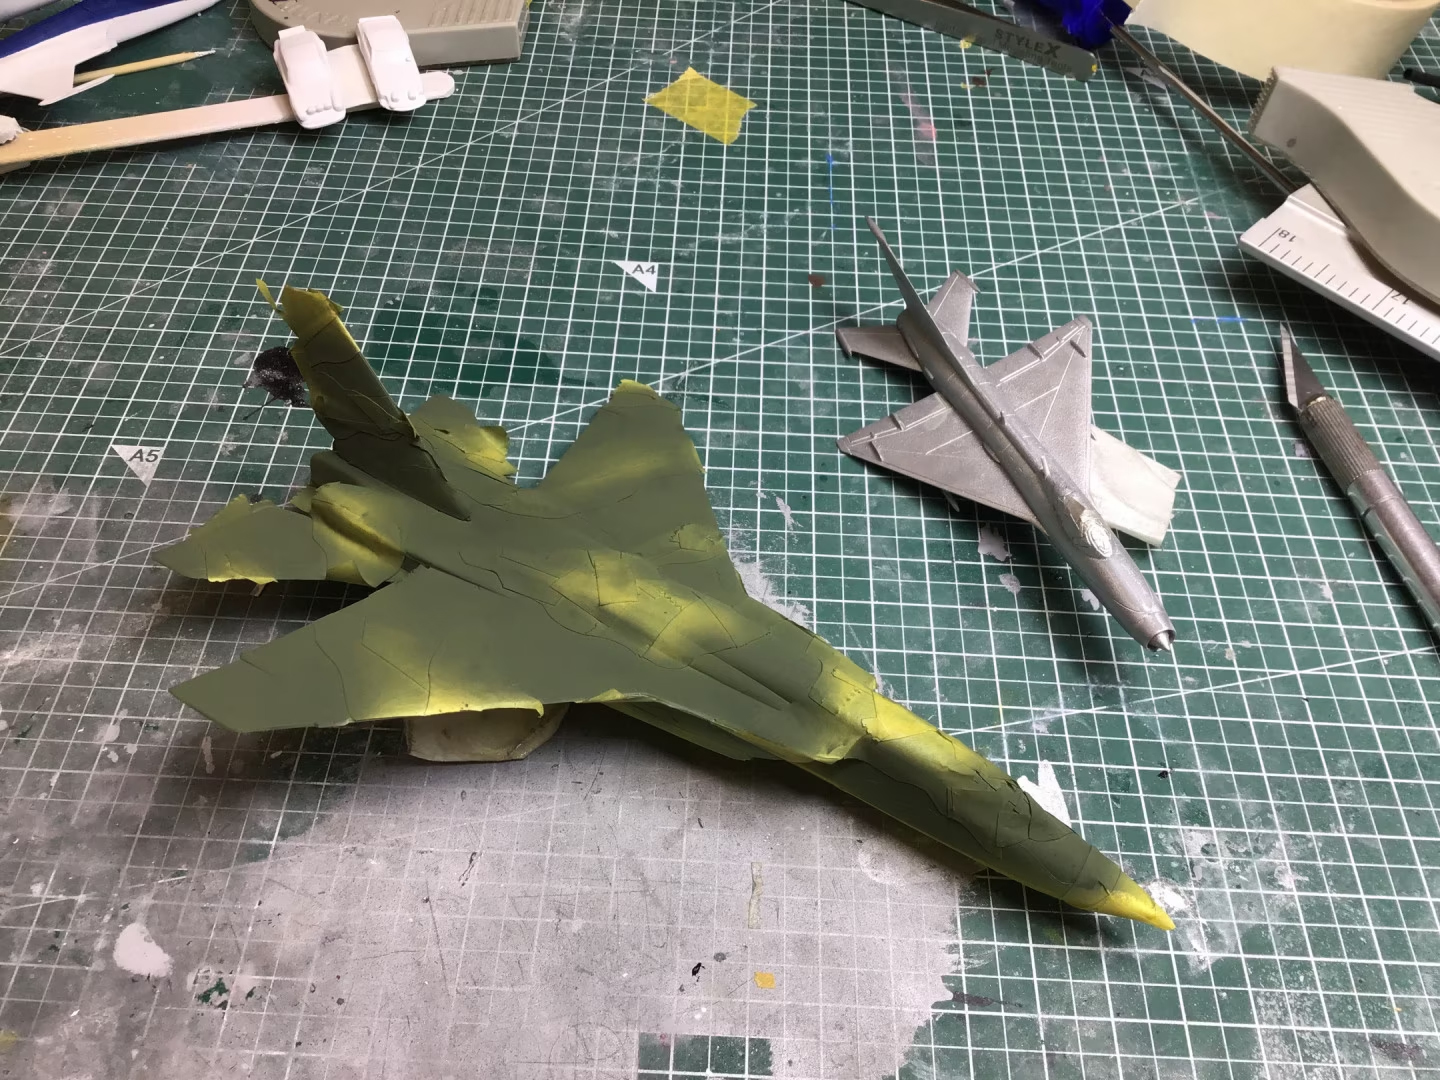
The story of this build is really before I got started. When I opened the box, I wasn’t quite sure what I was looking at. The plastic on the kit looked almost melted, in that rounded blobby and cracked sort of way. It was also a very odd “left out in the sun too long” shade of beige. So I wasn’t at all sure I’d be able to salvage it. Luckily… I had a clue. On one single part of the tail section – the underside of one of the rear elevators, the plastic looked undamaged. I then started to suspect that it might be a strange coat of paint on the kit that was causing the horror.
Luckily, to my great joy, after a bath in some lacquer thinner, a rinse in isopropyl alcohol, a mountain of Q-Tips, and a LOT of elbow grease with a brush, I discovered the pristine white plastic underneath! Thank Goodness!
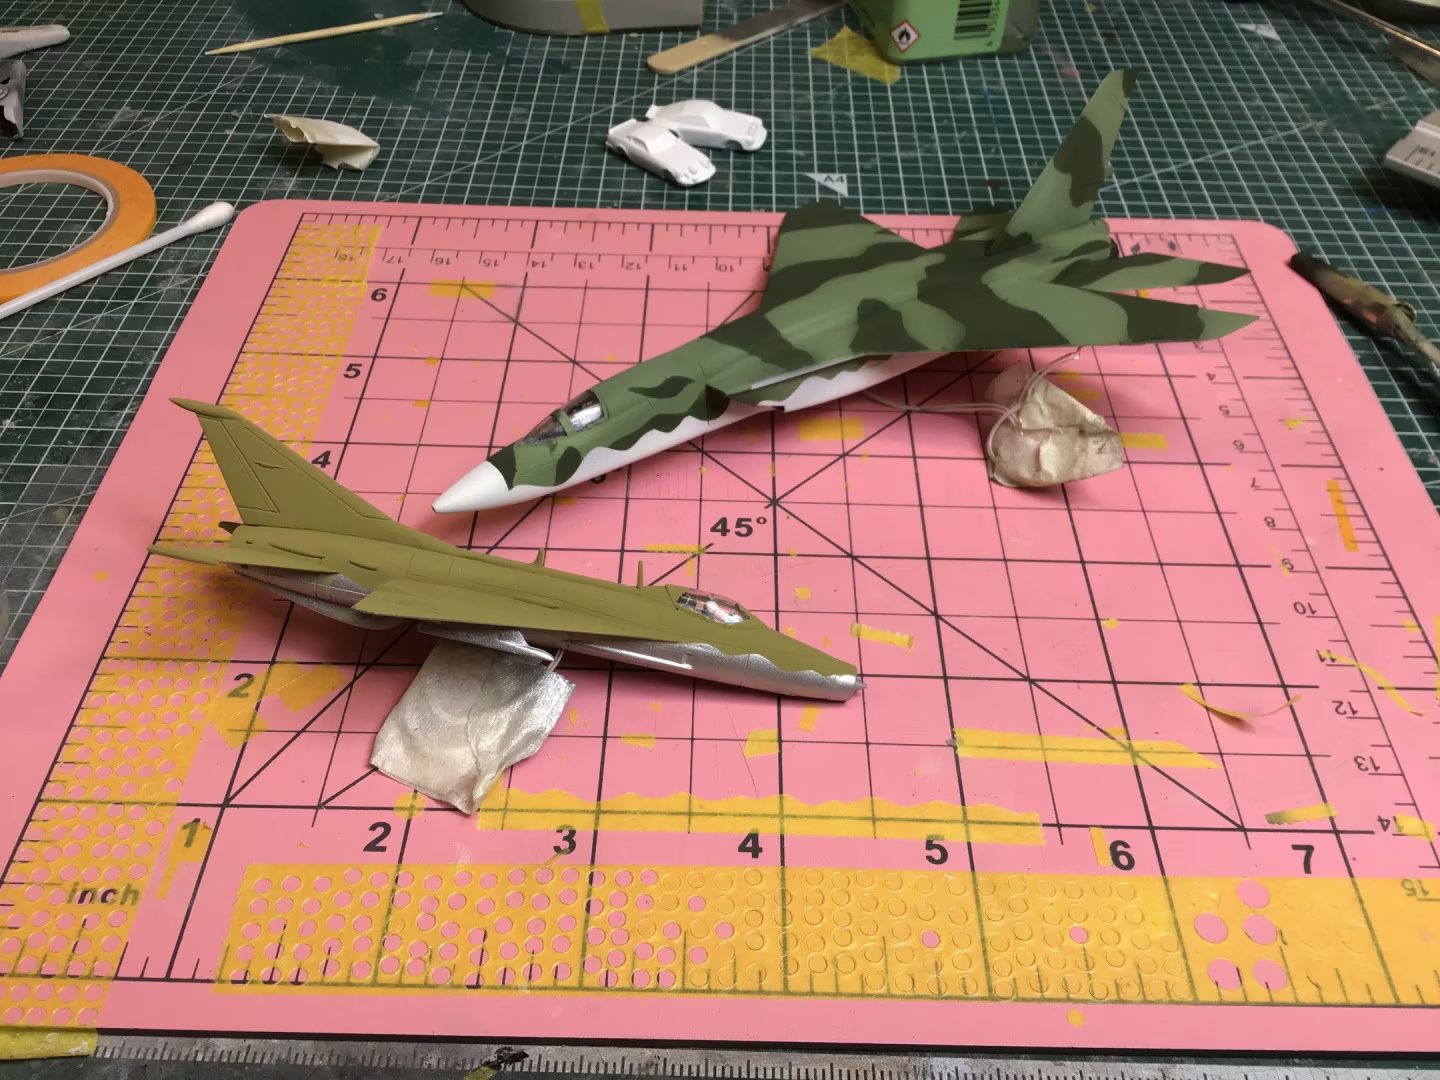
I also debated with myself on which MiG-21 kit to use. I’ve got some of the very nice Eduard ones lined up for some future Project 4 builds, where they’ll be the star of the show. I’ve also got some not-so-nice kits like the Airfix/Academy/Mini Hobby ones (all descended from the Crown original) that I’ve relegated to cannon fodder – such as in my “Steinberger ’76” project. I do have a nice Trumpeter kit, that I used in my “Blue Cheese 7” project, but in the end, I stumbled across a “never before seen by me” boxing of the Tsukuda Hobby MiG-21 at the local swap meet. The detail was just enough (and not too much) so that it doesn’t look out of place next to the ARII RA-5C. Perfect!
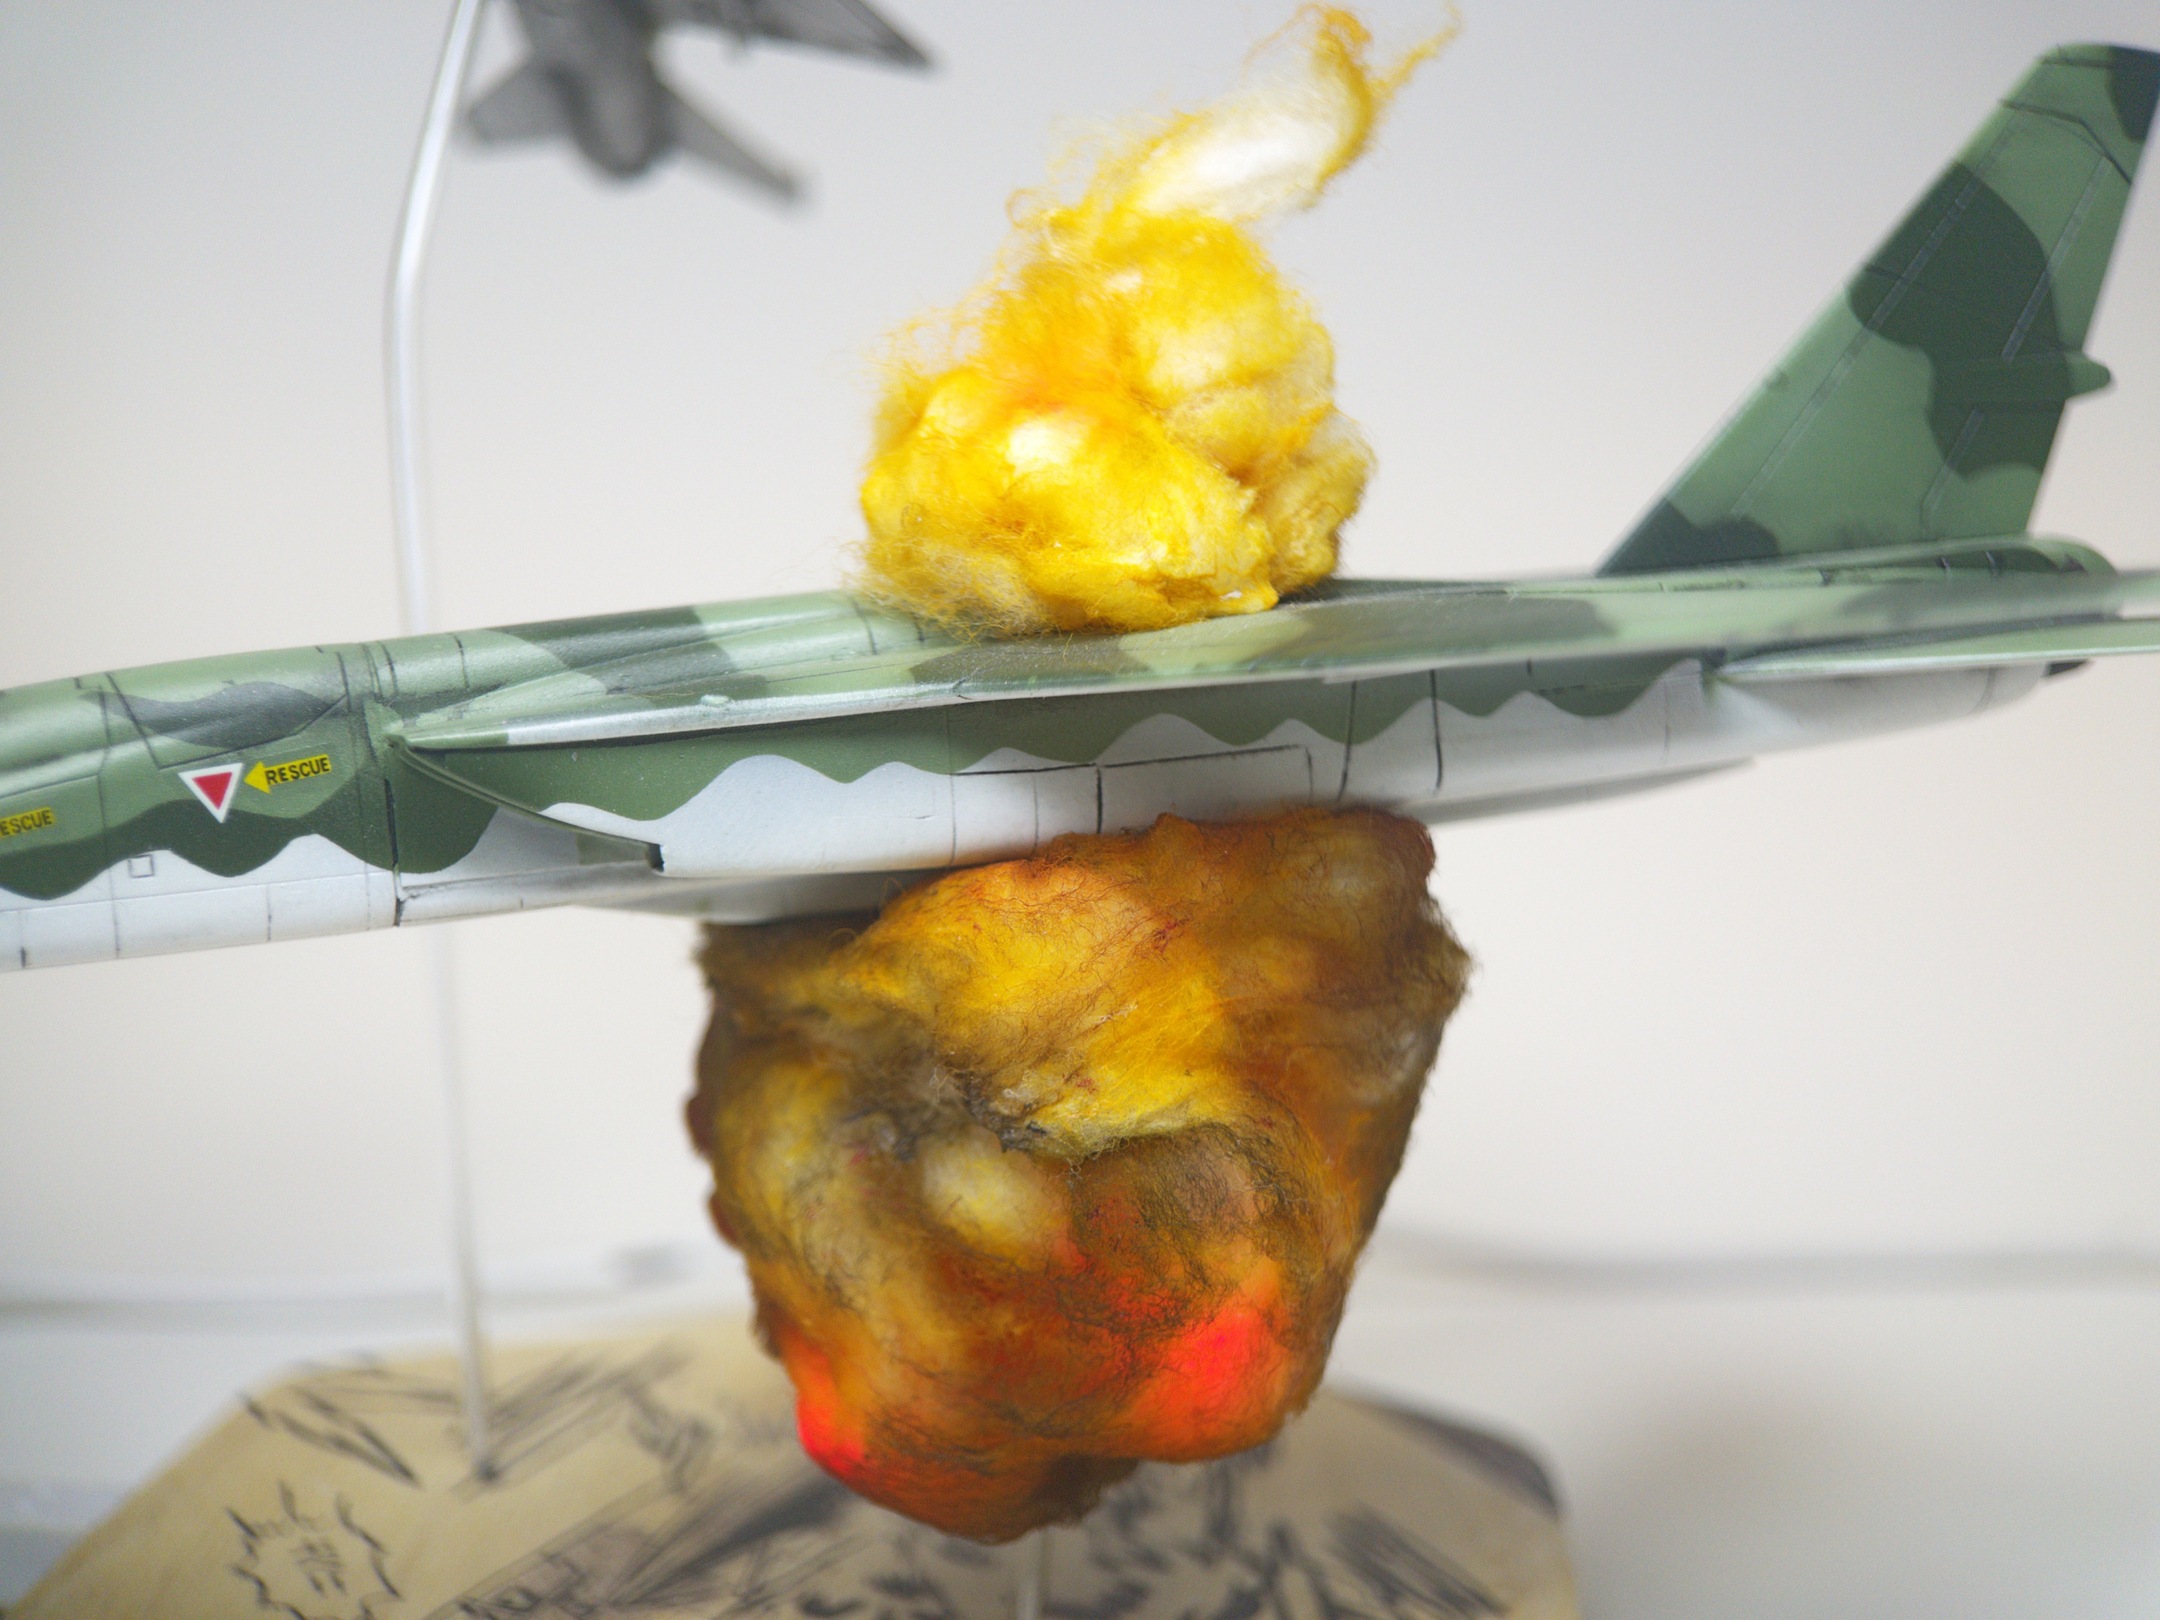
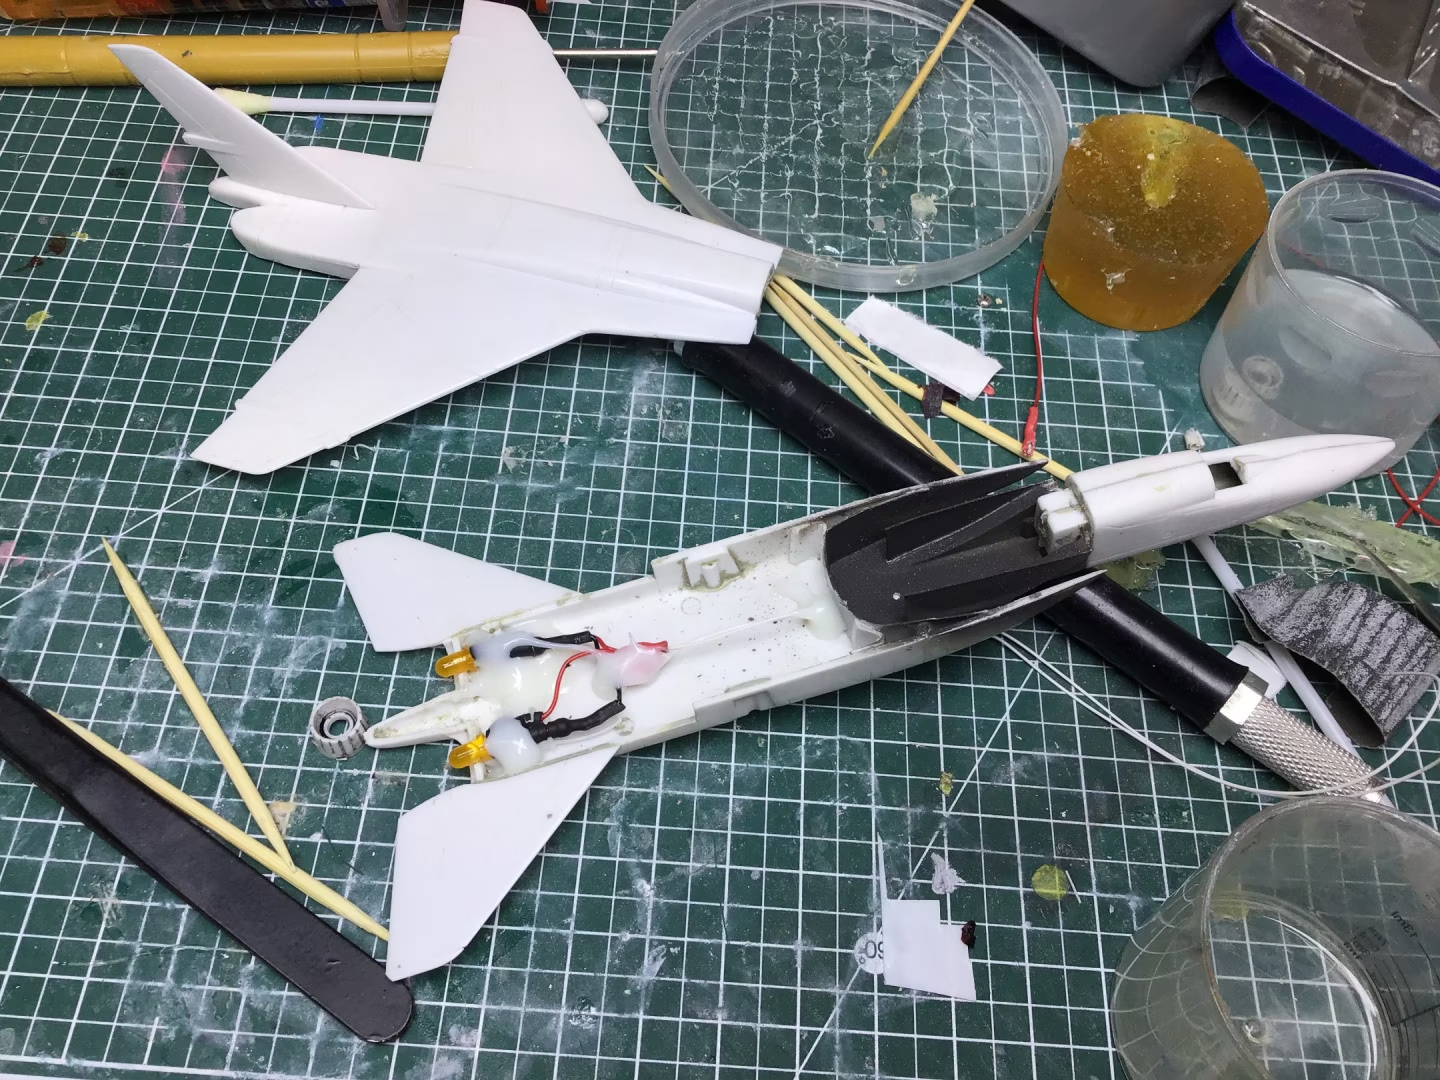
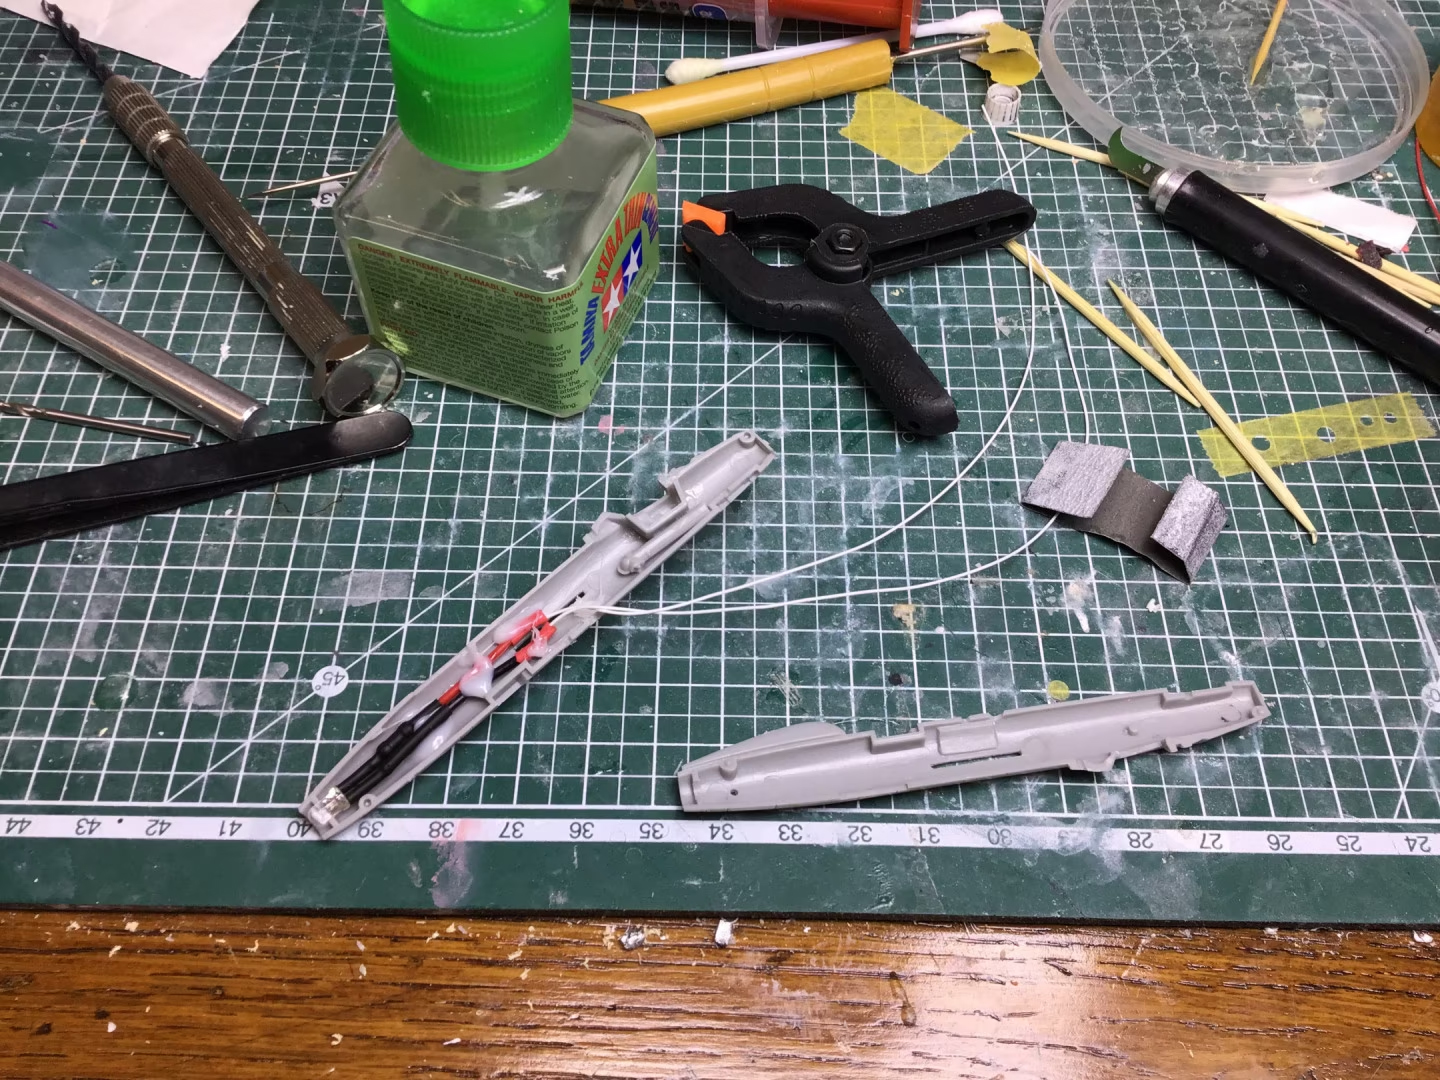
After that, it was reasonably straight forward. I knew I wanted to “blow this one up” like the scene in the manga, but I decided to follow the familiar path I’d carved out on my “Friendly Fire” and “A Dill Hill to Die On” projects and build out the plane nicely before creating the explosions. That did give me a bit of trouble with the wiring, as I hadn’t really left enough slack in the internal wires to tap into to add the LEDs for the explosions, but with some very careful soldering, I got it done.
Anyway, I’m pretty satisfied with the result. I think it does justice to the dramatic little side-bar story in the manga, but feel free to tell me what you think.


The Supplies:
XF-01 Flat Black
XF-20 Medium Grey
X-19 Smoke
X-26 Clear Orange
Discover more from strobez
Subscribe to get the latest posts sent to your email.
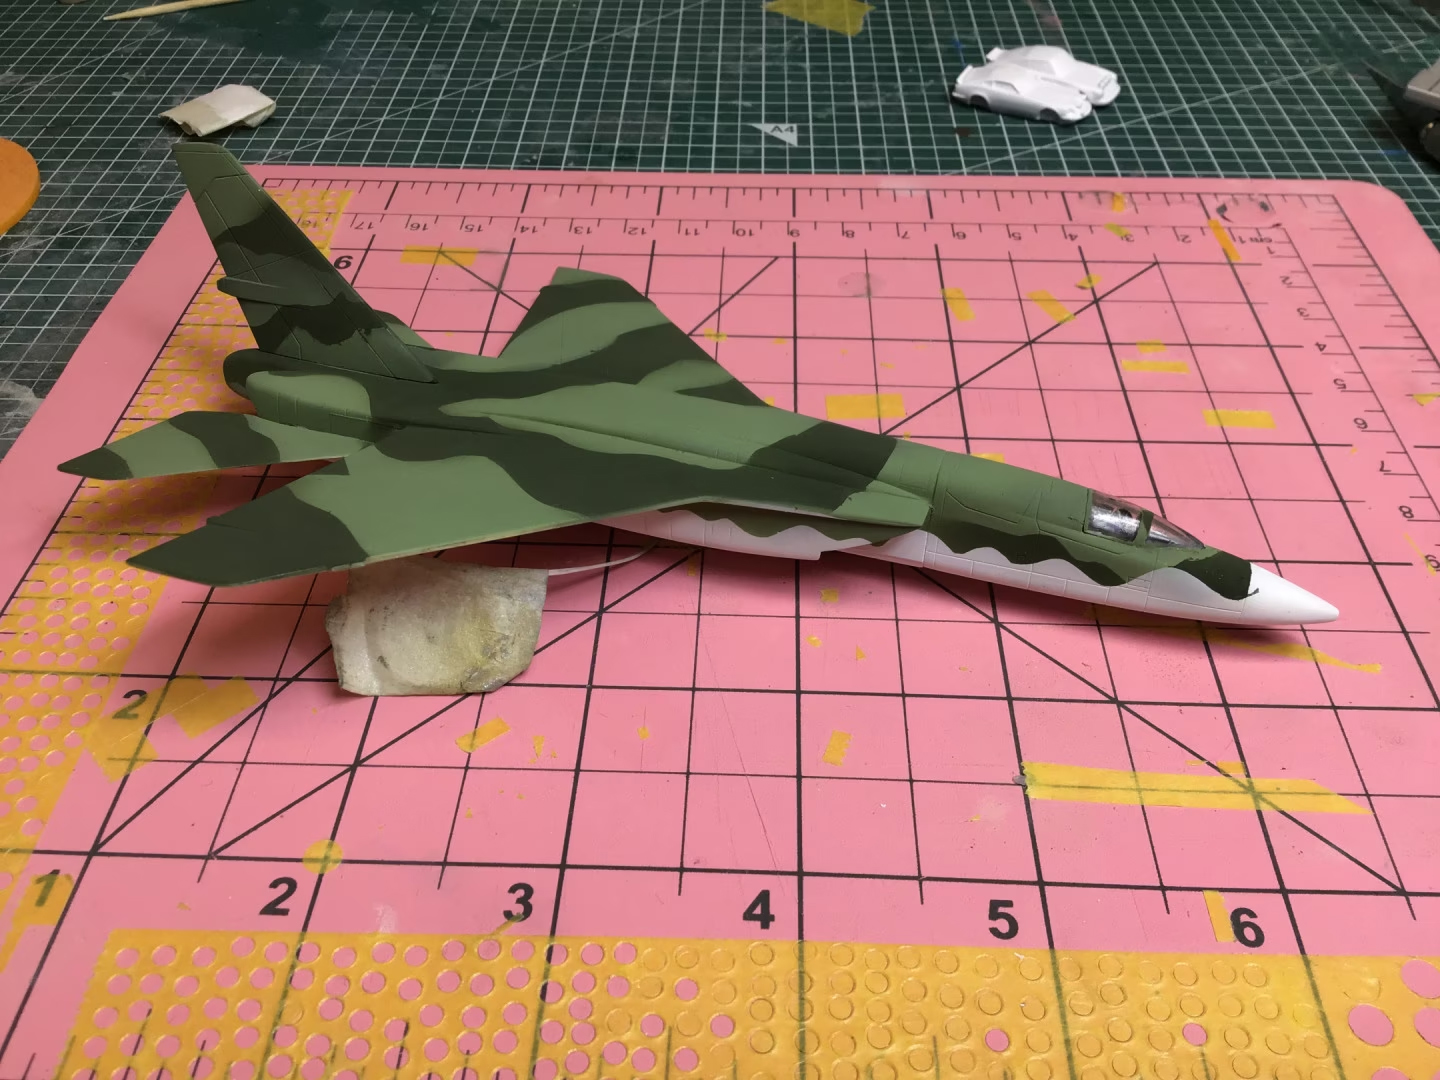
I keep thinking Project 4 really coulda used some interceptors besides the MiG-21 (especially for night action). Maybe a few Tornado F3s from the Saudis’ shipment…anyway, neat como greens for the RA-5 and that MiG’s ‘mustard’ didn’t turn out bad either.
You may notice that my projects sort of alternate between the “iconic” and the “obscure”. There’s only so many desert camouflage paint jobs you can do before you start looking for something else. 😉 I have to admit, I’m really pleased with how this project turned out. I really like the green RA-5… and I’m a bit amazed at how I was able to resurrect what at first I thought was a kit-beyond-hope.