Friendly Fire (Area 88)
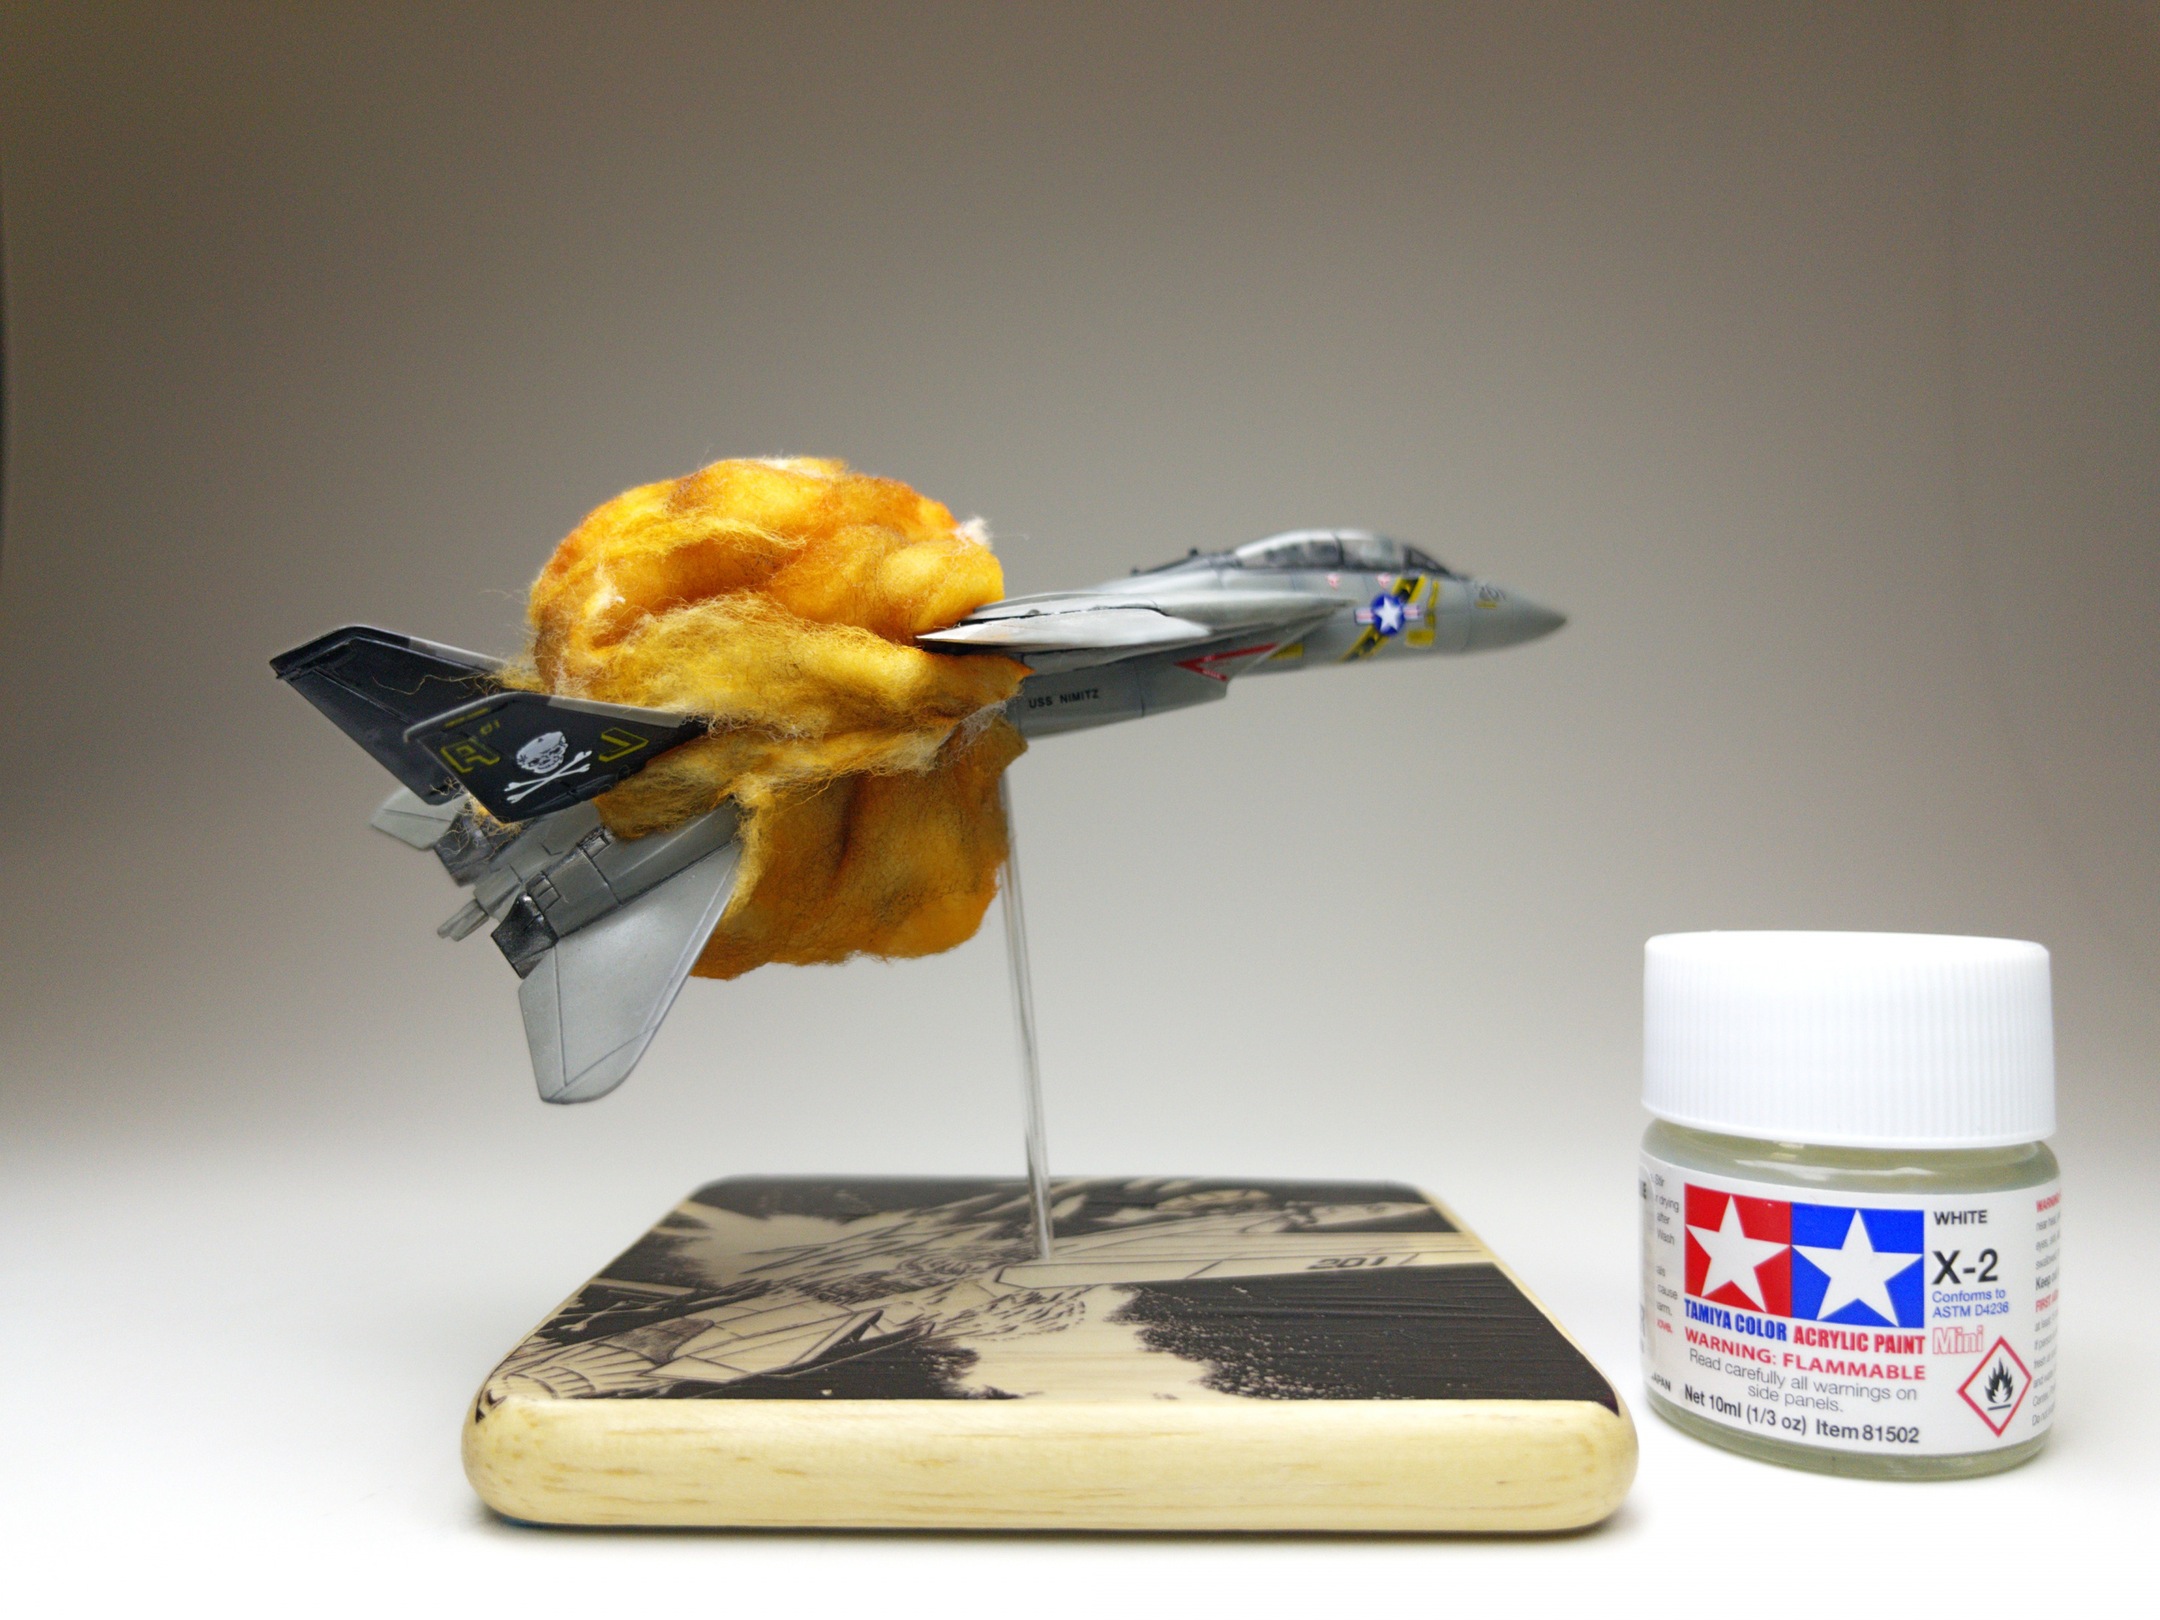
The finished model:


The video
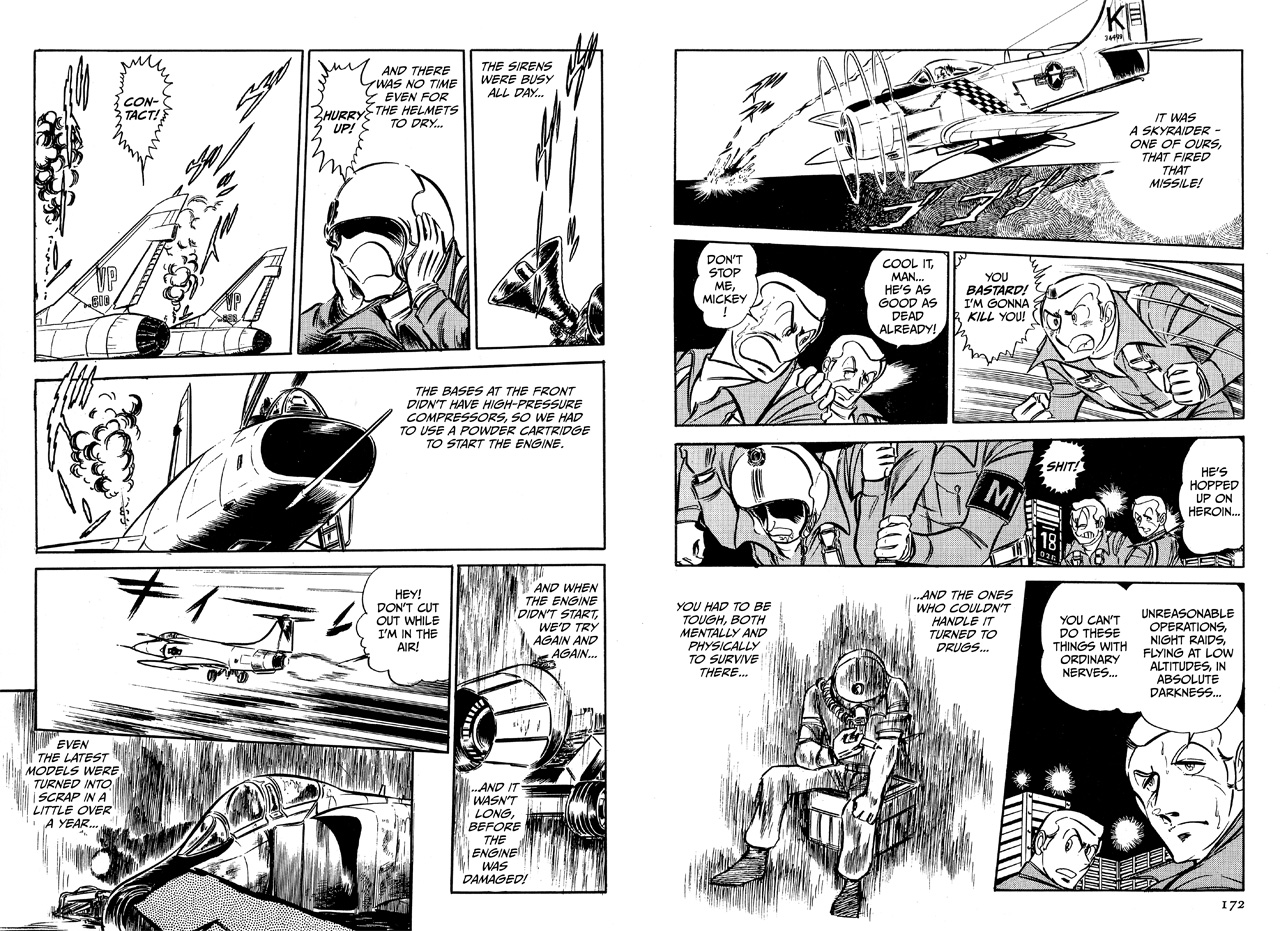
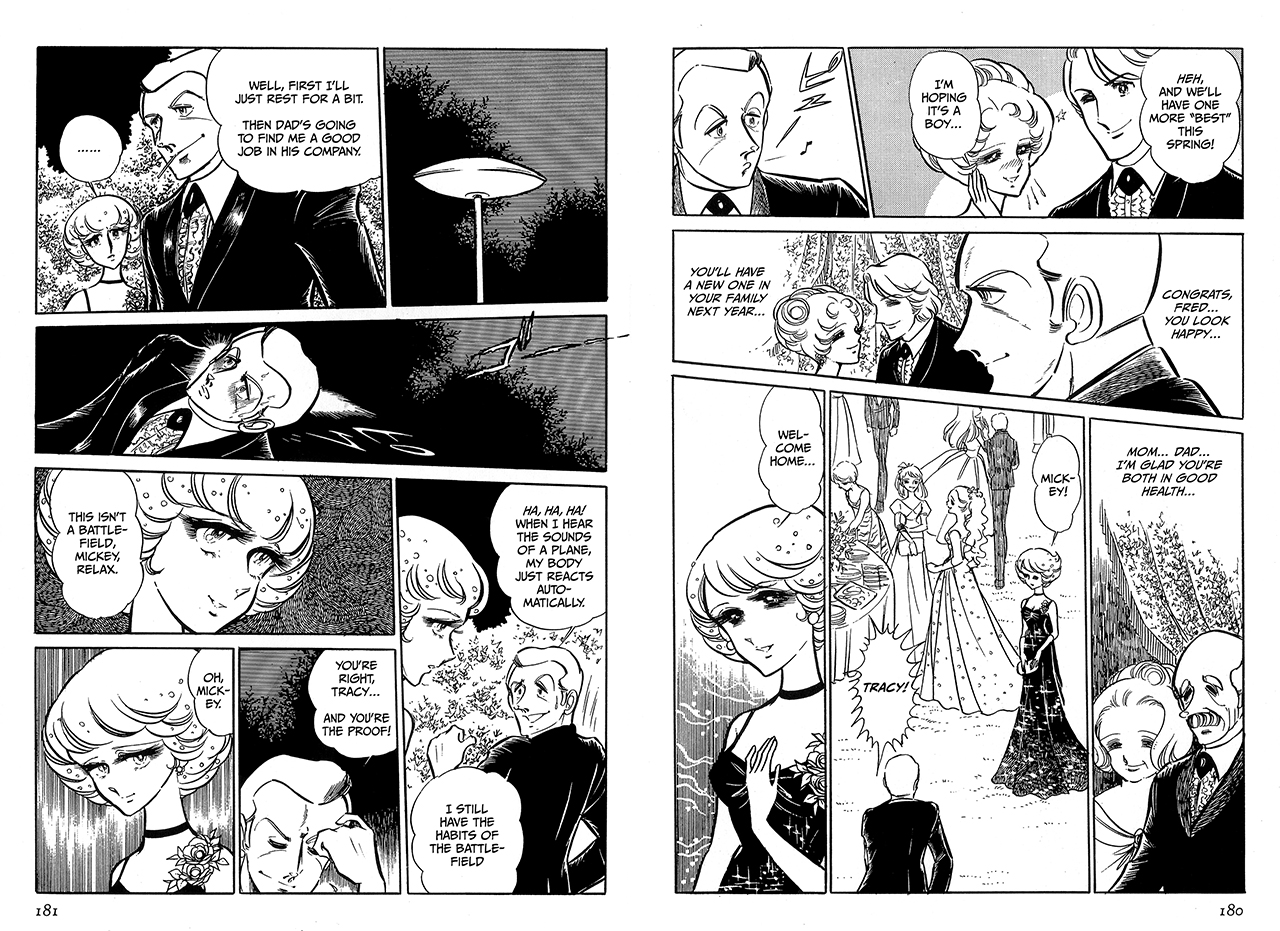
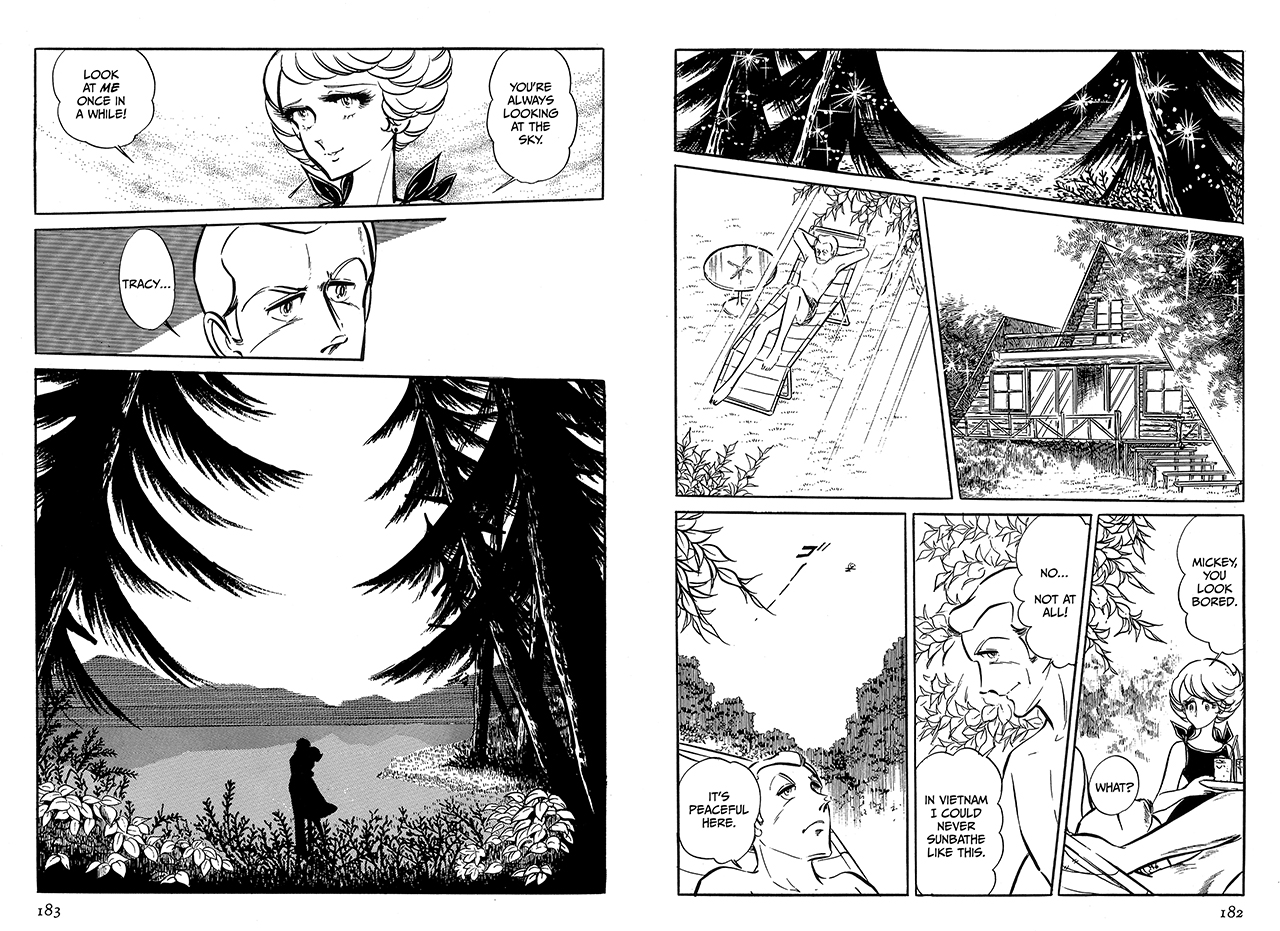
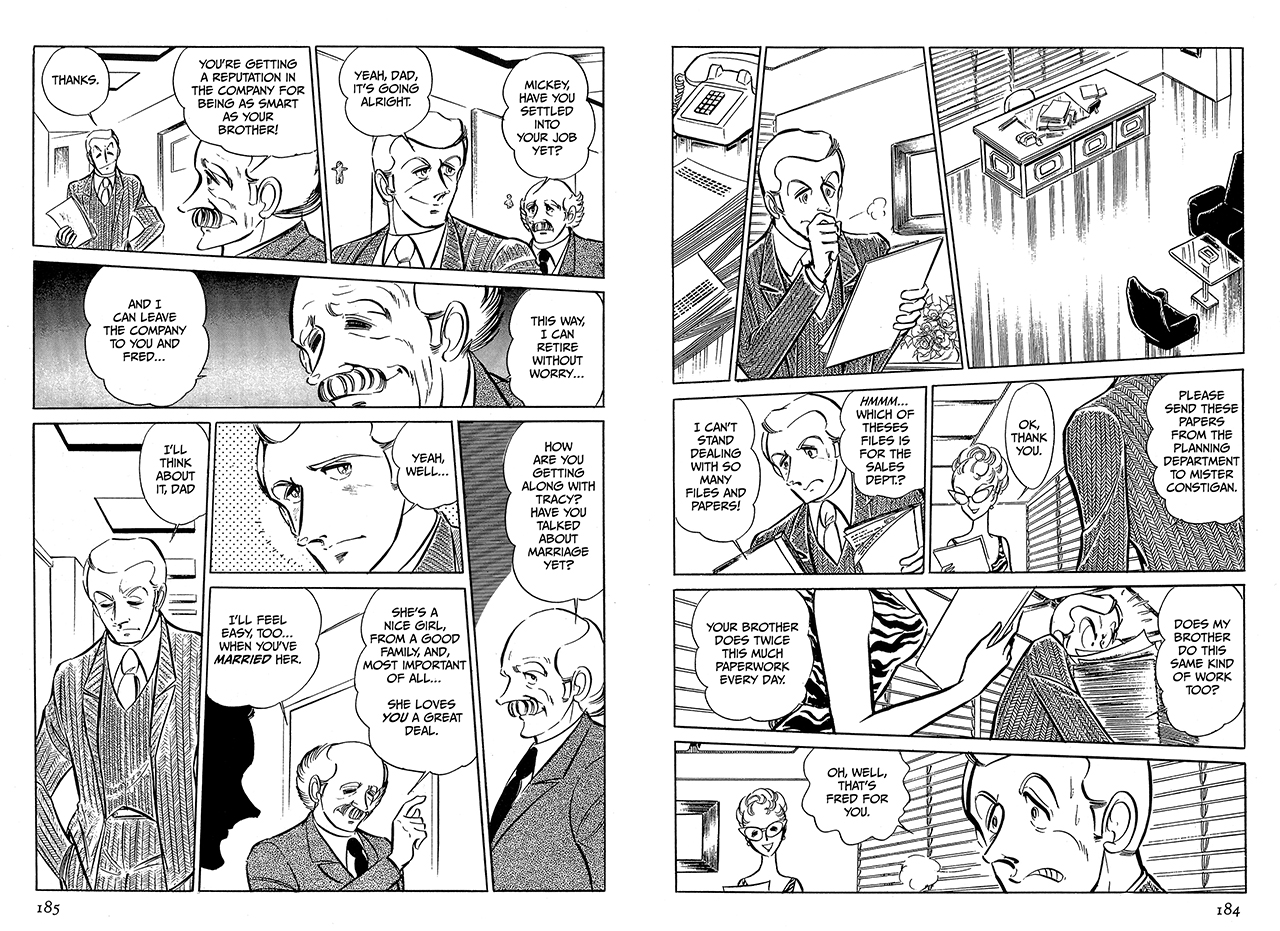
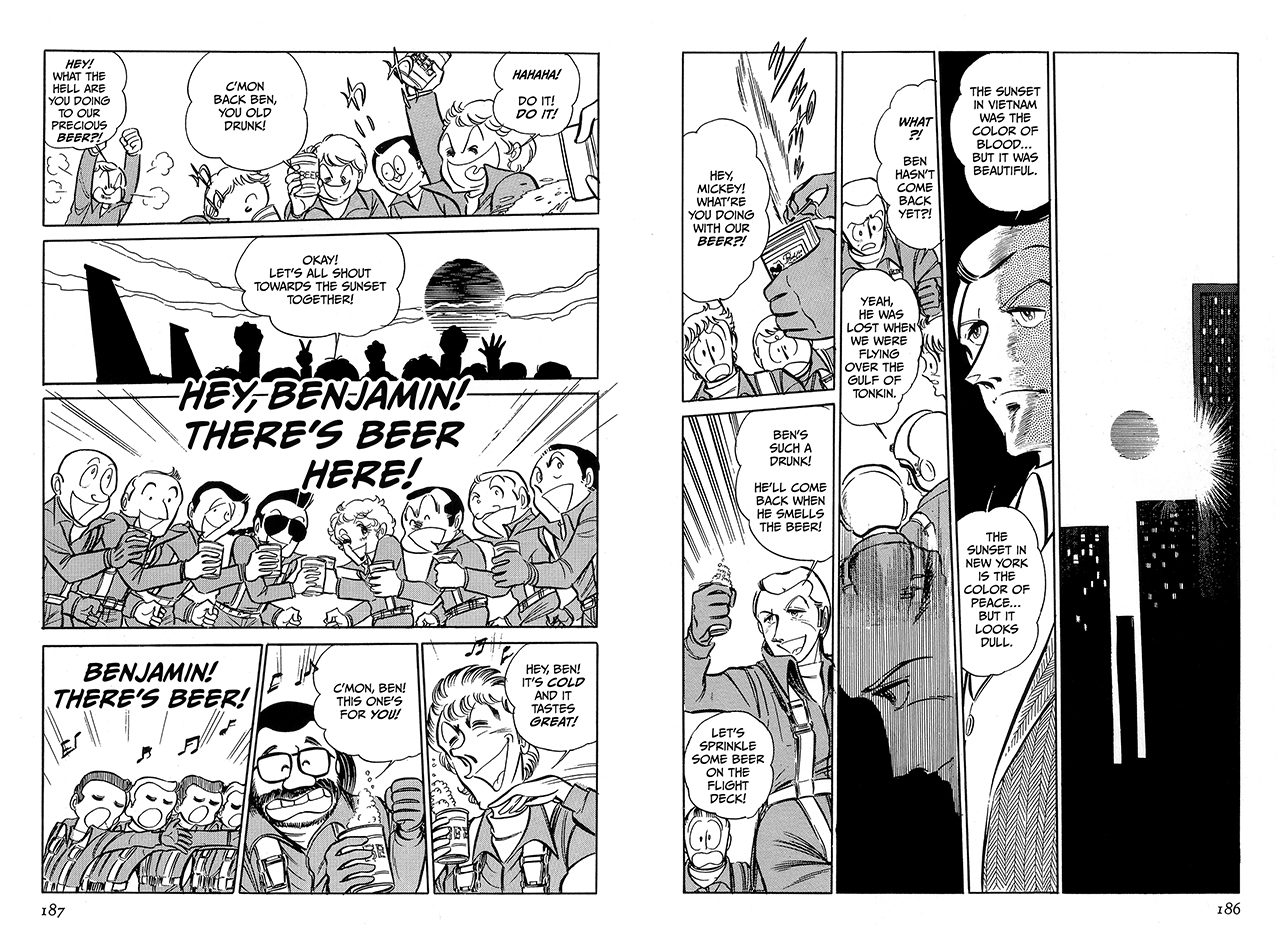
The scene:
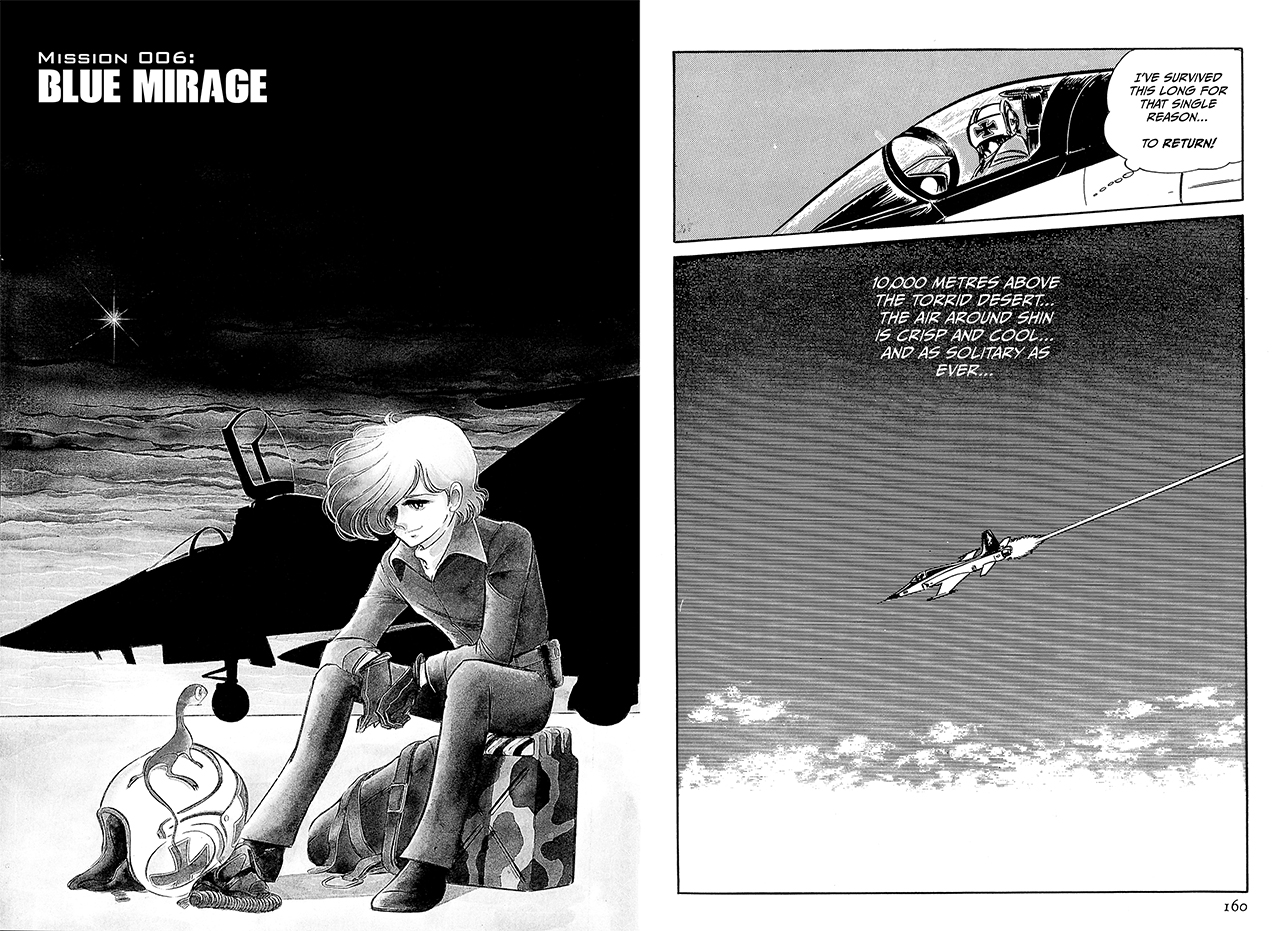
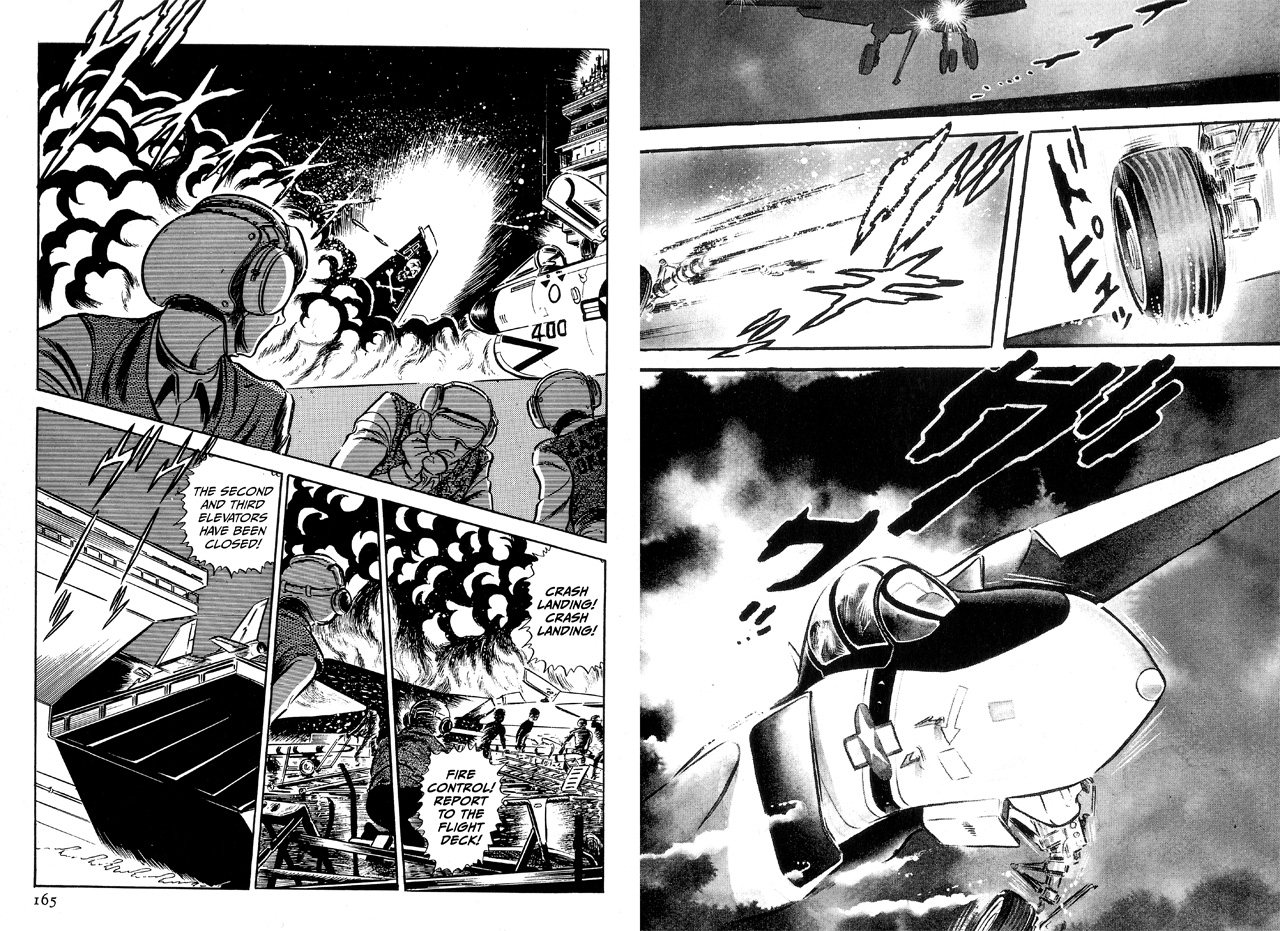
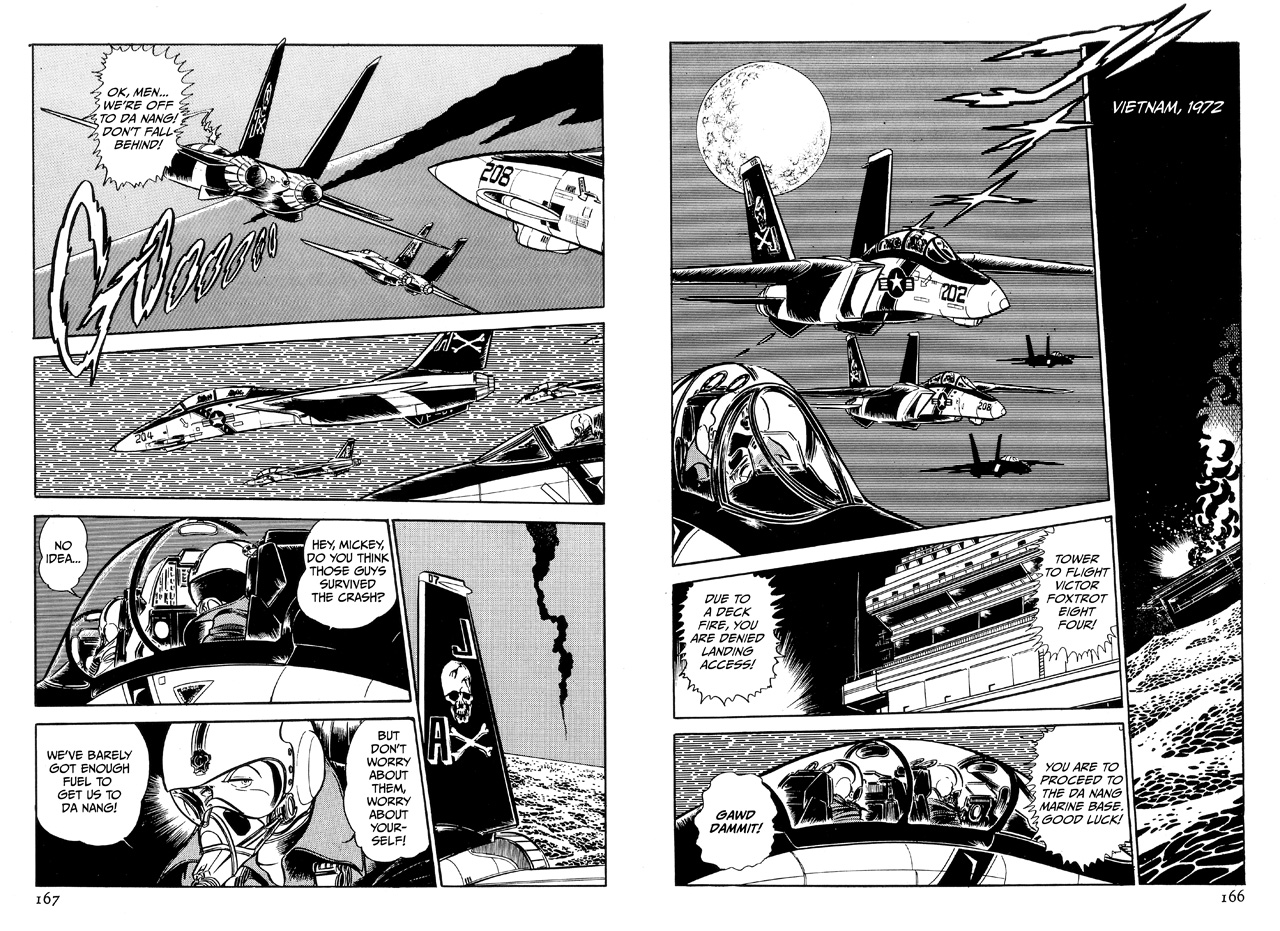
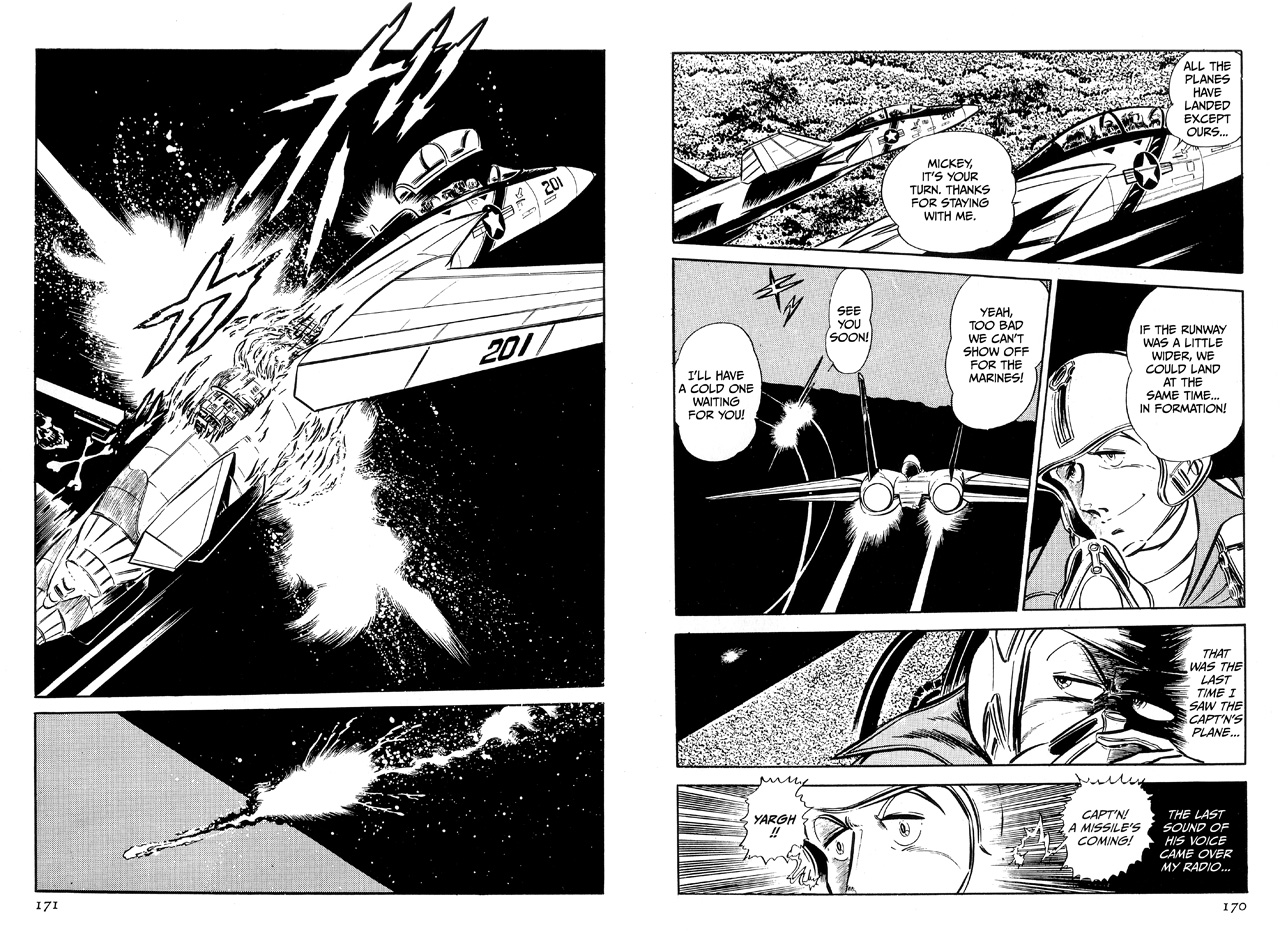
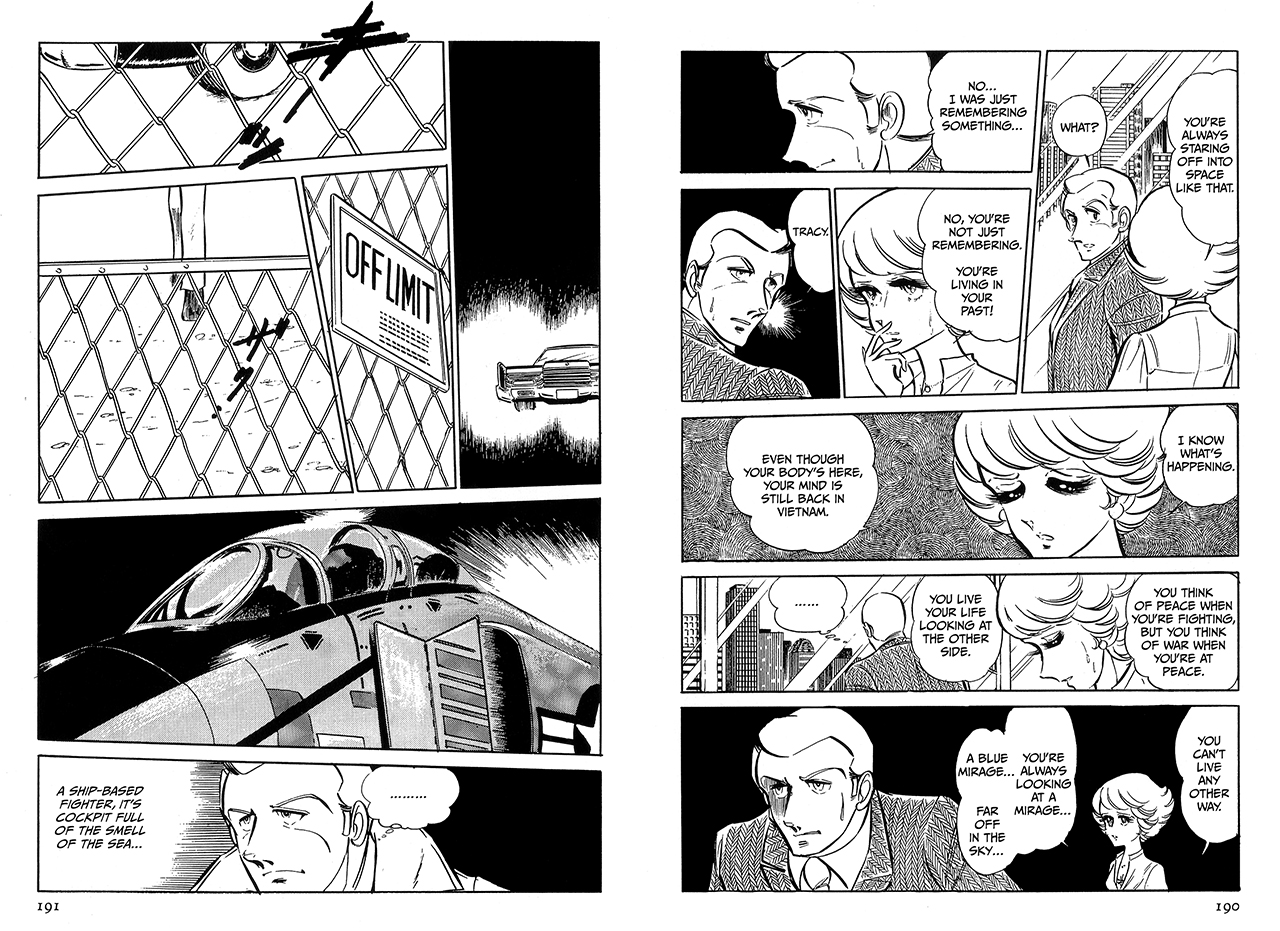
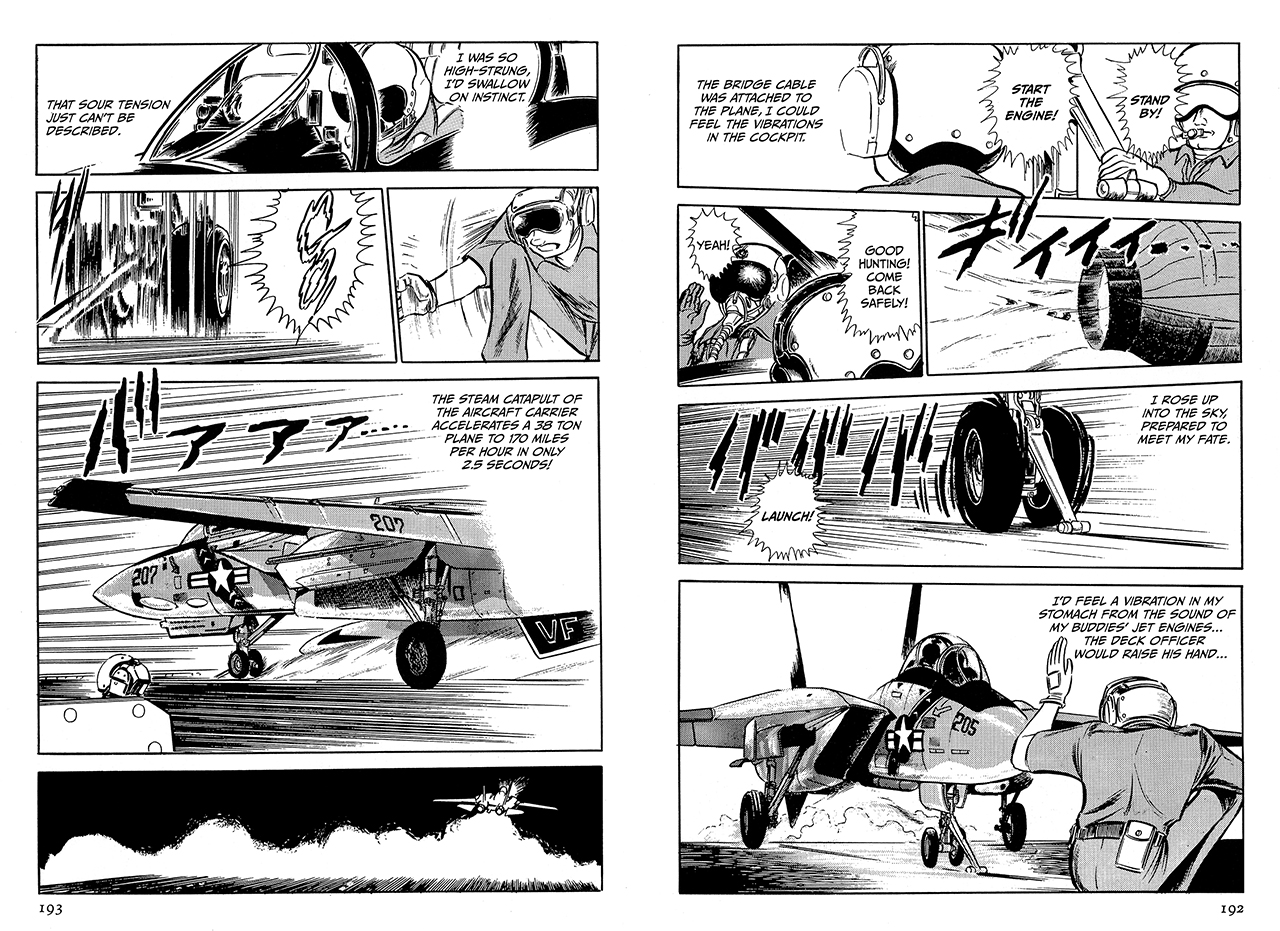
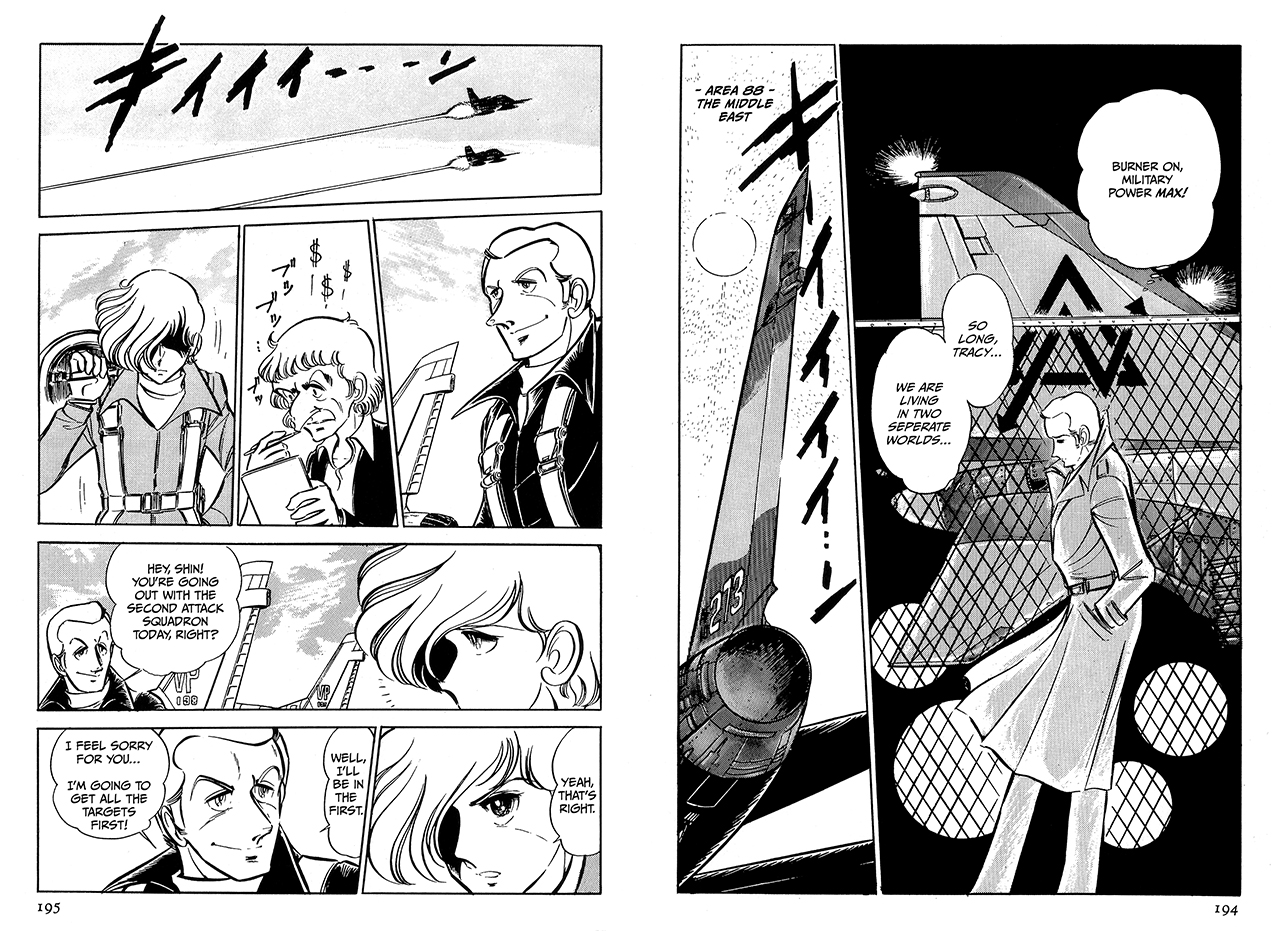
In a flashback scene, Mickey recalls his time in Vietnam. After a crash landing closes the flight deck of his aircraft carrier, Mickey’s squadron of F-14A Tomcats is diverted to a Marine airbase in Da Nang. With all the planes running low on fuel, Mickey and his Commander are the last two to land after seeing everyone else down safely. However, out of nowhere, Mickey’s commander’s plane takes a direct hit from a missile. Hopped up on heroin, a Marine pilot in an A-1 Skyraider somehow mistakes the Navy F-14s as the enemy and proves that “friendly fire” is just as deadly. Distraught over his Commander’s senseless death, “Fireball” Mickey Simon is out for blood!
Check out the original manga scene from Chapter 006 “Blue Mirage” here:


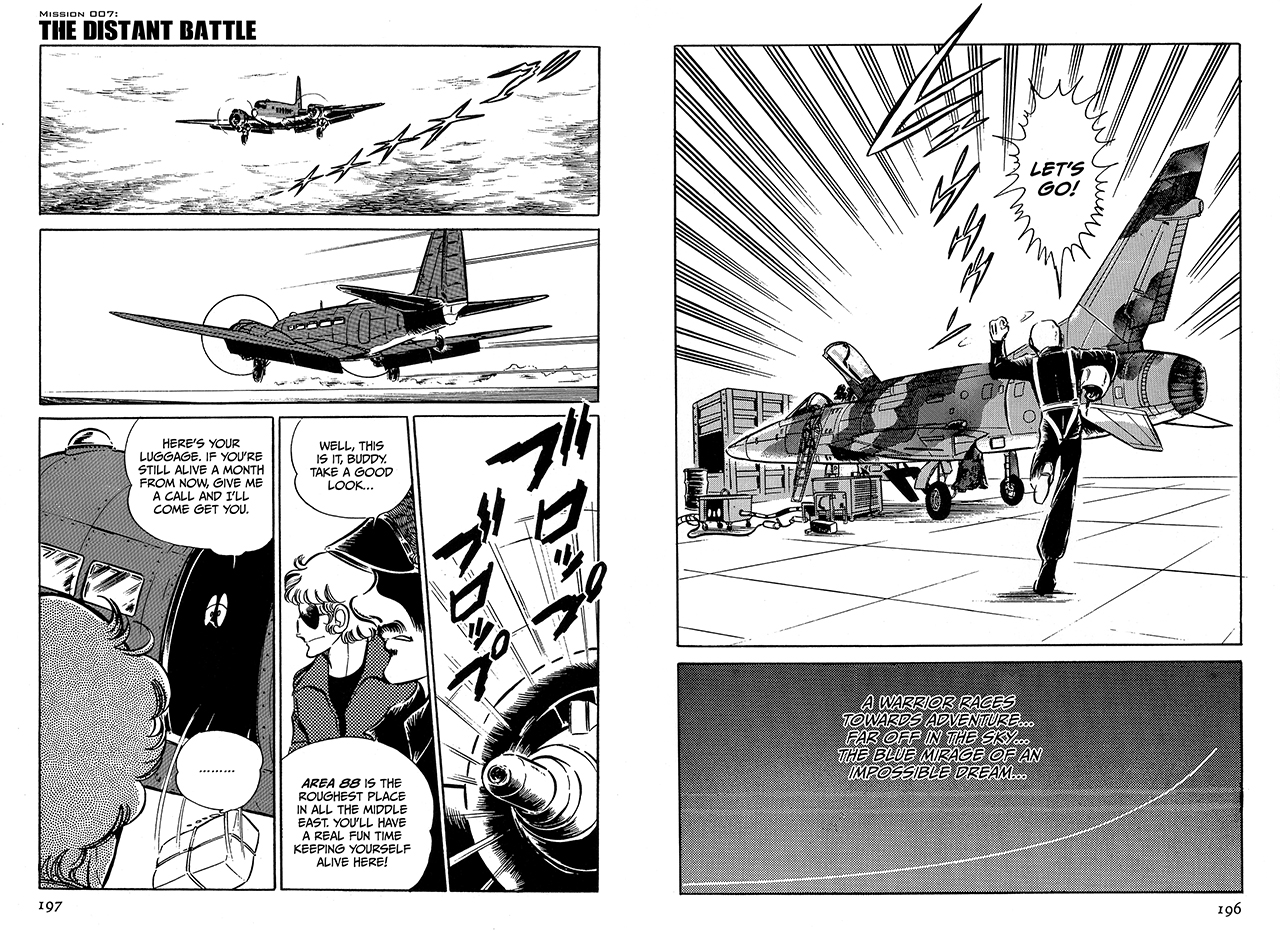
The story:
I love flashback stories. They’re like a bonus story, wrapped in a mystery that leaves you wanting more. Shin, of course, gets several – he is the main protagonist after all. But the ones like Greg’s “Blue Cheese 7”, or Zenzou Tsugumo’s “Cessna Kamikaze!” add another dimension to the secondary characters, by filling in some of the backstory elements to show character development. So, really, how could I NOT include Mickey’s main flashback in my Area 88 1/144 project? Besides, I seem to somehow collect F-14 kits… so I gotta do SOMETHING with them, right?
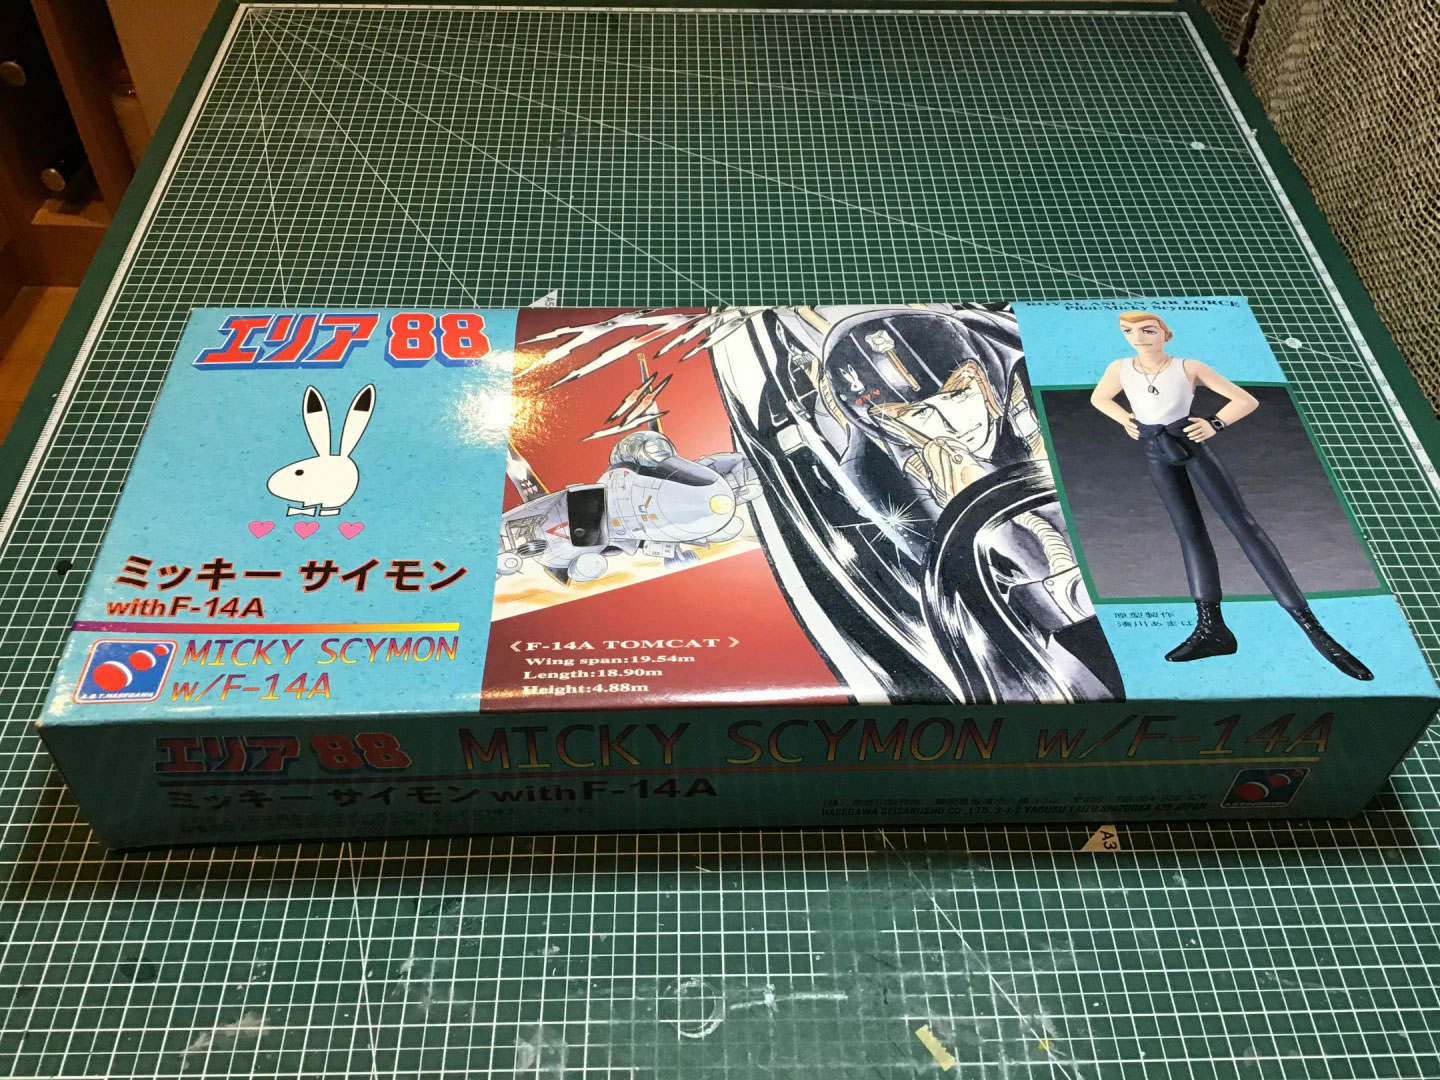
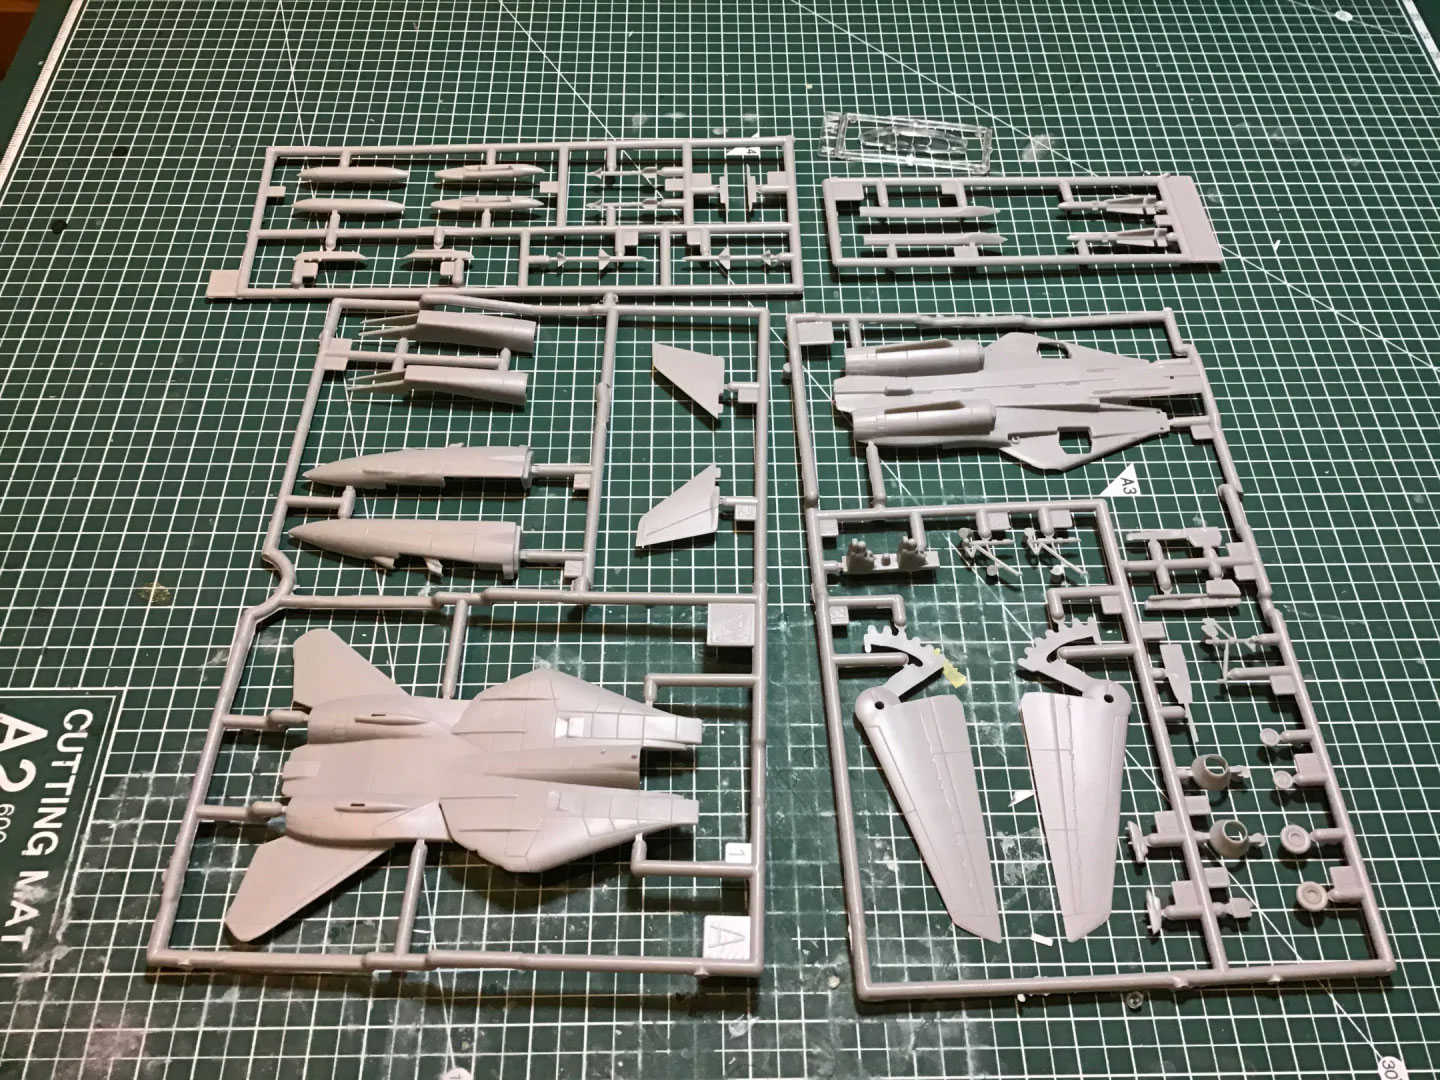
The kit(s):
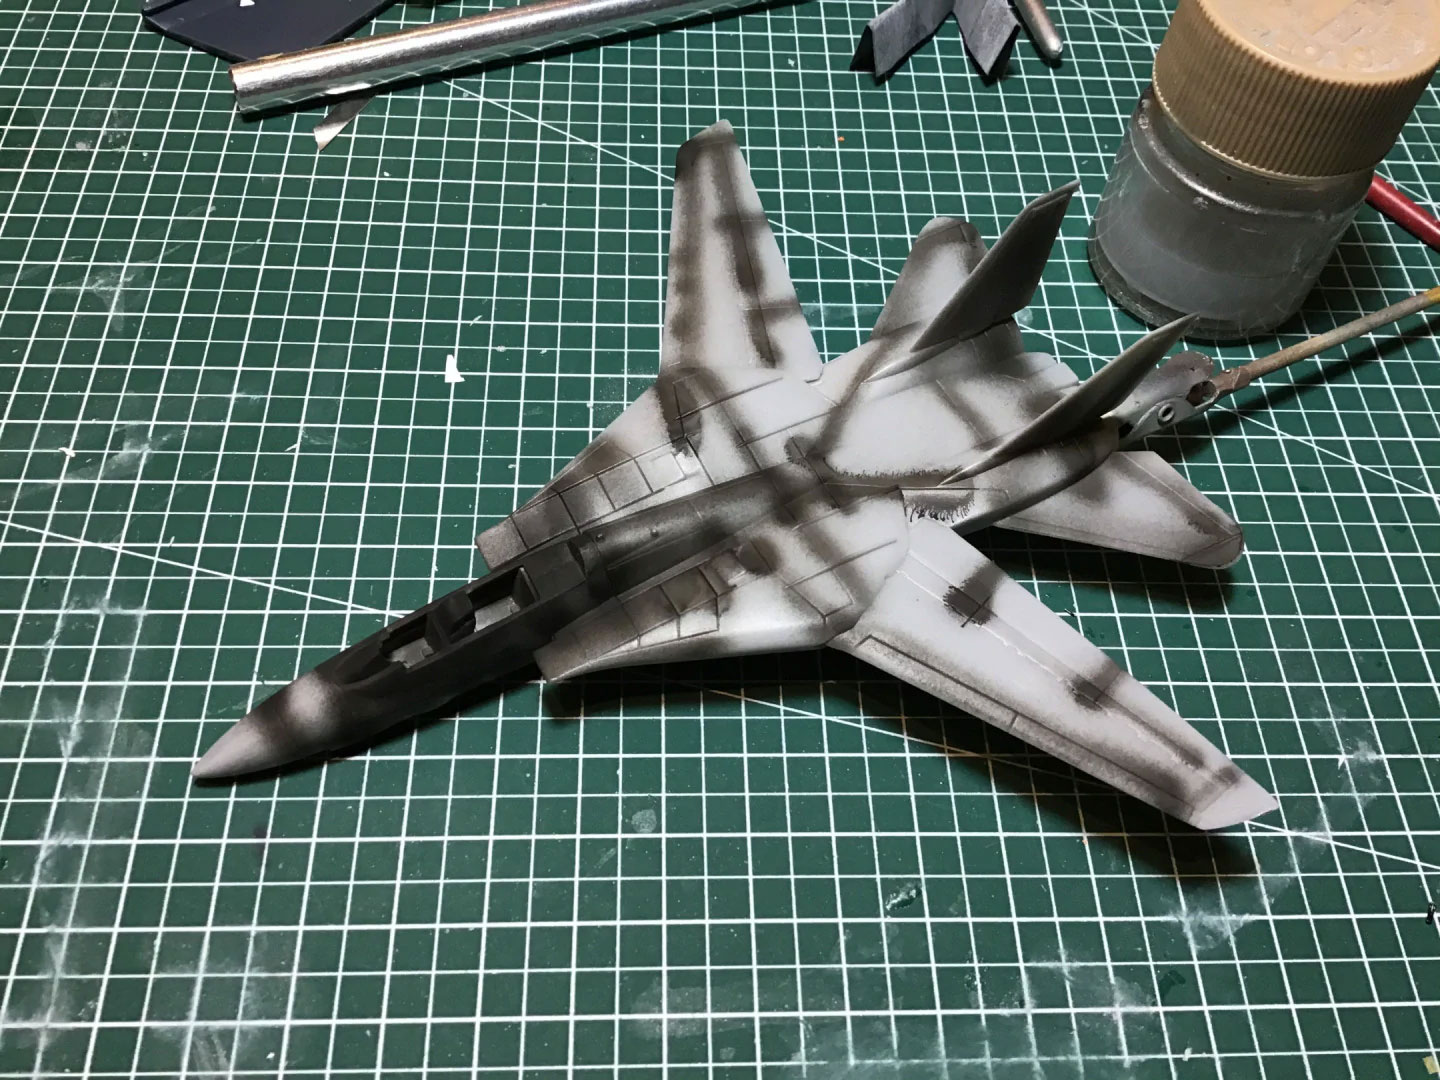
The build:
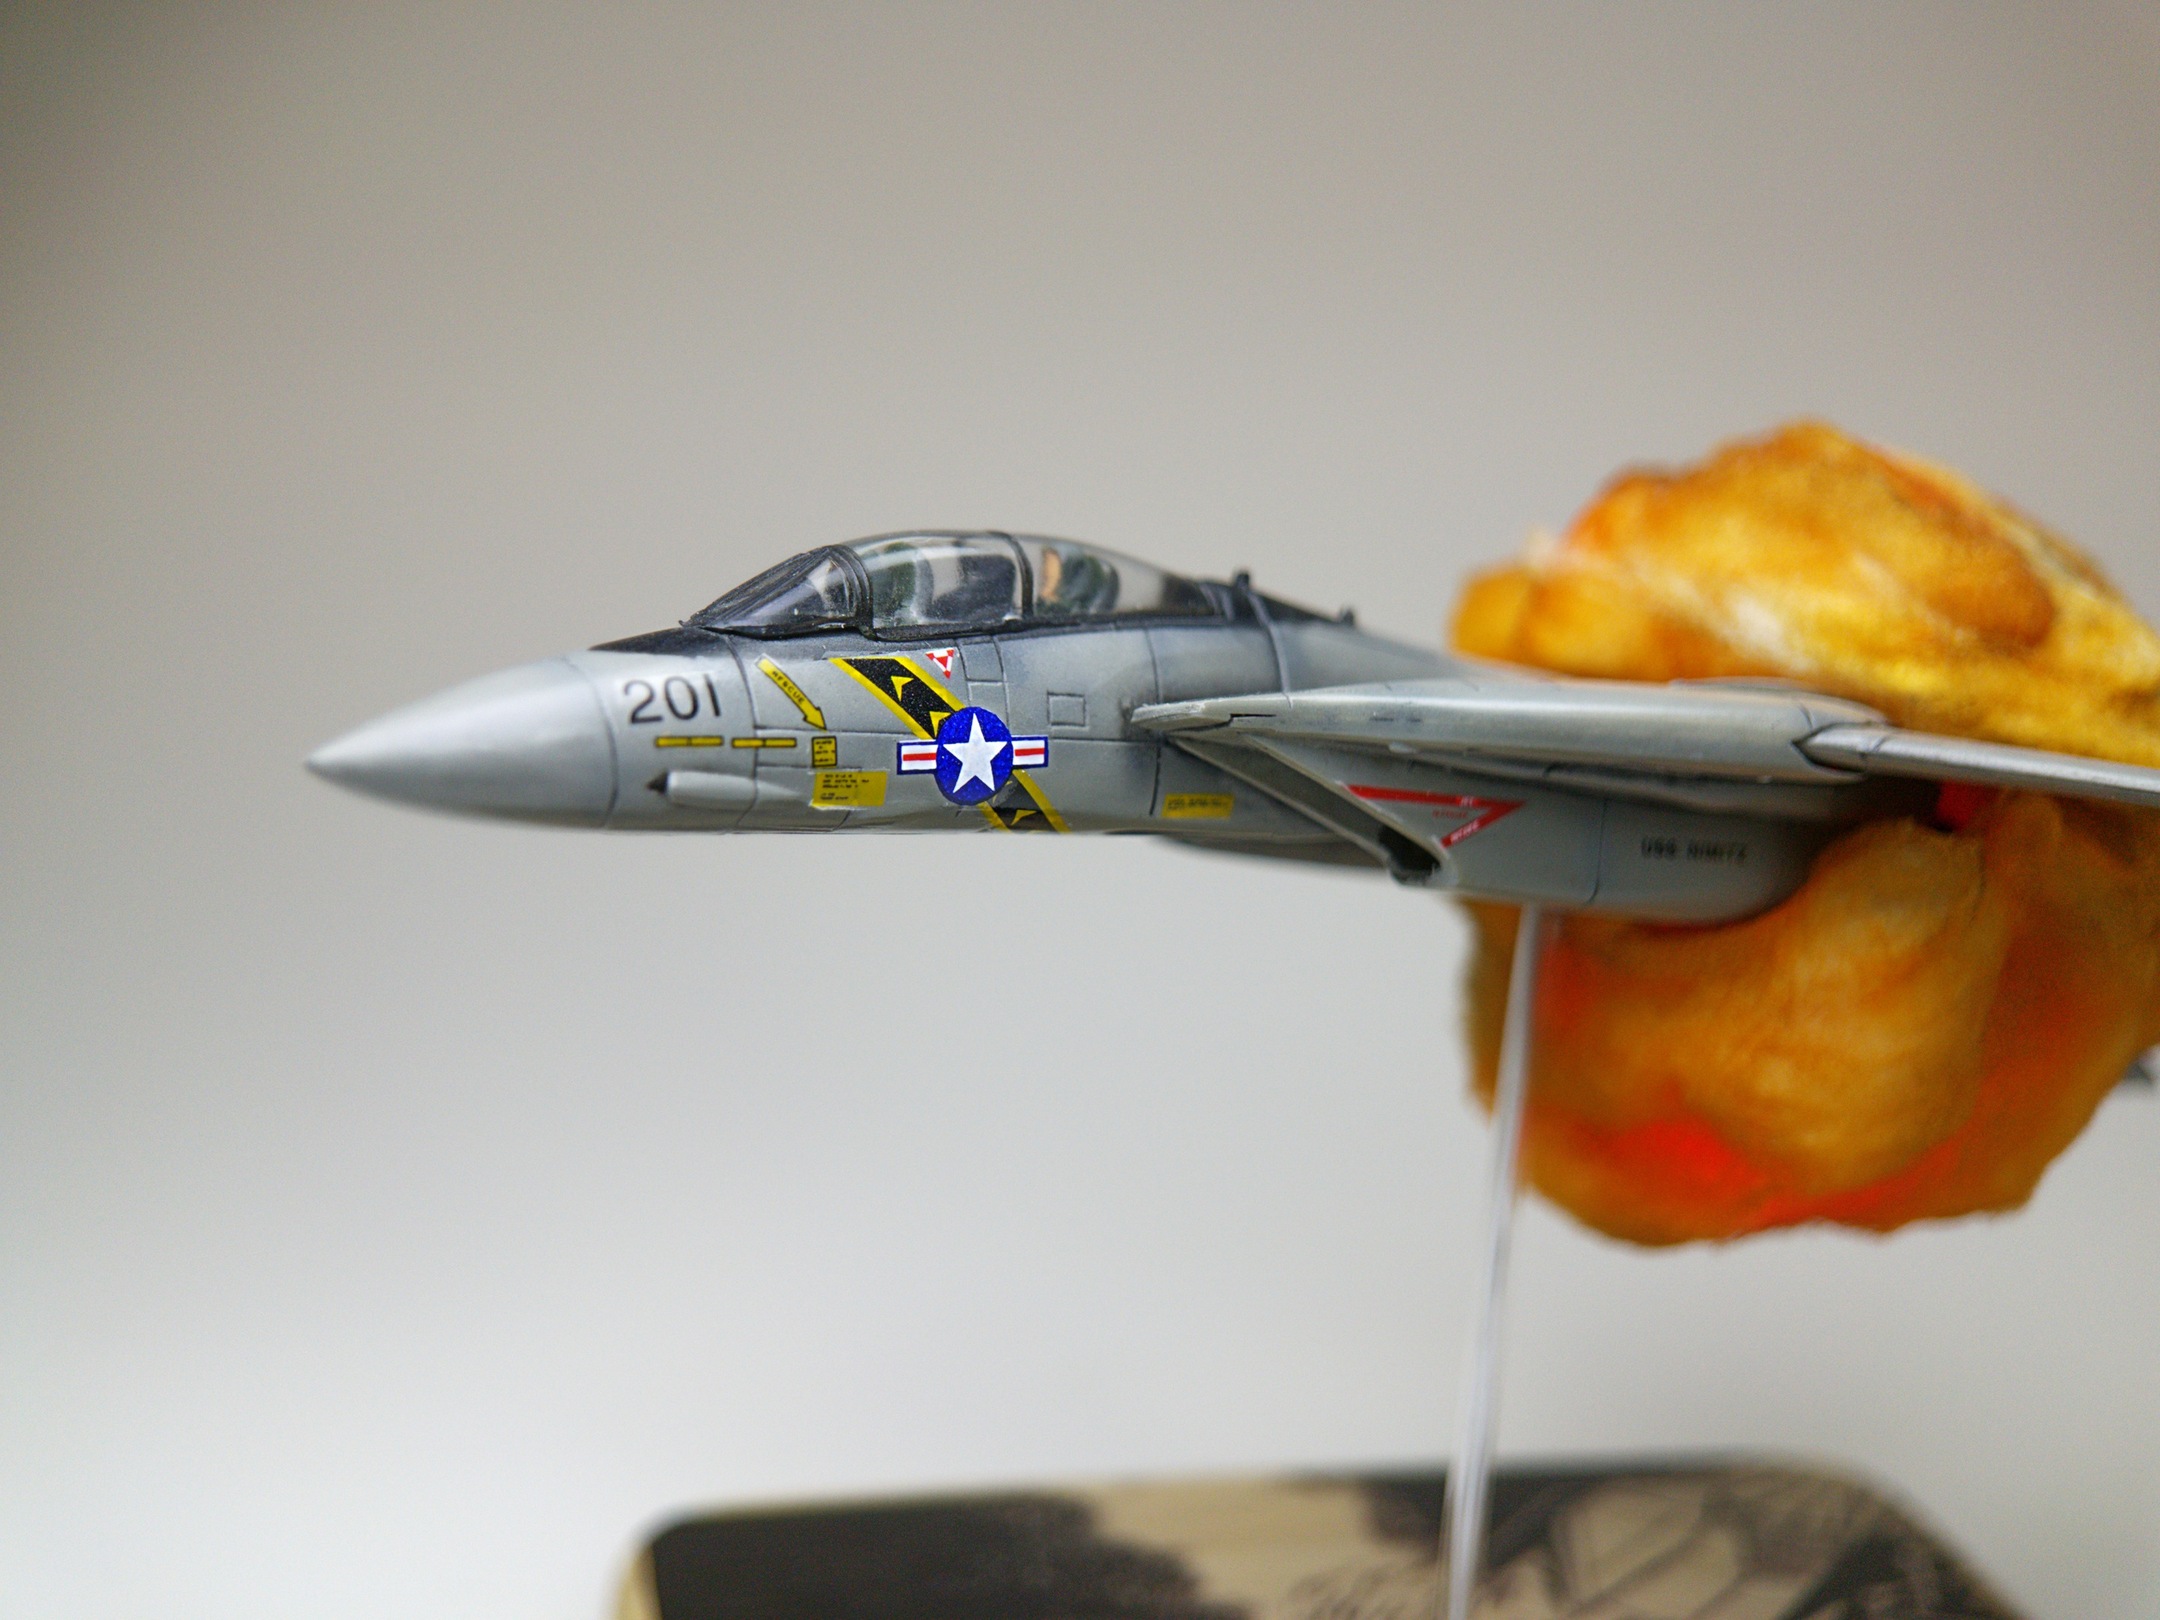
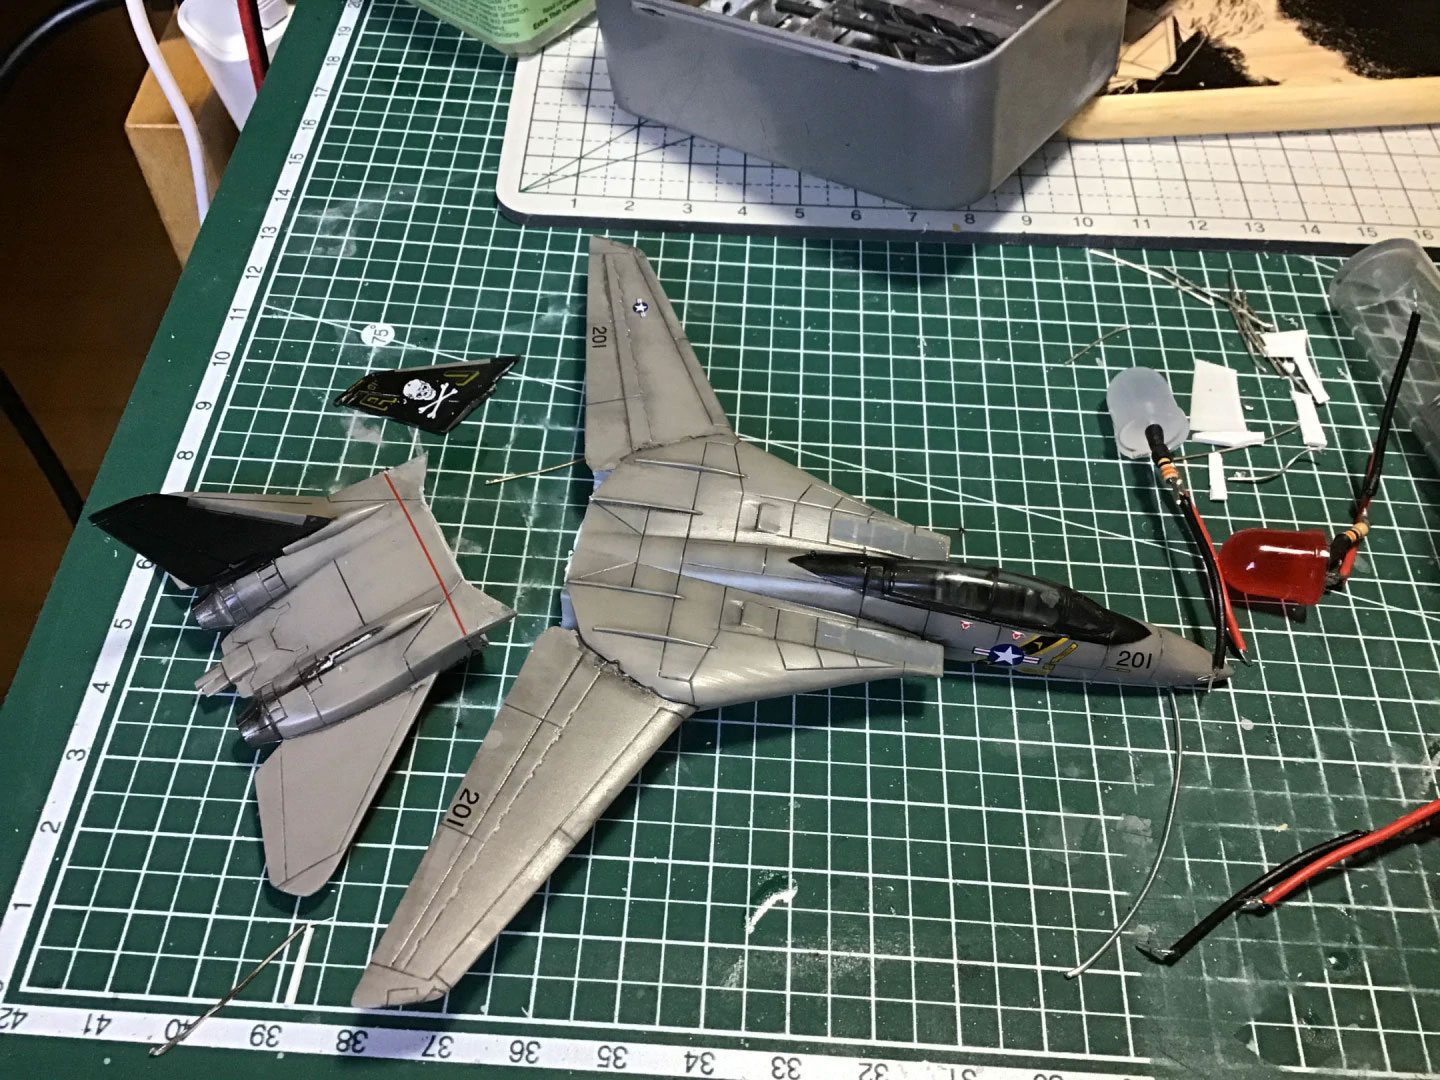
The fact that I have so many 1/144 F-14 kits gave me a lot of leeway in terms of mixing any matching the plastic and decals. Although this kit is an Area 88-branded Hasegawa reboxing of the Dragon F-14A tool, the plastic isn’t nearly as nice as the 1/144 scale Revell F-14. Since I’ve got a couple of Ace Corp. reboxes of those, I decided to slot those in for Mickey’s F-14A. The F-14A will make an appearance (mainly just the nose cone) alongside a C-130 as part of the “McCoy Express“ project, and the other “Black Bunny” one will go head-to-head with Gary MacBurn’s MiG-21 in “The Final Showdown – Part 2”. So the decals from the Hasegawa box will match up with the Black Bunny project. Those decals will slide over into the Ace Corp F-14A box, and the Ace decals… ended up here. Which is handy, because they’re more or less exactly what I needed.
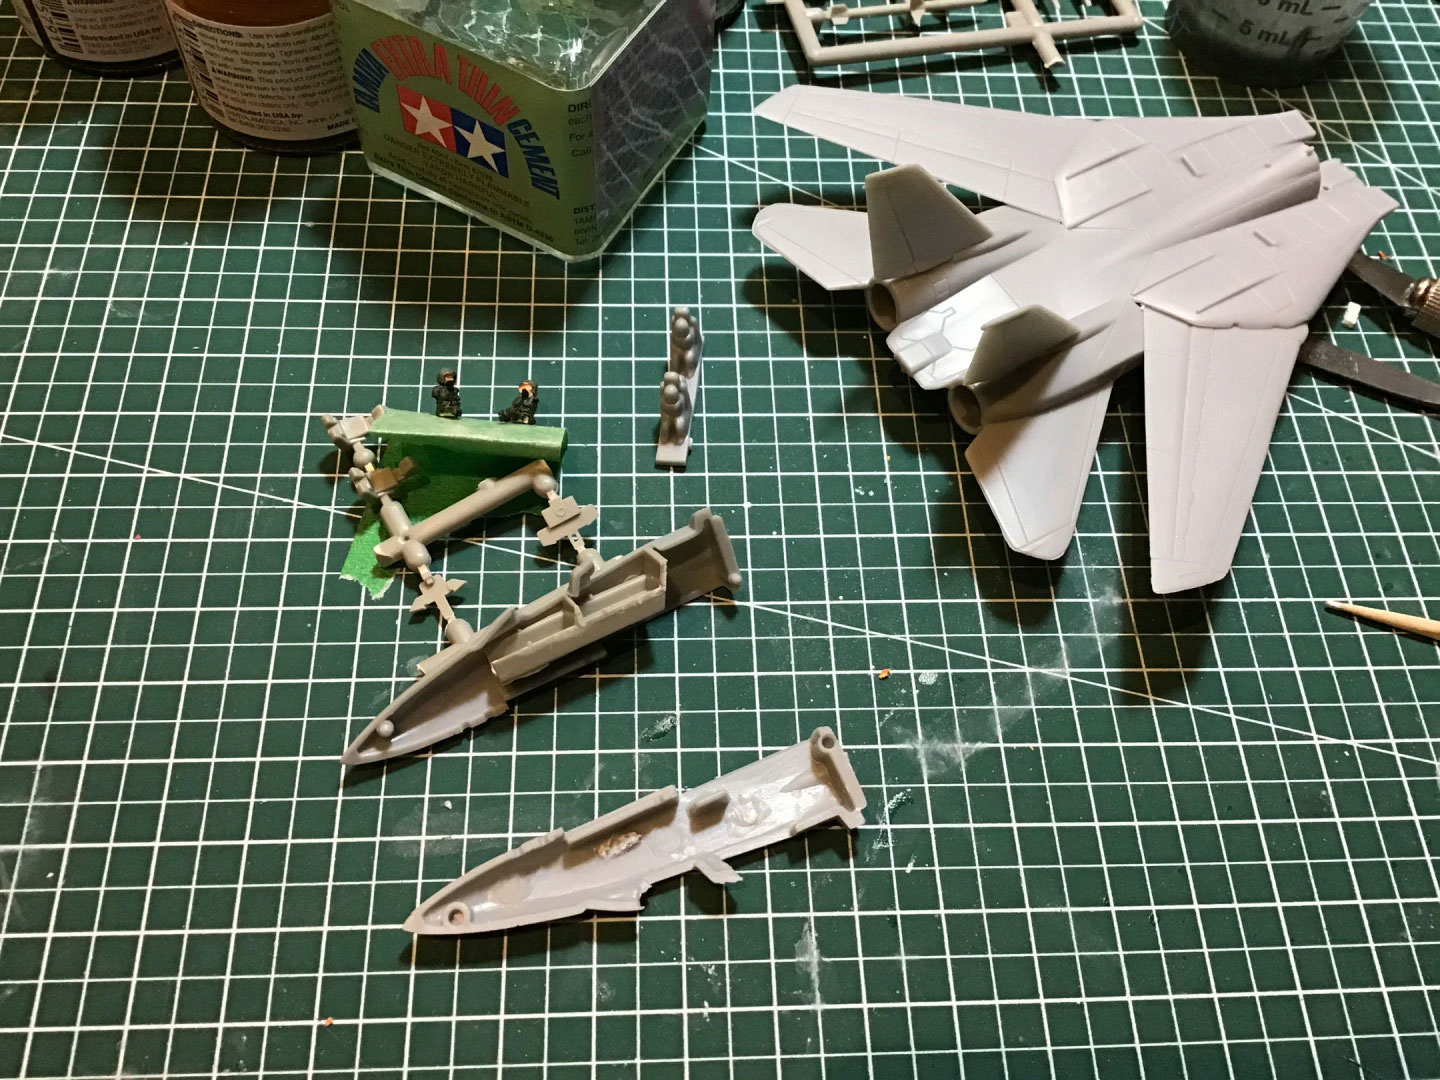
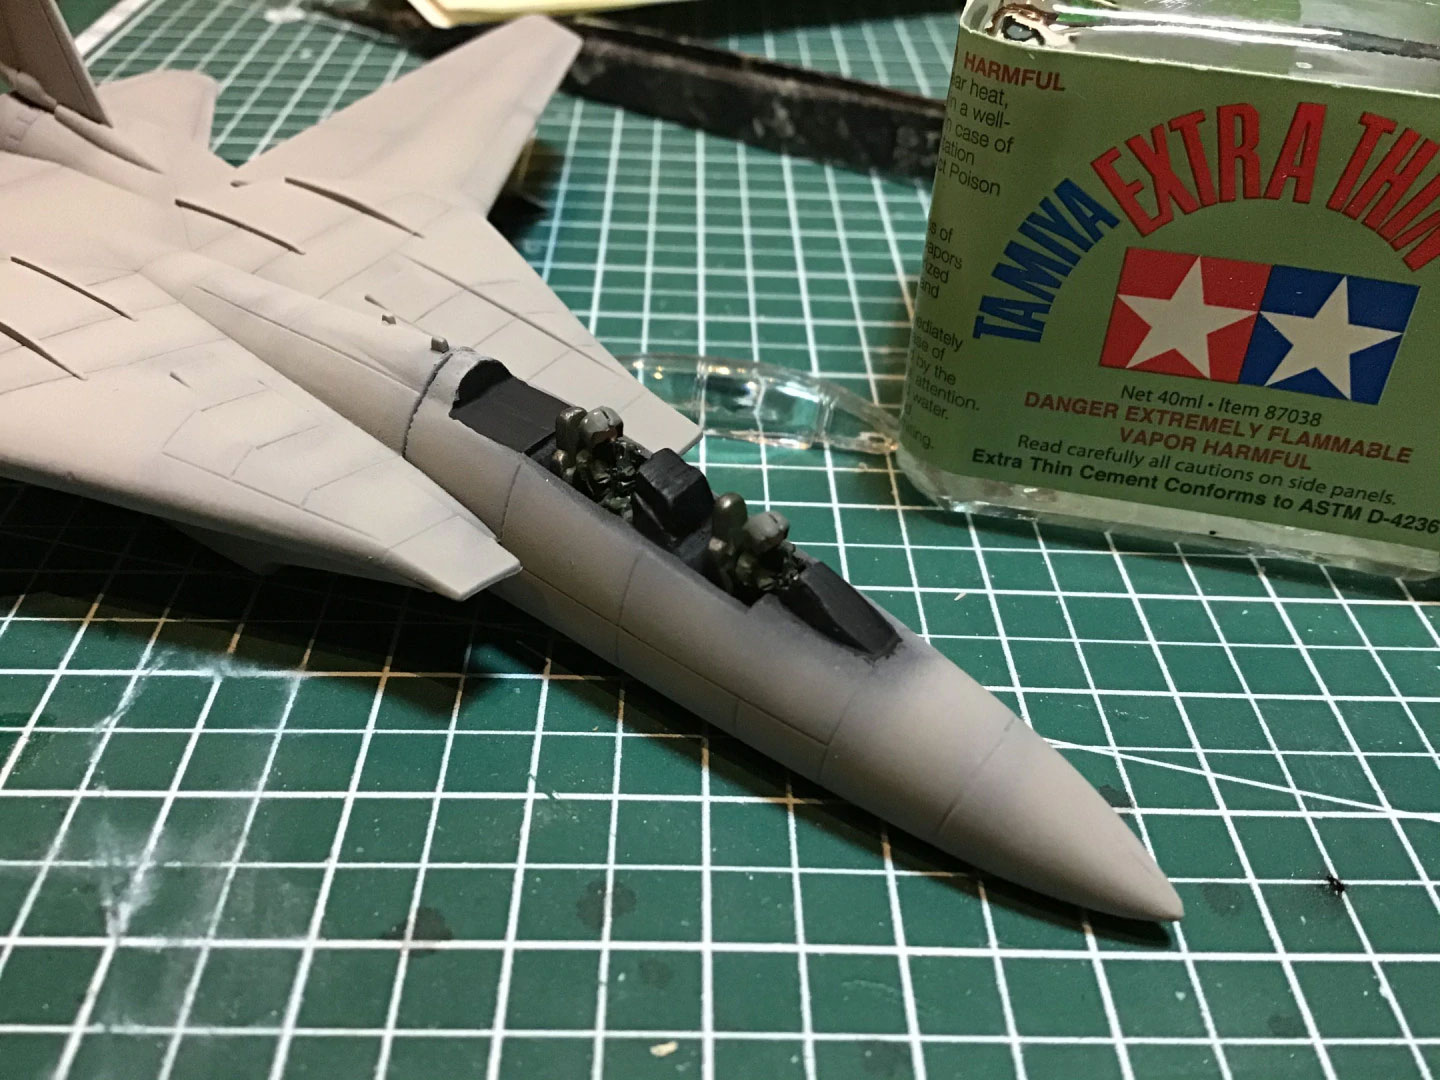
The one moment of pause I had with that plan was the cockpit. In the scene from the manga, the canopy is clearly being ejected, but given the poor cockpit details on the the Dragon kit, I nixed that idea early on. I also got rid of the Dragon “pilot lumps” and put in a couple of resin cast one from the box.
I also got a new airbrush mid-project, so I was able to wipe off the panel line undershading and try it again. If you’ve ever wondered if a more expensive airbrush actually works better than the cheapo one you already have – the answer is yes! I struggled with that question for a long time before taking the plunge, and I’m glad I did.
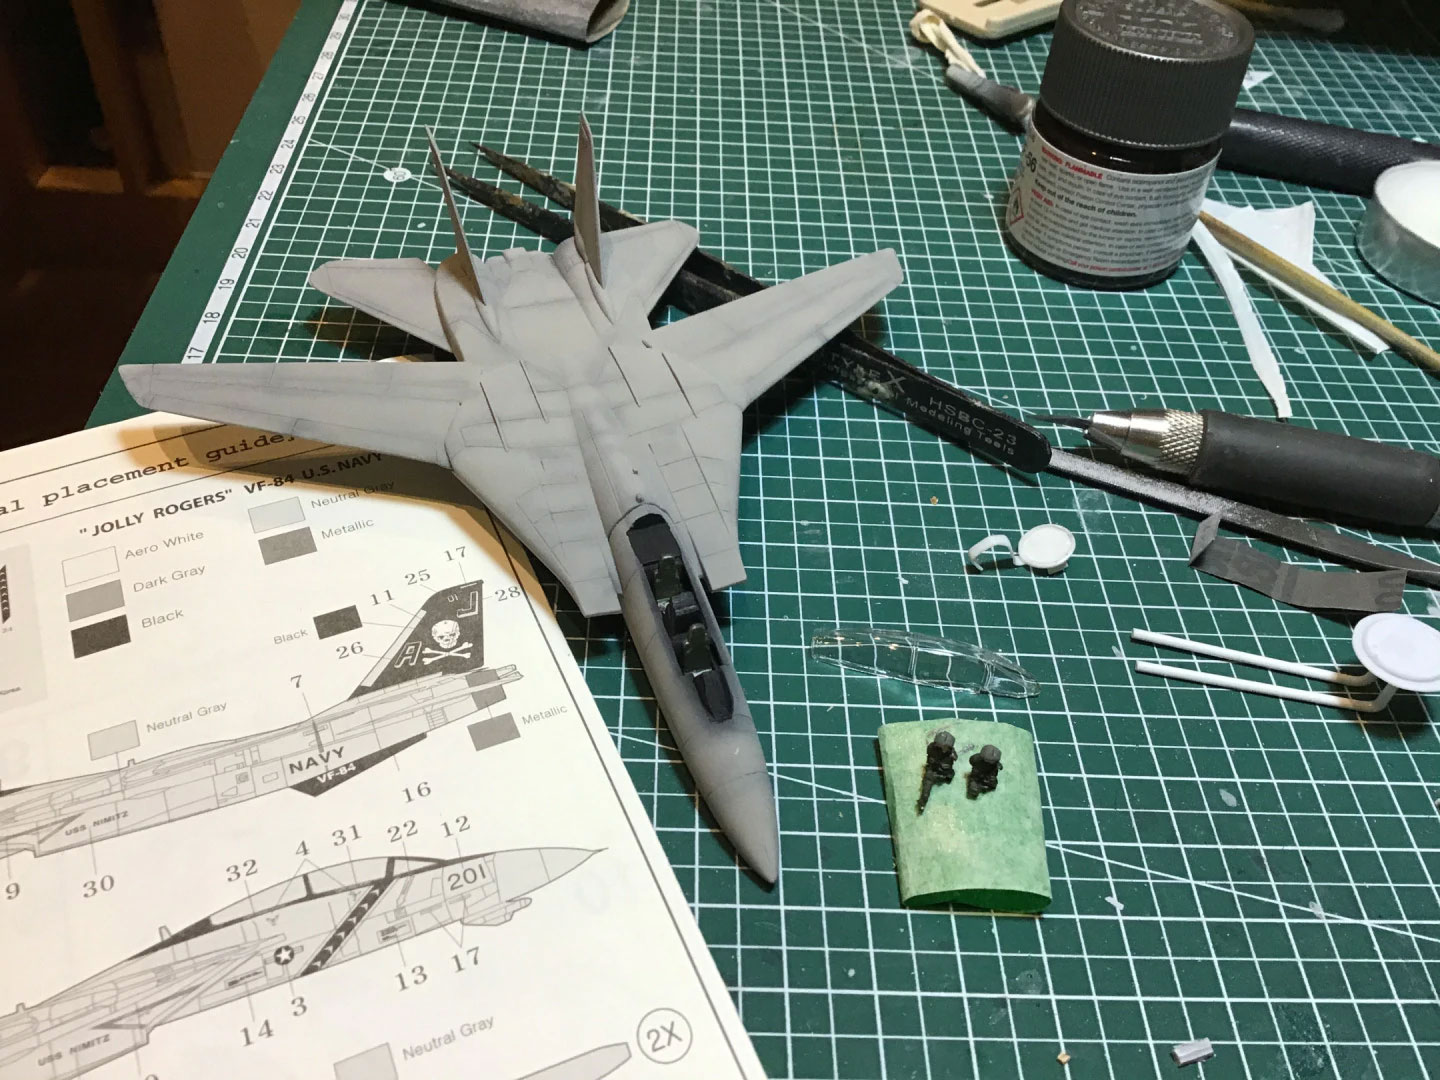
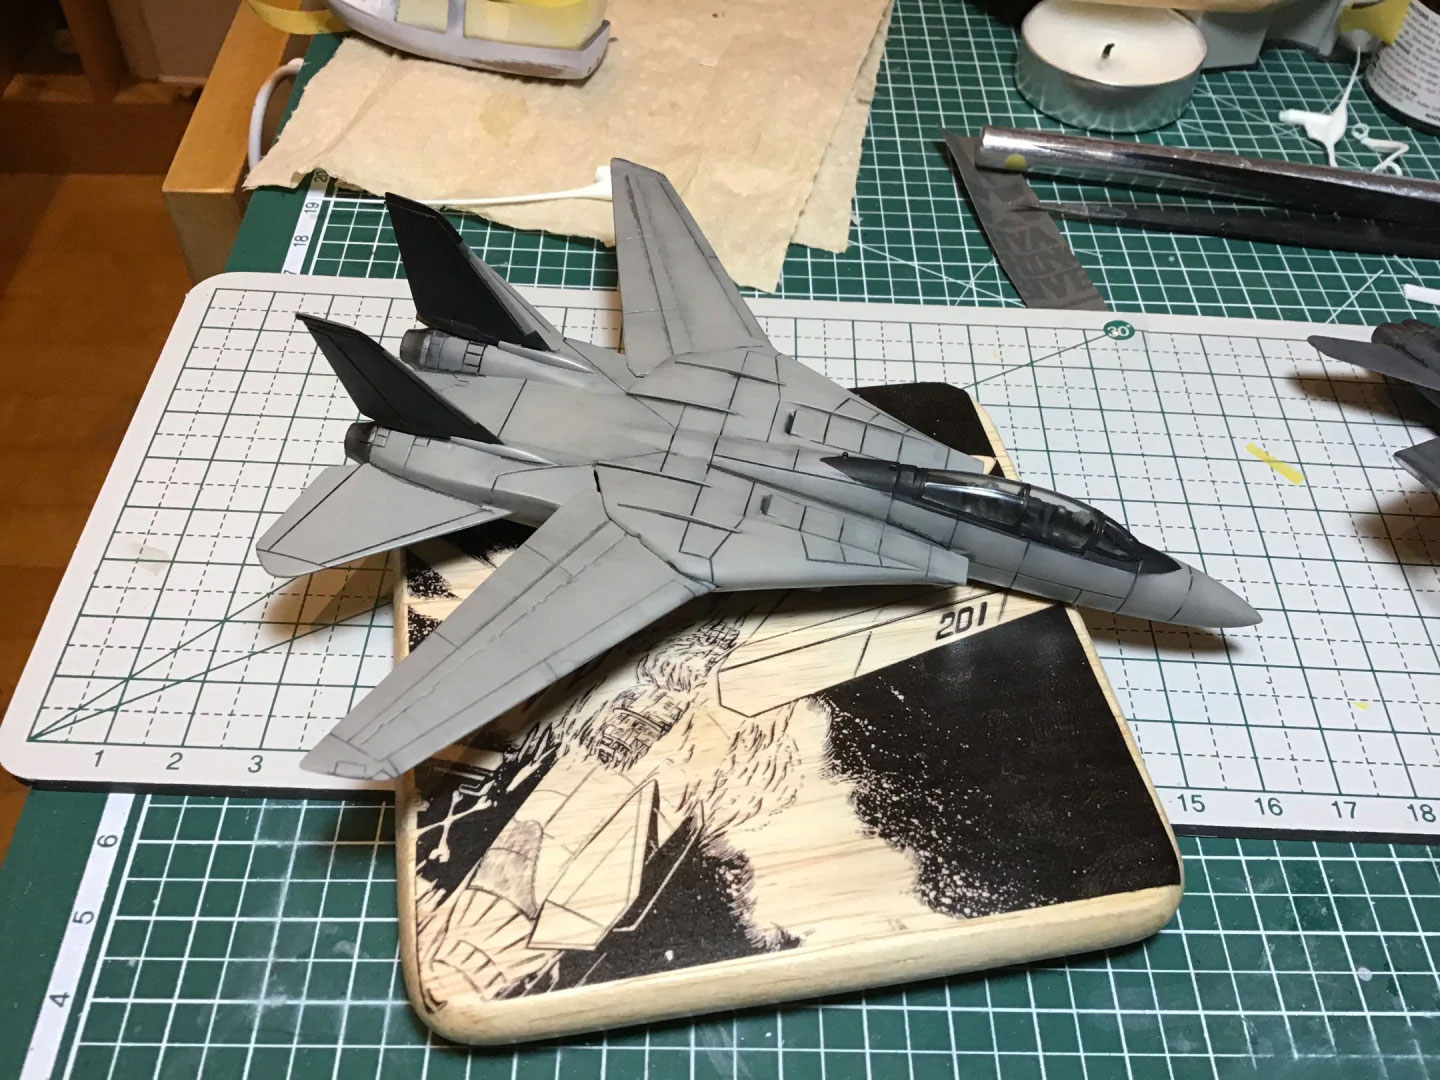
The kit itself went together pretty quickly. The only thing that caused me a bit of grief were the extremely deep panel lines. I used the Tamiya black wash… and boy did they stand out. I thought about repainting over them, but a) I’m lazy, b) a good deal of the worst offenders were going to go bye-bye in the explosion, and c) this one was never really about the paint job anyway. After I put on the crappy Ace decals I was glad. They wouldn’t sit down properly and silvered quite badly. Oh, well.
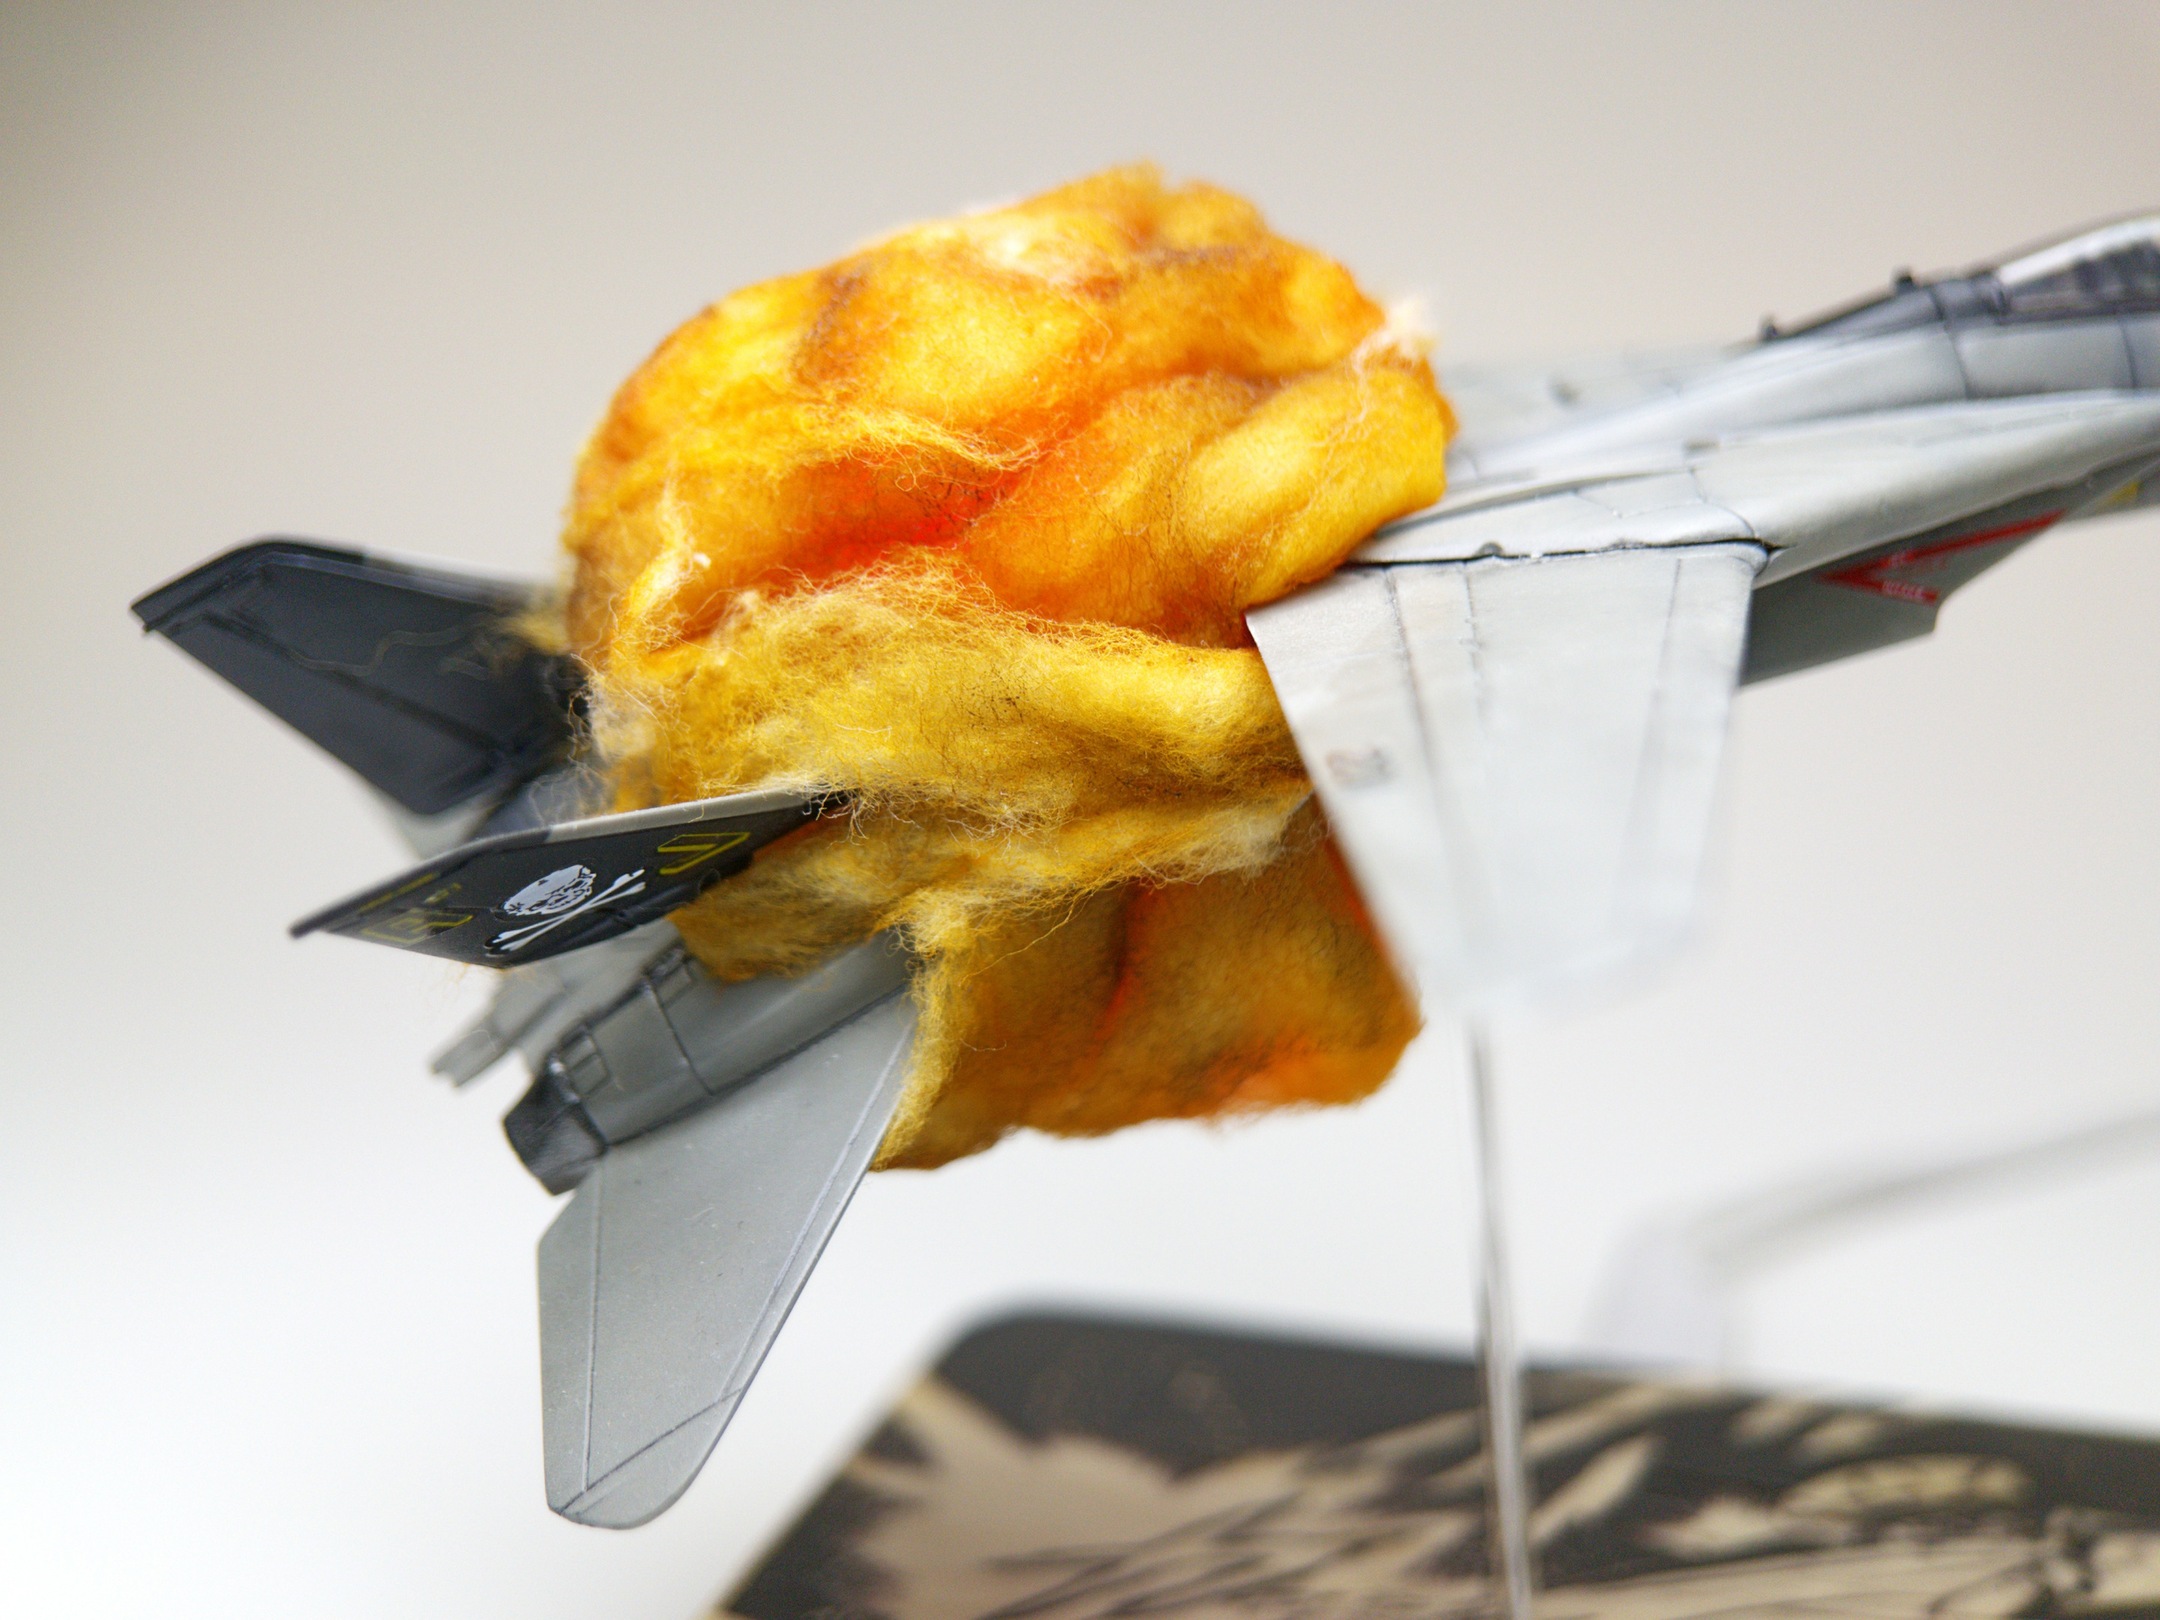
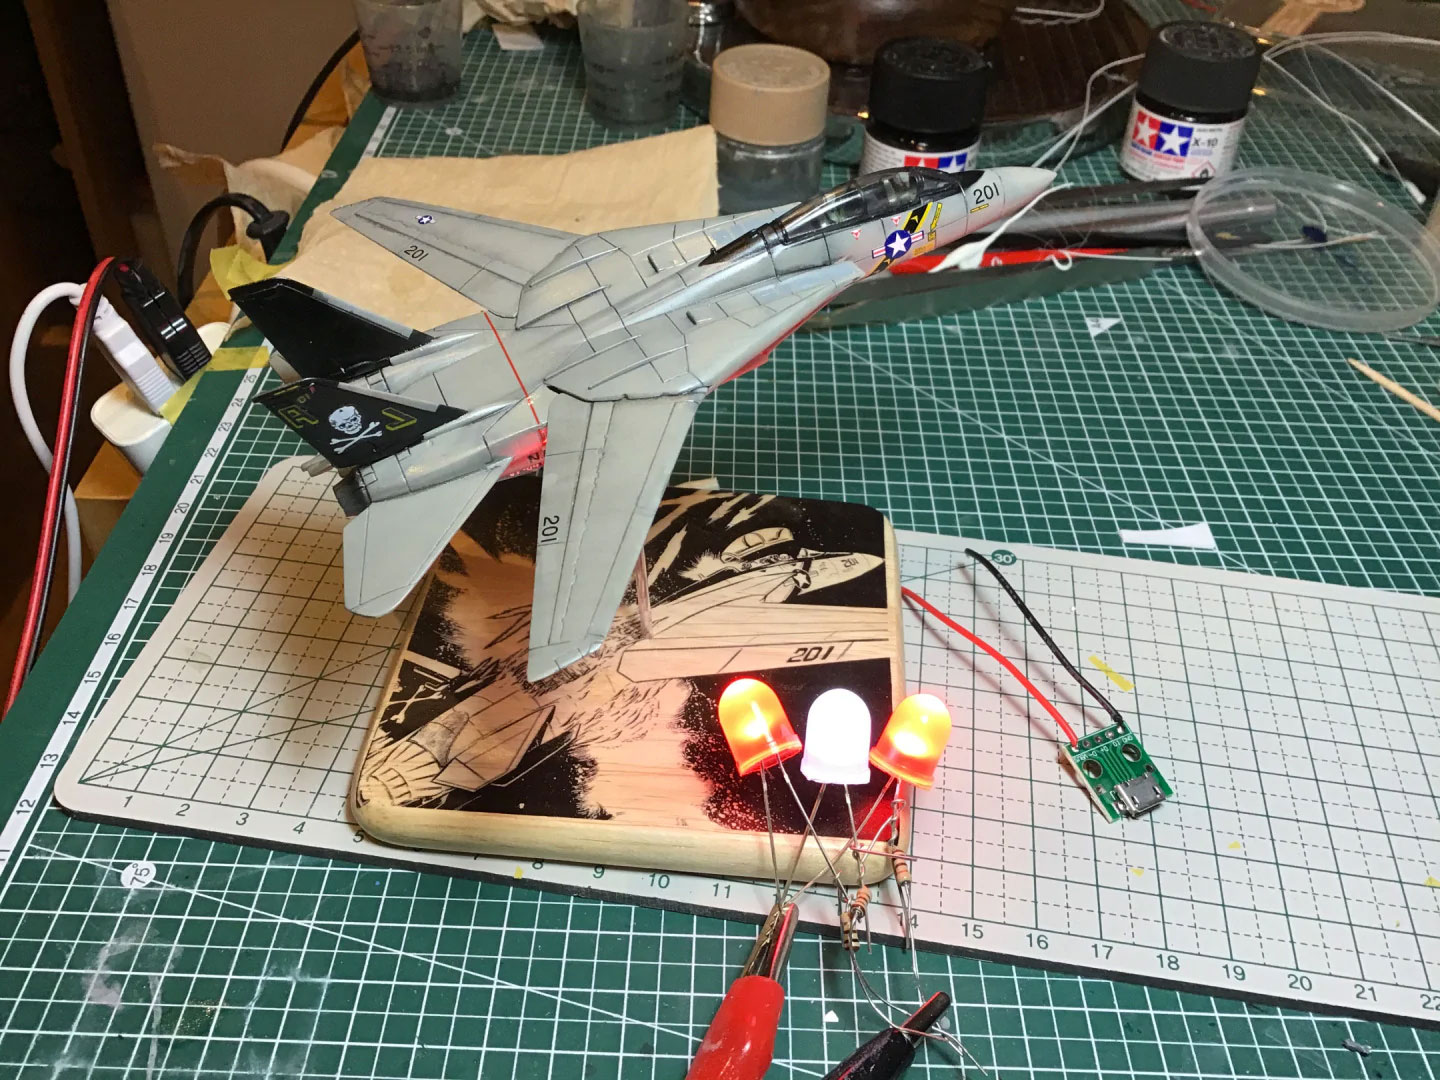
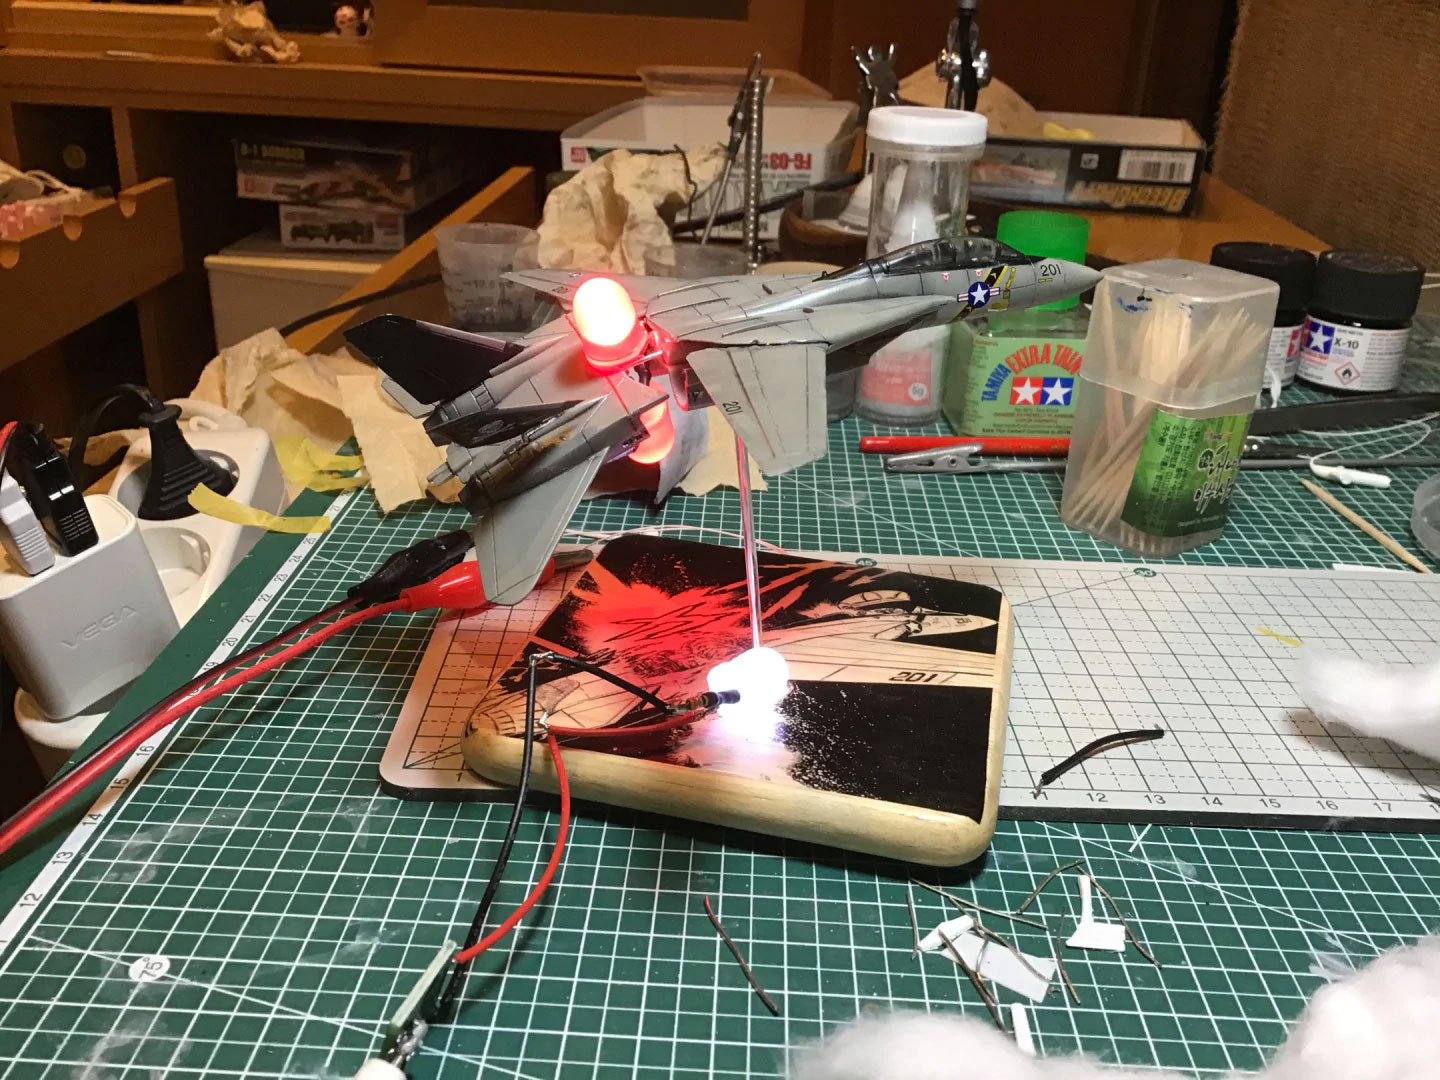
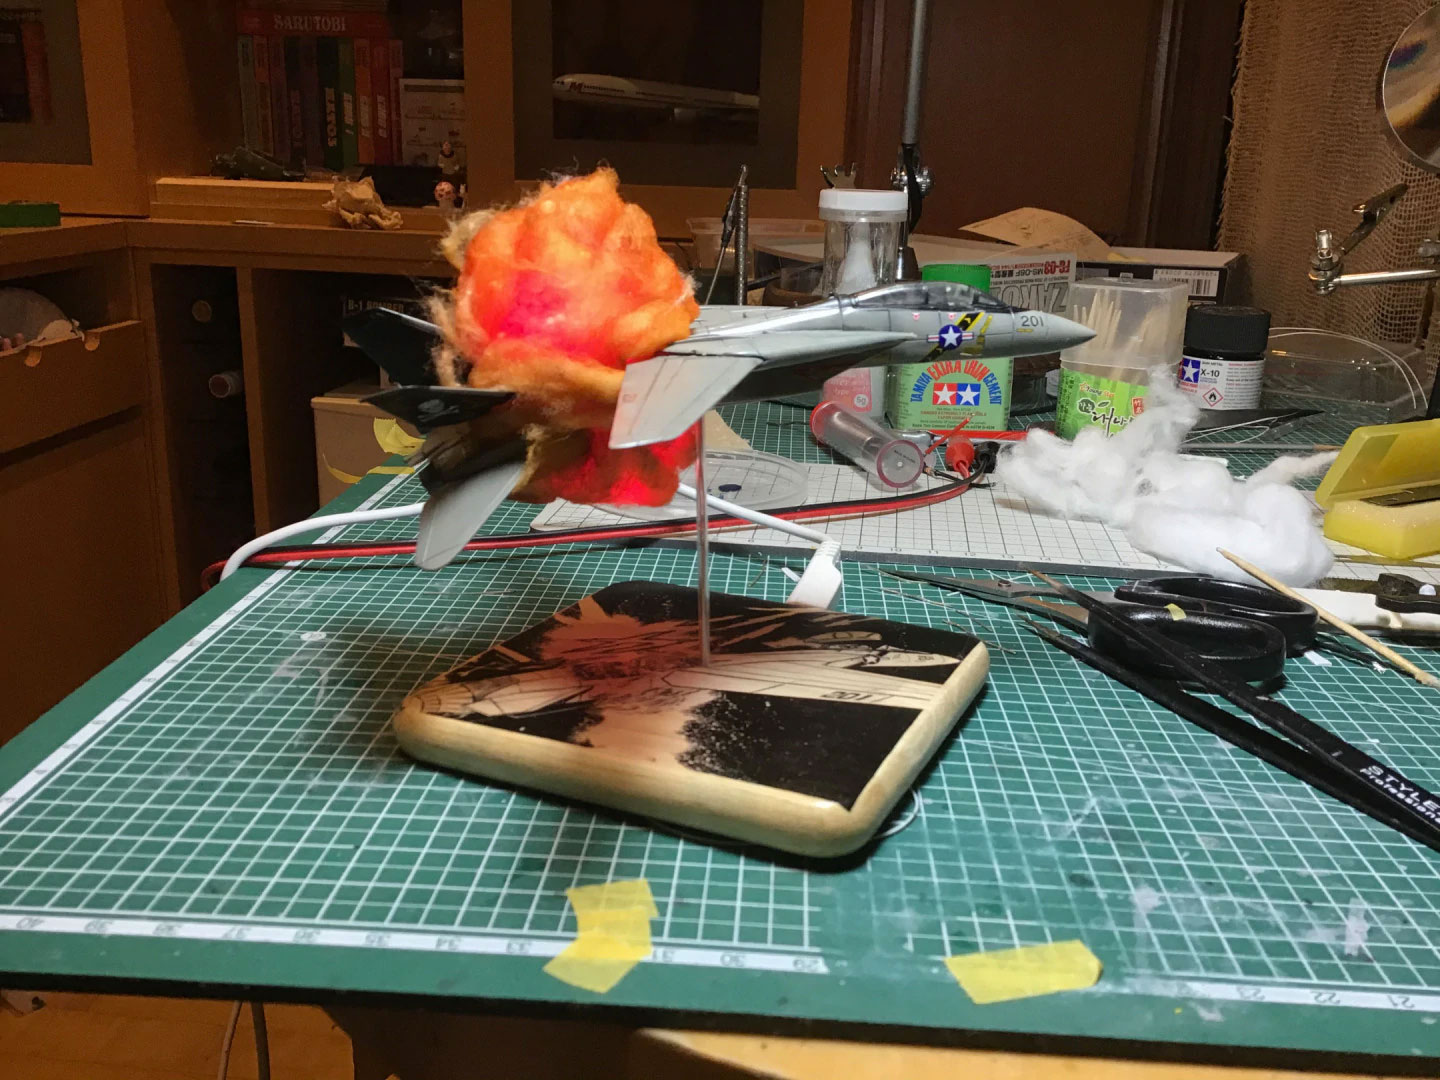
It was a bit unnerving to meticulously build the kit to completion, and then take a saw and hack it in half, but I’m glad I did. I tried the “explosion mid-flight” idea with an F-111 Aardvark in my “A Dill Hill to Die On” project, but this one worked better in my opinion. In fact, I’m surprised at how fast it all came together at the end. After it was in two halves, I added a bit of wire to the interior to provide the shape and support the structure. I slid the LED lights in and glued them in place and then I got out the cotton.
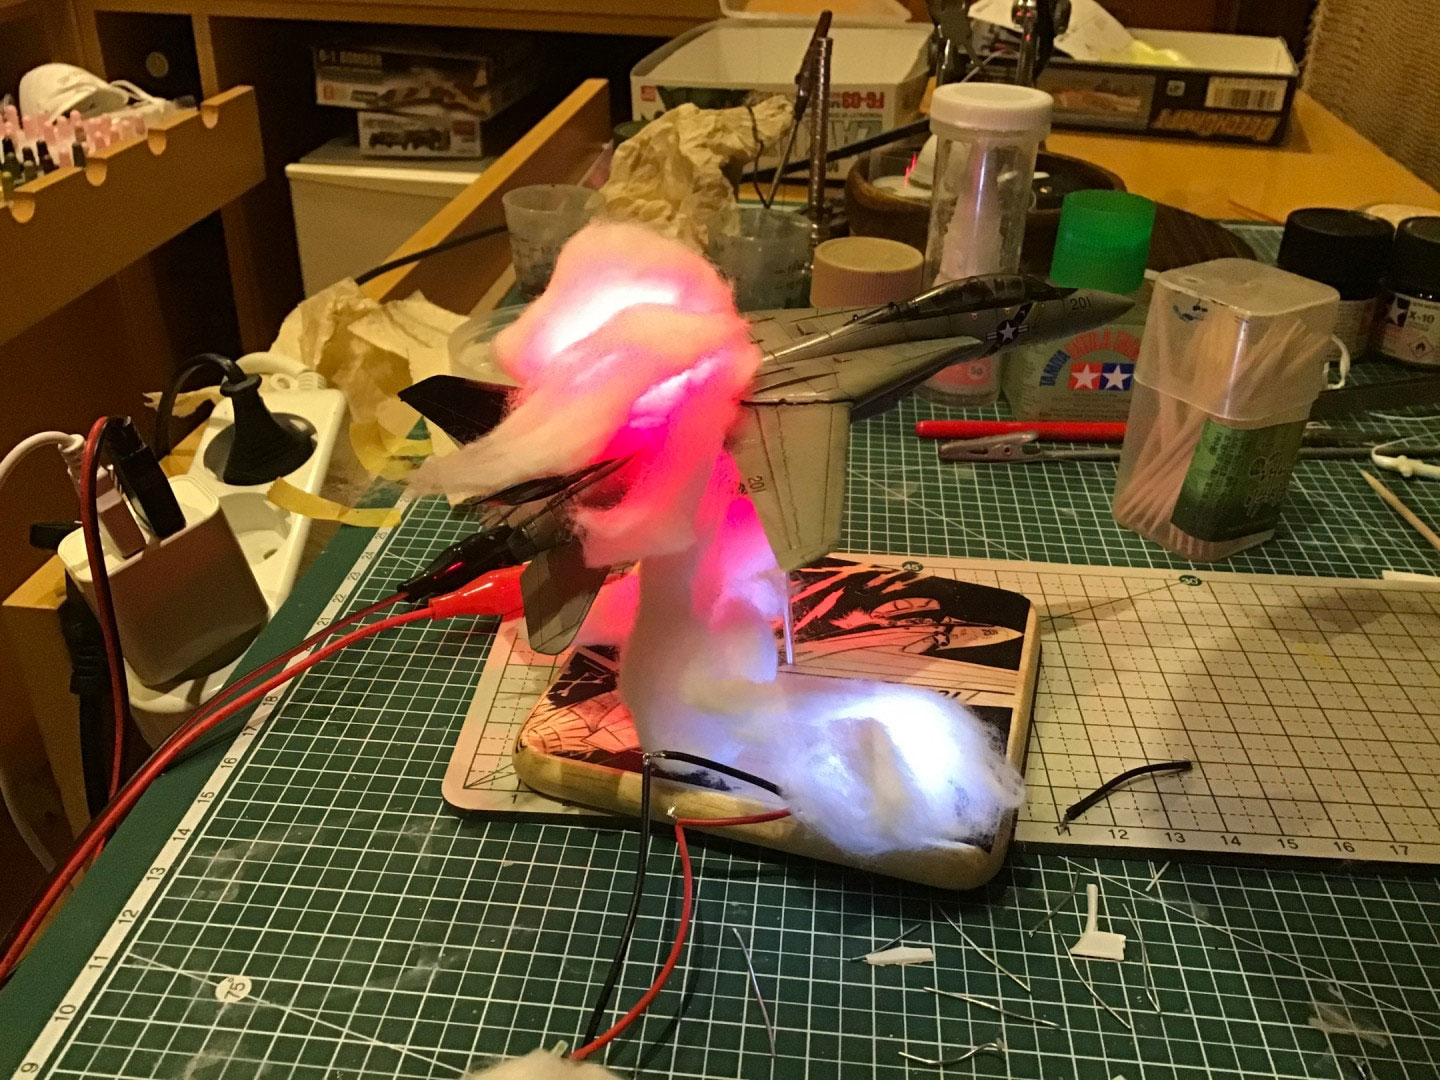
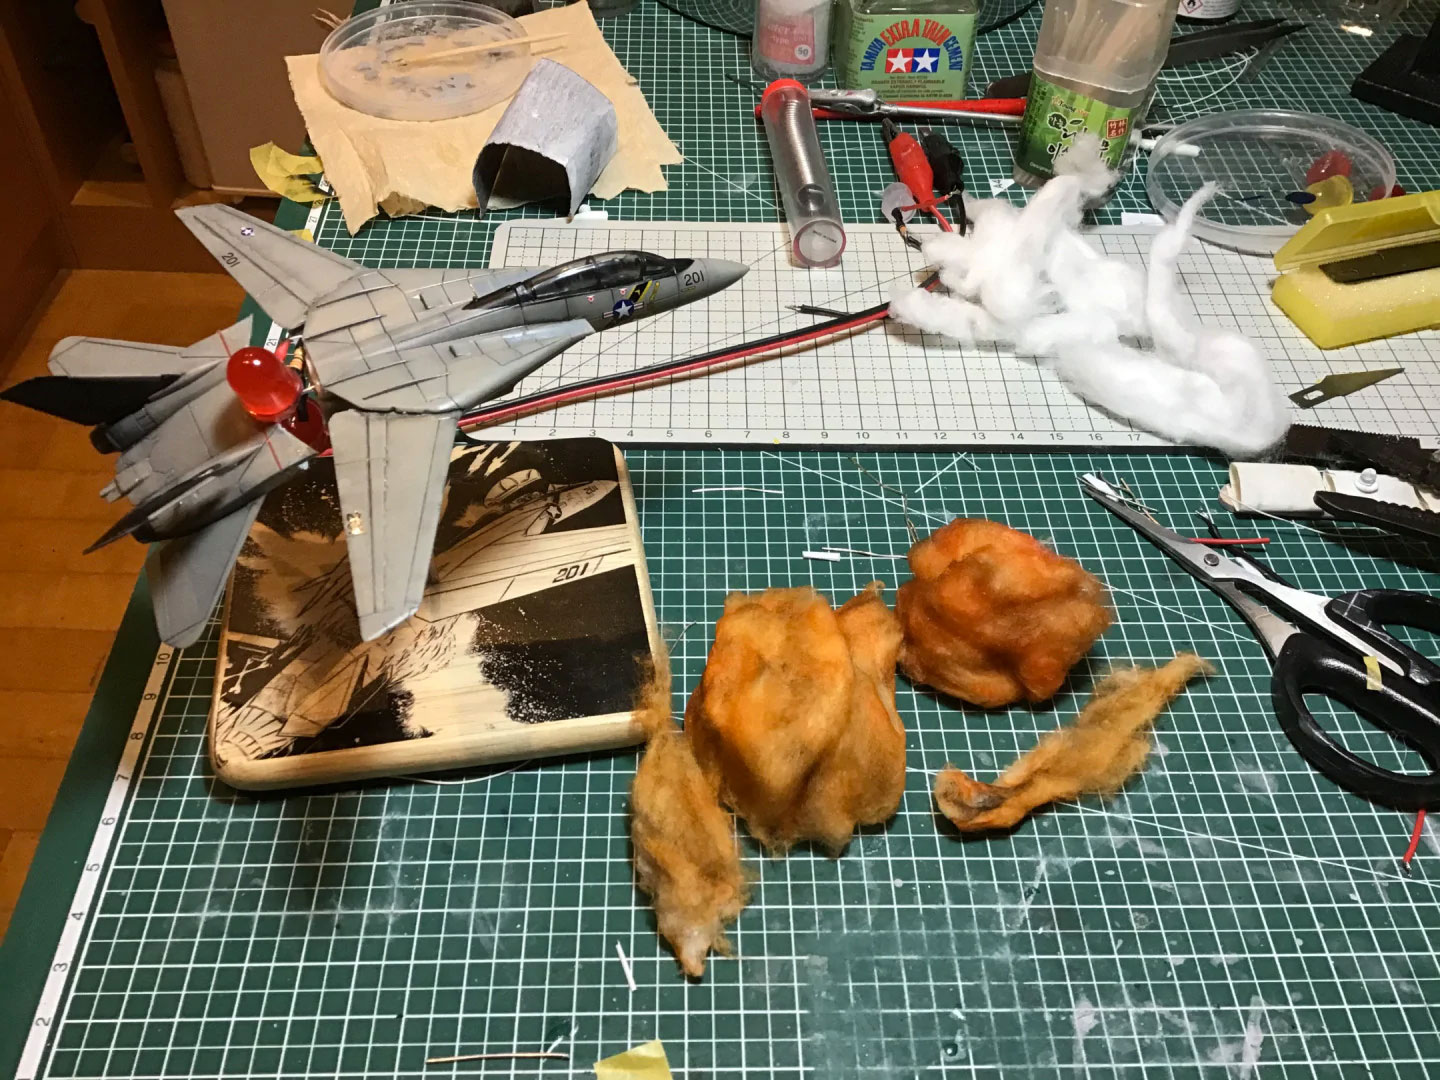
A few deformed cotton balls, some cheapo hairspray to make them hold their shape, and some Tamiya X-26 Clear Orange (and a touch of X-19 Smoke) and we had explosions galore. It was a bit sticky to attach them to the model using white glue, but I find that works the best.
Anyway, I’m pretty satisfied with the result t. In my mind I captured the moment right BEFORE the canopy comes off… But feel free to tell me what you think.


The Supplies:
XF-01 Flat Black
XF-20 Medium Grey
X-19 Smoke
X-26 Clear Orange
Discover more from strobez
Subscribe to get the latest posts sent to your email.
One Reply to “Friendly Fire (Area 88)”