The Fang (Area 88)
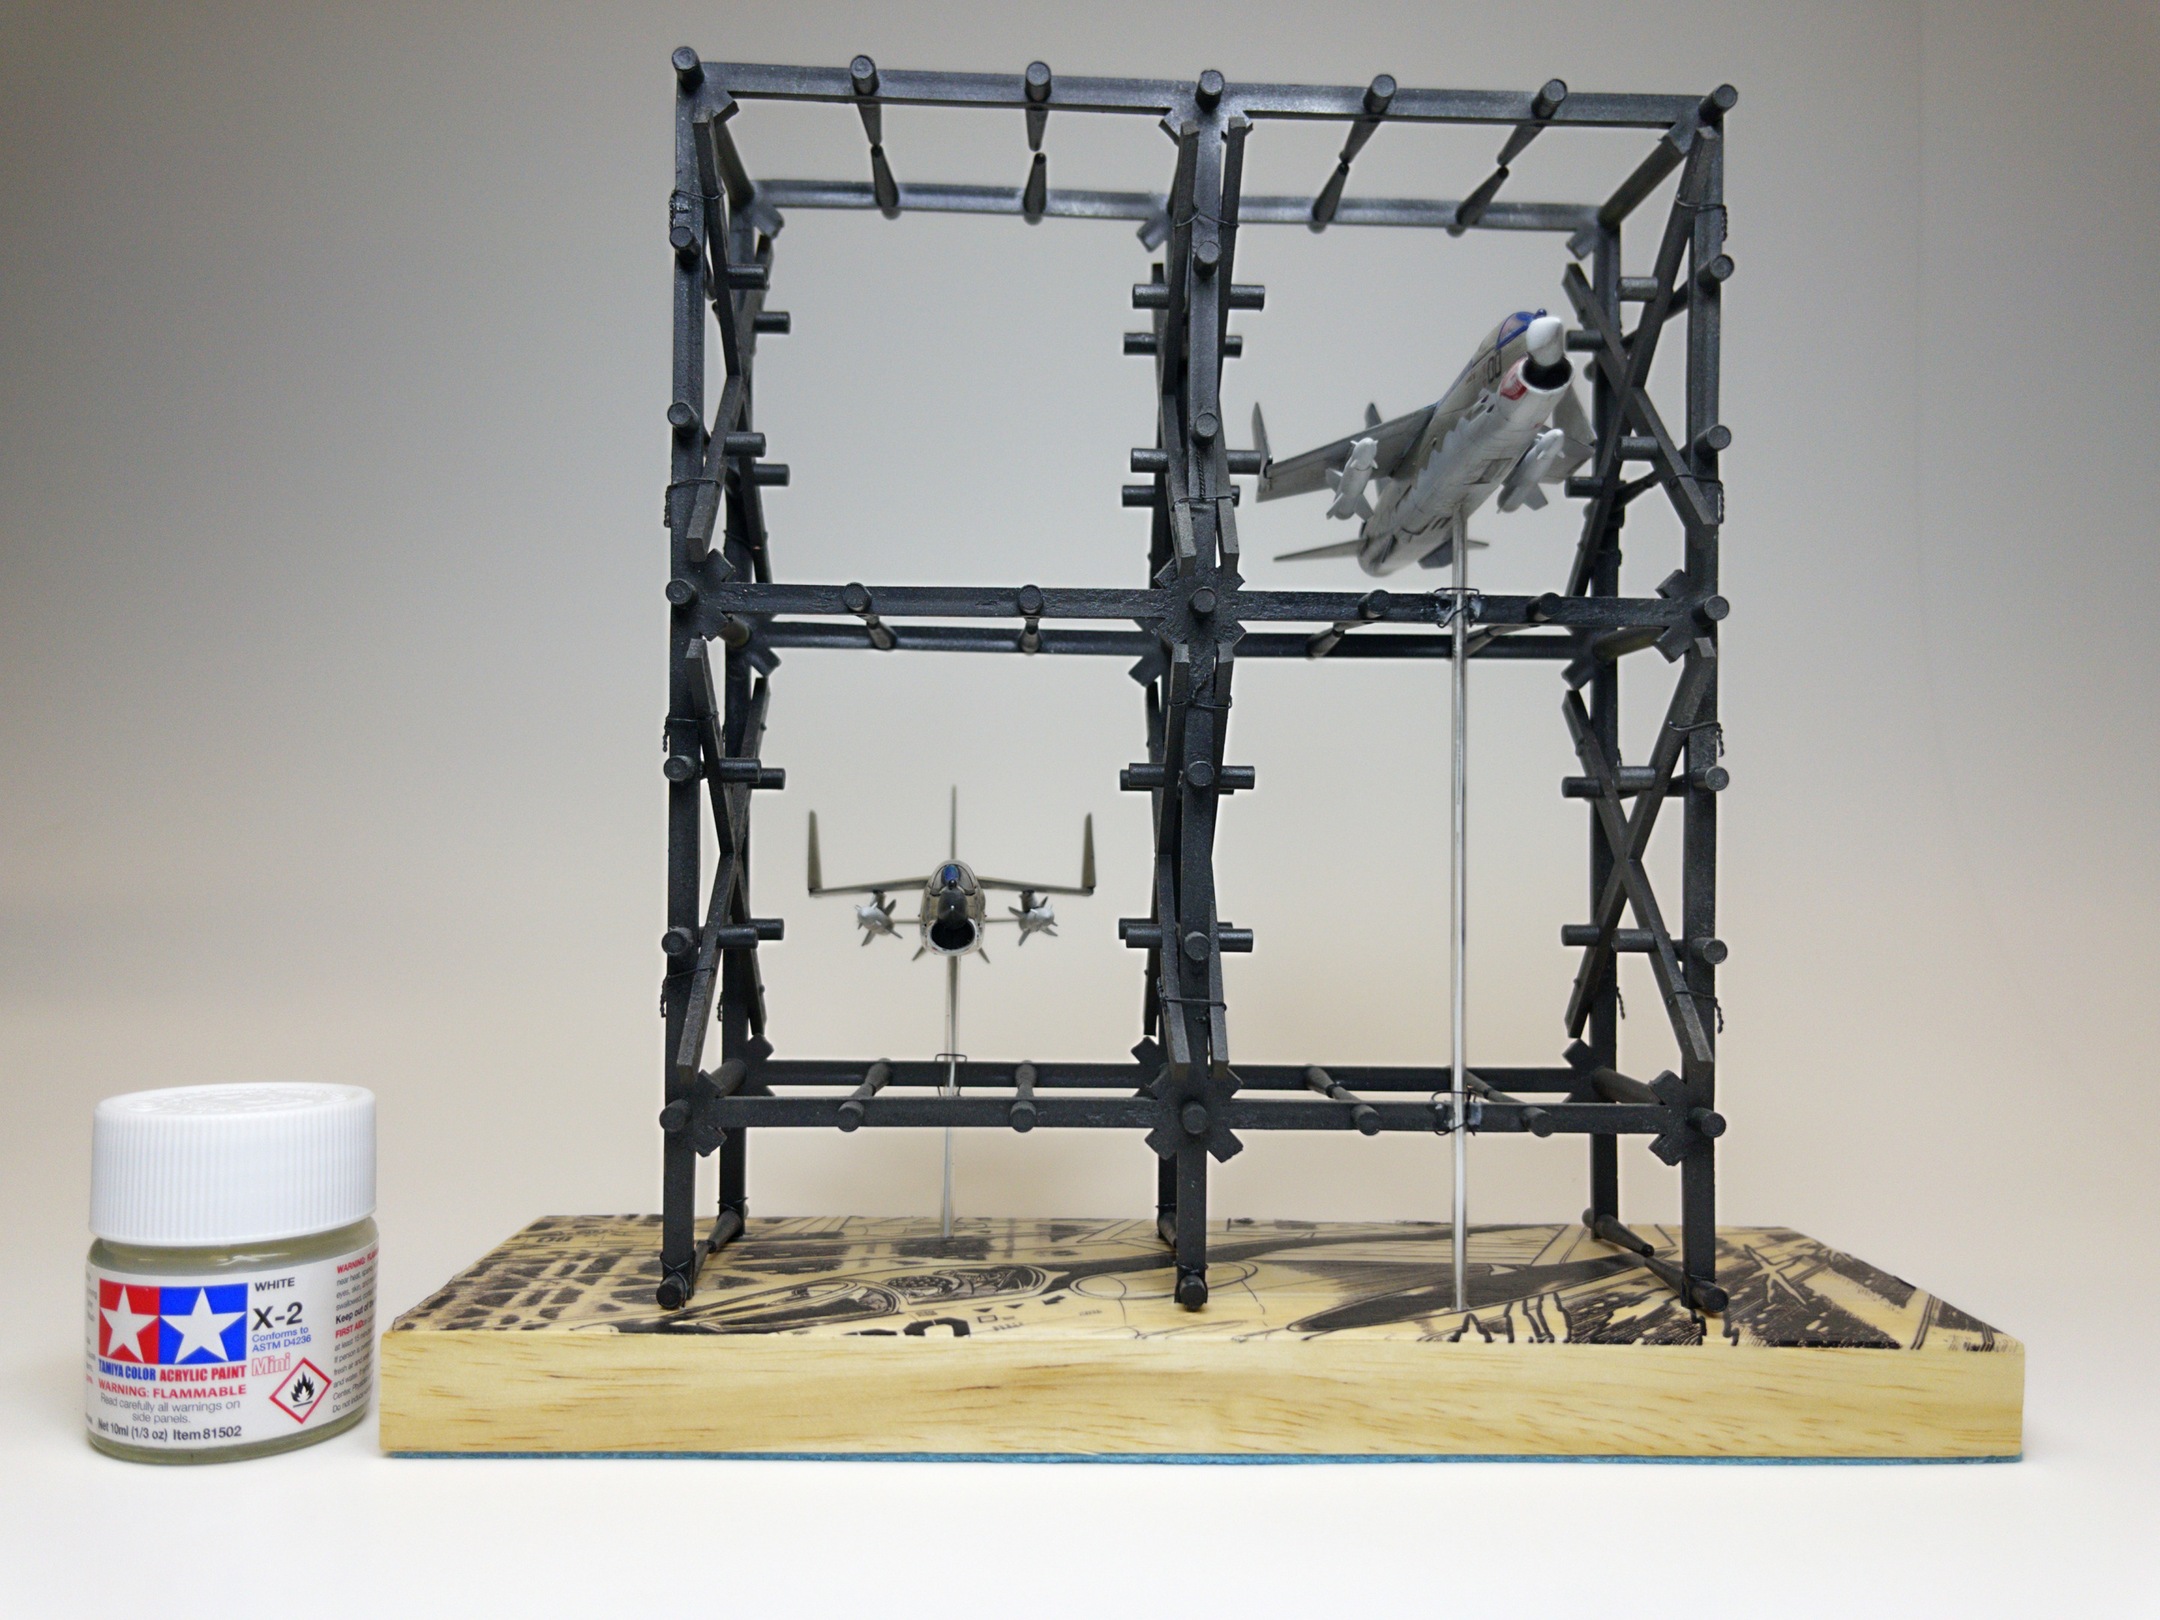
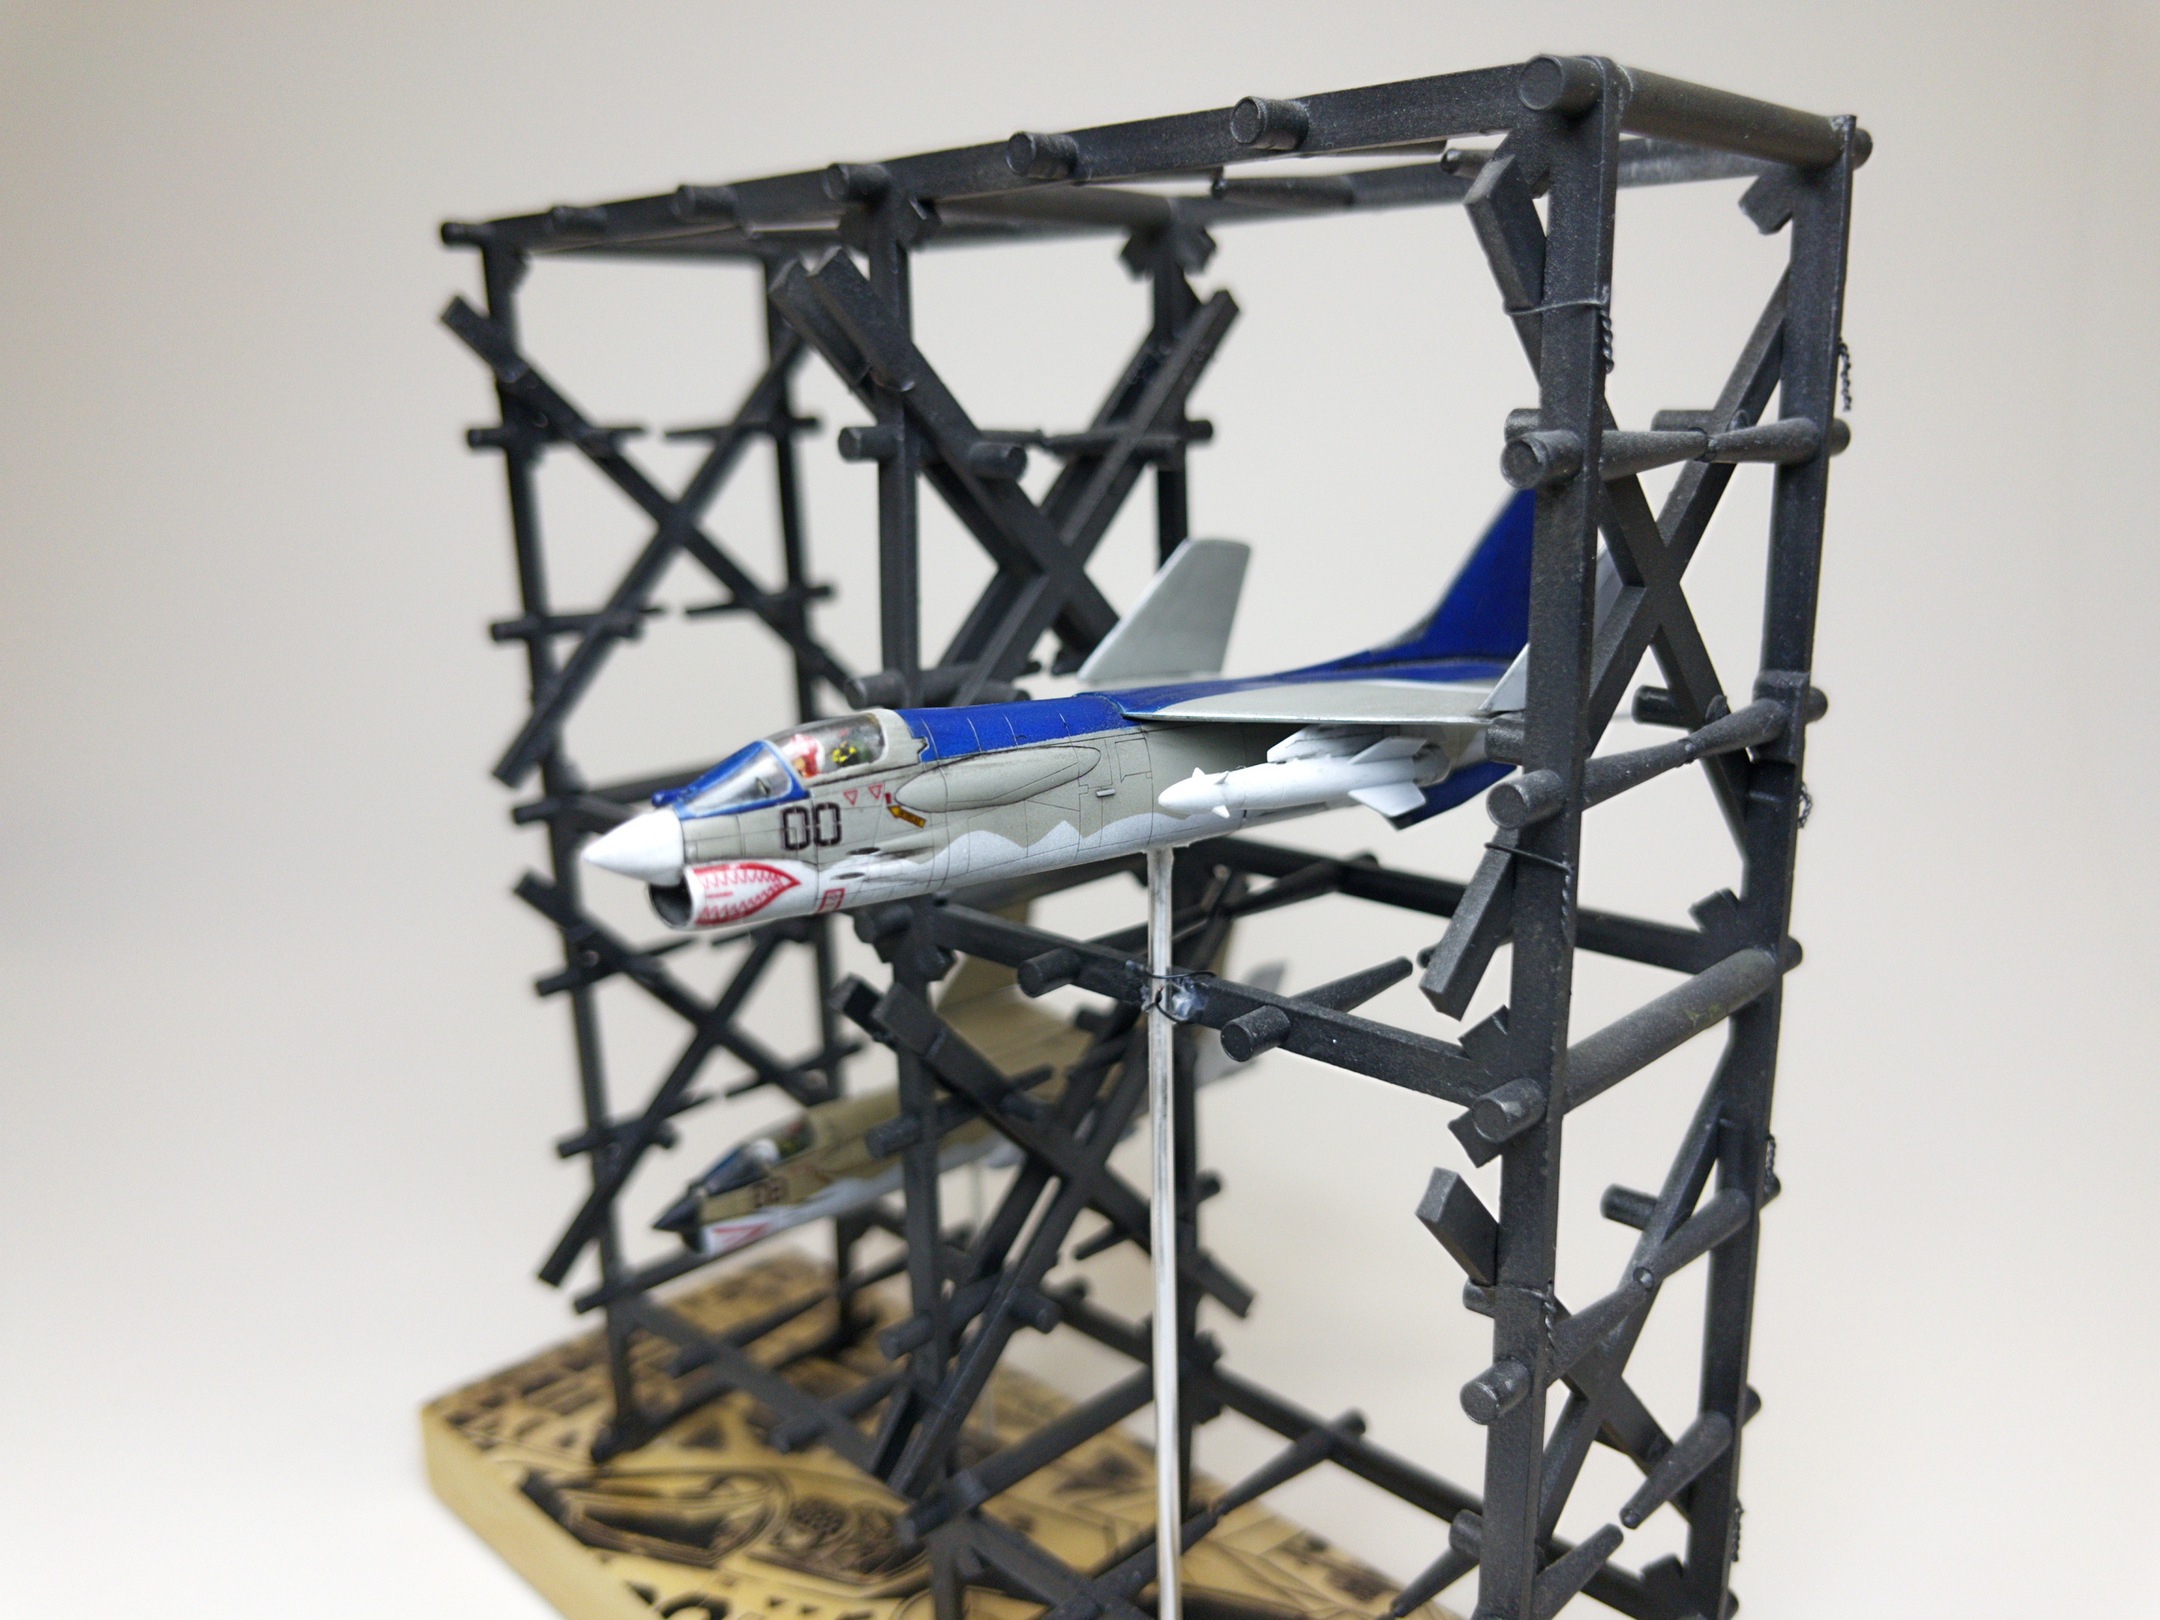
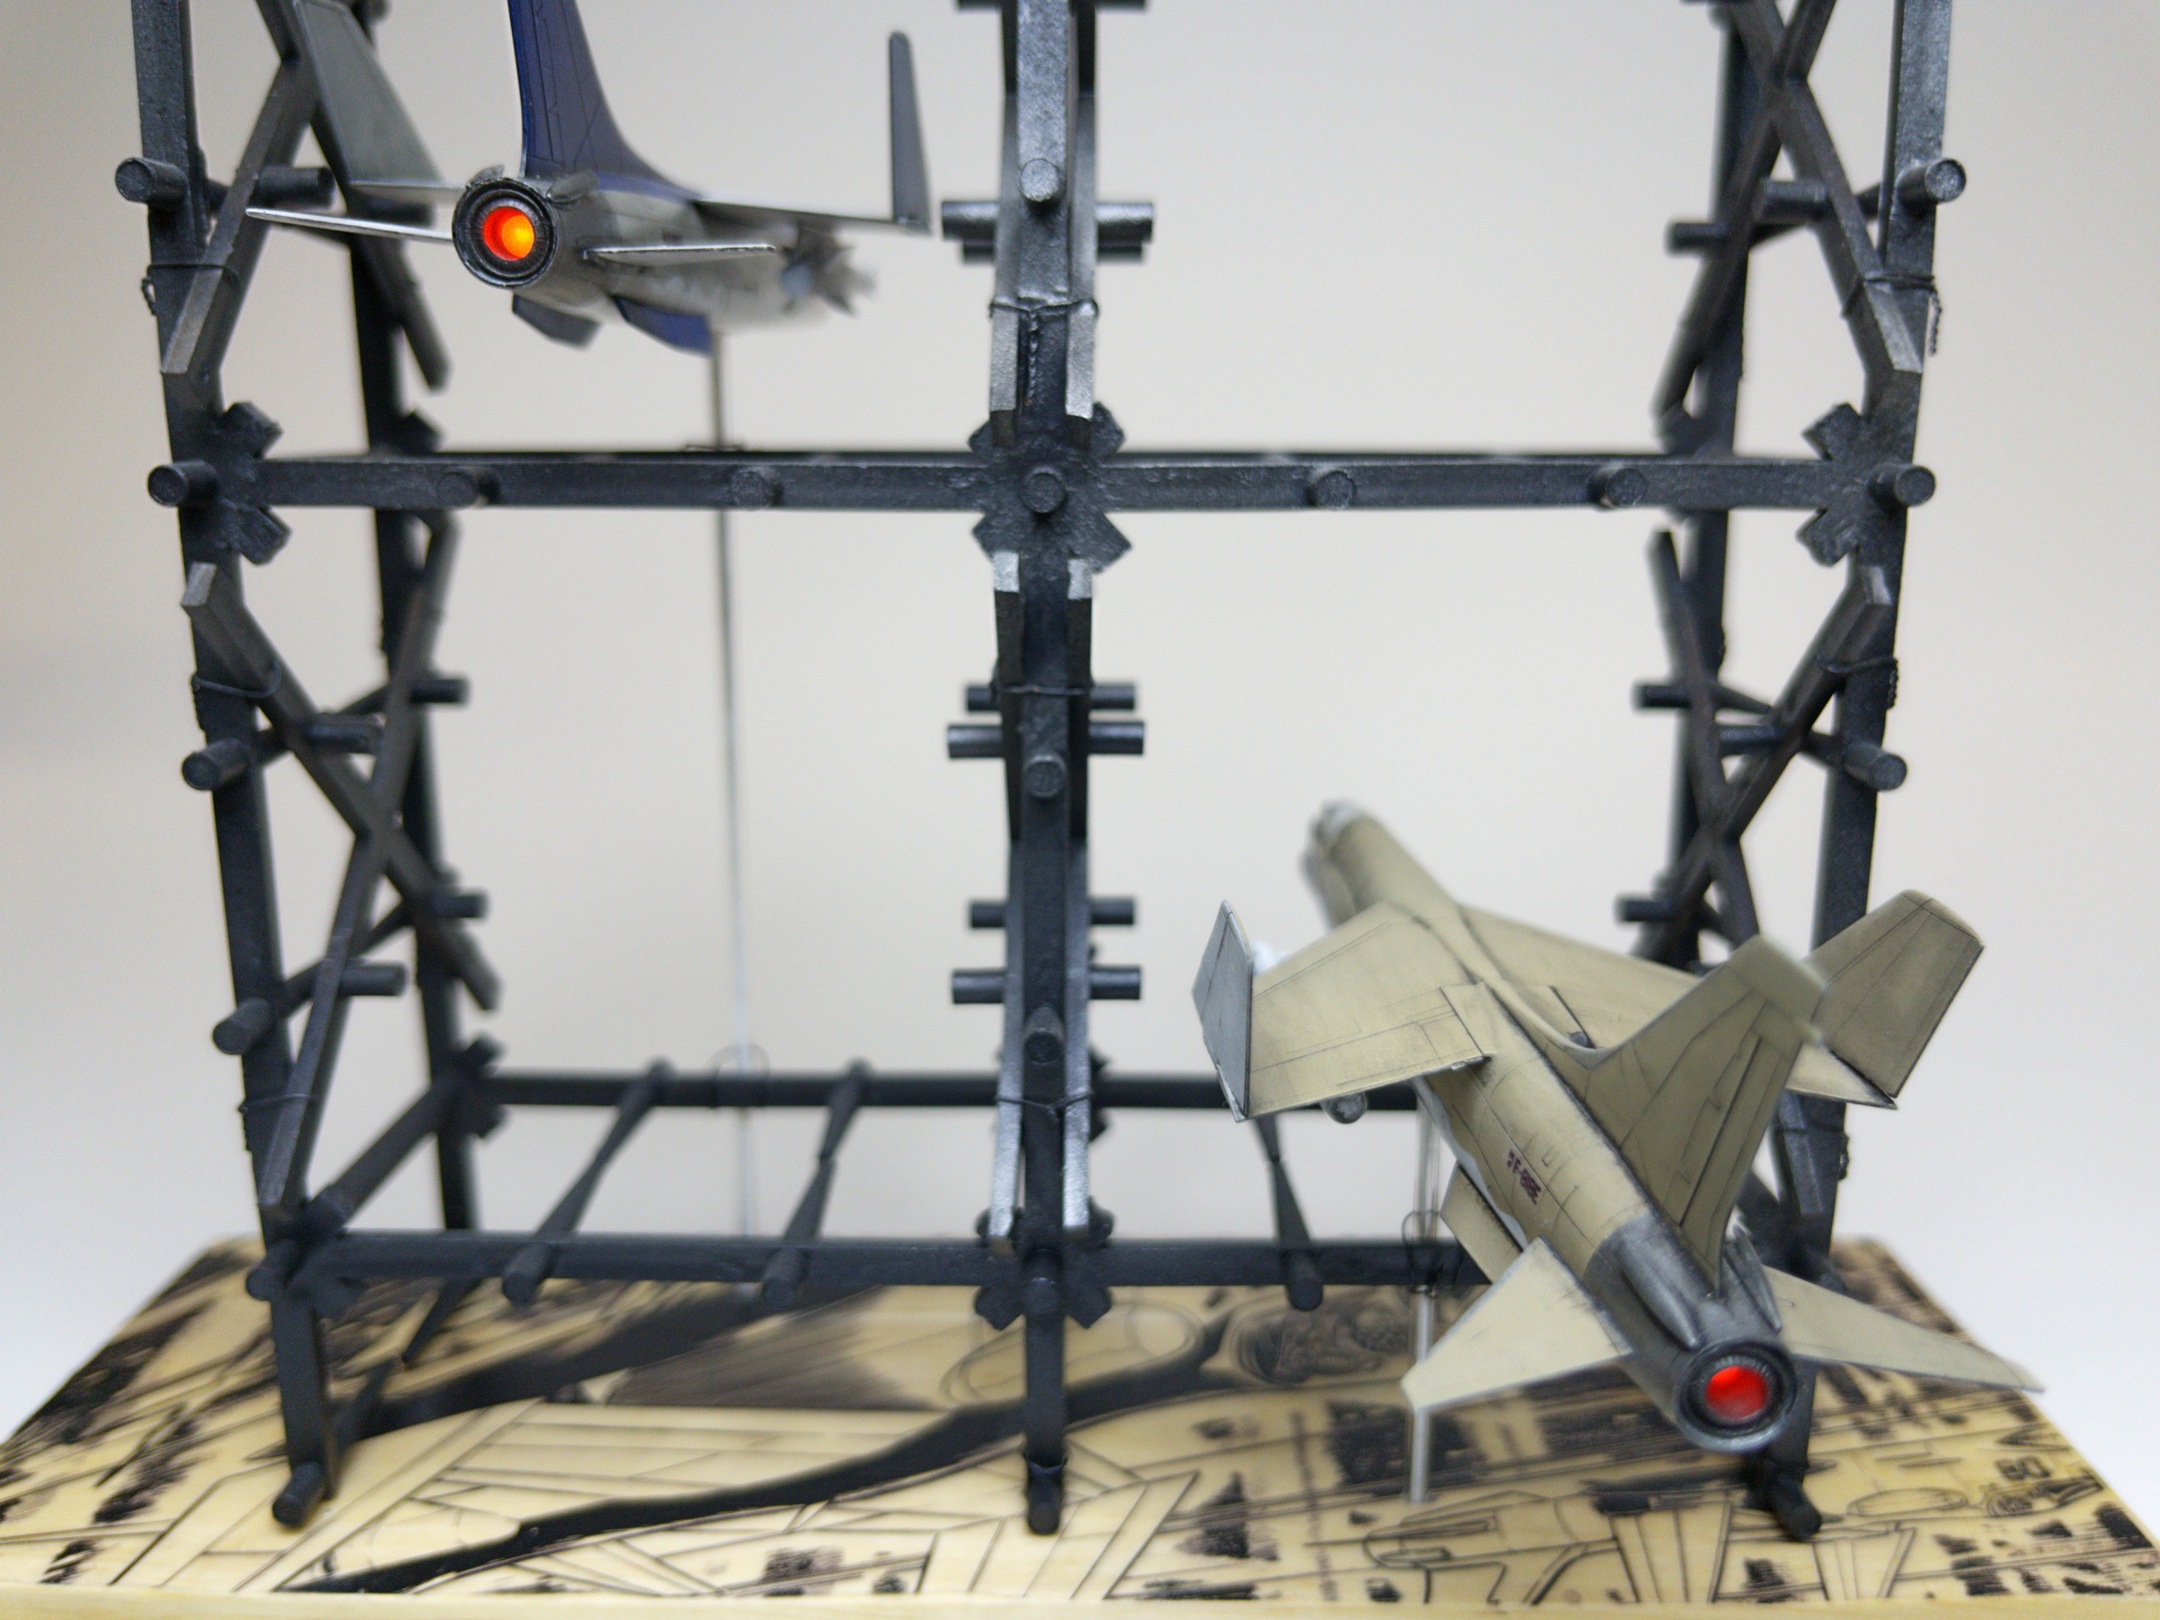
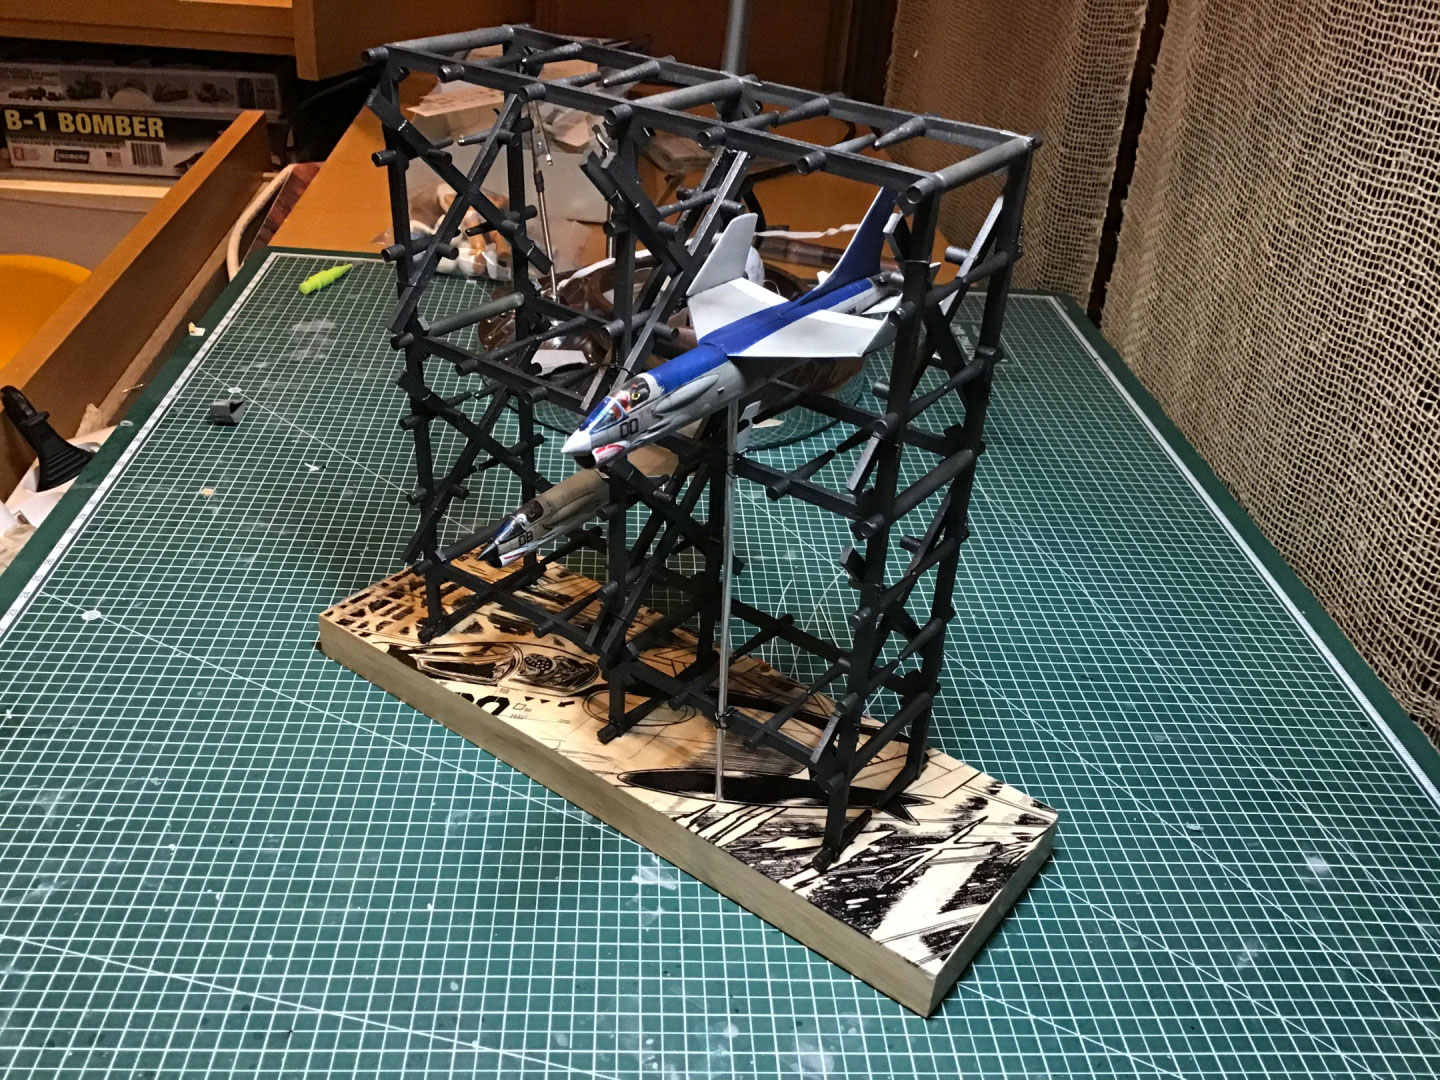
The finished model:

THE VIDEO:
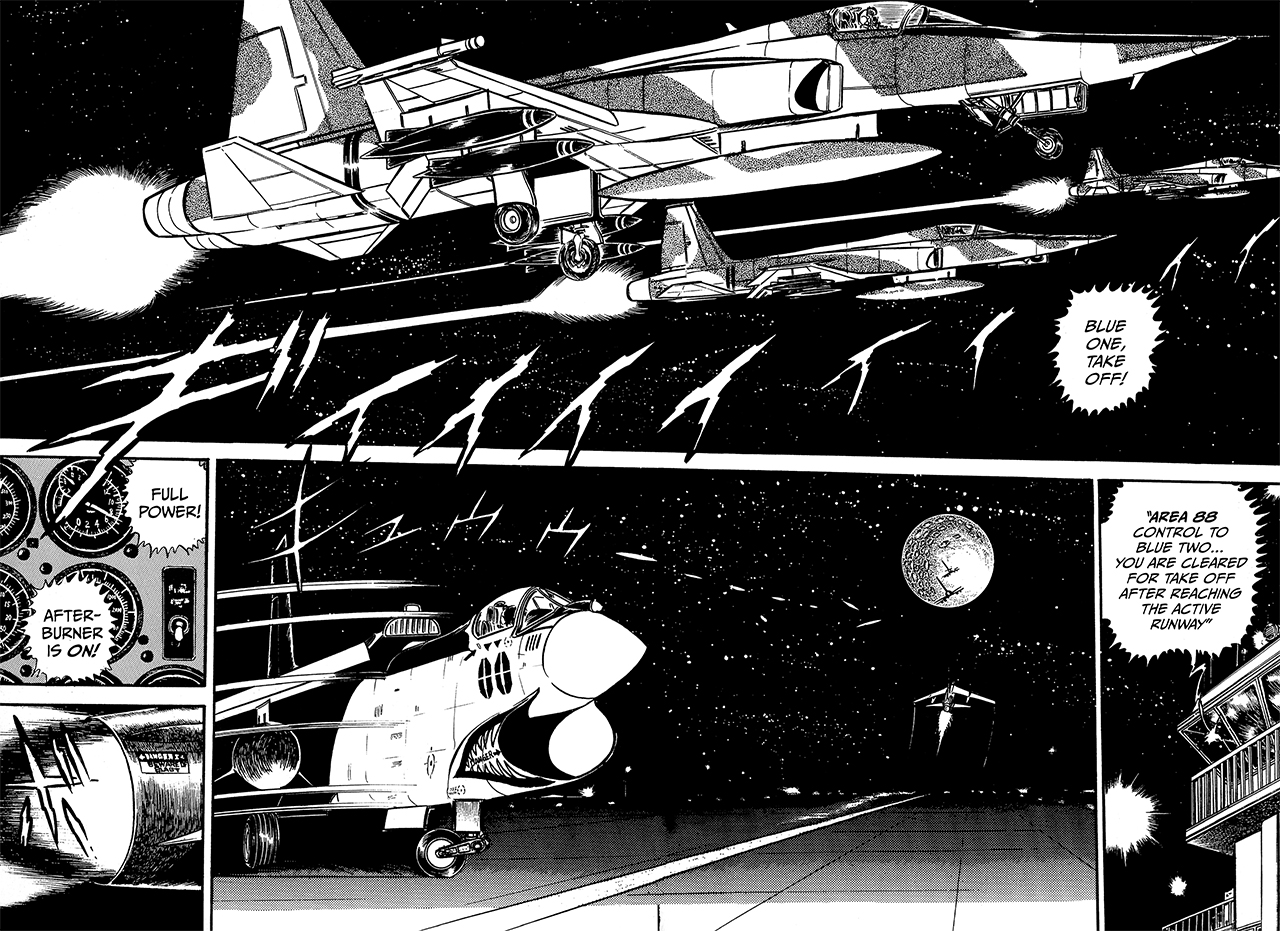
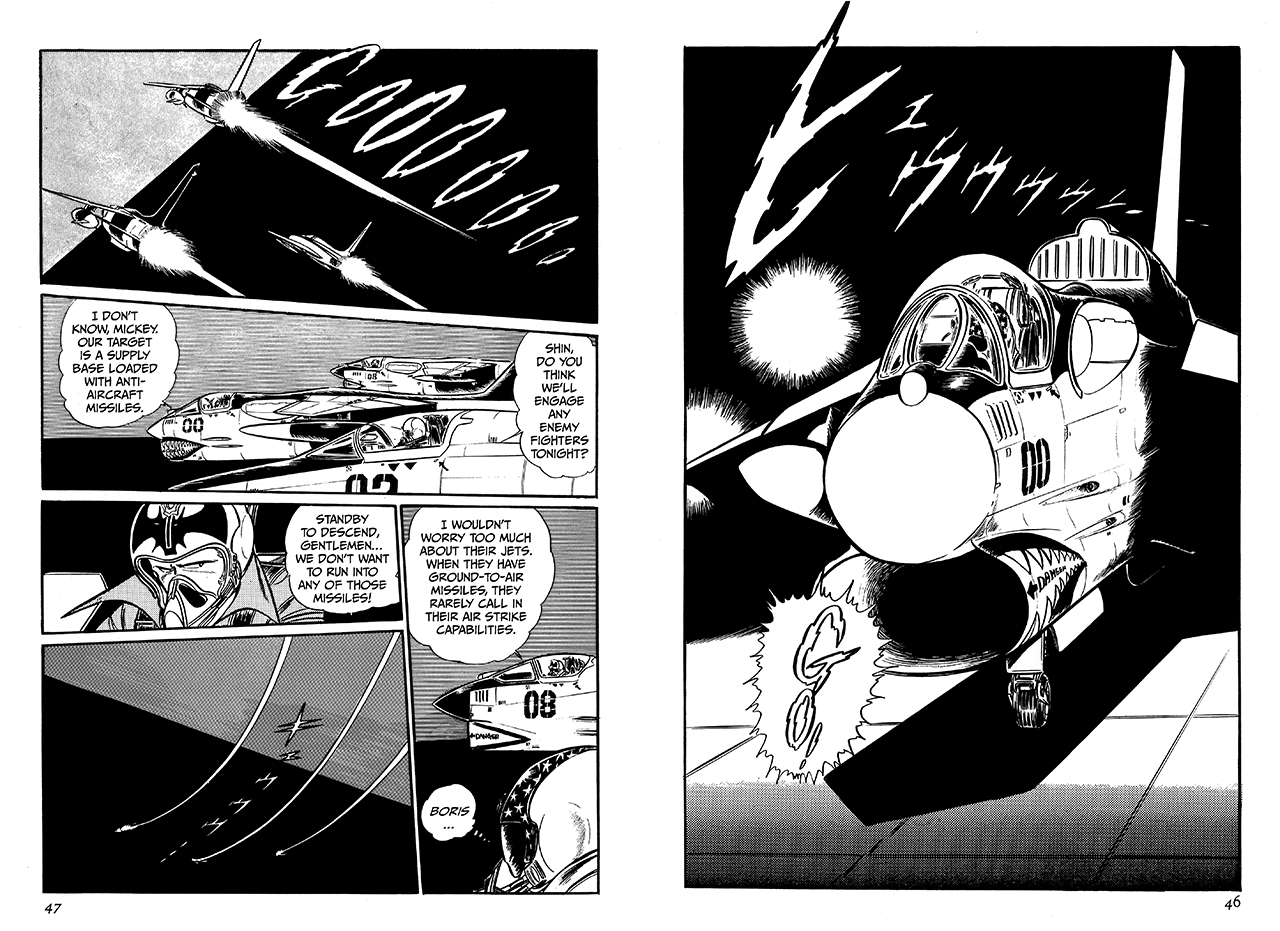
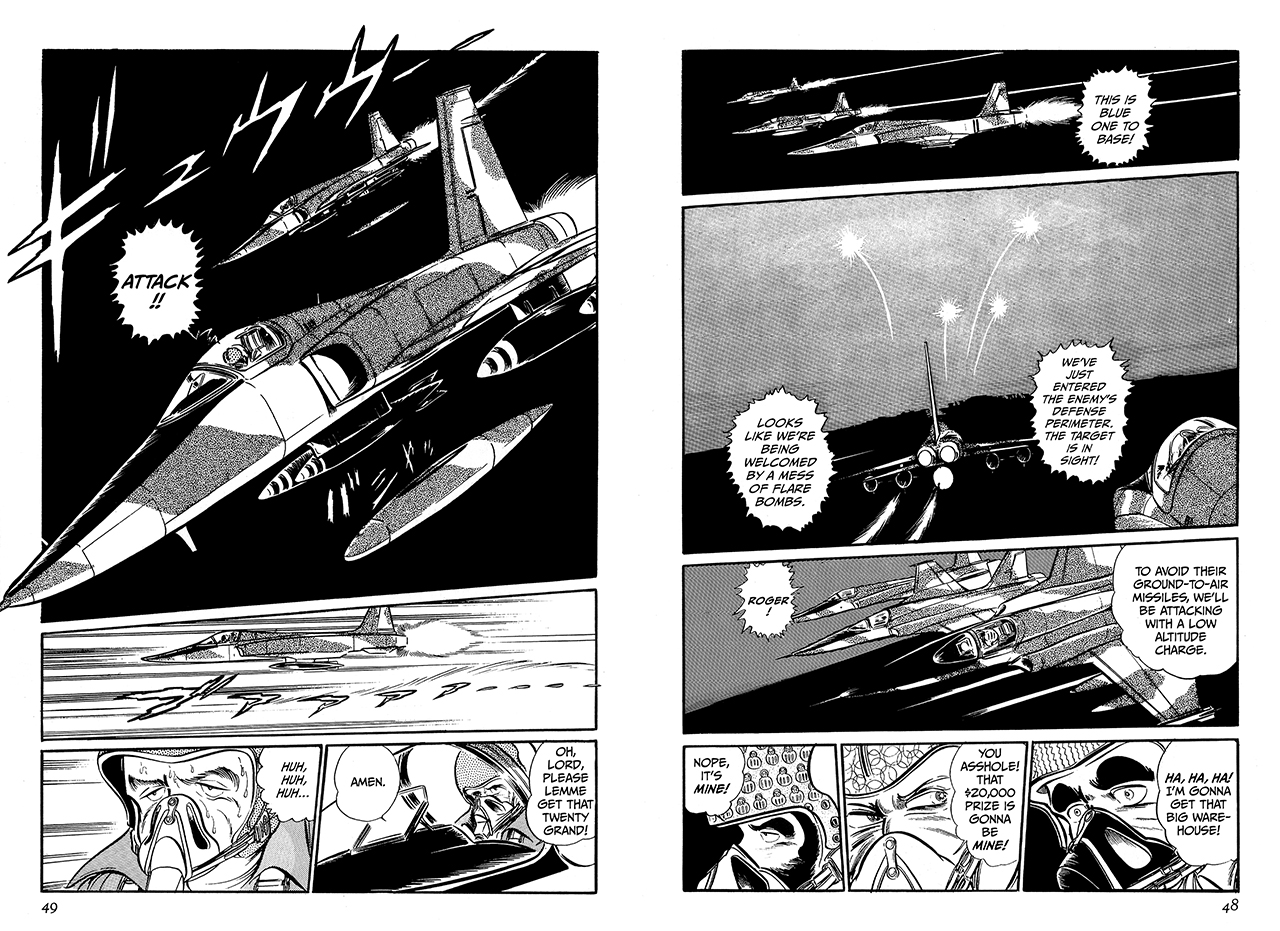
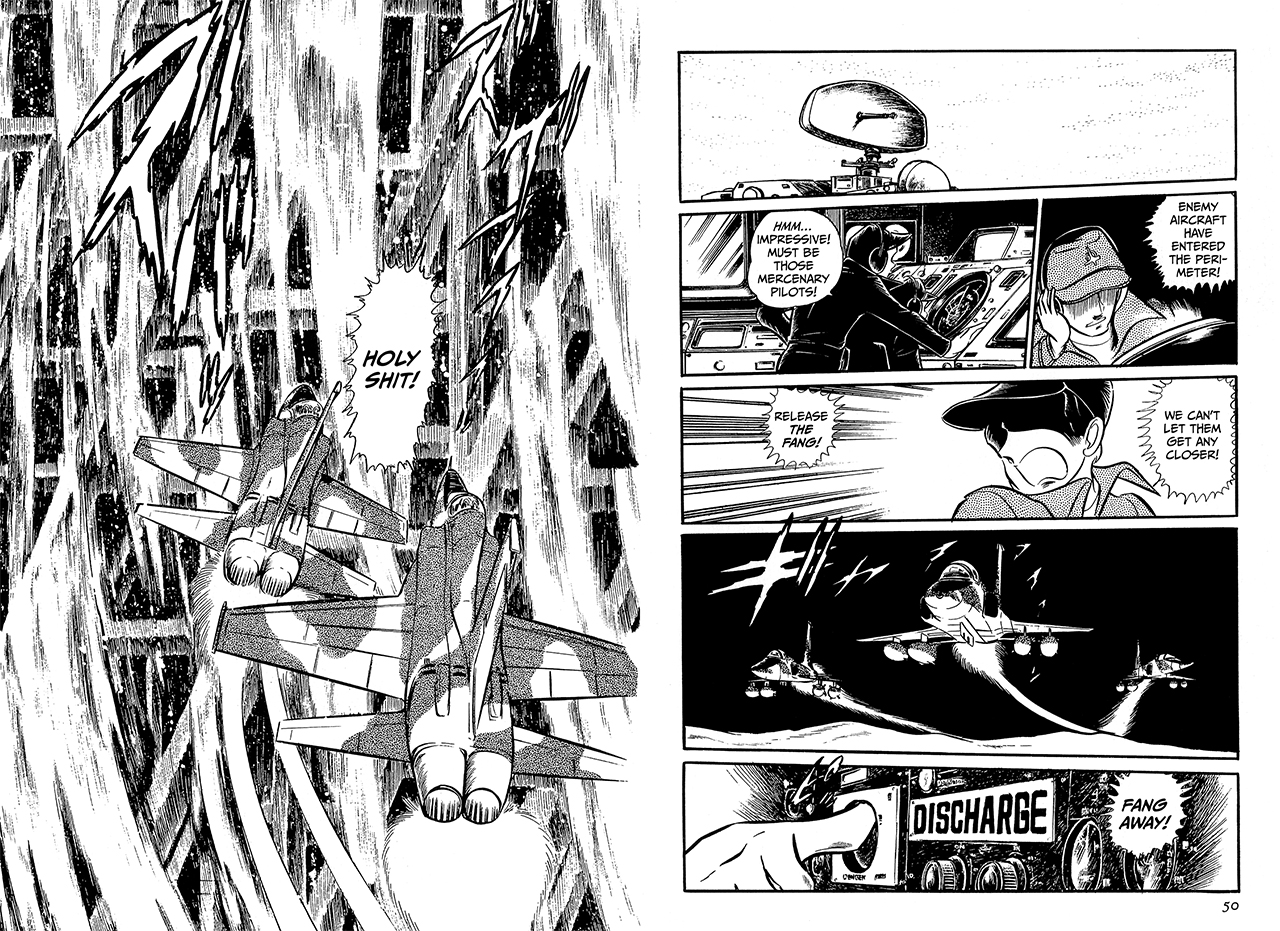
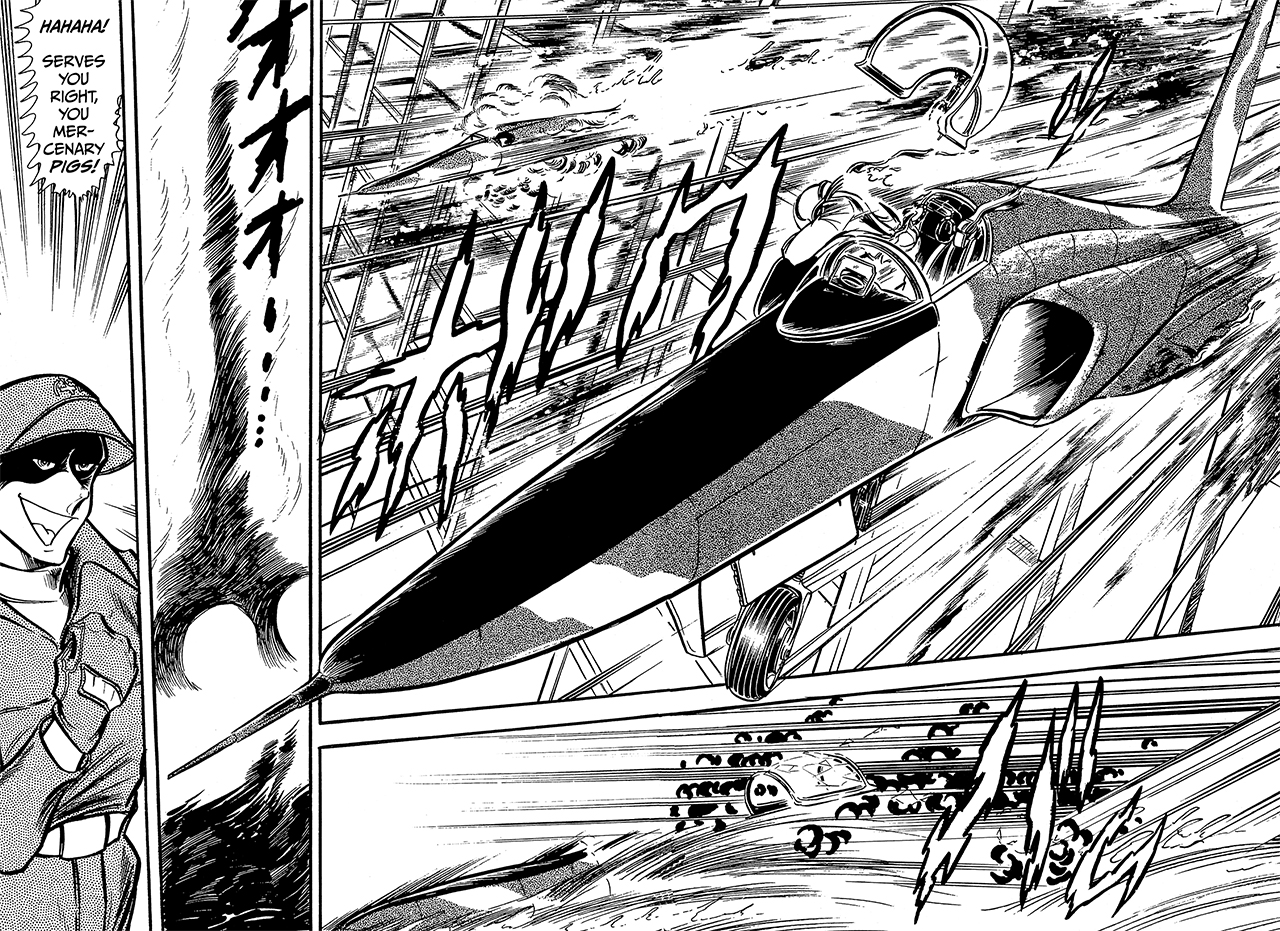
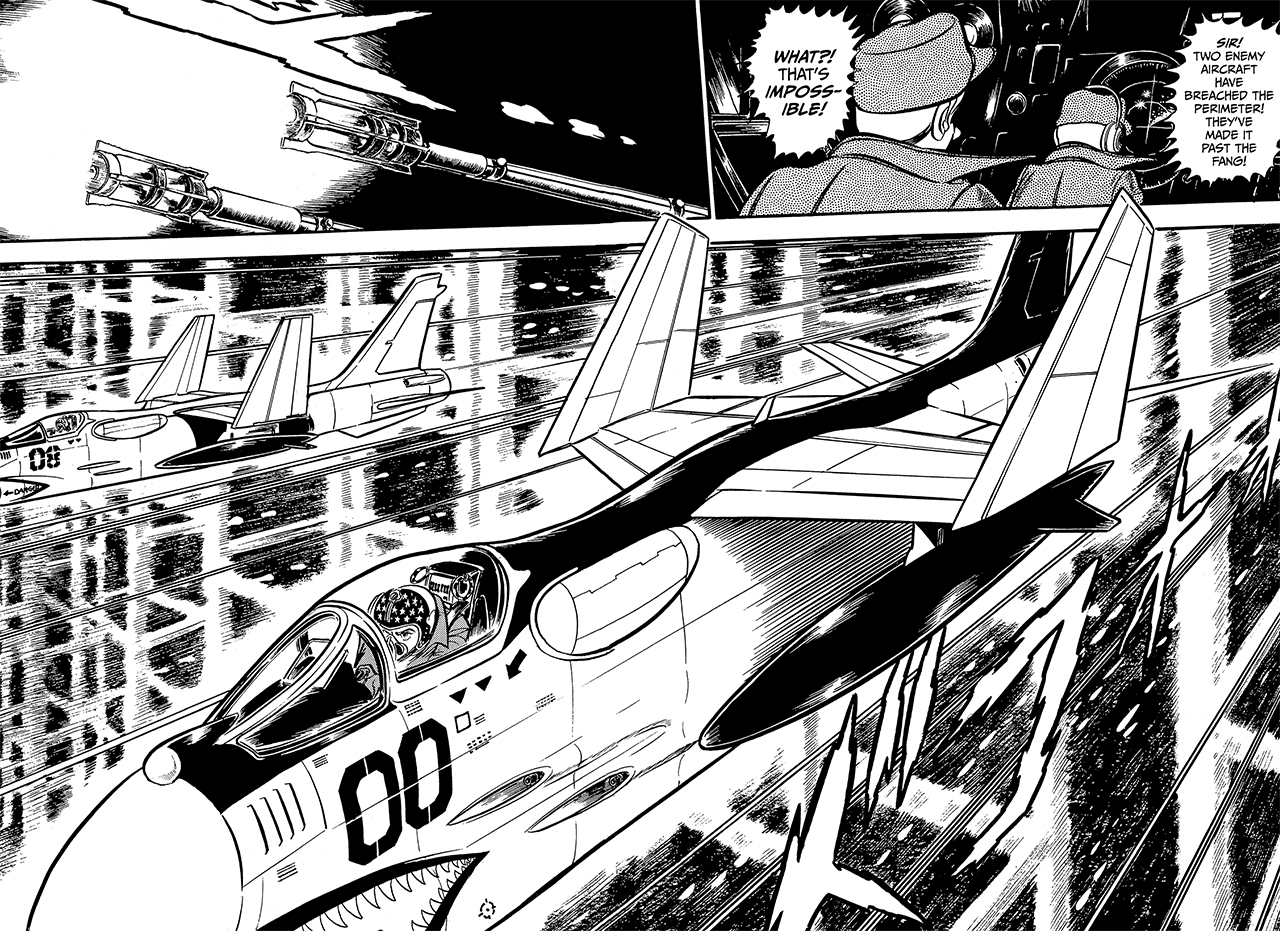
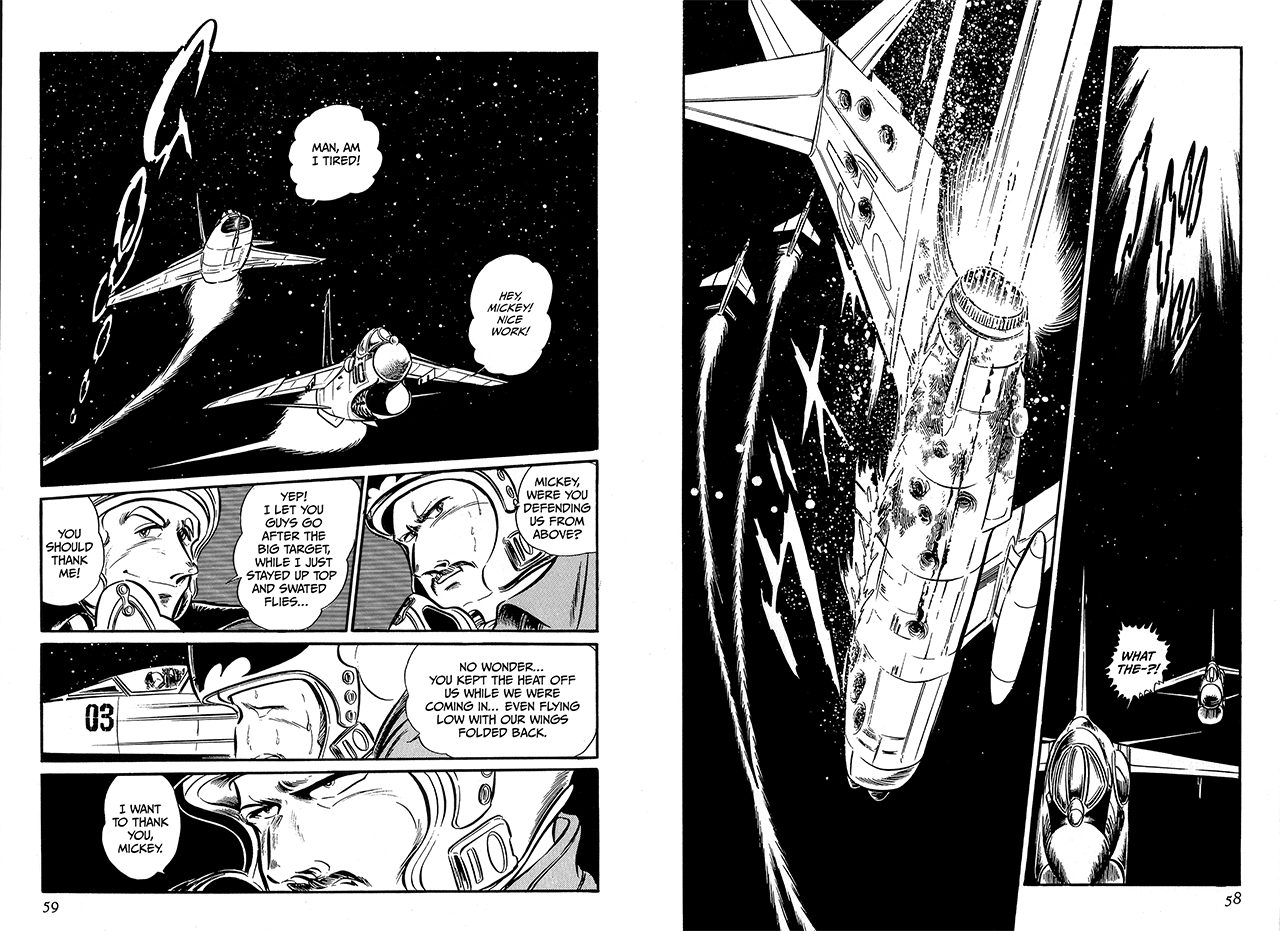
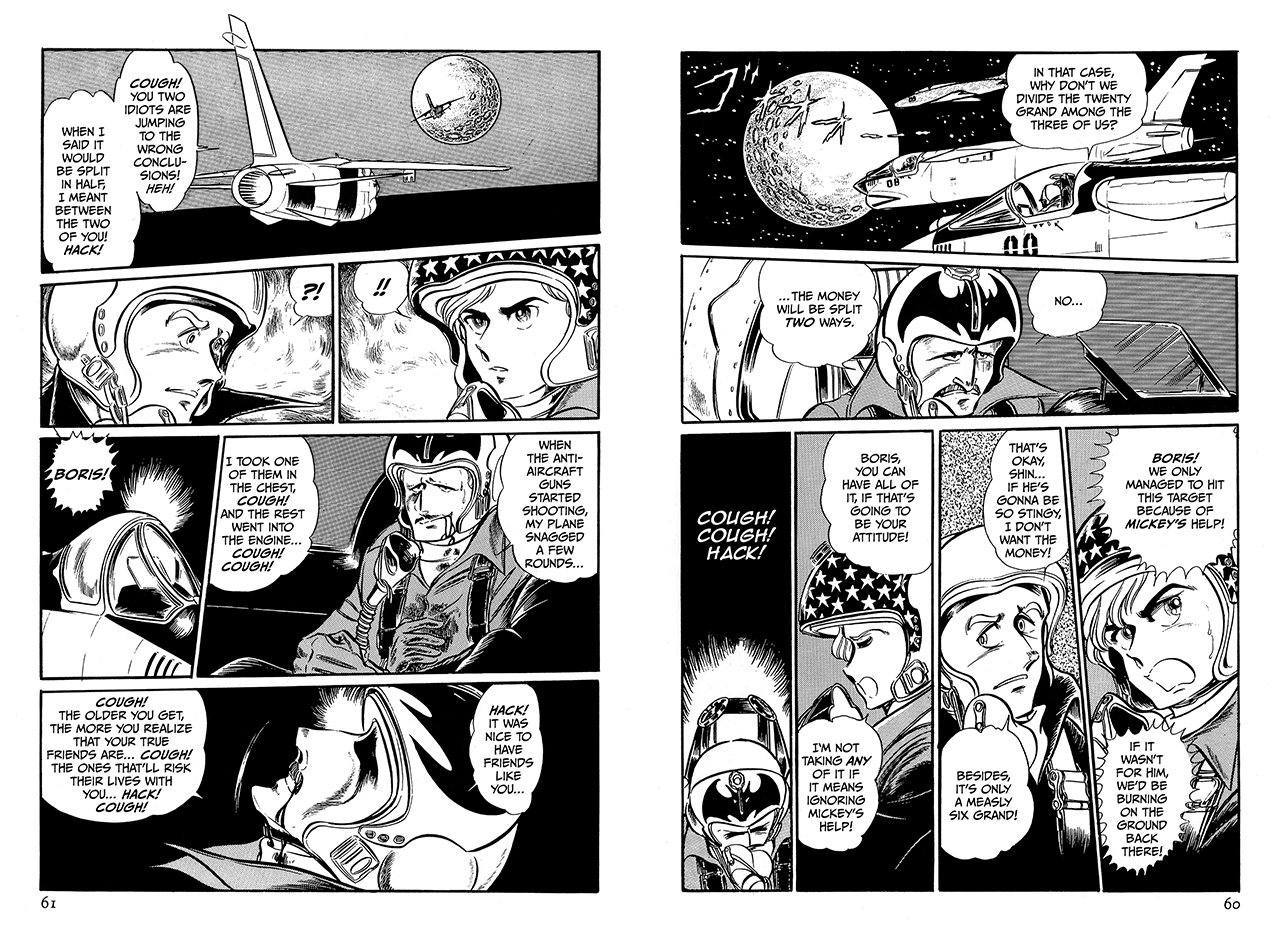
The scene:
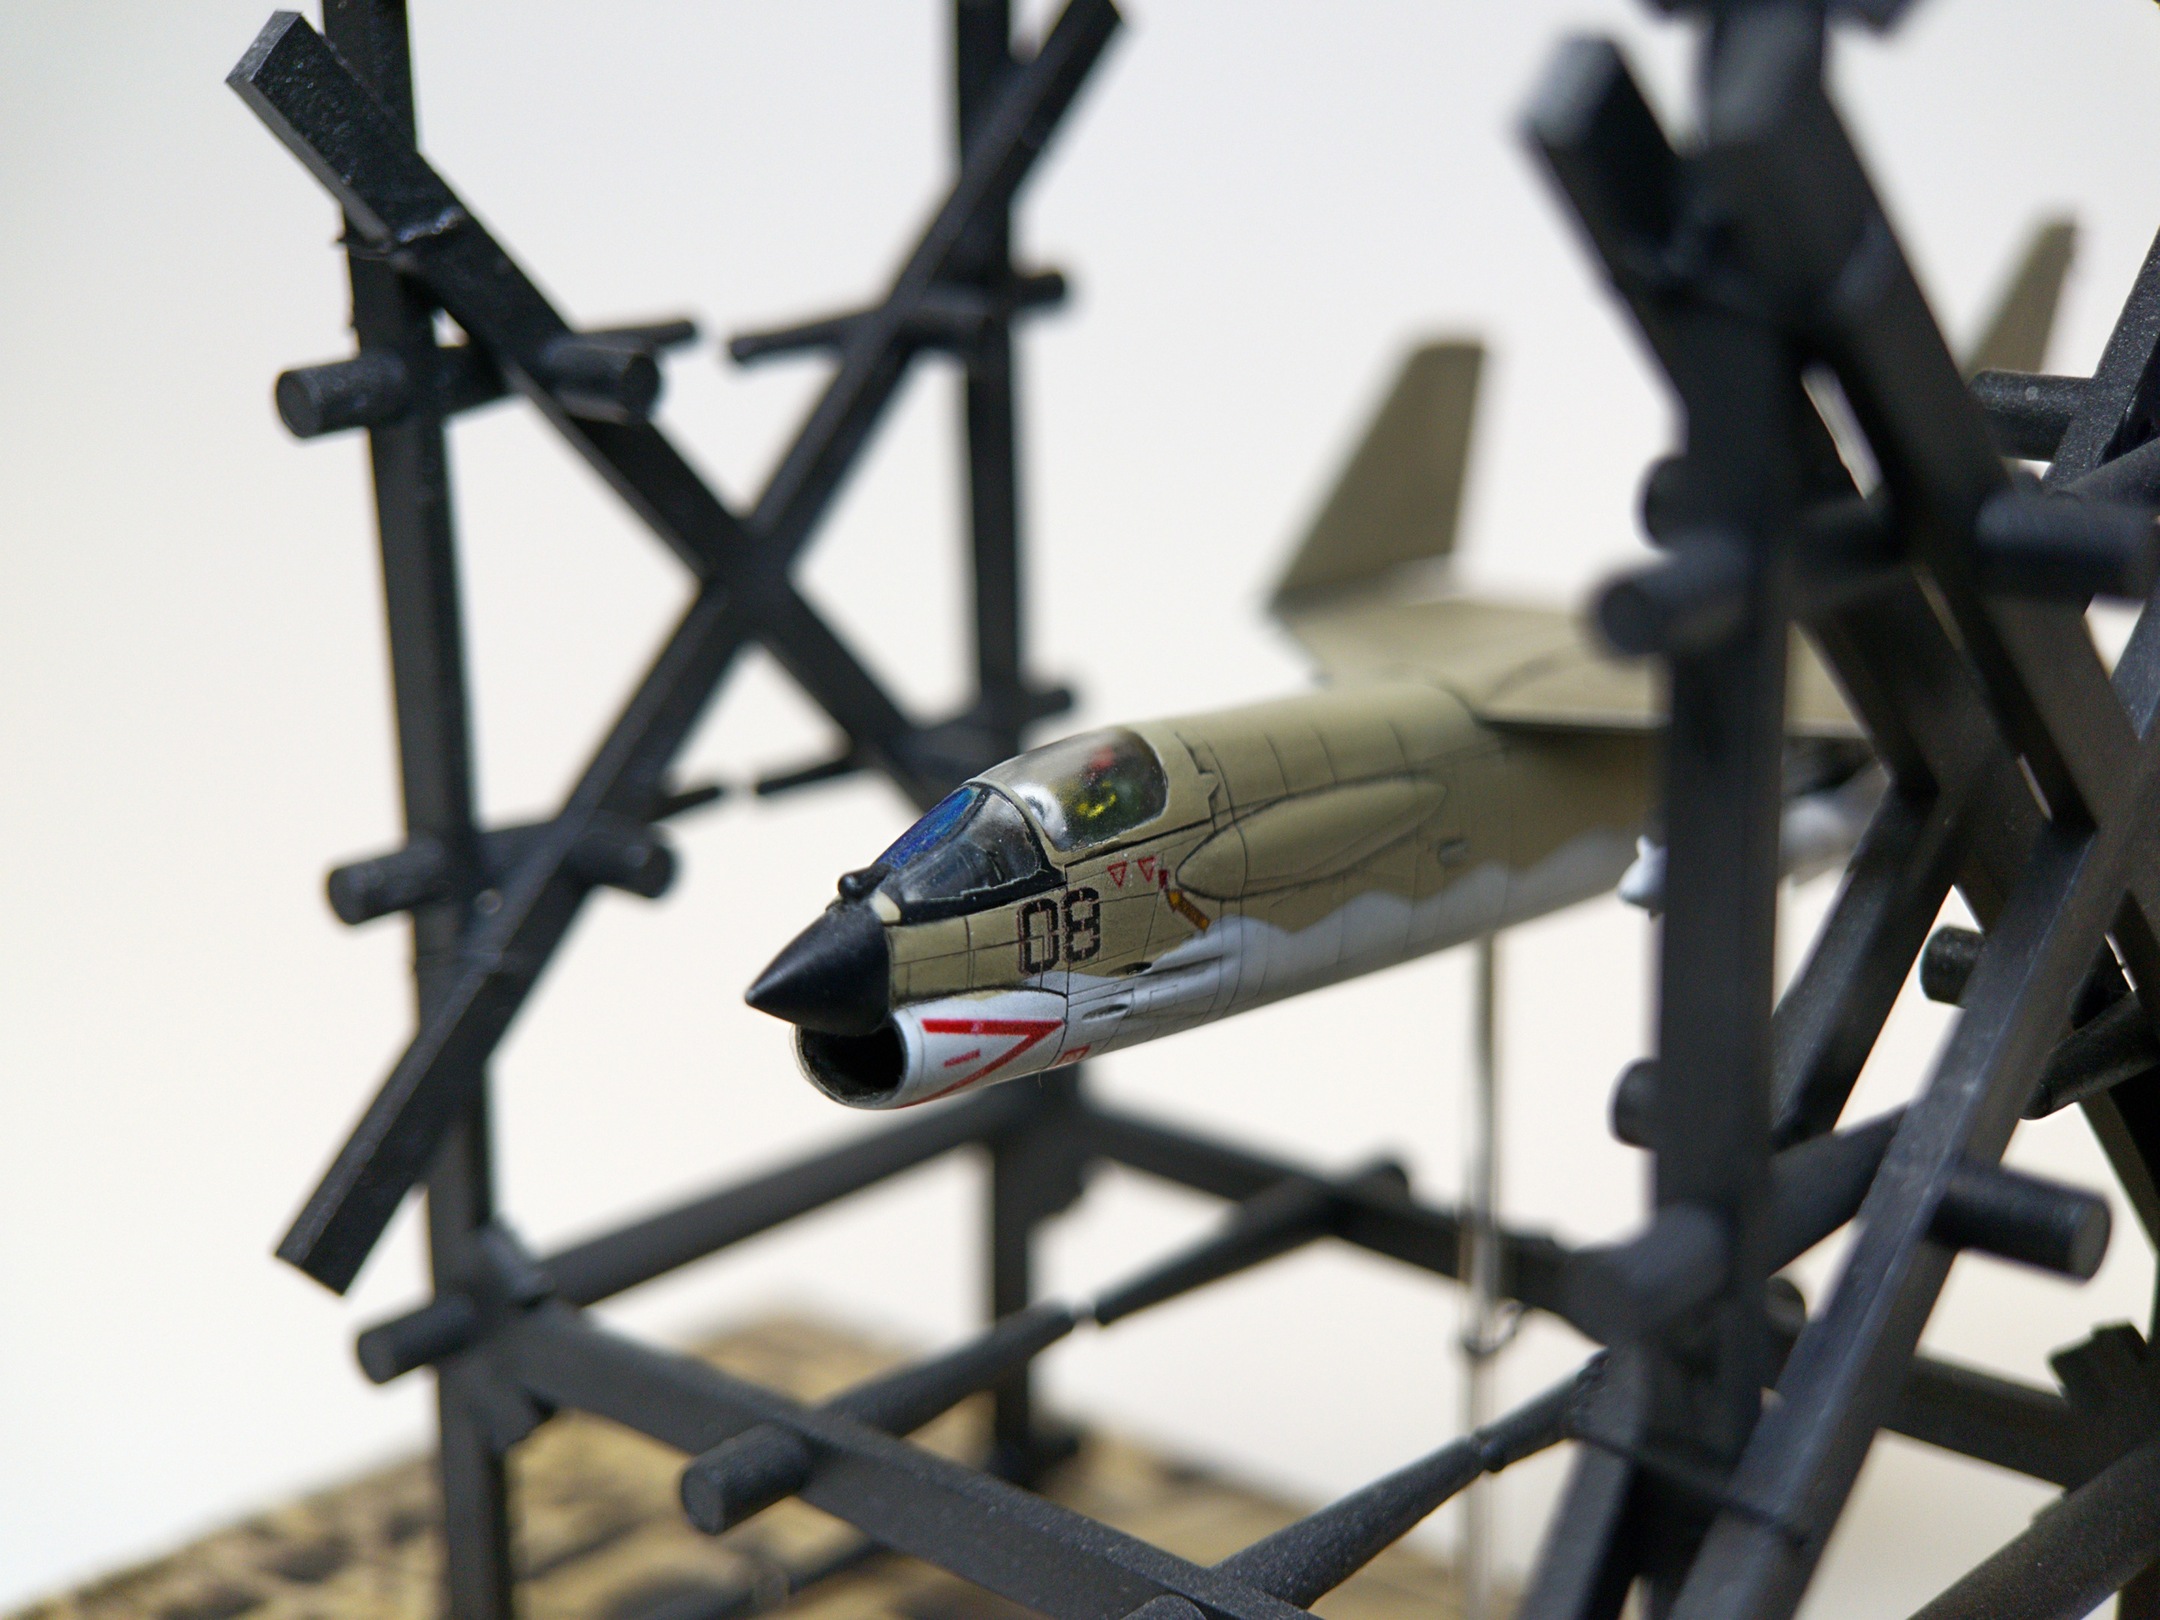
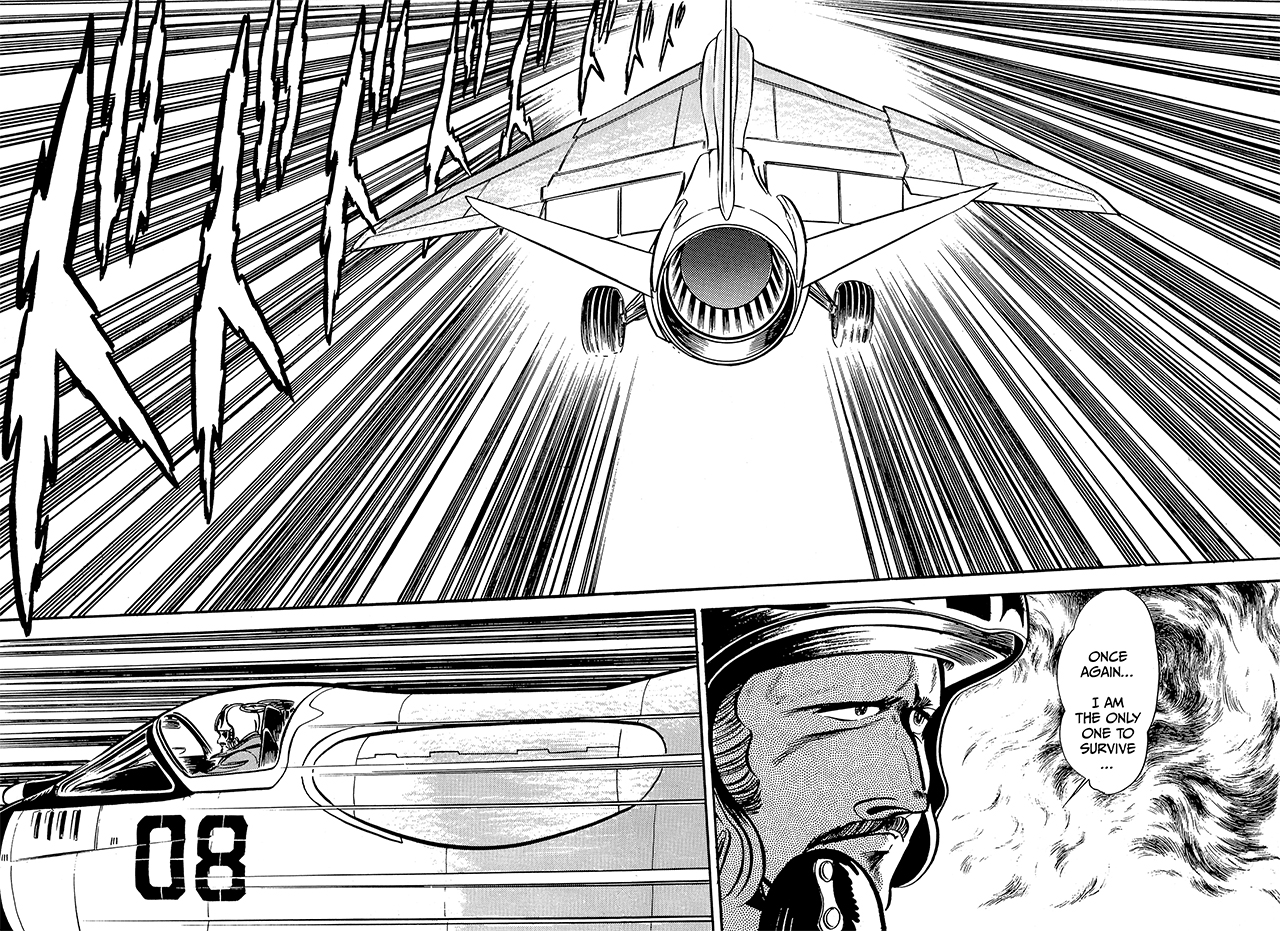
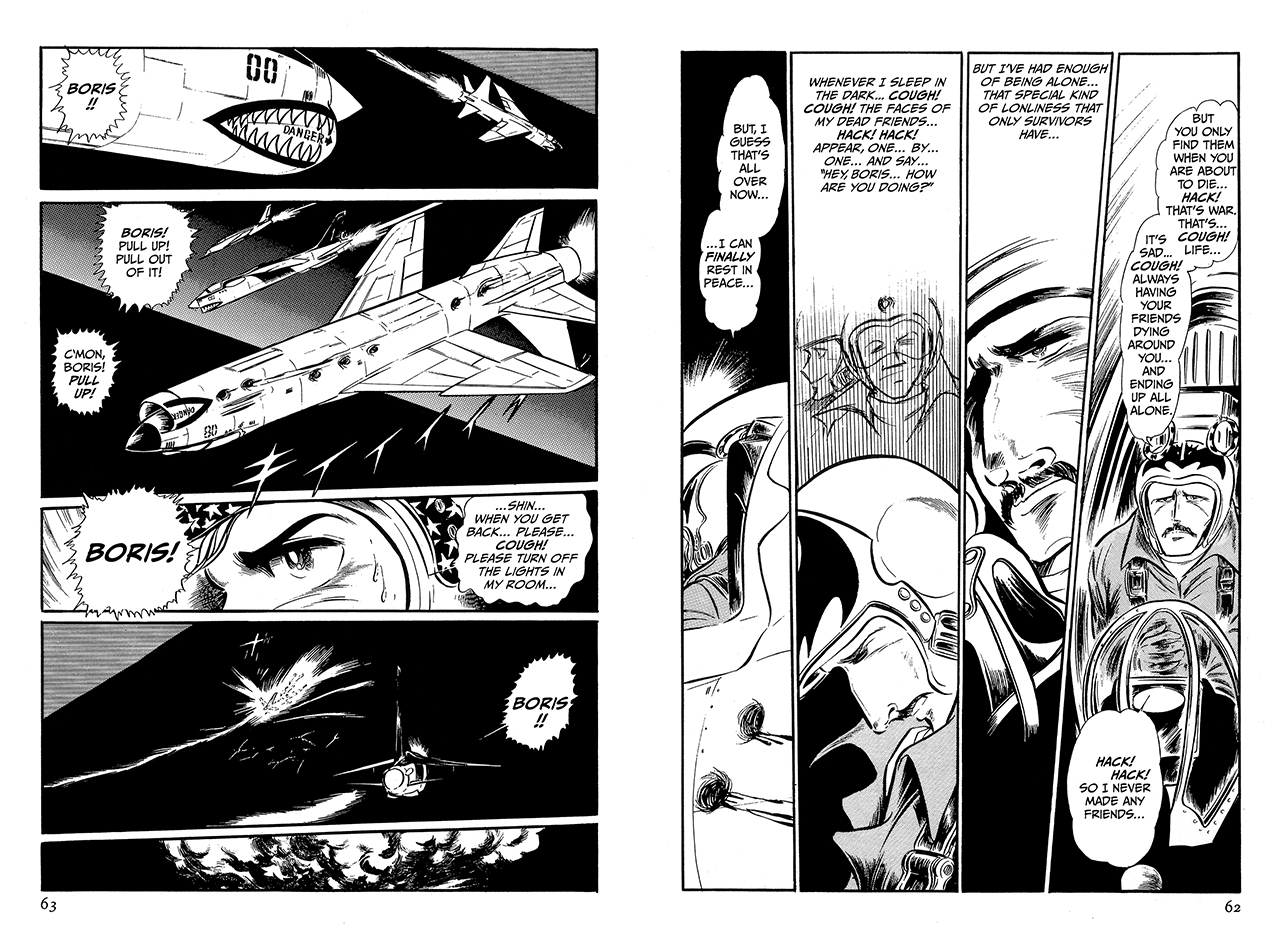
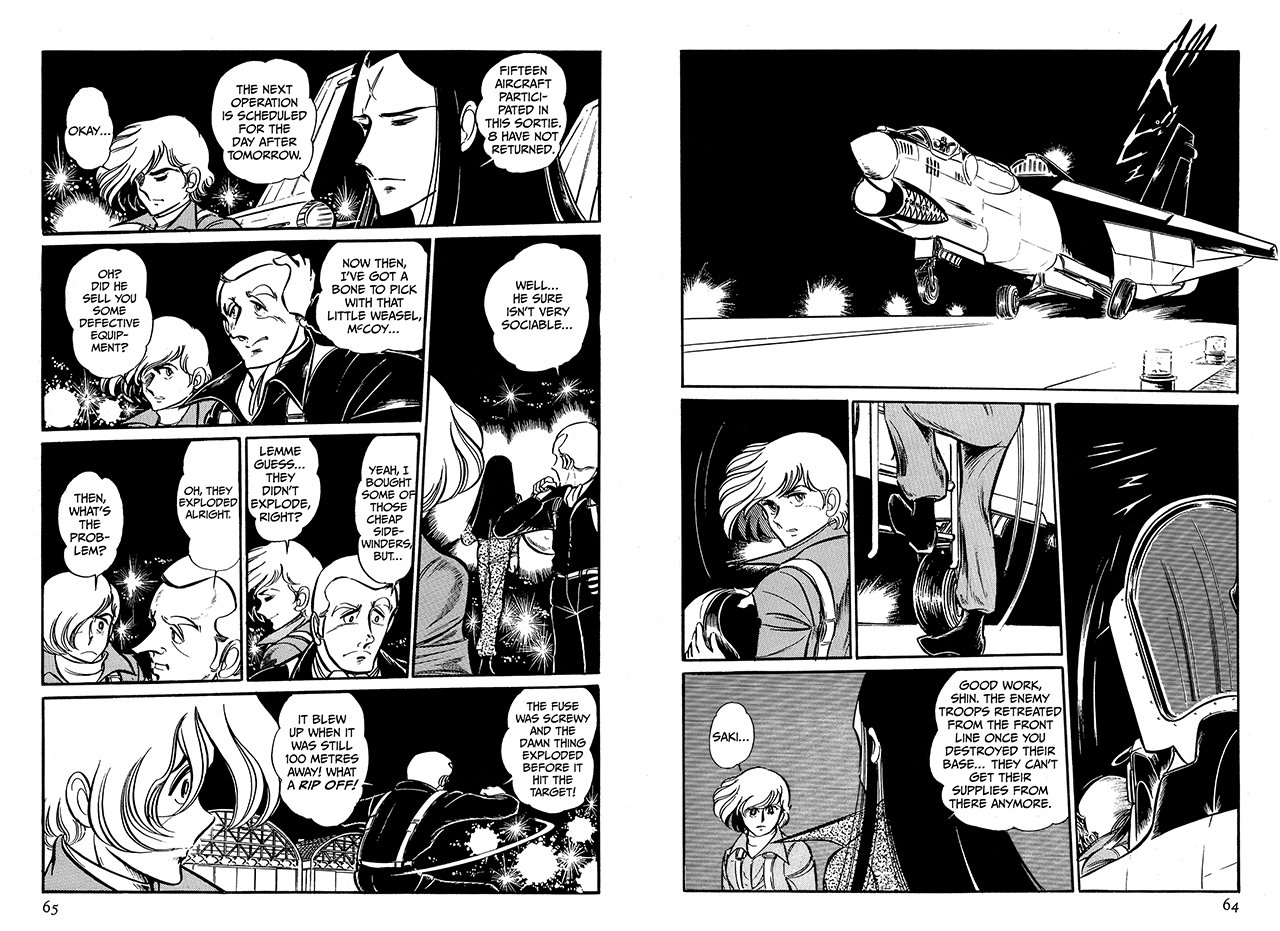
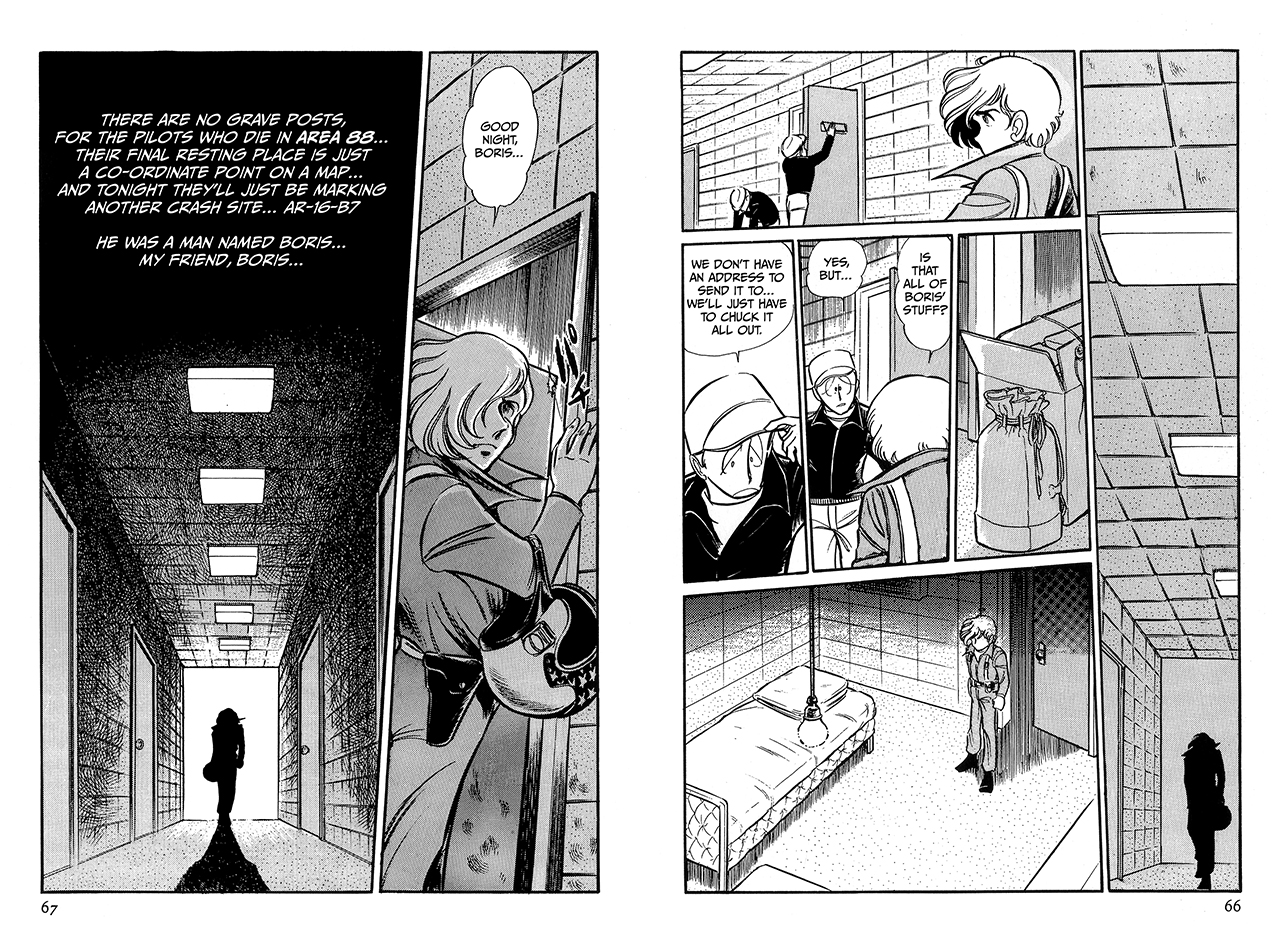
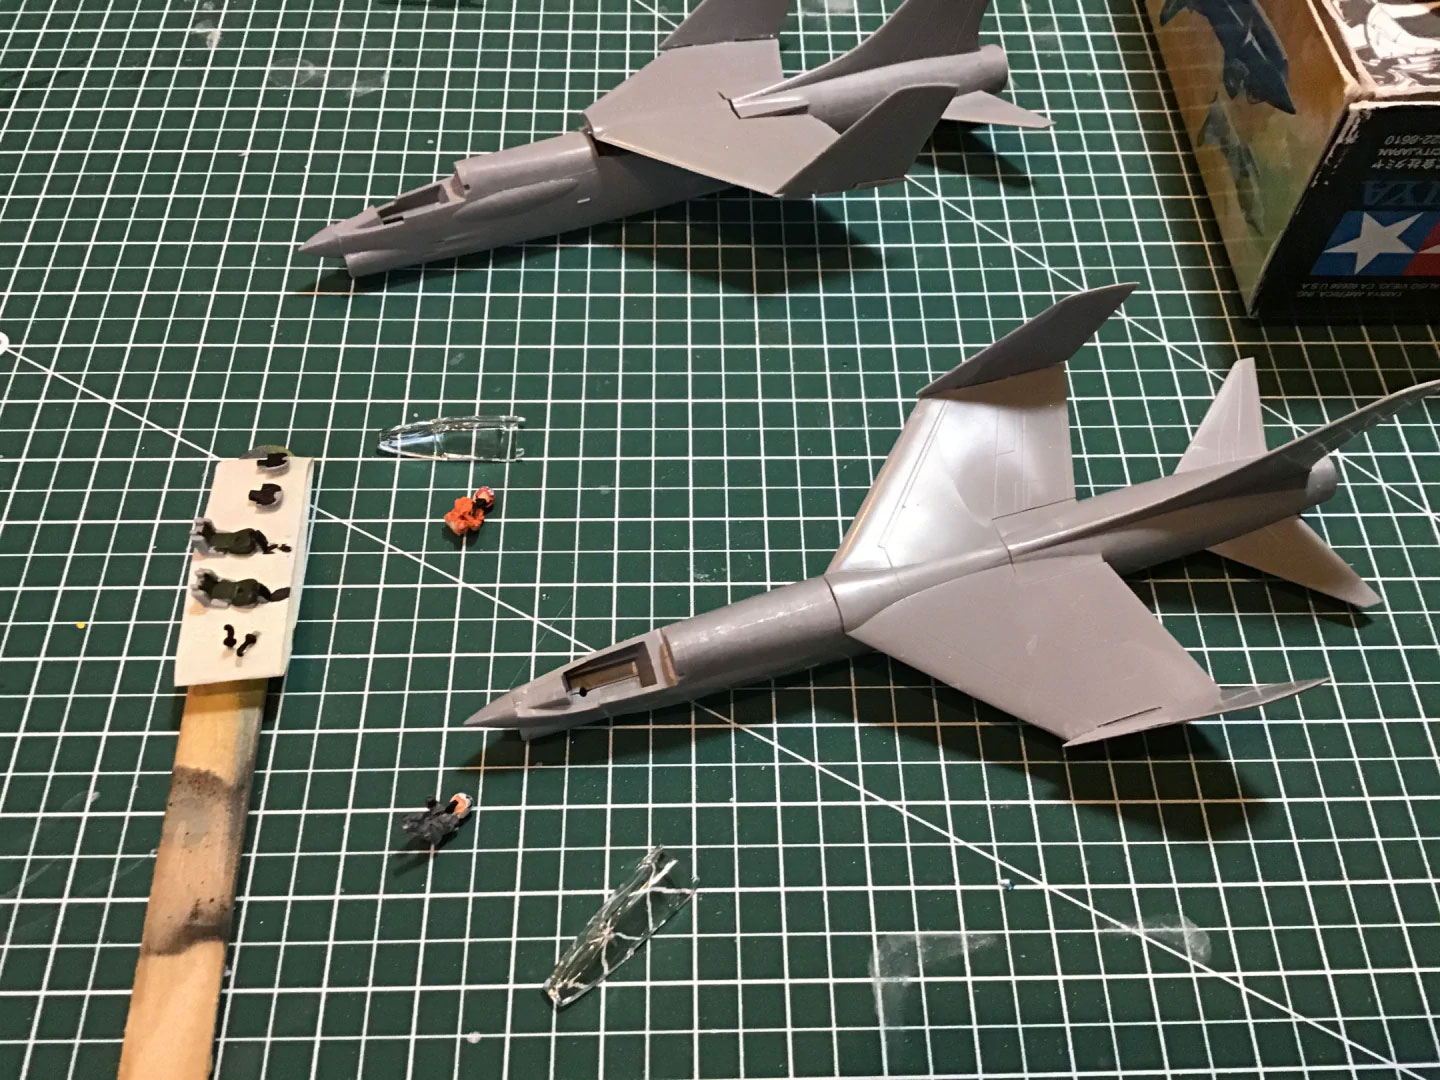
The mercenaries are on a mission to destroy an enemy supply base. As they fly in for a low-altitude bombing run, they are shocked by a deadly surprise – The Fang. The defensive perimeter barrier comes shooting out of the desert floor, tearing most of the Area 88 squad to shreds. Only two planes survive – Shin and Boris, flying in their F-8E Crusaders. Luckily, they are able to do what other the planes can’t – fold their wings in mid-flight. Using their Crusaders’ unique ability, they sail on right through the Fang and successfully complete the bombing mission.
Check out the original manga scene from Mission 002 “A Man Named Boris” here:
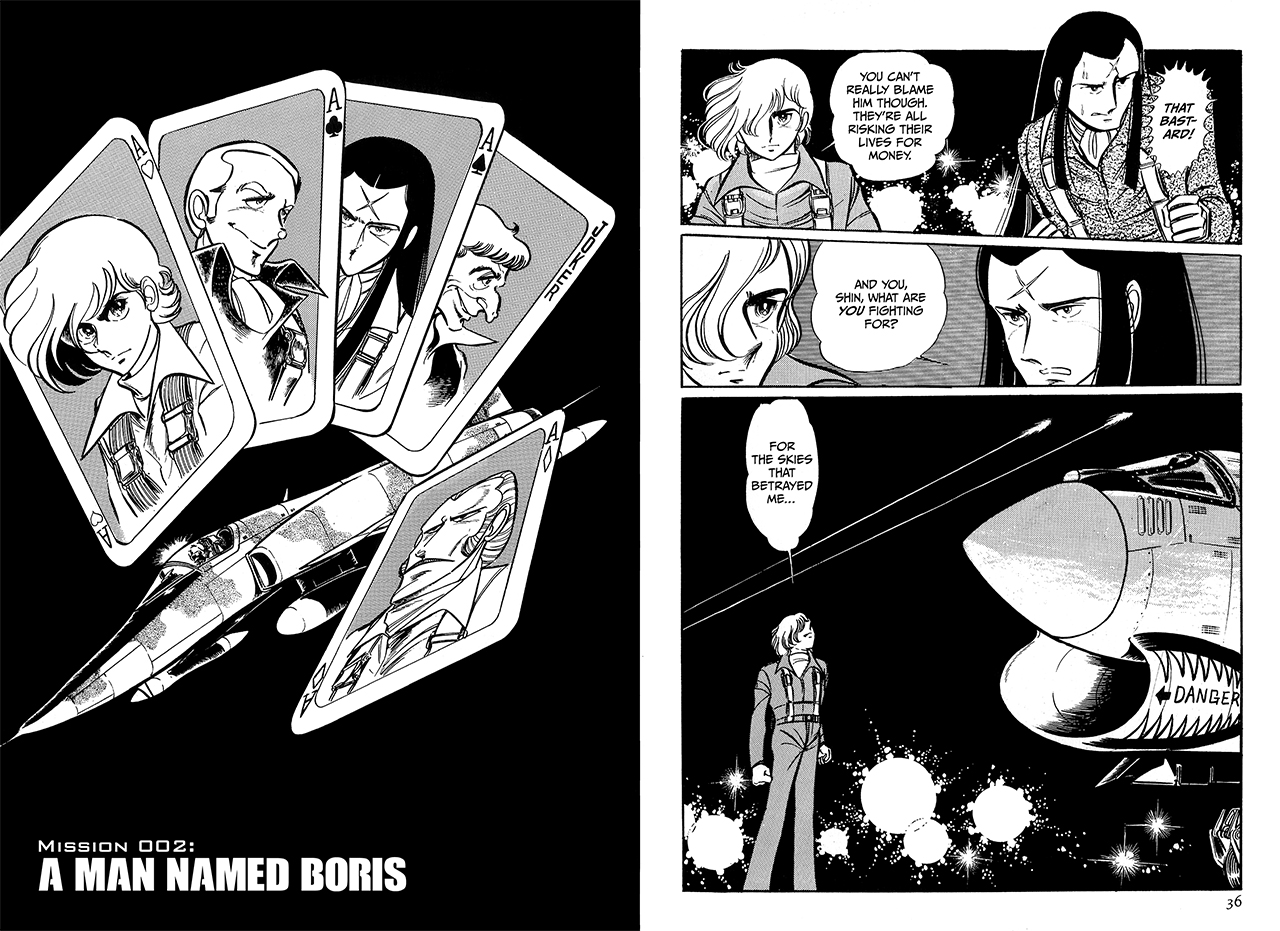

The story:
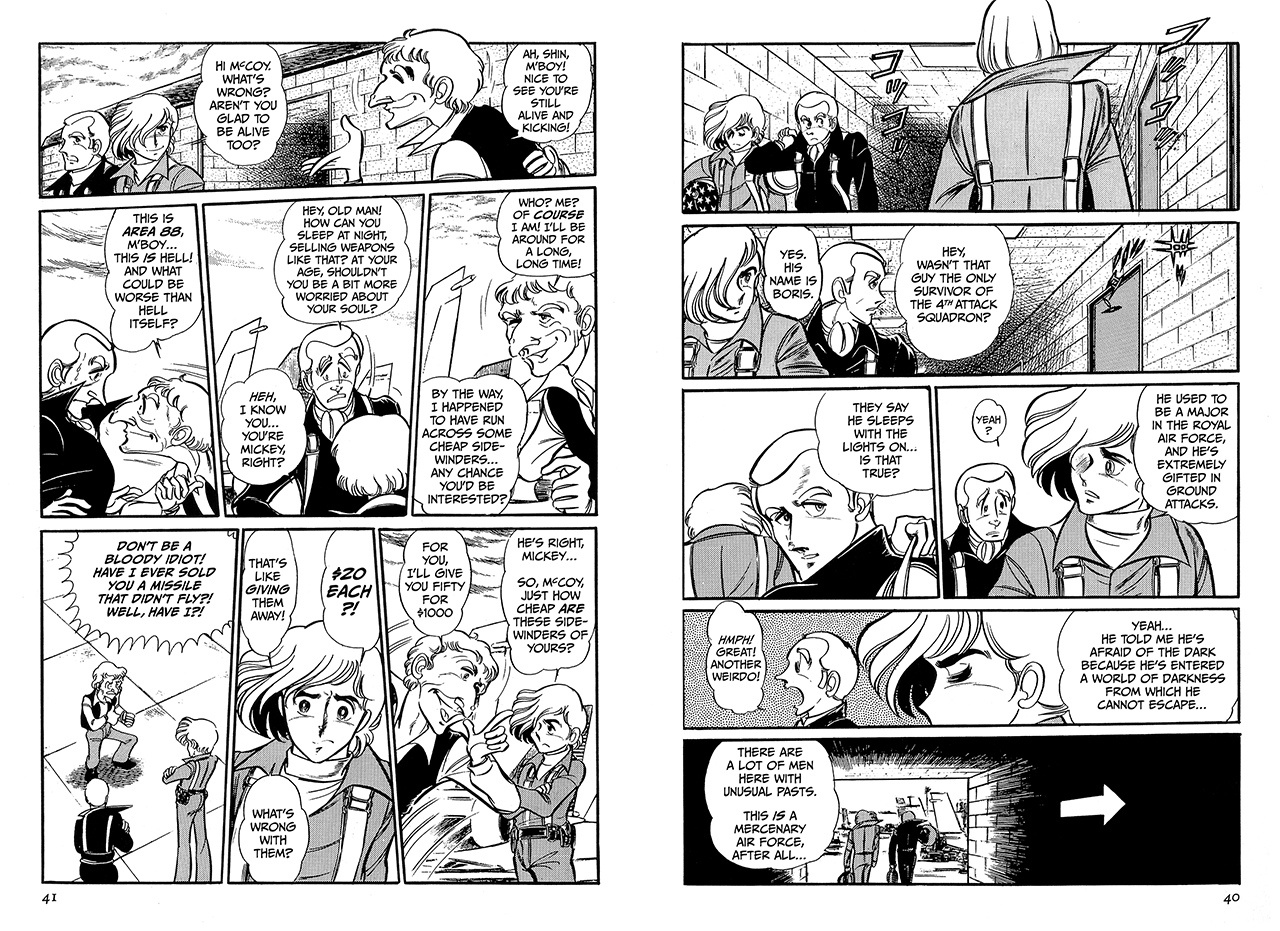
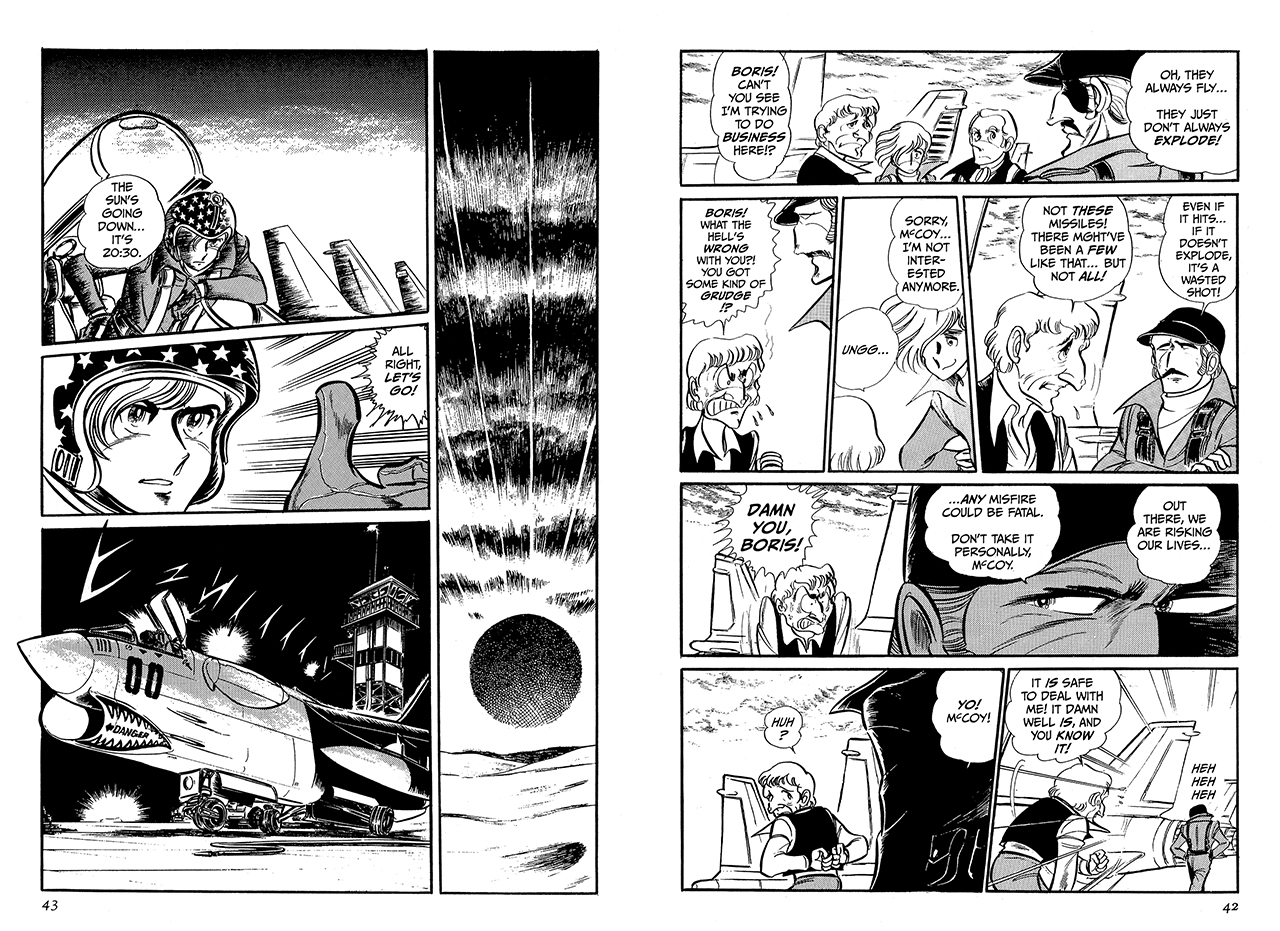
Coming in only the second chapter of the entire manga run, this folded-wing scene is one of the most iconic Area 88 moments. It certainly made an impact on me, reading if for the first time way back in the late 80’s, and stuck with me through the years. So, there was really no question about it’s inclusion in my Area 88 1/144 project. I won’t give the whole story away, but Shin’s team-up with Boris (and Mickey) sort of sets the stage for what’s to come. The first chapter of Area 88 is neat, of course, but it really only has time to introduce the main characters and flash a bit of aerial action. I think chapter two, “A Man Named Boris” is really what set the hook for me in terms of being a fan of the manga. Comics were different back in the 80s, and Area 88 being the first Japanese manga officially released in North America really illustrated how different things were going to be.
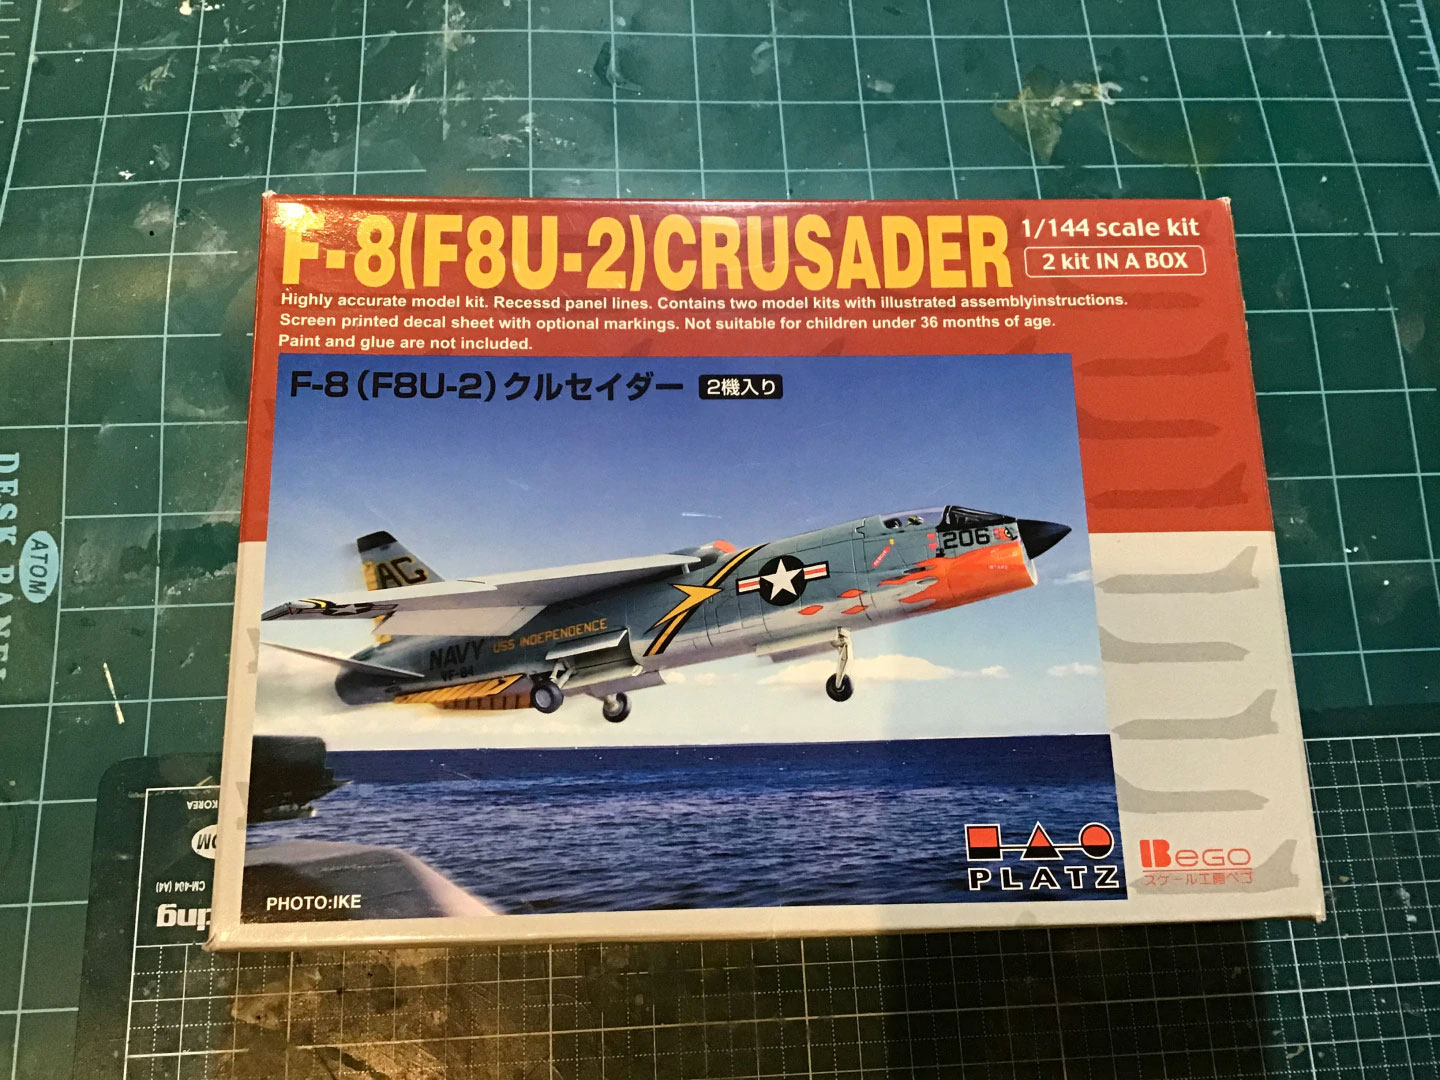
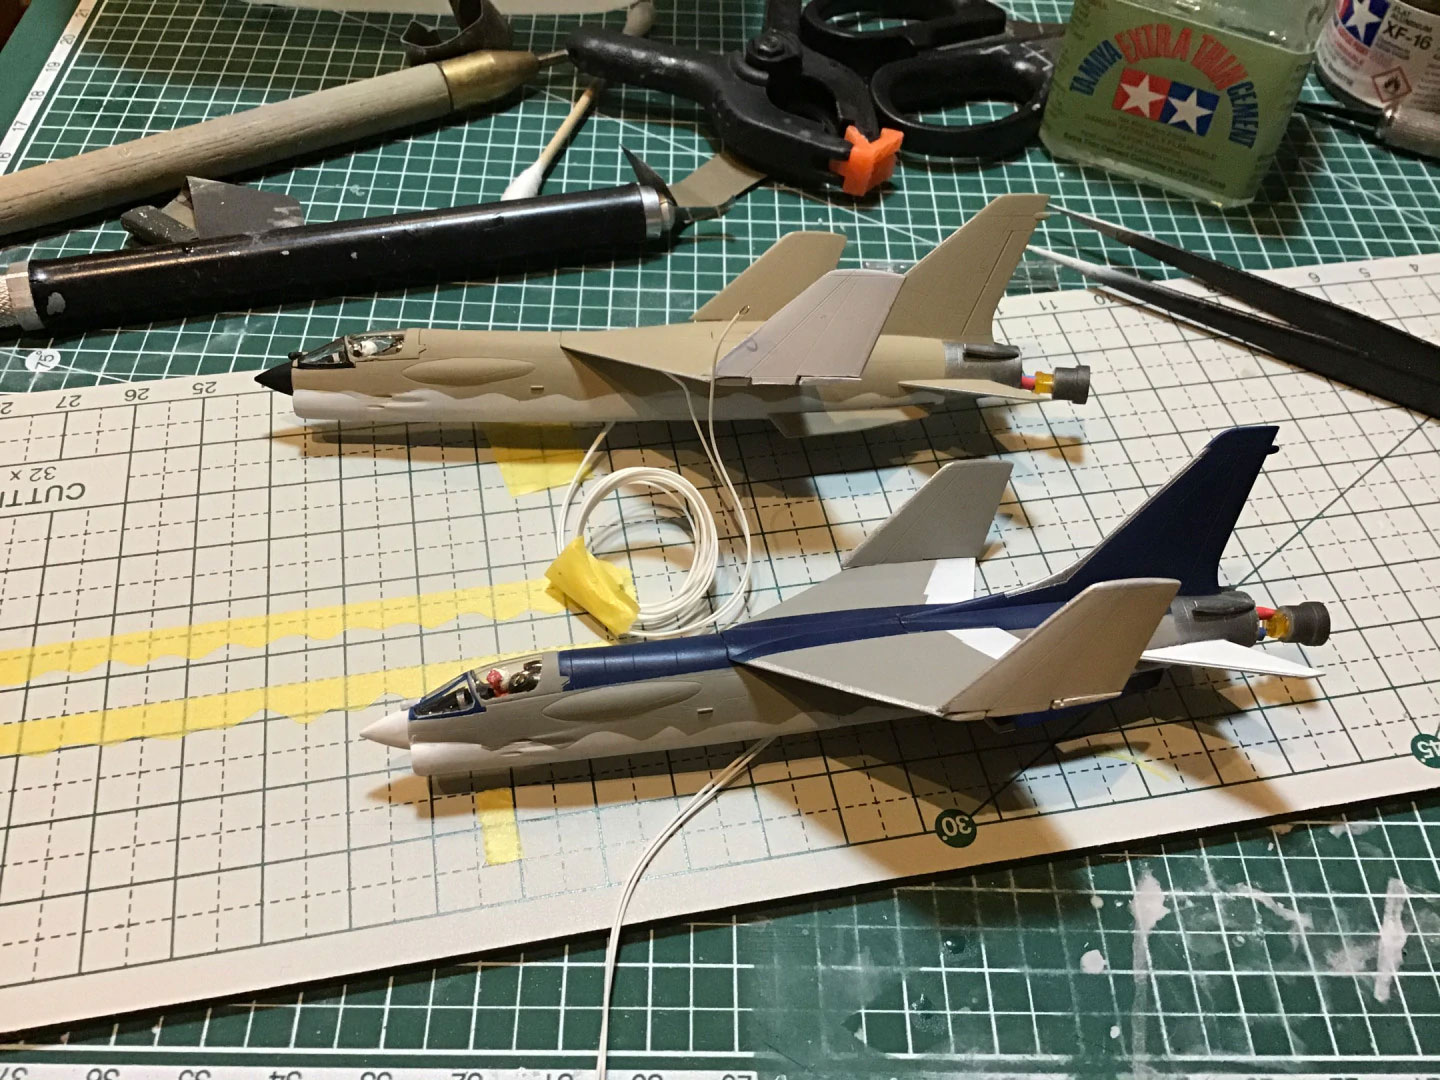
It also doesn’t hurt that these F-8 Crusader kits from Platz are so very very nice. They were hard to get when I first set out on this mission, and I had to fight my way through a Yahoo! Japan auction (via Buyee.com) to secure this boxing. But luckily, Platz has seen fit to re-release this (two in a box) kit, so I grabbed another one, with a couple more Area 88 1/144 projects in mind.
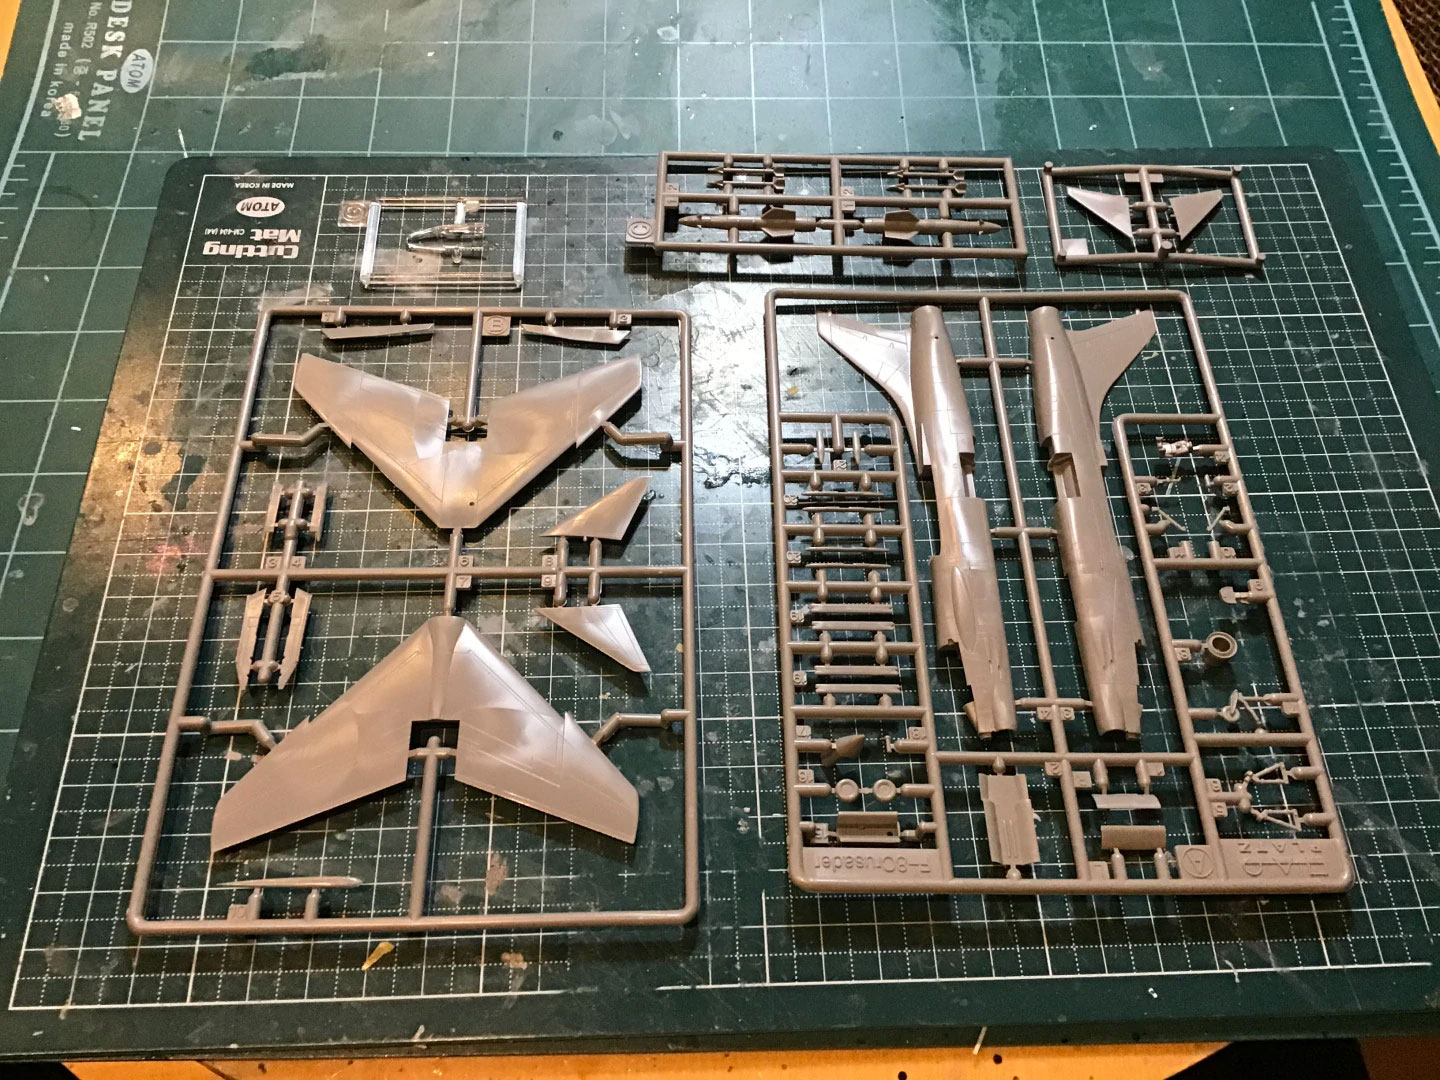
The kit(s):
- (F-8U) Crusader (x2) by Platz
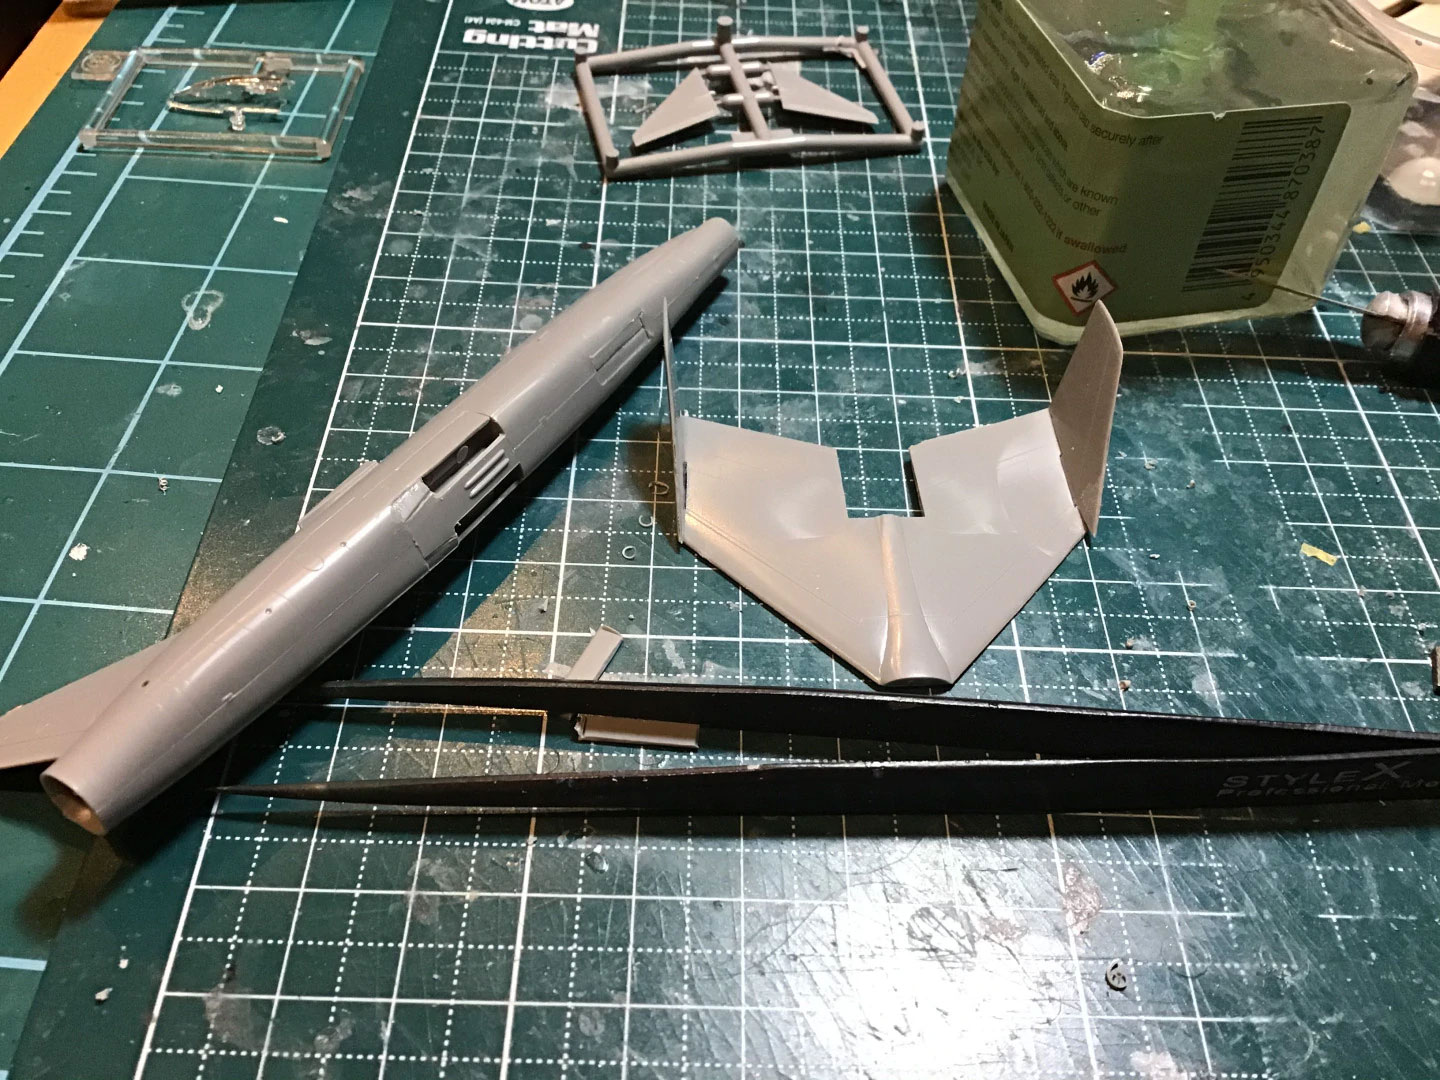
The build:
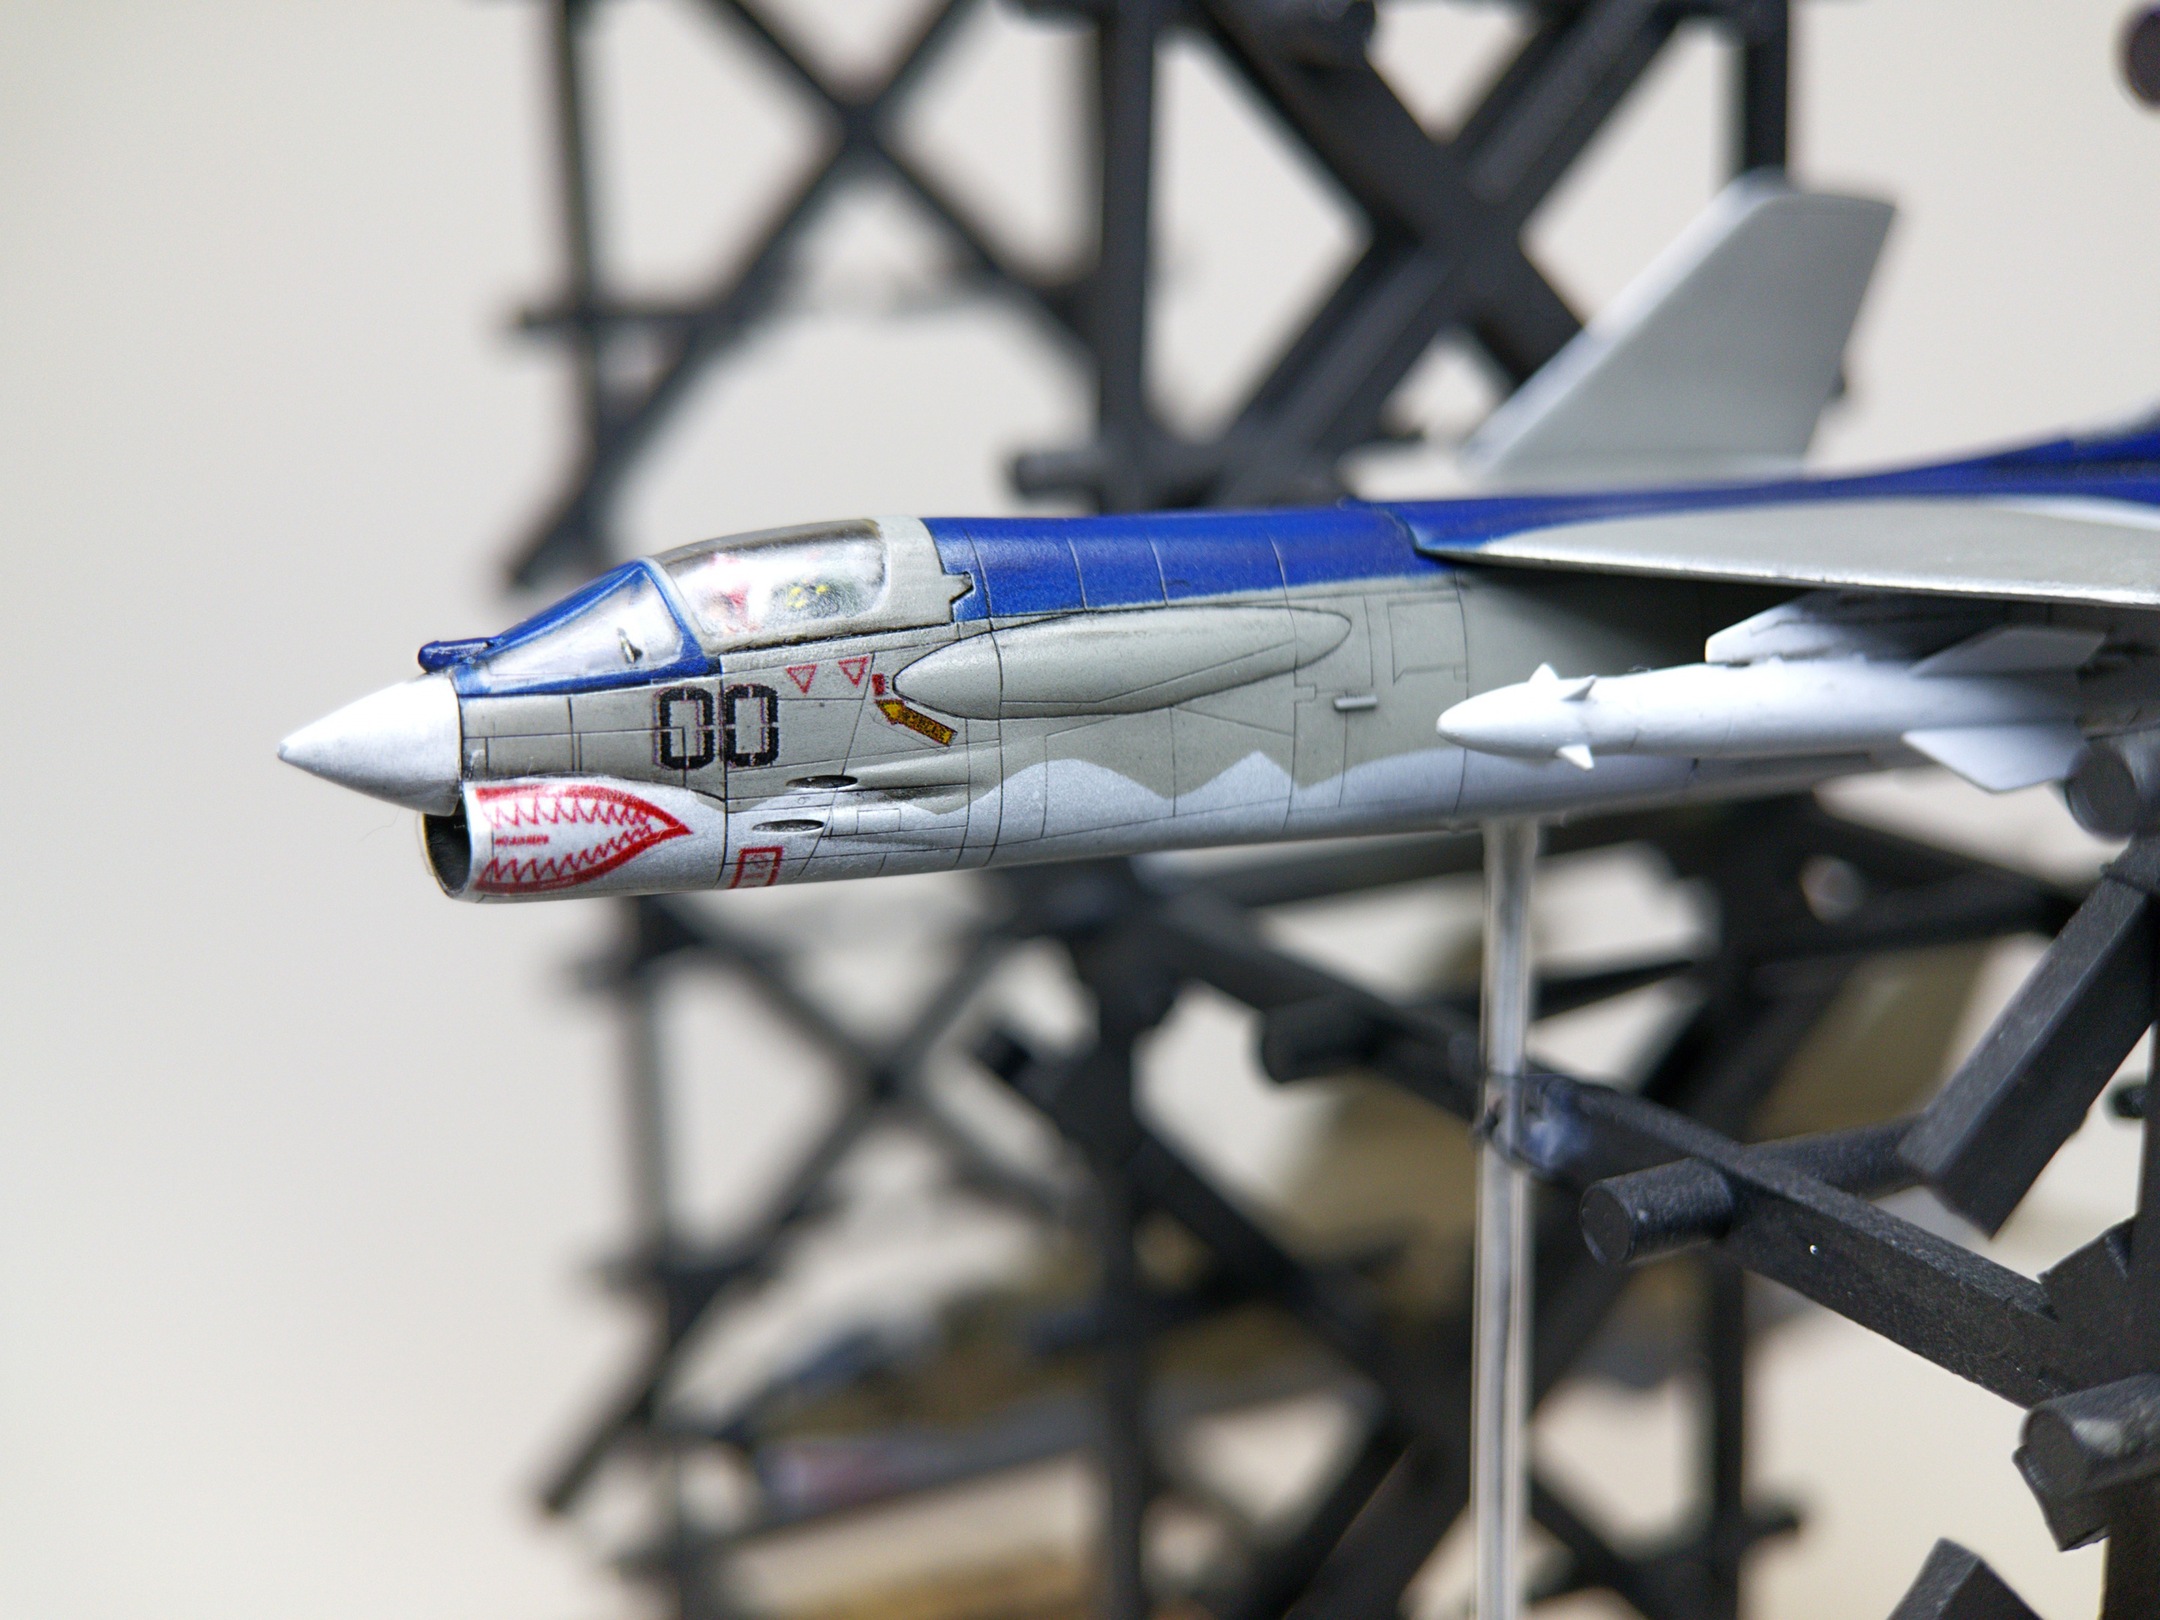
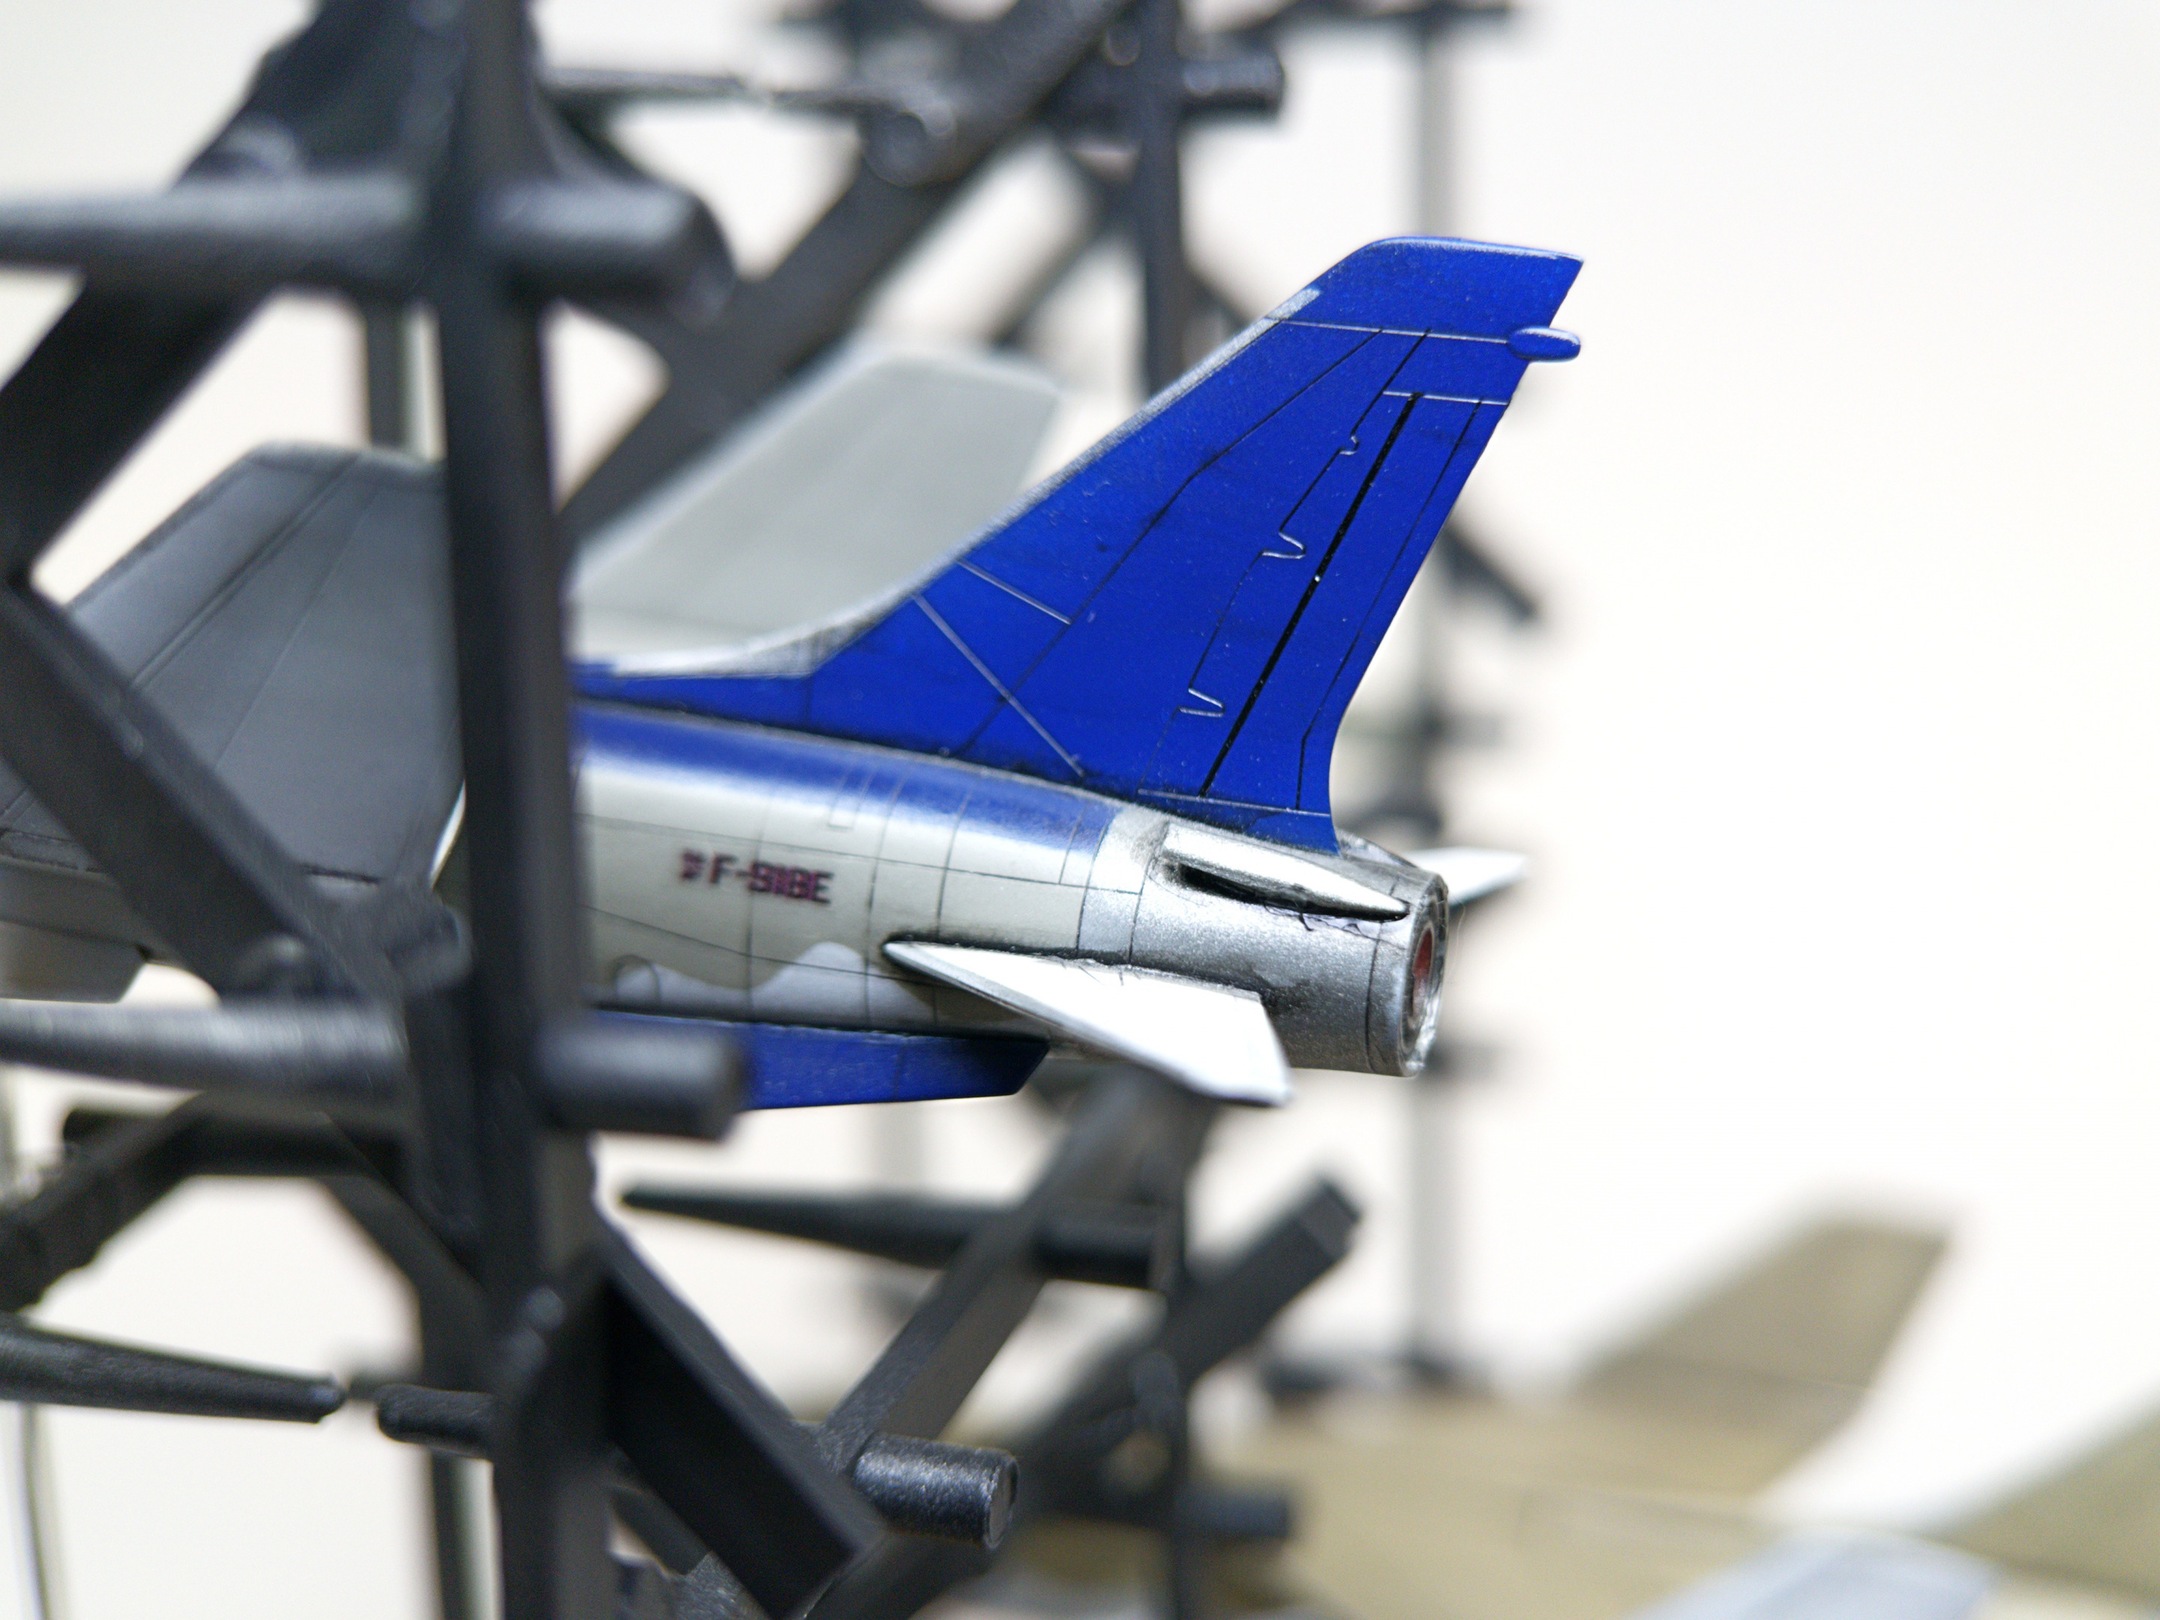
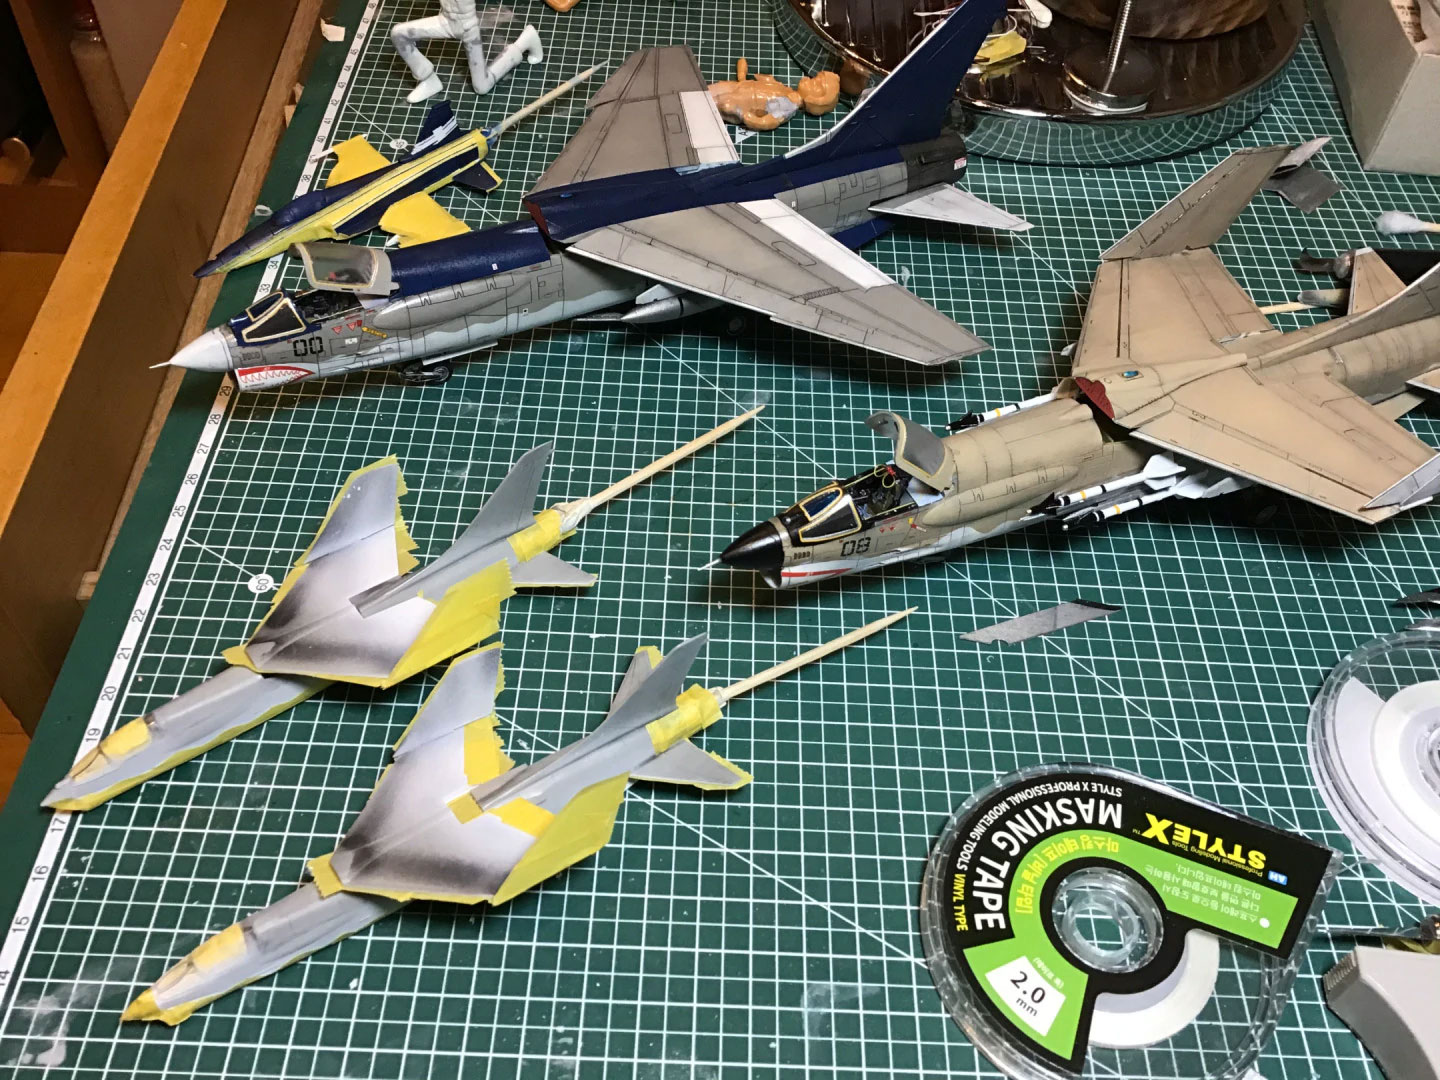
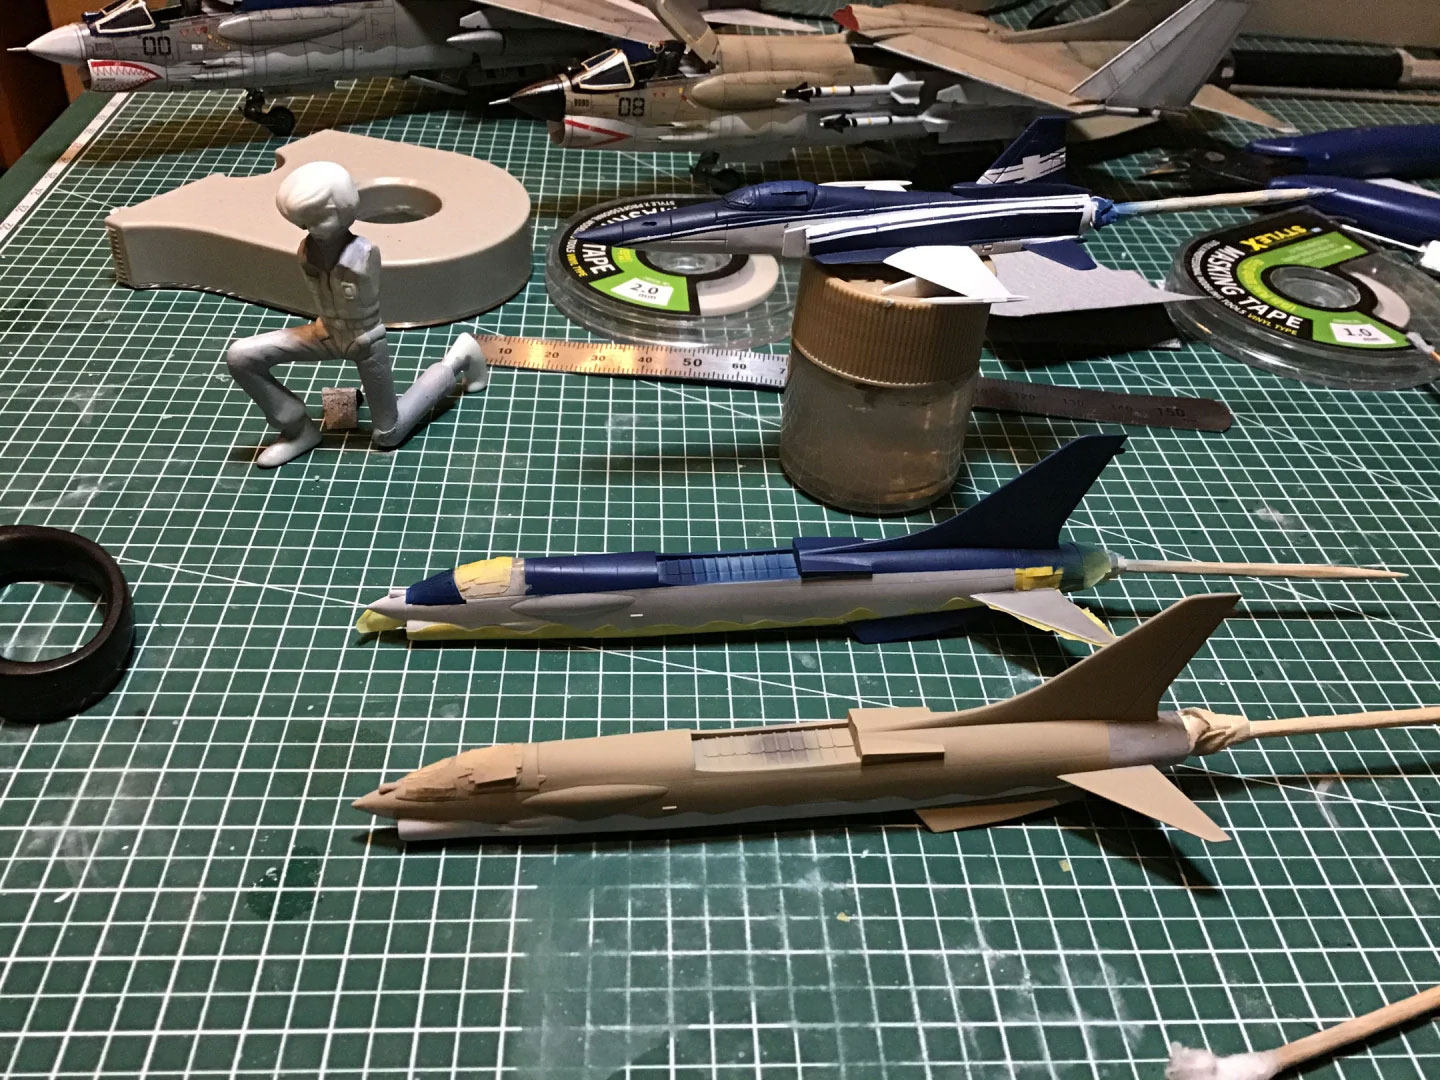
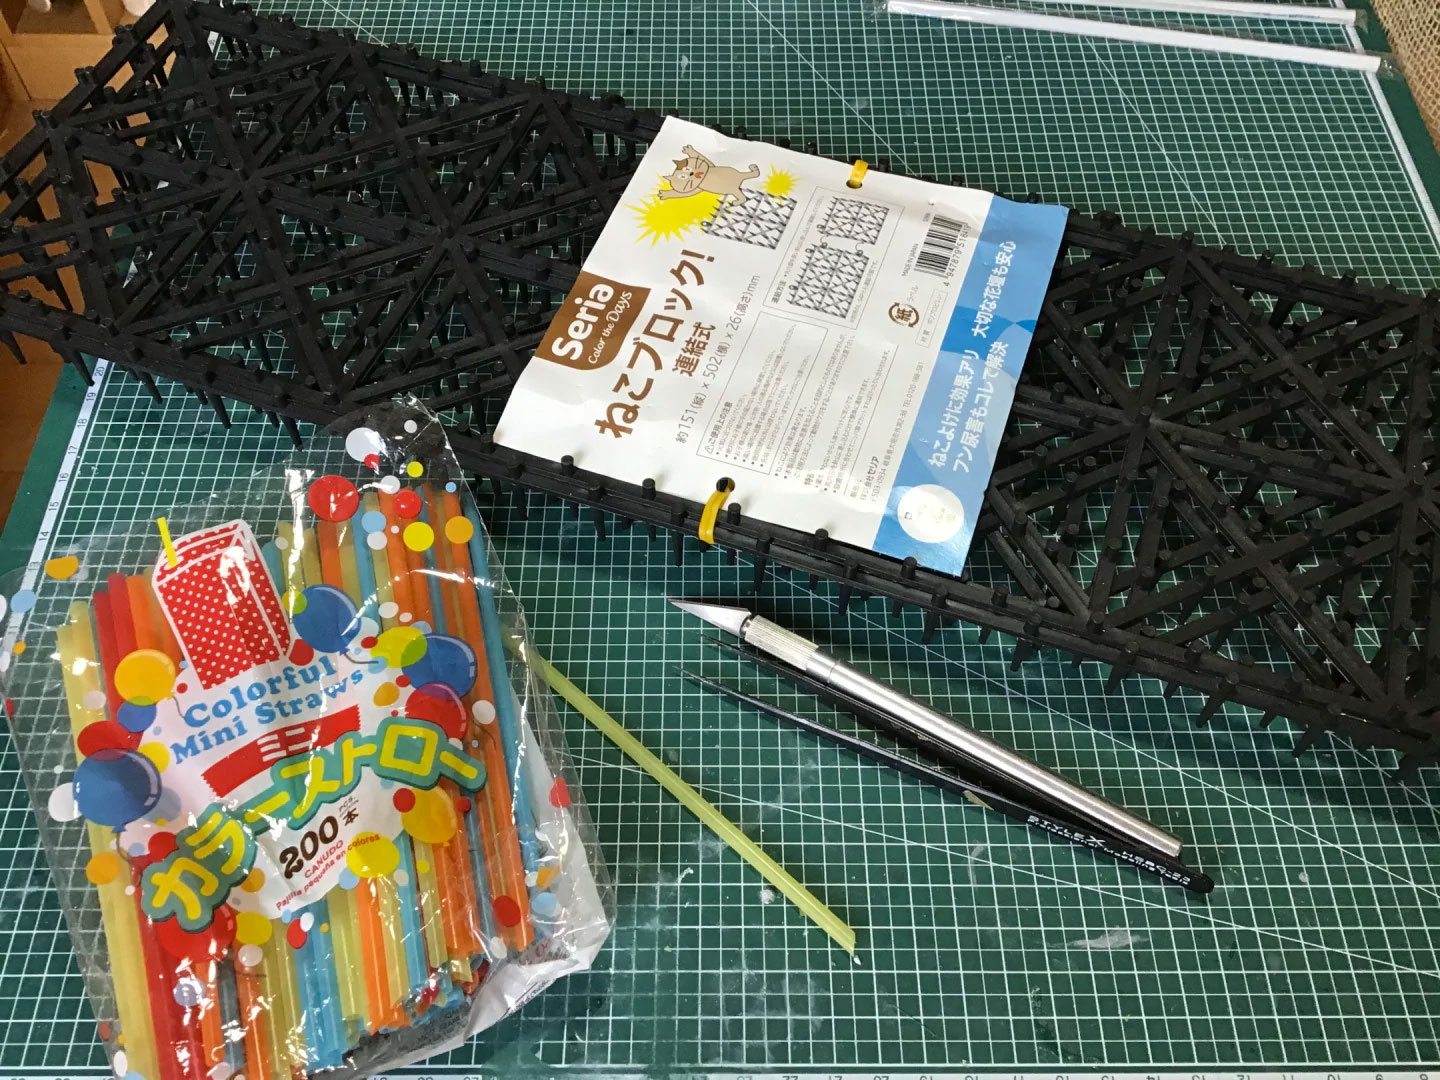
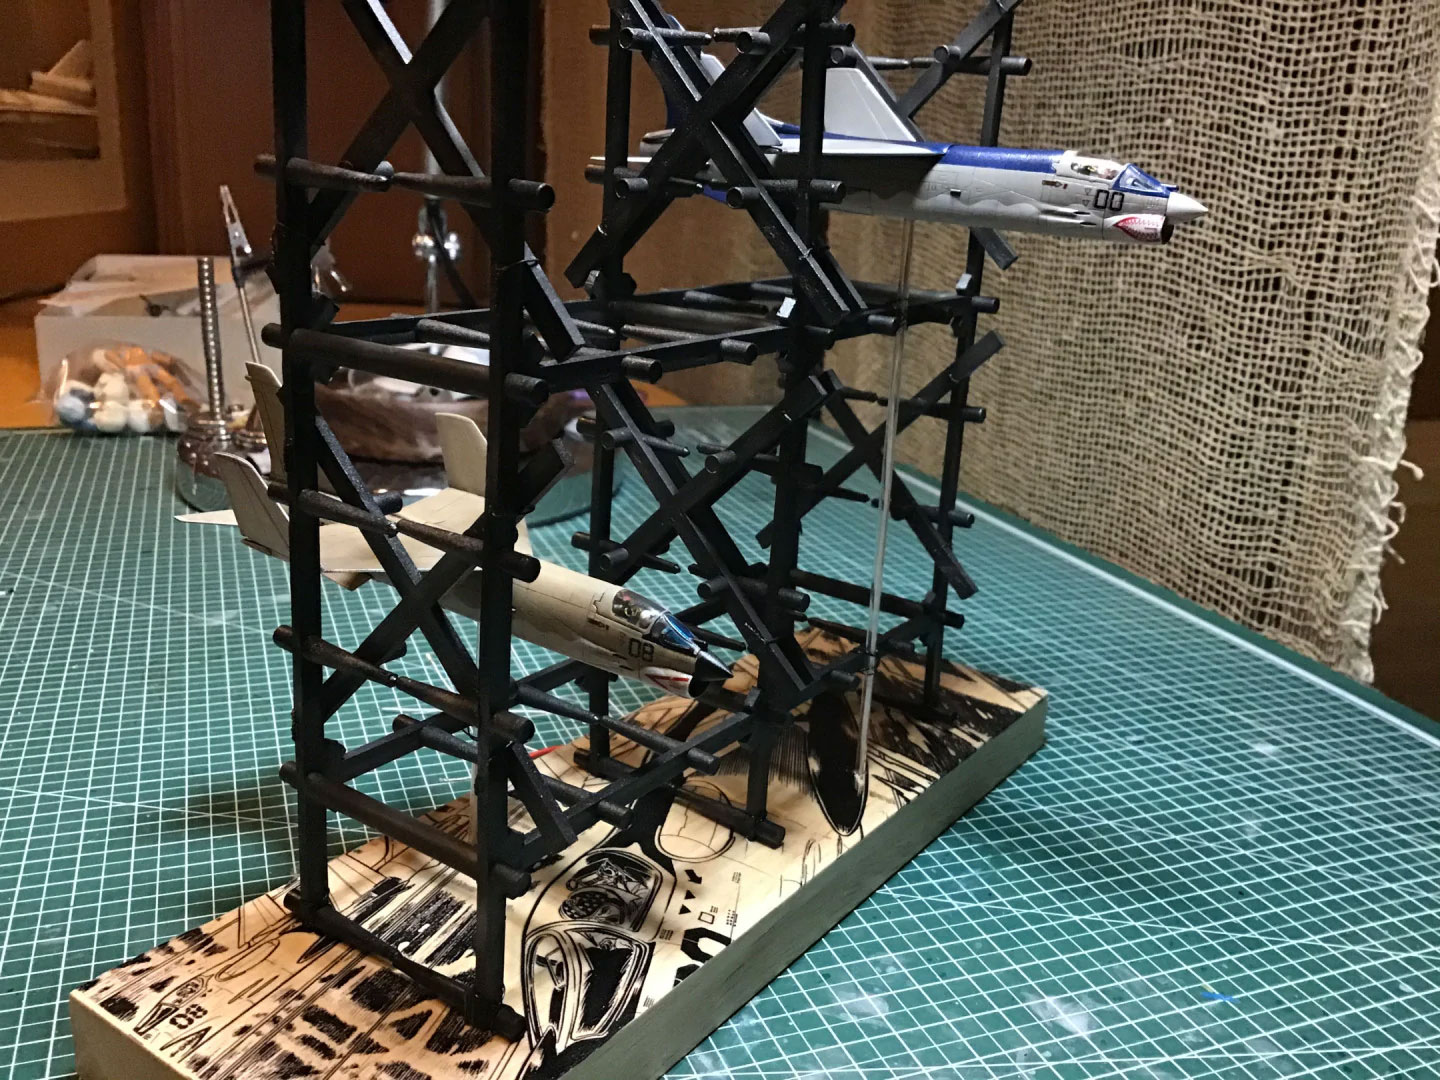
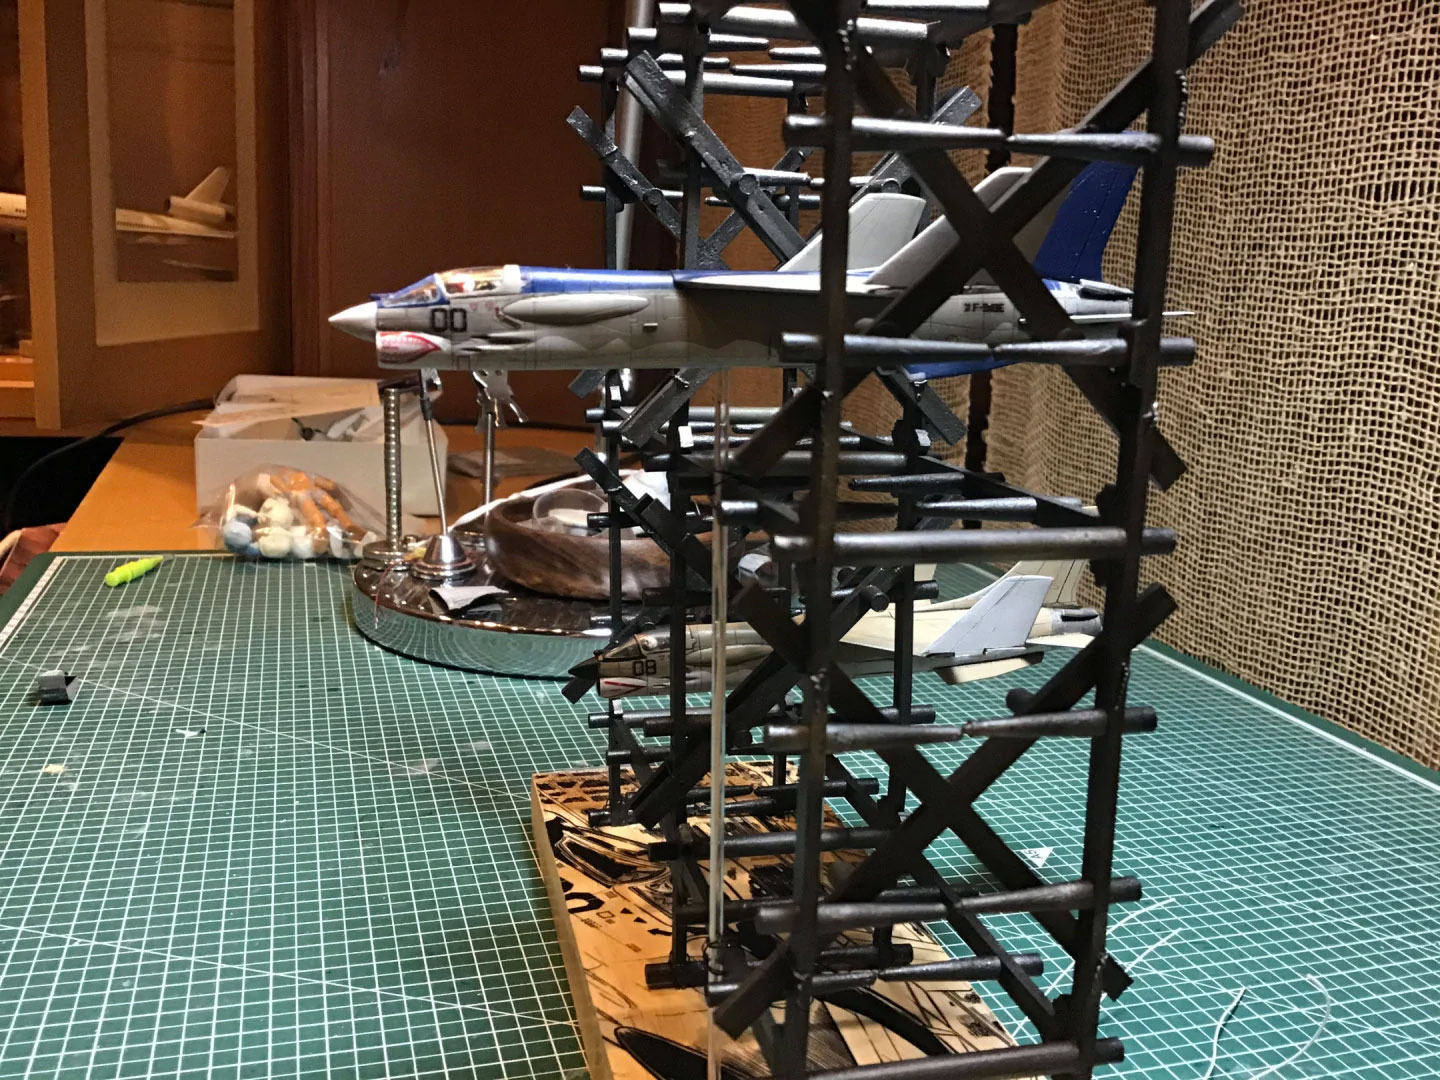
This was a build I wanted to do for a long time. It might have even been the first one on the list, but I wanted to wait until I could “do it justice.” Well, I waited so long, someone else beat me to the punch. One of the Japanese modellers I follow on Twitter () built this same project and I followed it quite closely. We had some different ideas about how to make the F-8E Crusaders, he went with a blue and red combo (which you should check out here!), but I really liked the “cat block” he used to build The Fang. So I asked him where he got it, and then asked a friend of mine who was visiting Japan to pick me up one at the same Seria 100-yen shop. She showed up in Seoul a couple of days later and the plan all came together.
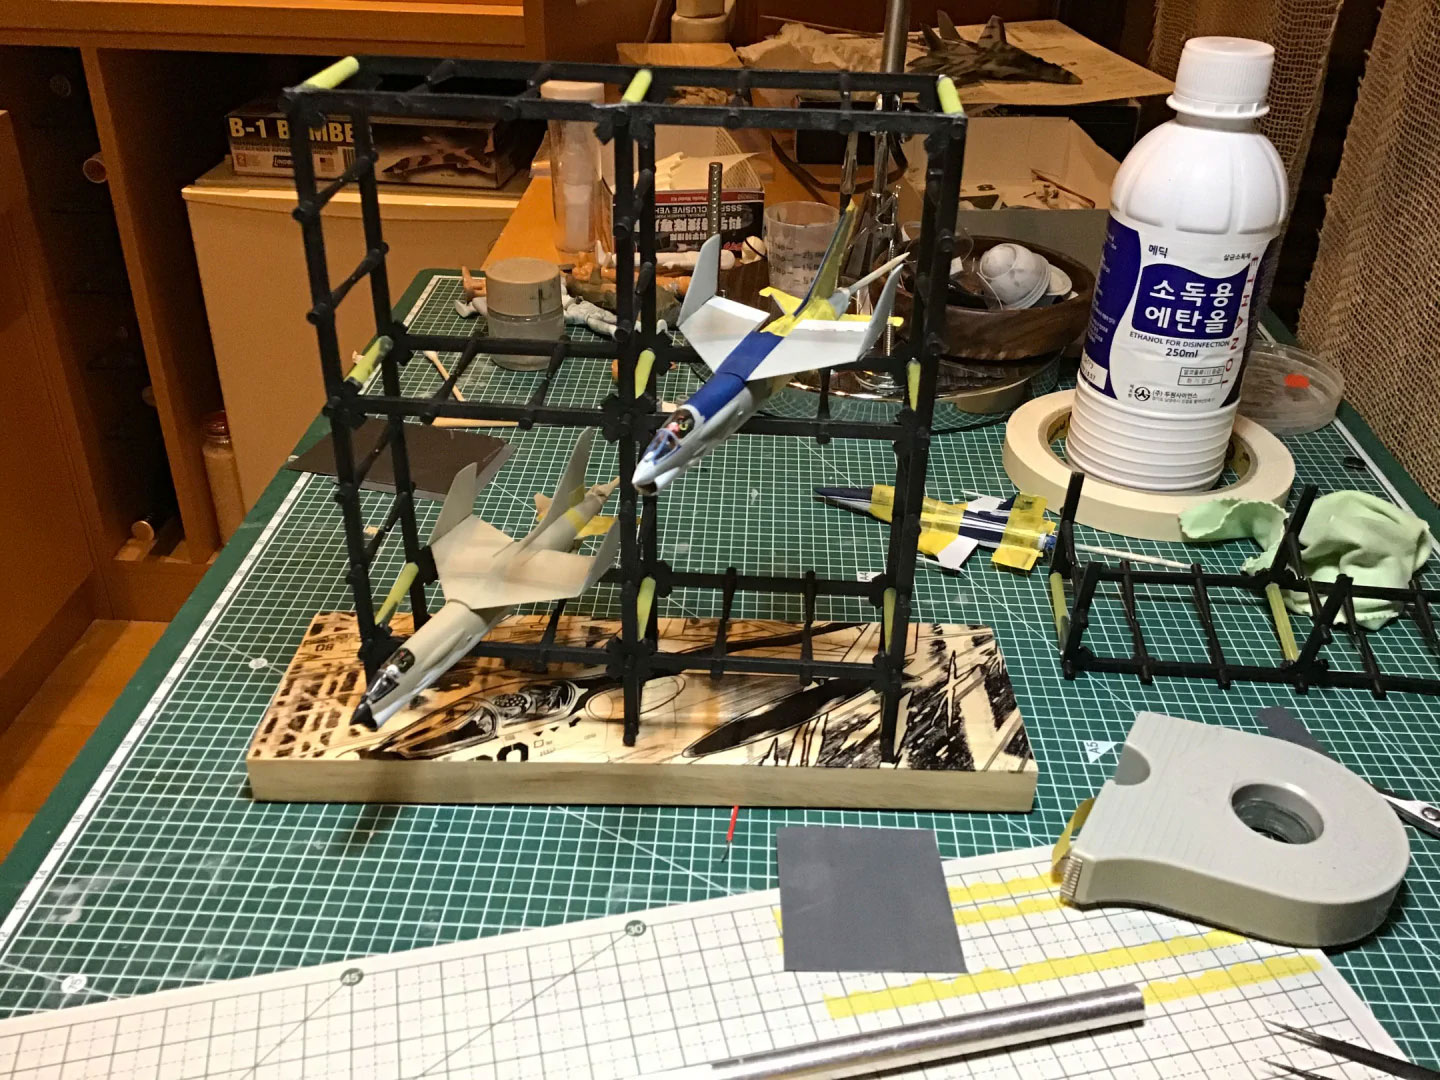
In some ways, it was the easiest part of the build, because it’s pretty much exactly the right shape, but in others it was the most frustrating. The plastic used is a kind of nylon that basically sticks to nothing. So I had to resort to stitching it together using some thin black wire. It looks okay, but it was more fiddly work than I was expecting.
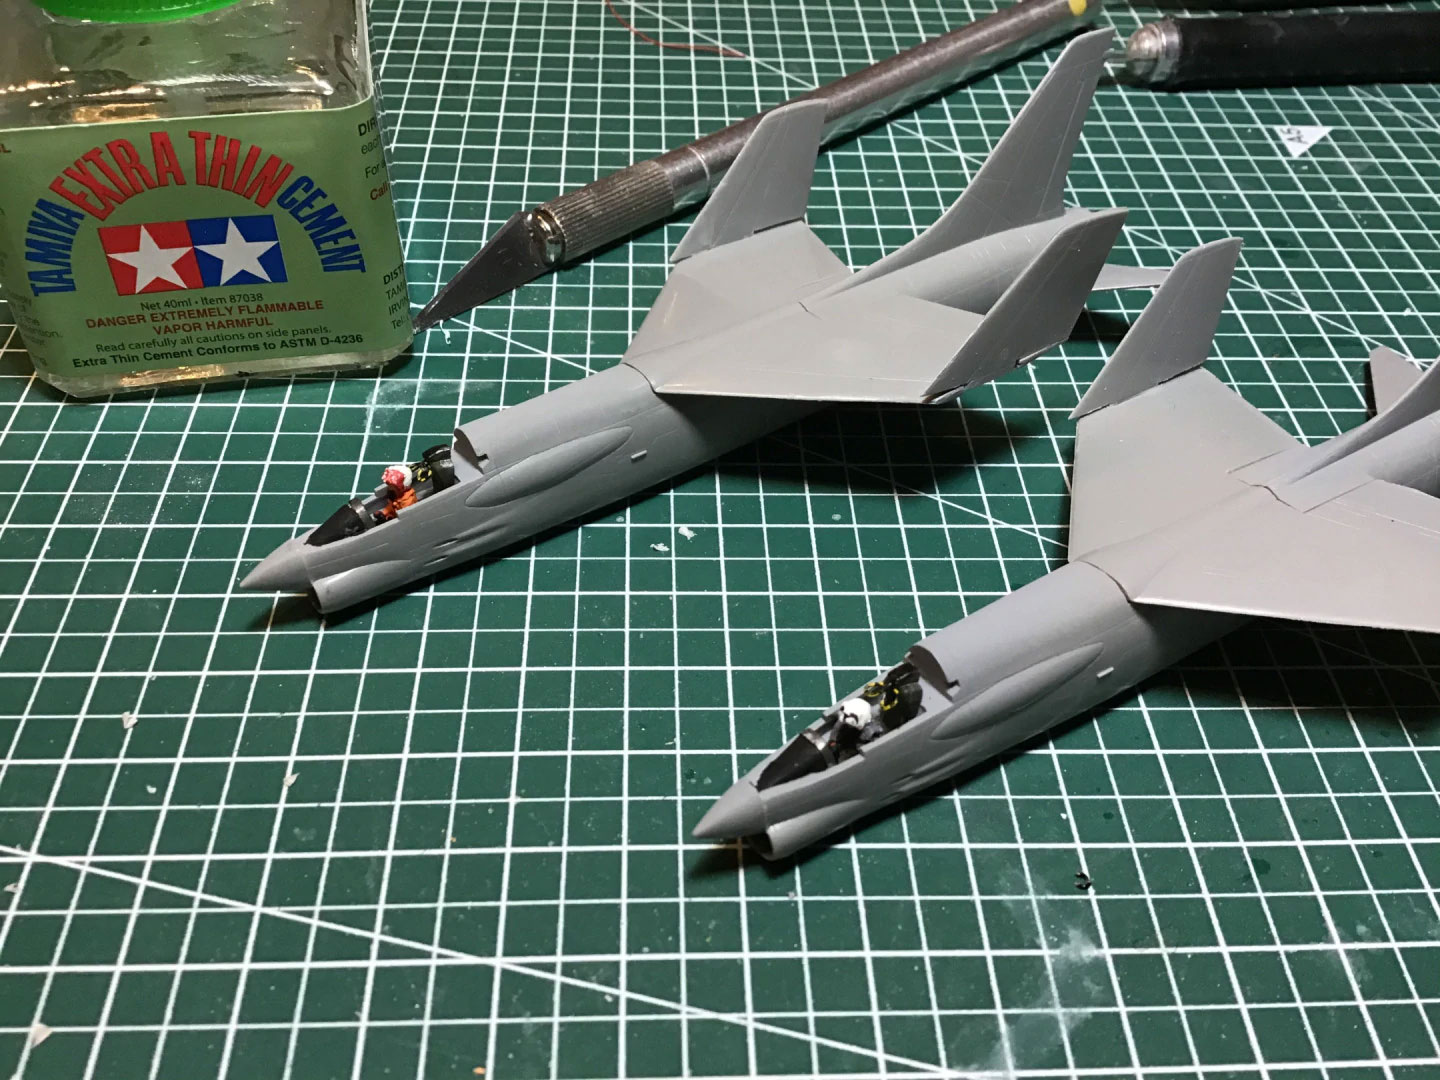
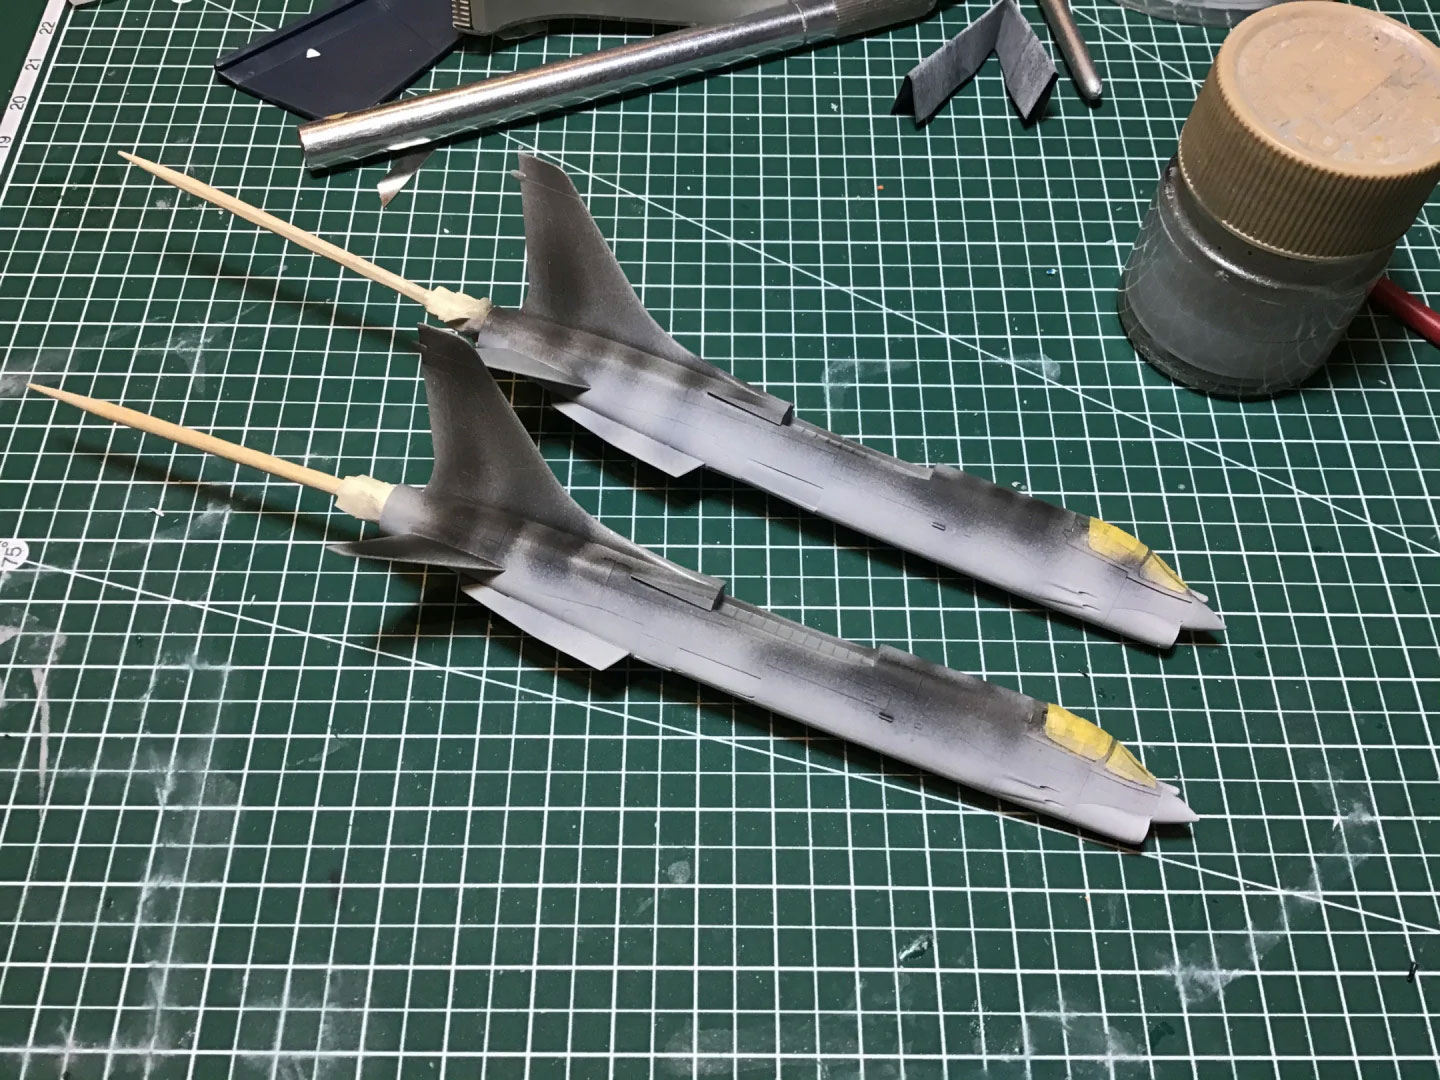
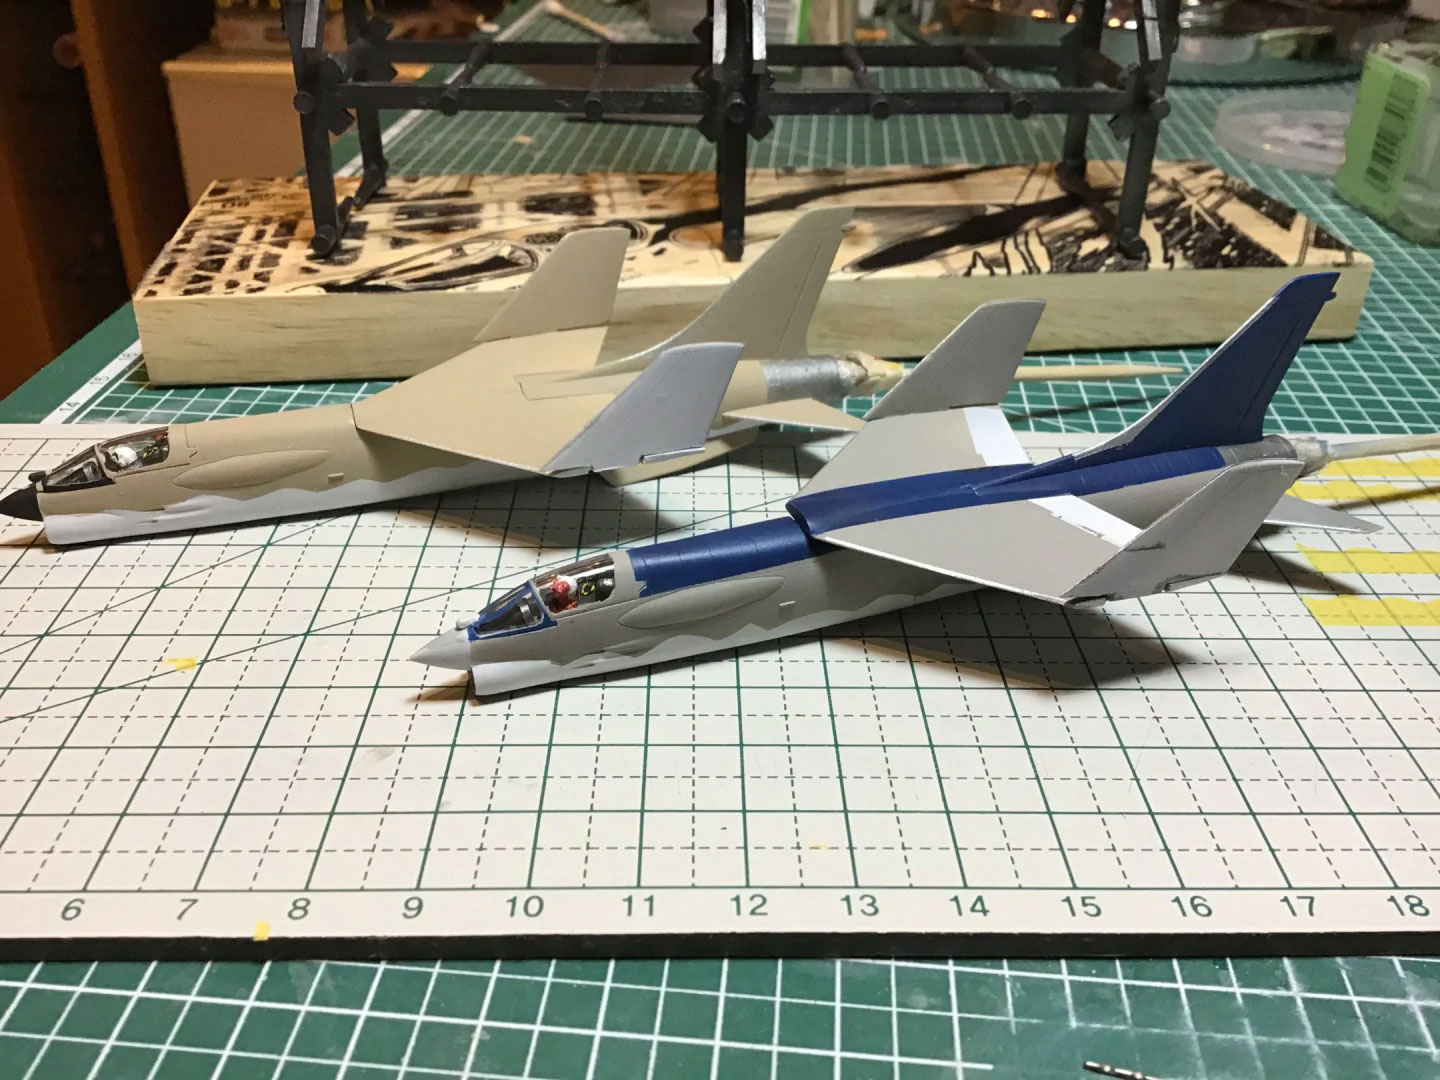
The kits themselves are mostly a breeze. They’re super-detailed, which makes them beautiful, but the one big problem is that there’s no out-of-the-box option for wheels up. Well, there’s an option… the only one… which is to cut the parts apart and try to glue them back together in a new formation. It was touch and go, but I think it worked out alright.
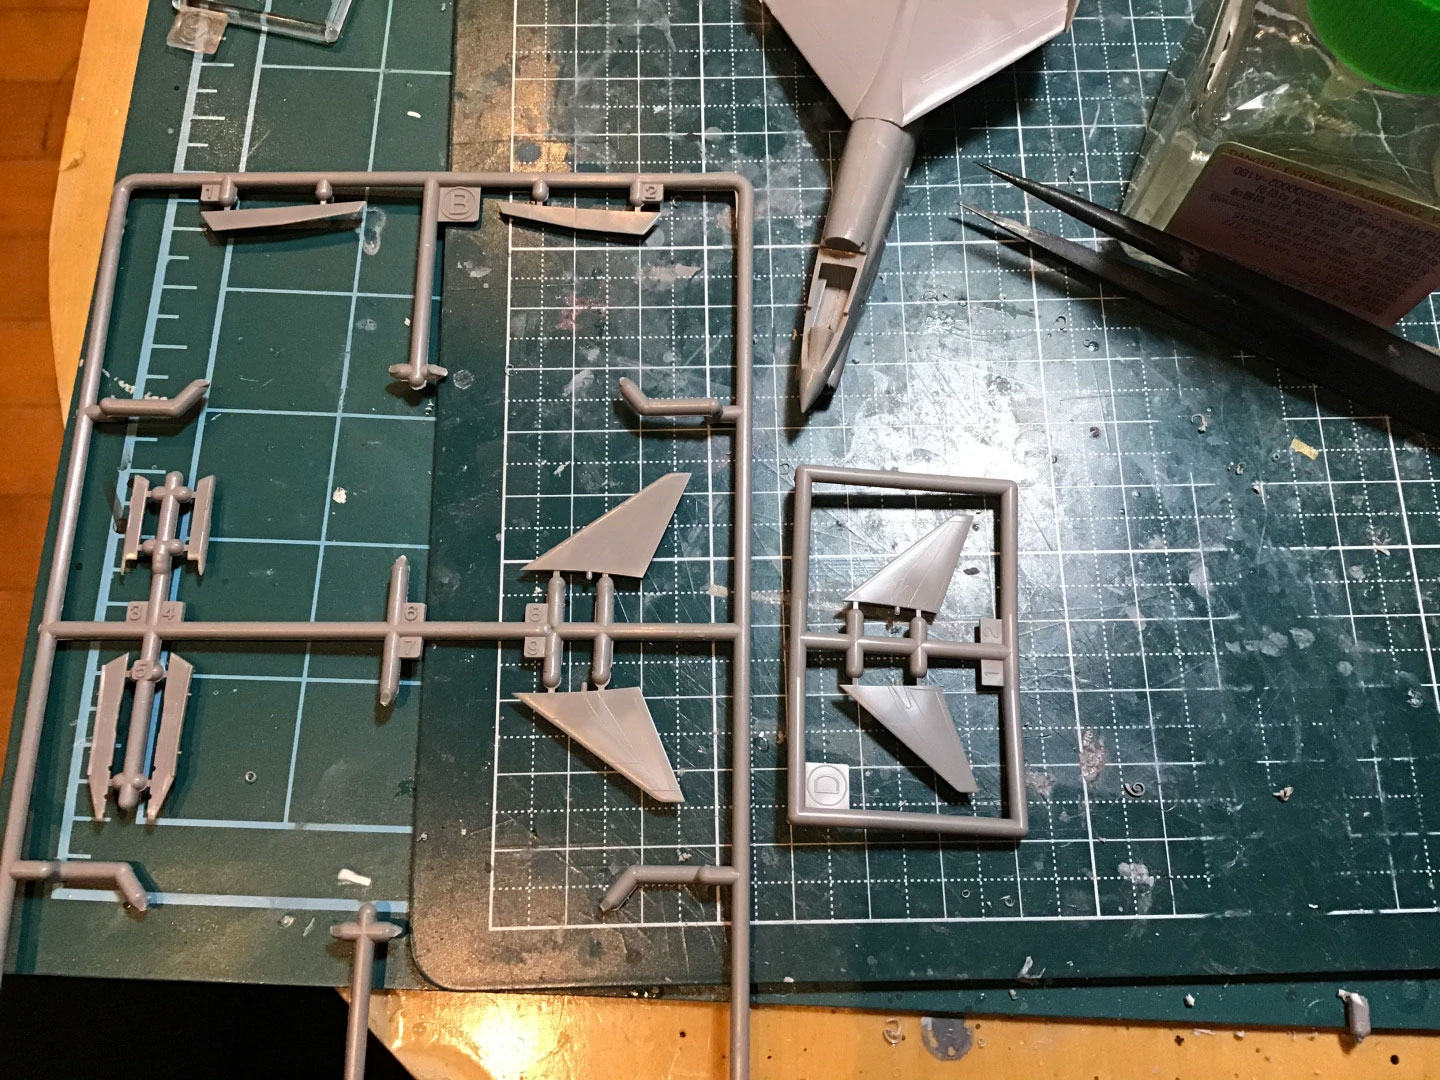
Oh, one other thing that’s a bit annoying. The Platz kits come with extra parts – none of which are identified. So I had a bit of trouble in figuring out which parts worked best for an F-8E. I suppose I can’t complain though, it was a nice surprise to find that the kit did include an infrared seeker for the windscreen – I just wish I hadn’t had to stumble across it almost by accident.
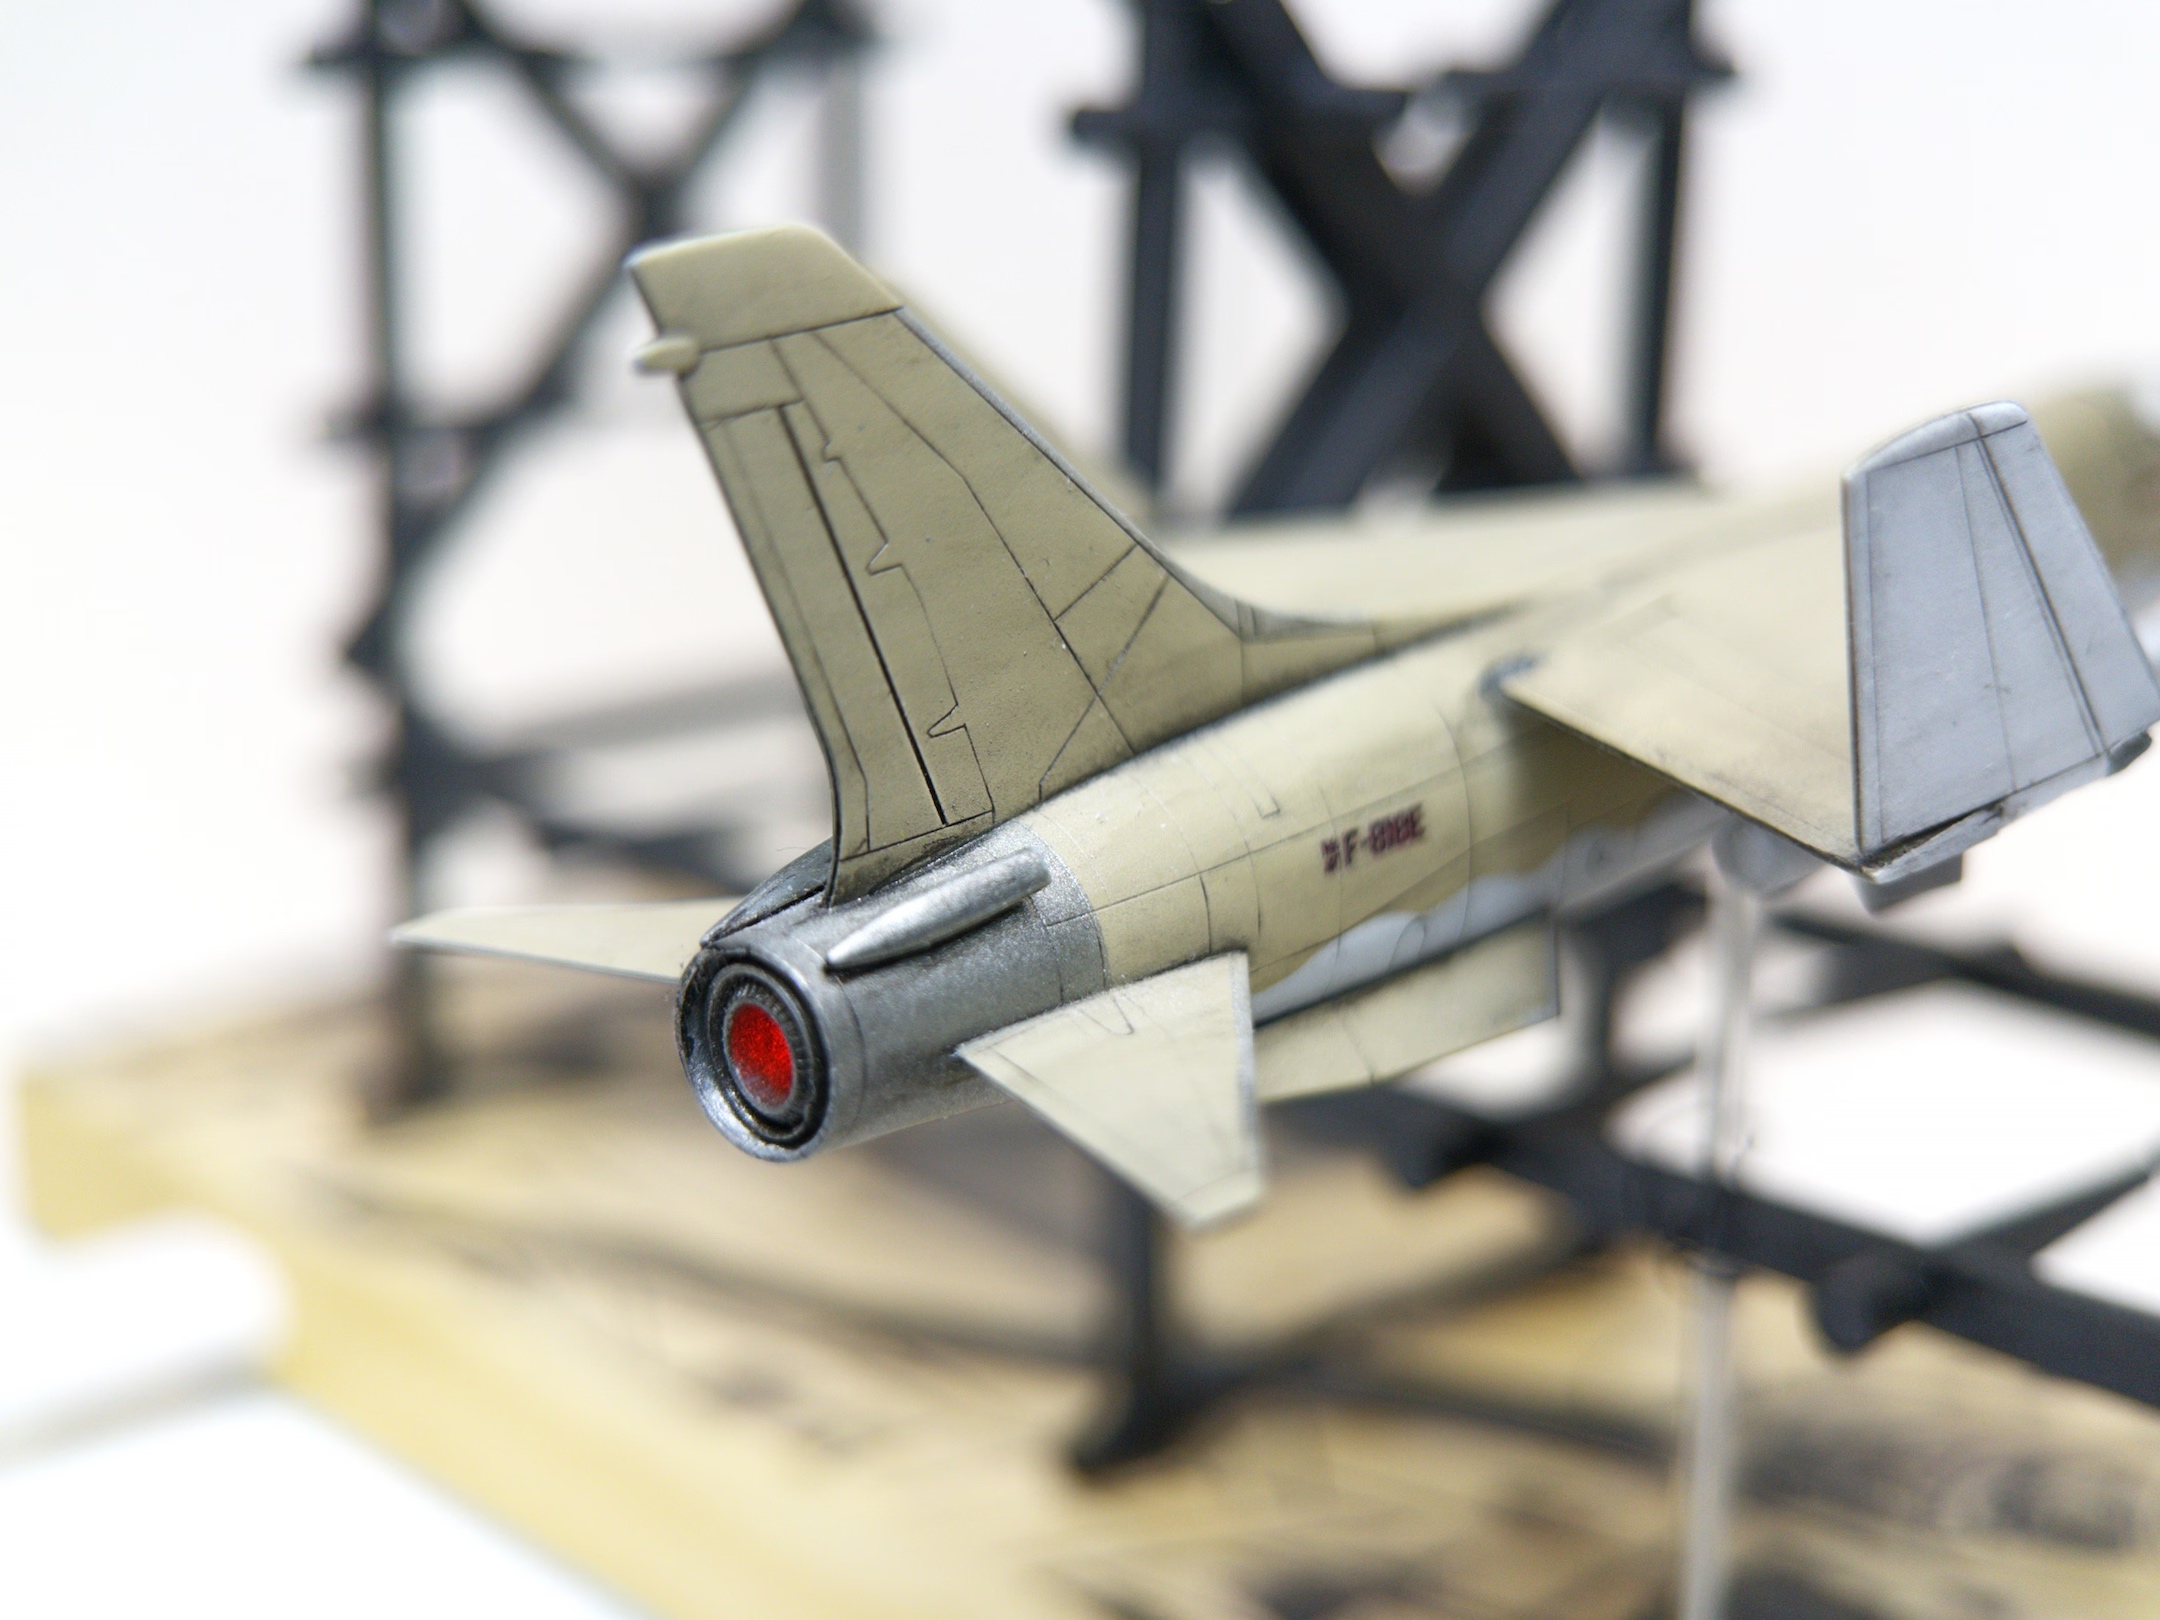
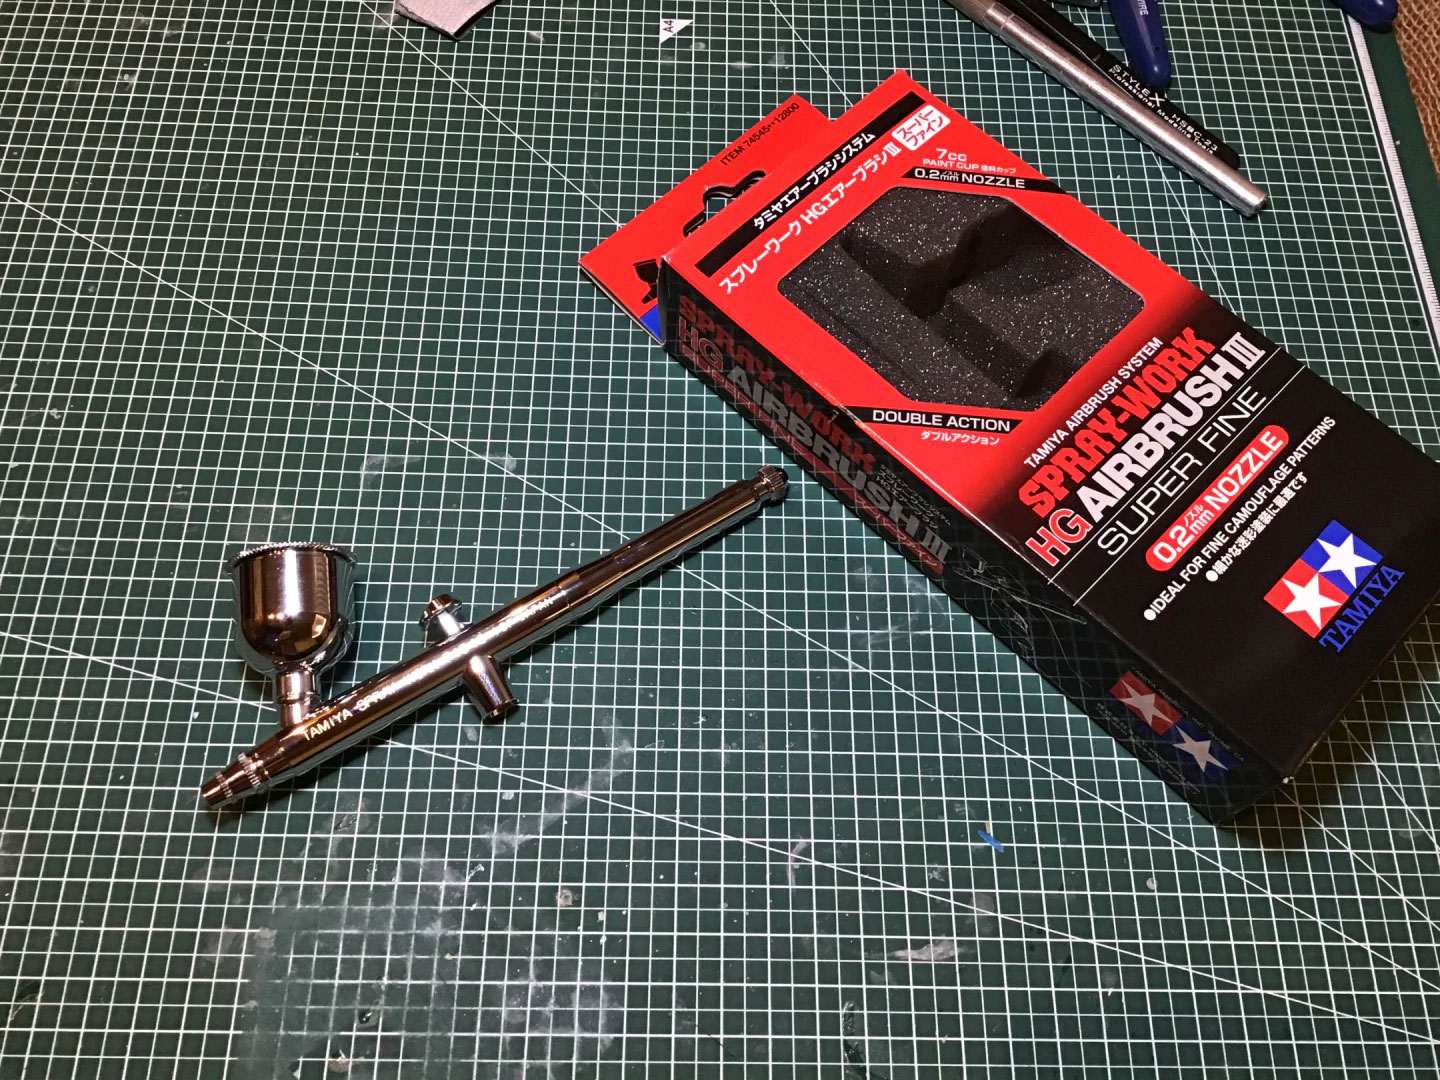
Finally, this build also spurred me on to finally buy a better airbrush. As I said, I really wanted to do this one the justice it deserves, so a inexcusably splatter from my cheap Monster airbrush was the final straw. I went out and got a pretty decent Tamiya Spray Work HG Airbrush III – Super Fine (0.2mm) and was wondering why I hadn’t done that sooner. I had to go back and fix a bunch of the painting errors, but I was really considering trying to redo the entire paint job. Cooler heads prevailed though – next time!
Anyway, I’m not sure how much justice this scene actually got, but I did my best. So feel free to tell me What you think.


Discover more from strobez
Subscribe to get the latest posts sent to your email.
This would be a phenomenal work just based on the complexity of The Fang rendered in a physical 1/144 scale. The fact that this captures what is probably the single most iconic scene from Area 88 (for me anyways) puts this piece way up in the truly inspirational category! I am in awe of your talents!
Hey! Thanks Ryan! I think it’s fair to say that the Fang is probably one of the most iconic scenes for almost every Area 88 fan. I appreciate the kind words though. This one was special for me as well, so I really tried to put my all into it. So I’m glad some of that effort shone through. 🙂
This is really incredible stuff and the write-ups are great!
Do you spray airbrush with Tamiya bottle acrylics exclusively? What’s your thinning formula?
Thanks Vincent! I only use Tamiya acrylics (and some enamels for spot brush painting on occasion). Usually I used a 1:1 ratio of paint to thinner, but for some of the metallic paints I go a bit higher. Sometimes even up to a 2:1 ratio to keep the paint thin enough to spray well.
Often there is that trial and error factor, isn’t there 🙂
But if the 1:1 formula generally works that’s good to know. I used lots of Tamiya before but have been using other paints lately. Would like to explore again. What is your thinner? Get by with water, or?