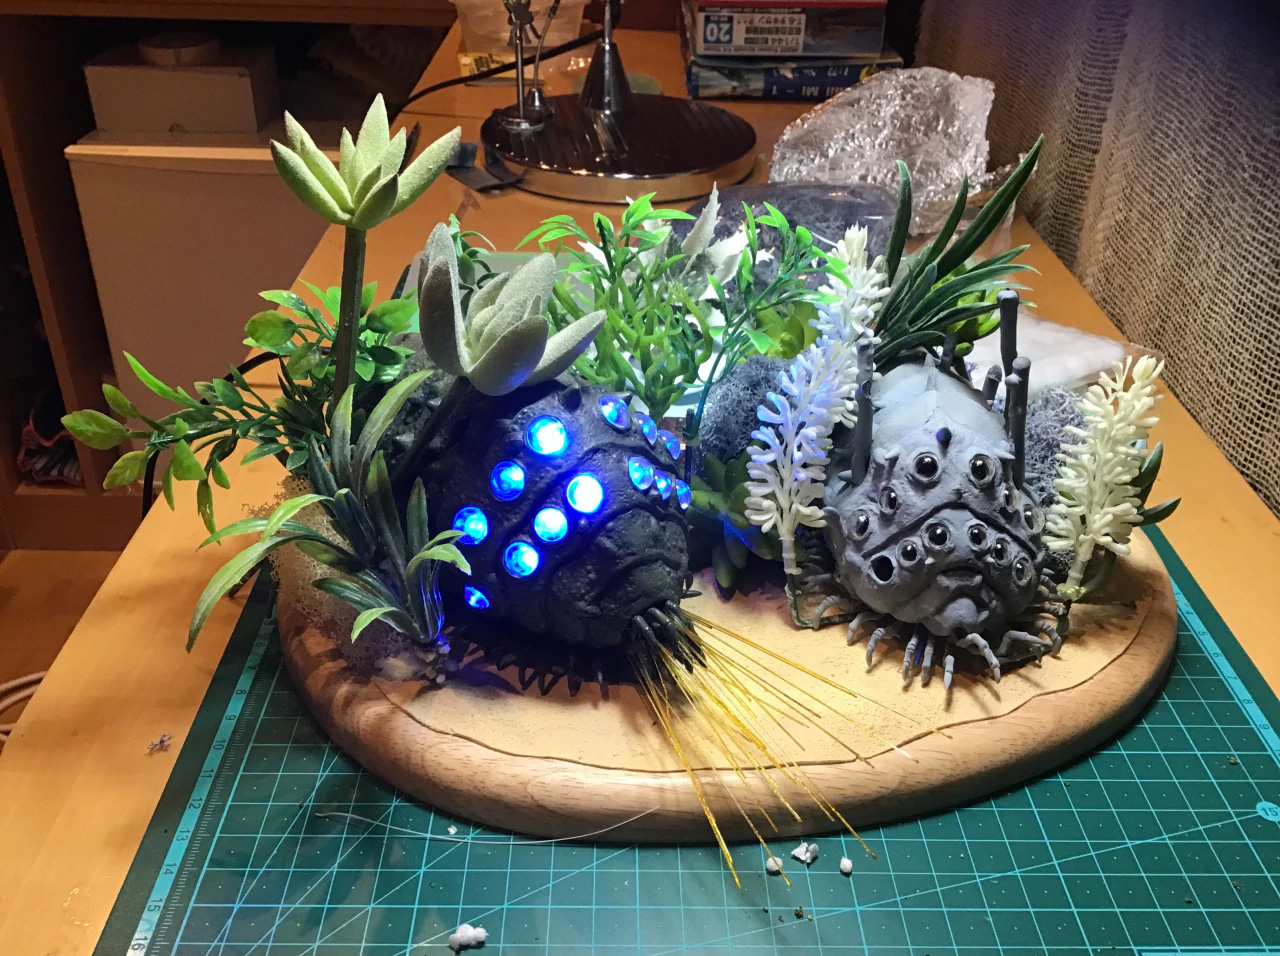
If An Ohm Falls in the Forest (Ghibli)
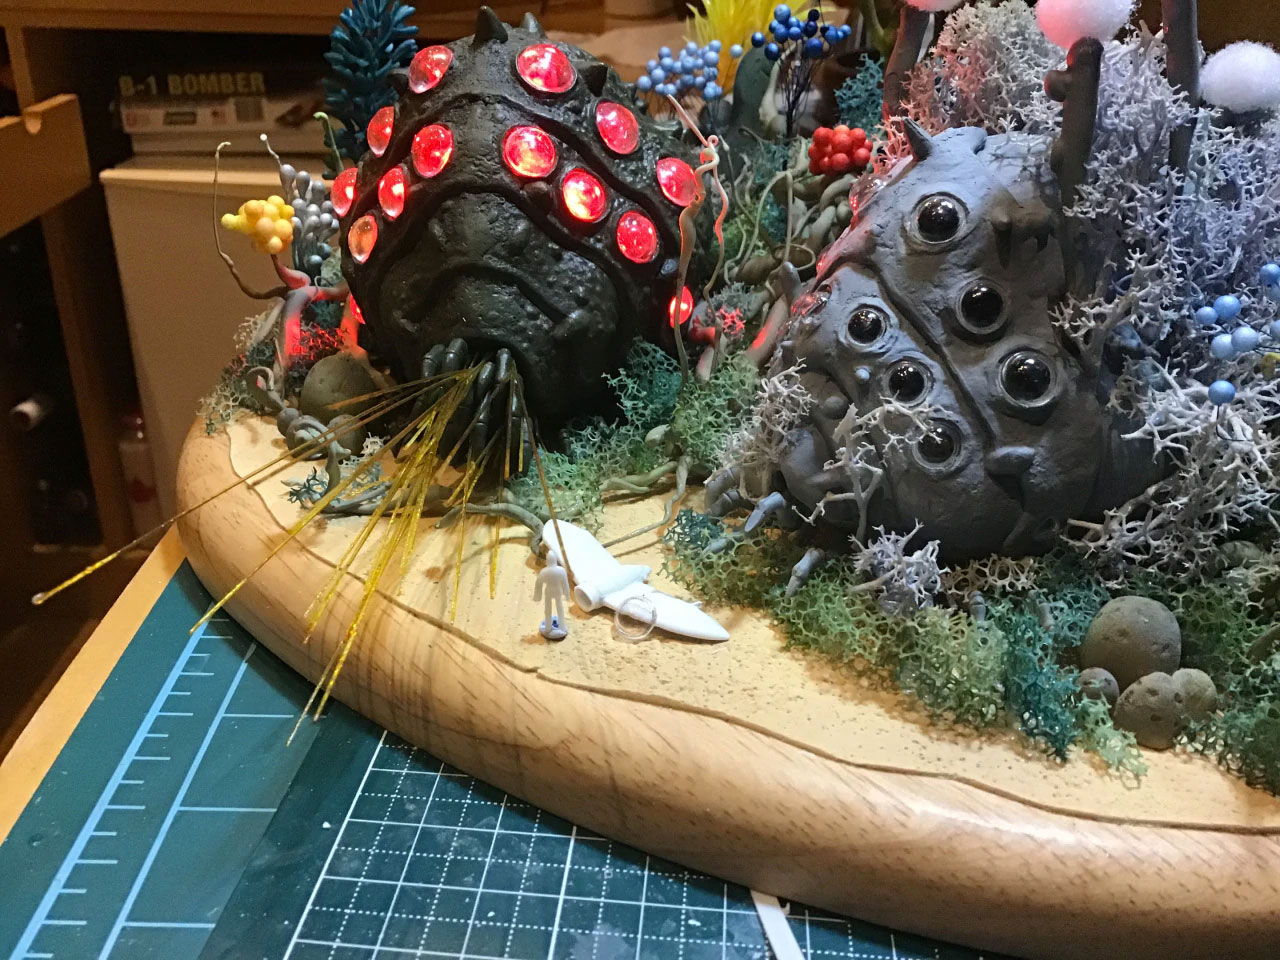
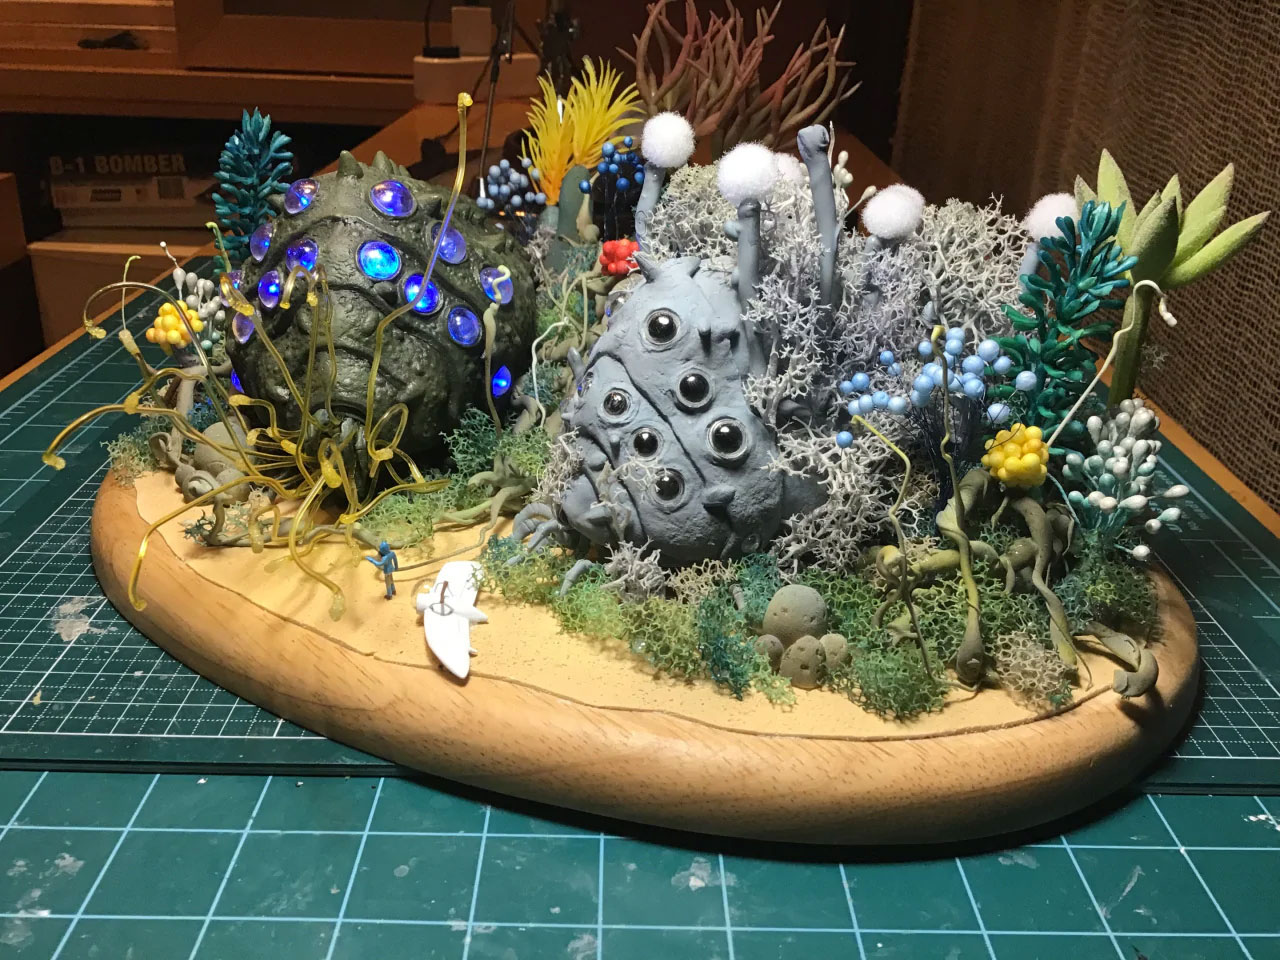
The finished model:
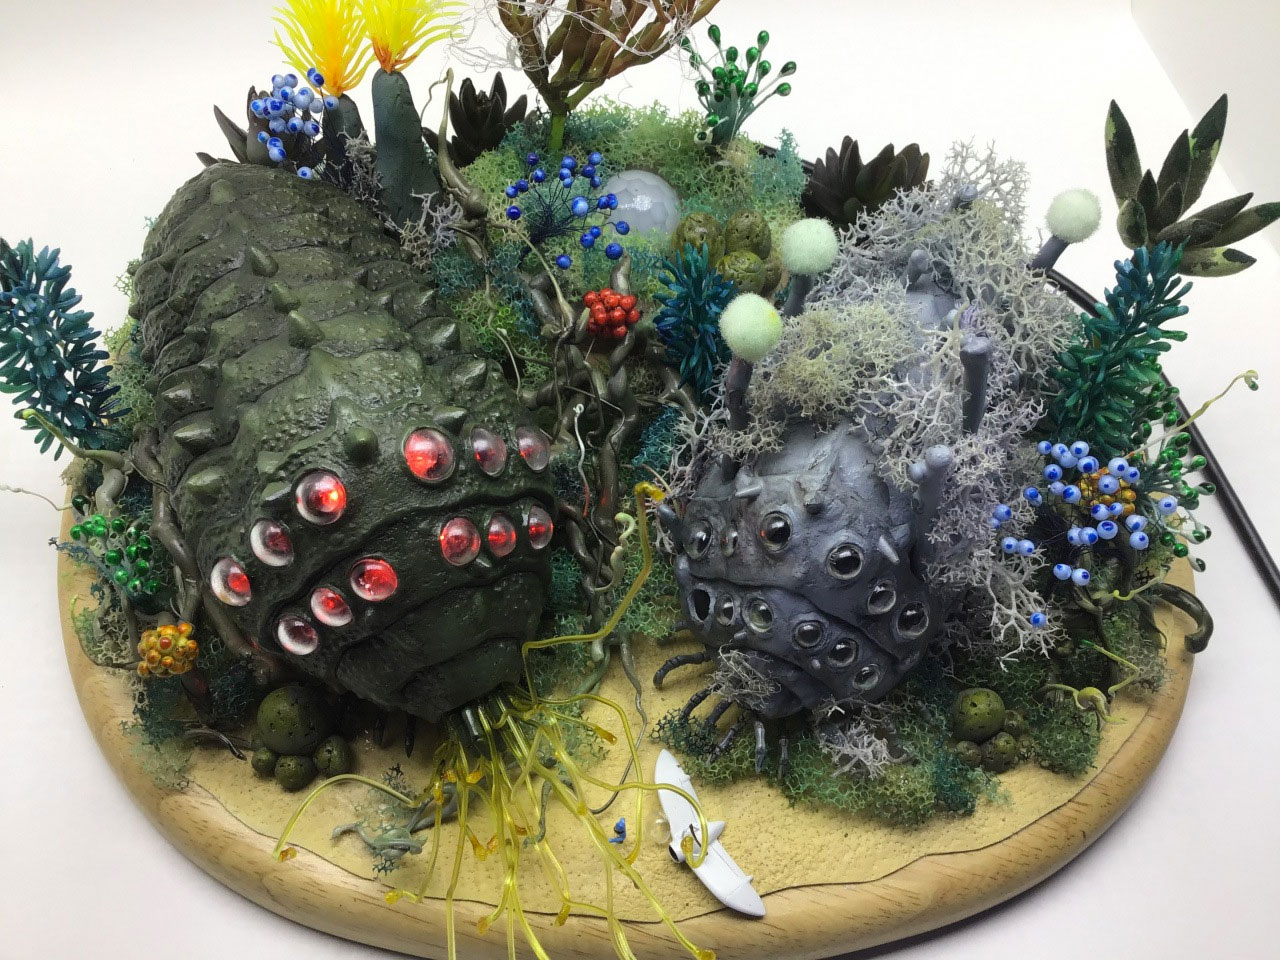


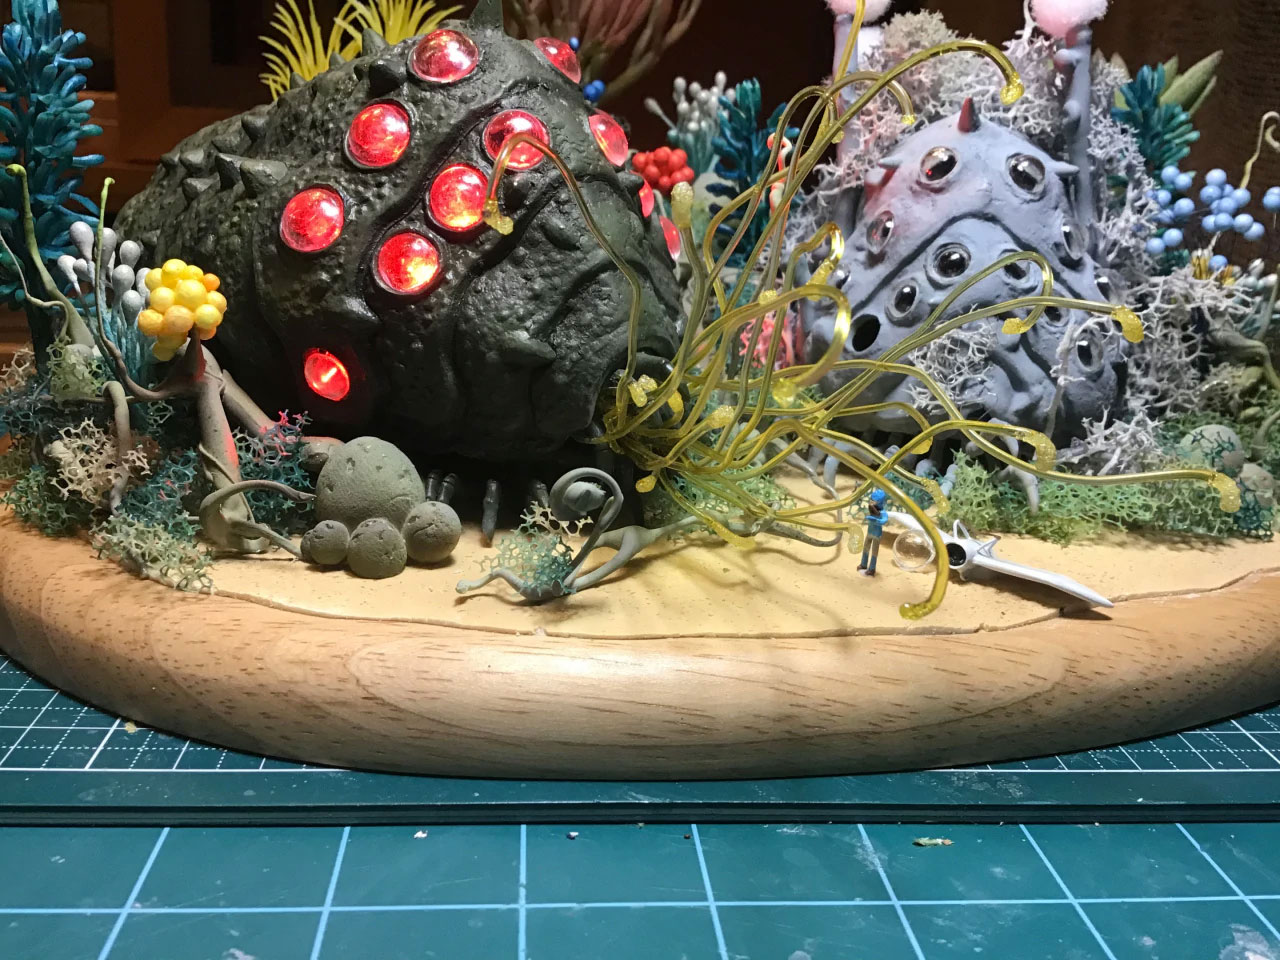
The scene:
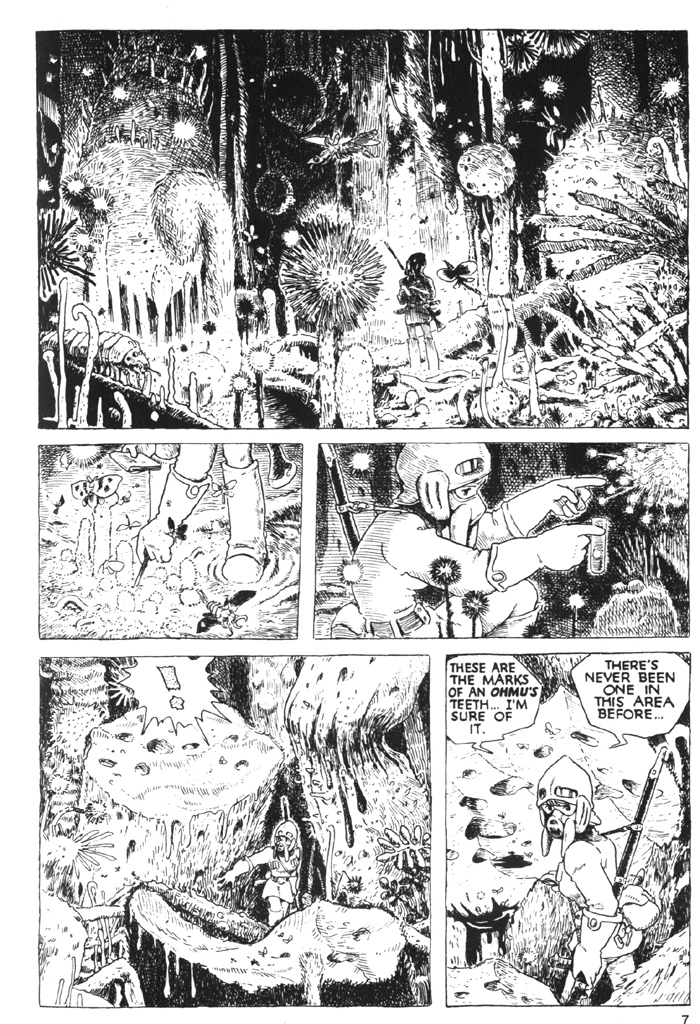
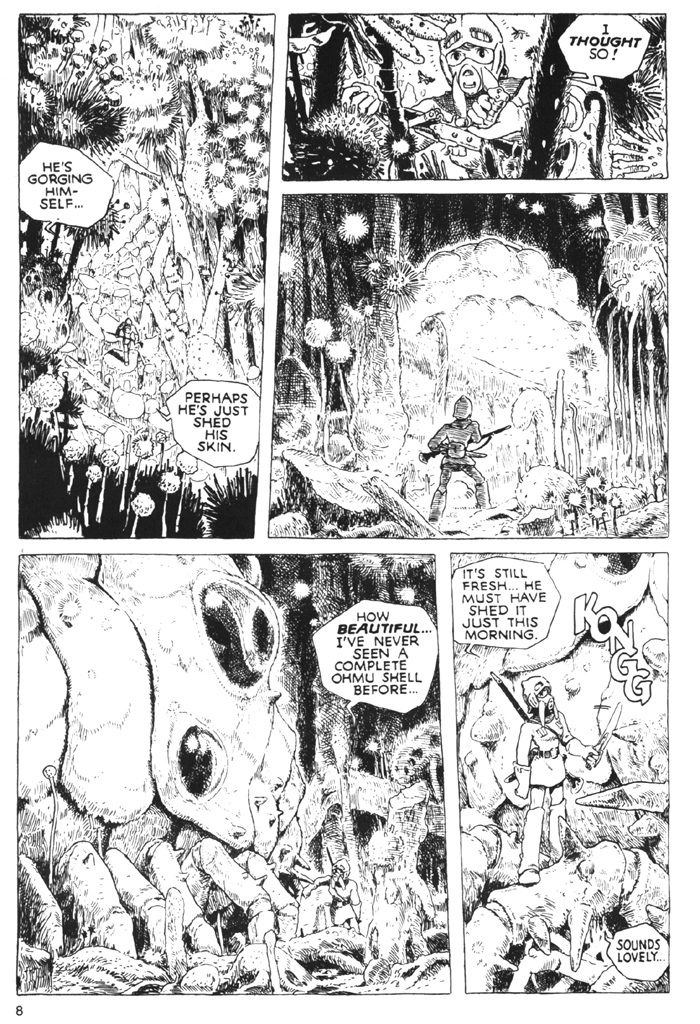
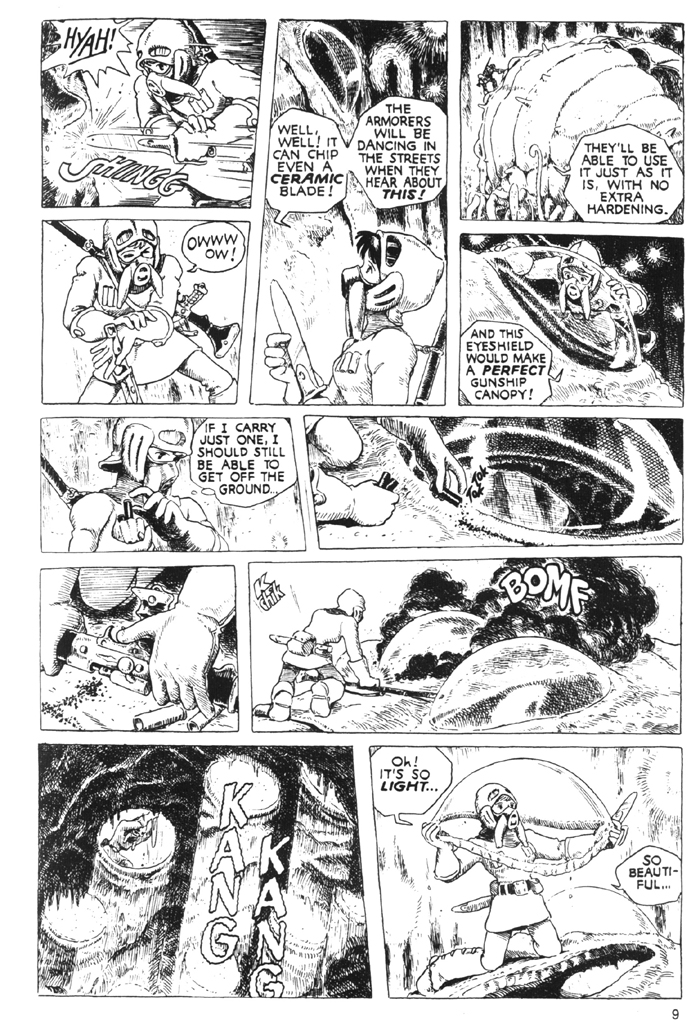
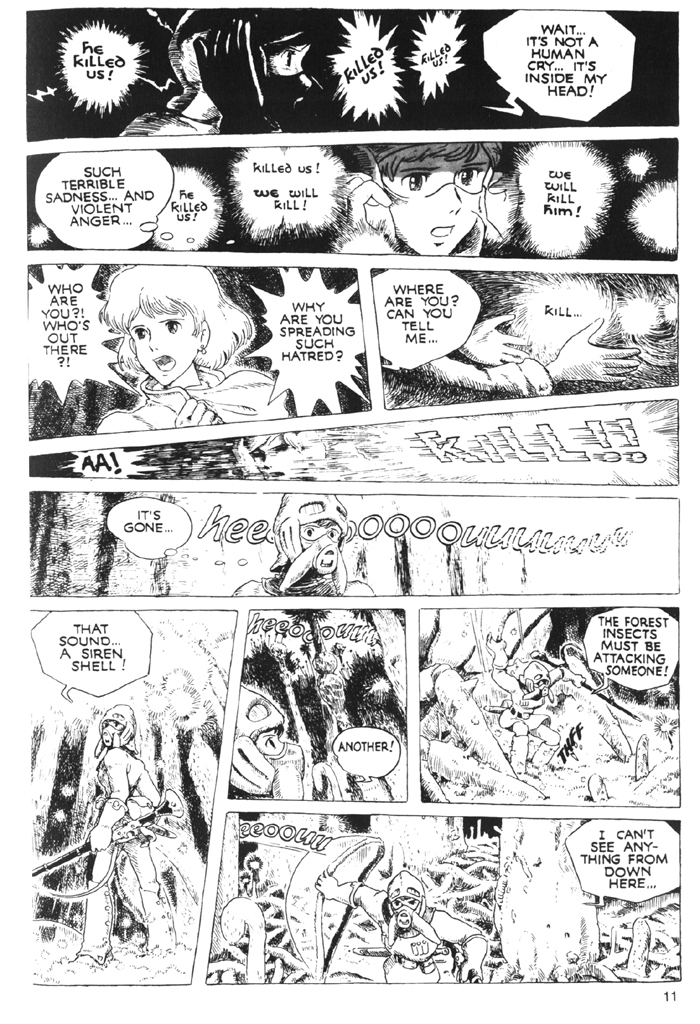
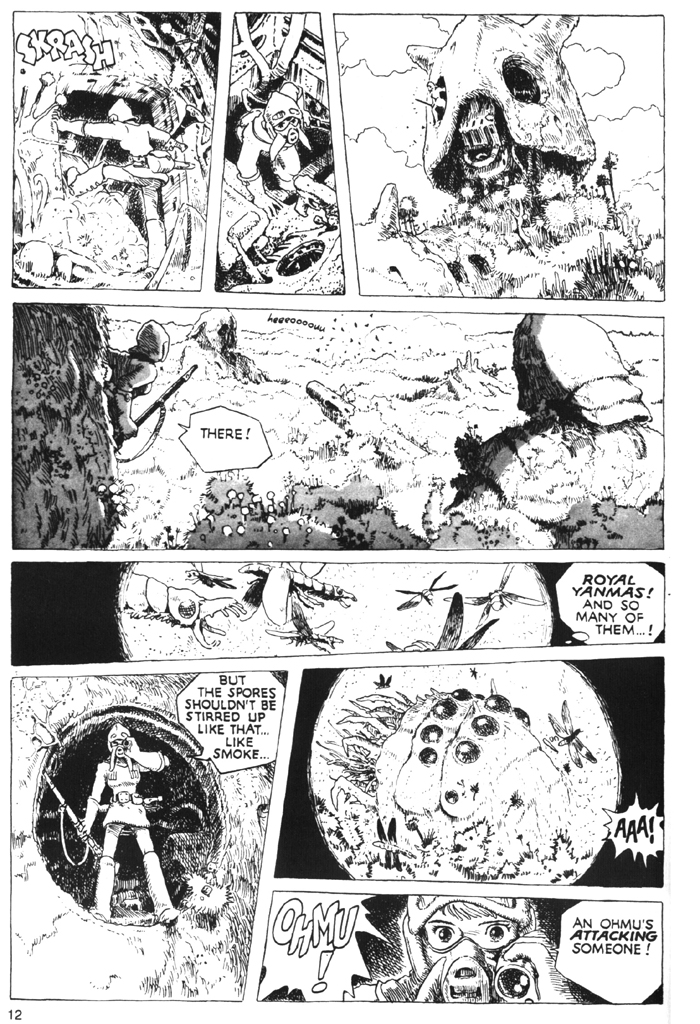
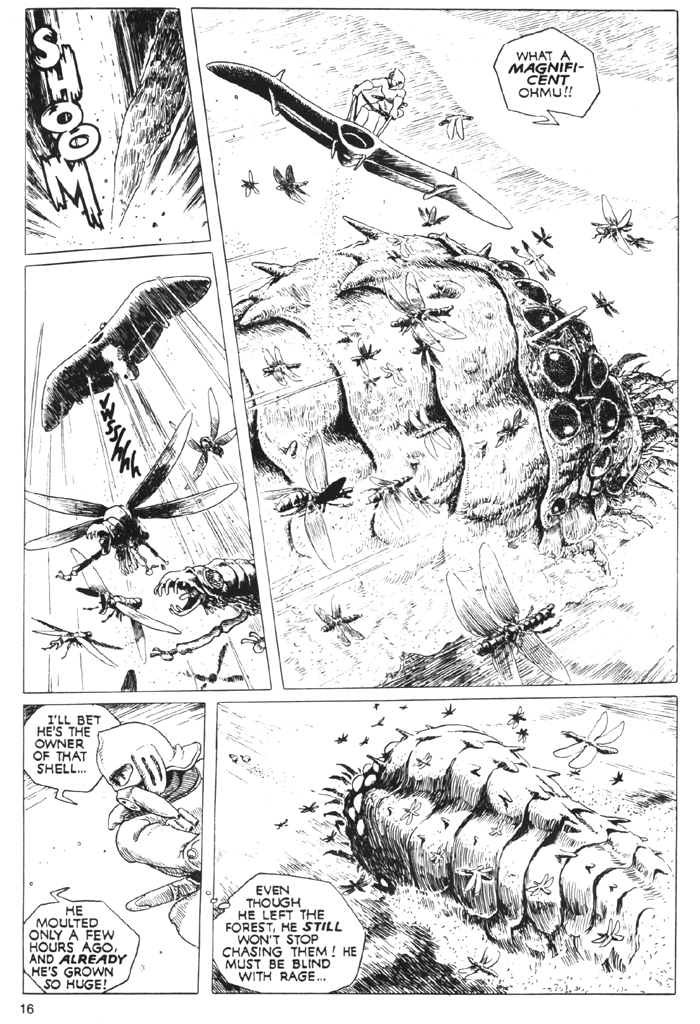
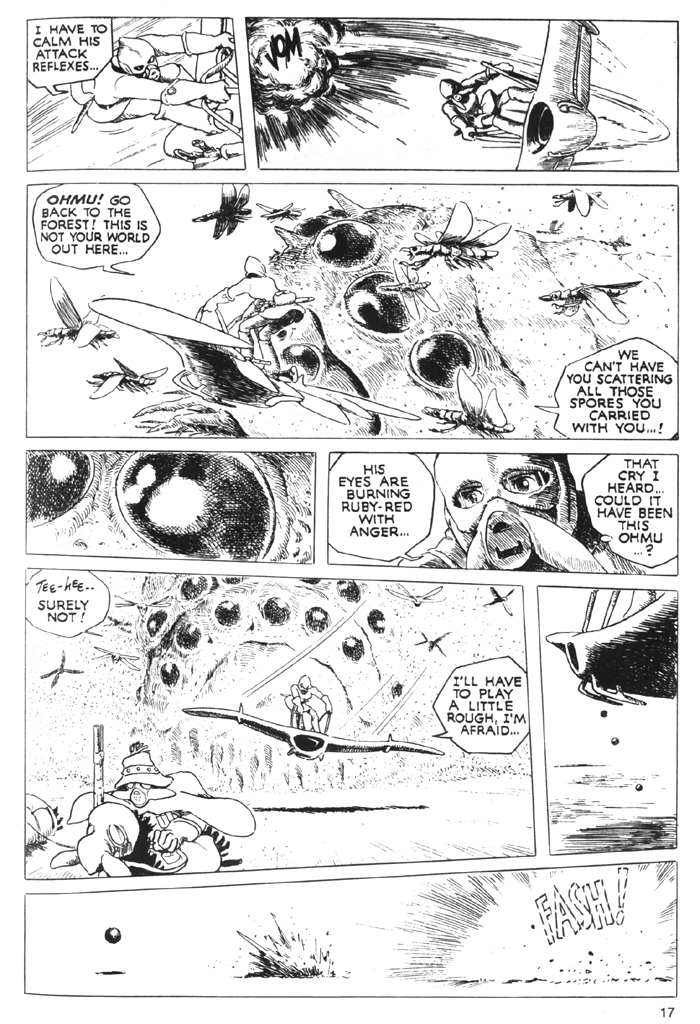
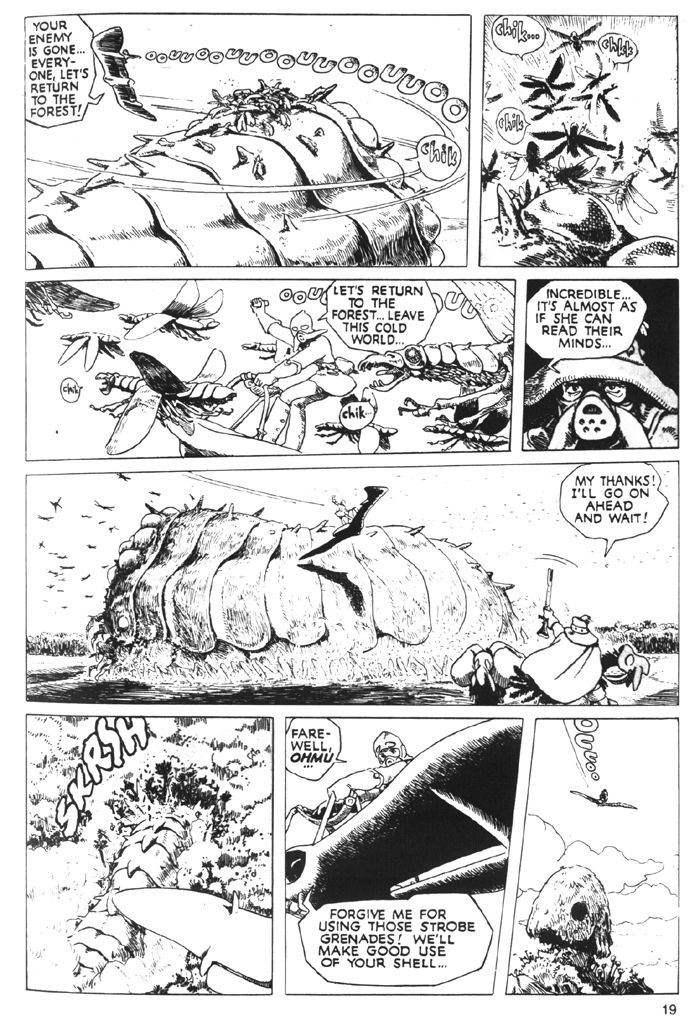
While exploring the Sea of Corruption, Nausicaa comes across the recently shed shell of an Ohm. Since it’s in pristine condition, she sets about removing one of the eye shields – made from a super-strong yet lightweight material that would make it a perfect gunship canopy replacement. While relaxing and contemplating how the Ohm sees the world though one of its 14 eyes, the calm of the toxic forest is suddenly broken by an enraged Ohm.
Check out the original manga scene here:


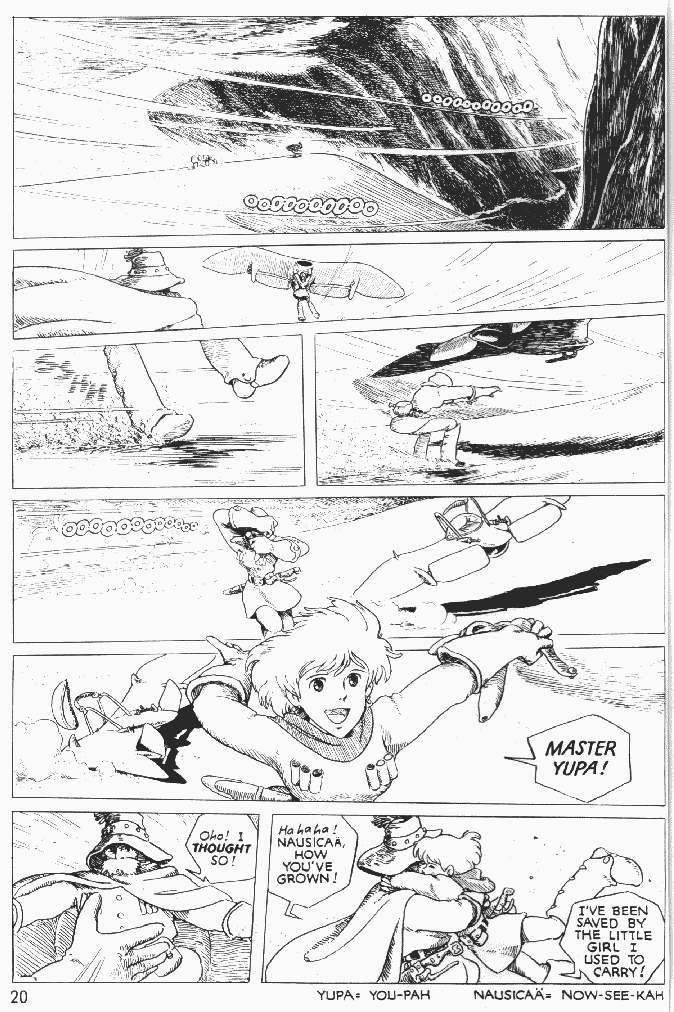
The story:
Okay, so truth be told, this scene is not an exact depiction from either the Nausicaa manga or the anime. In Miyazaki’s original work, the shell Nausicaa finds is a cast off after molting. The Ohm isn’t dead, and doesn’t show up to pose side-by-side with it’s previous shell with it’s feelers out.
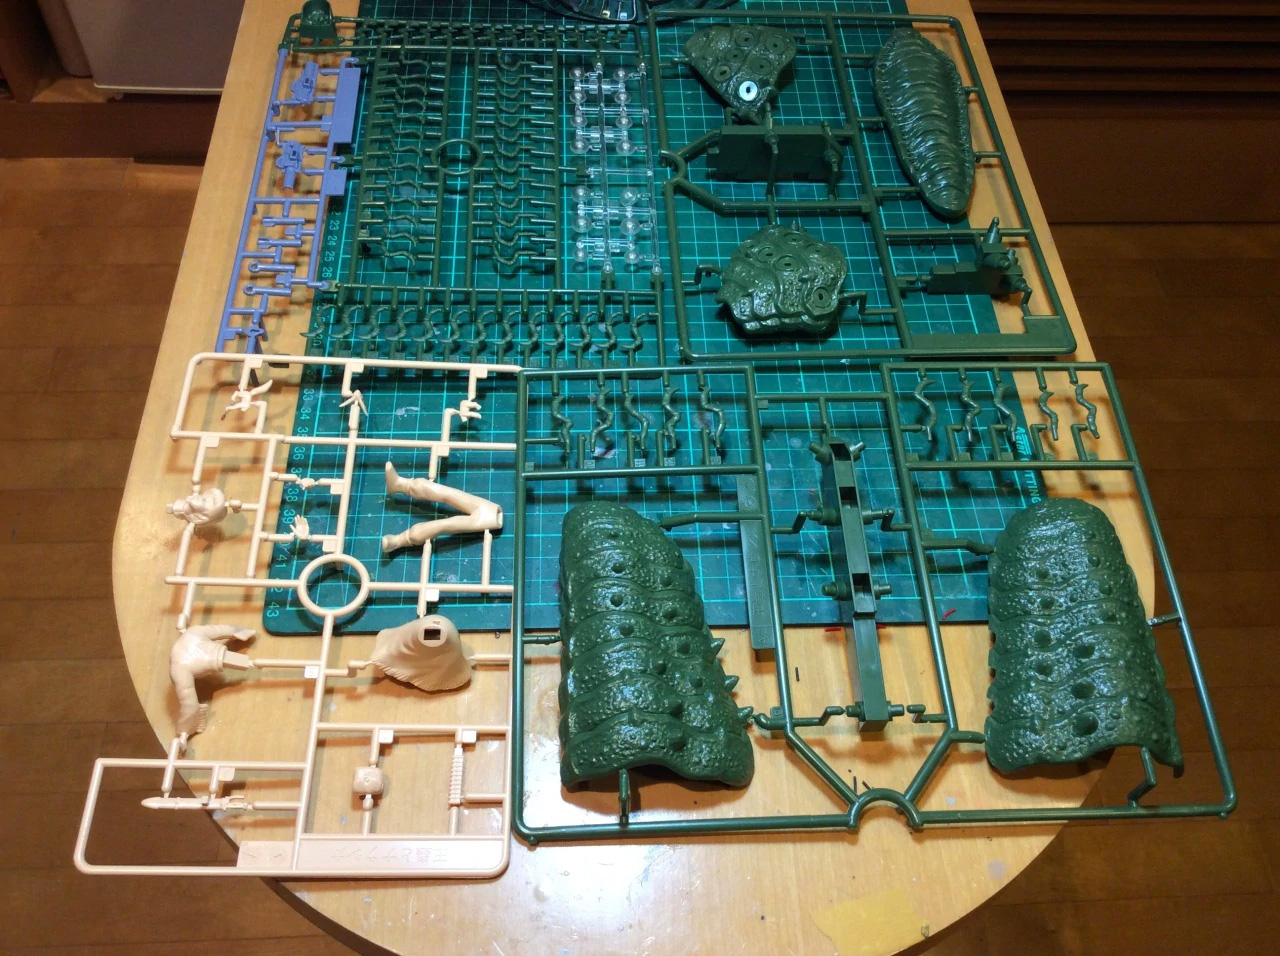
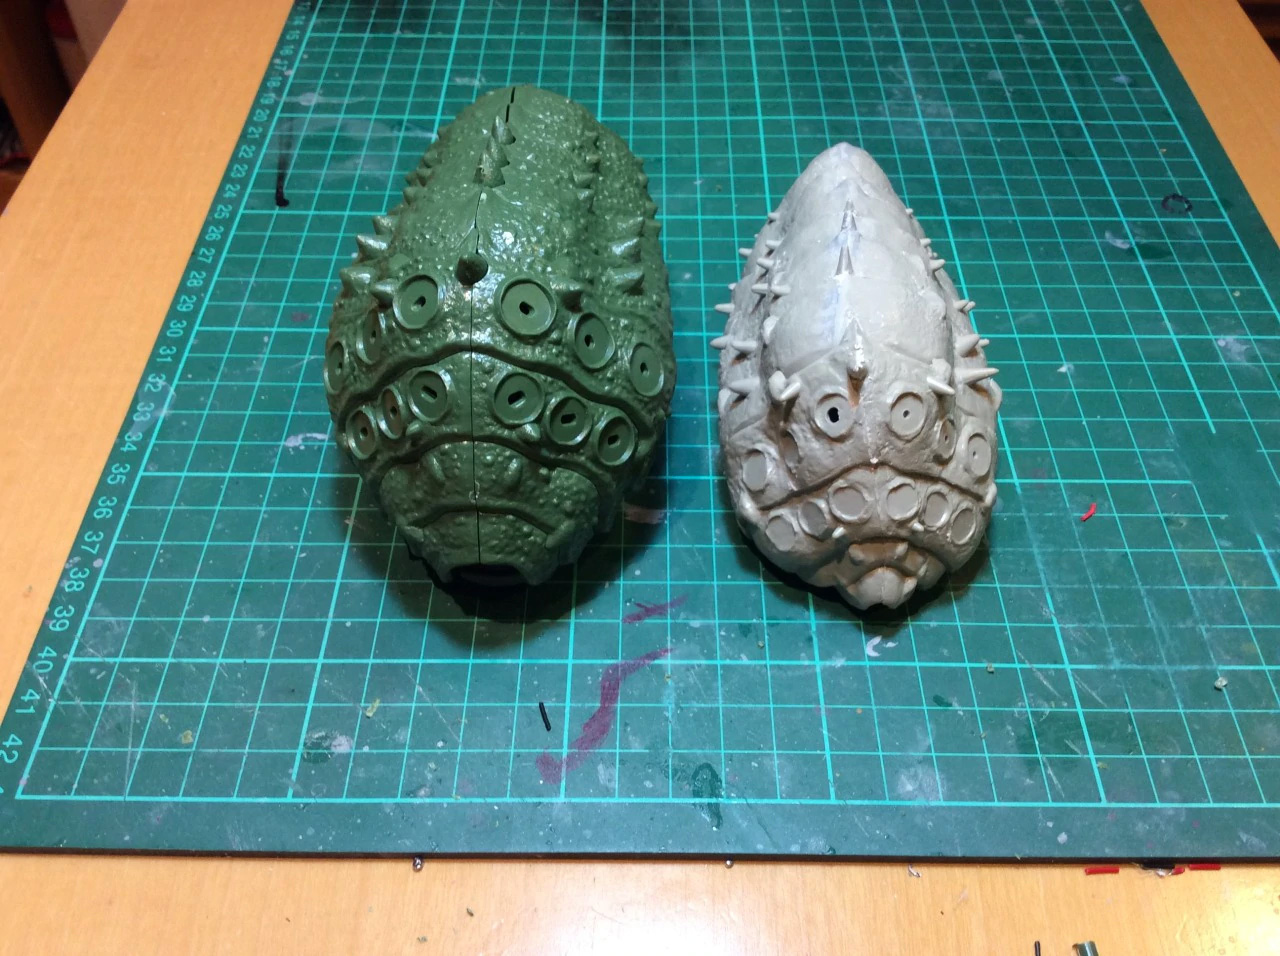
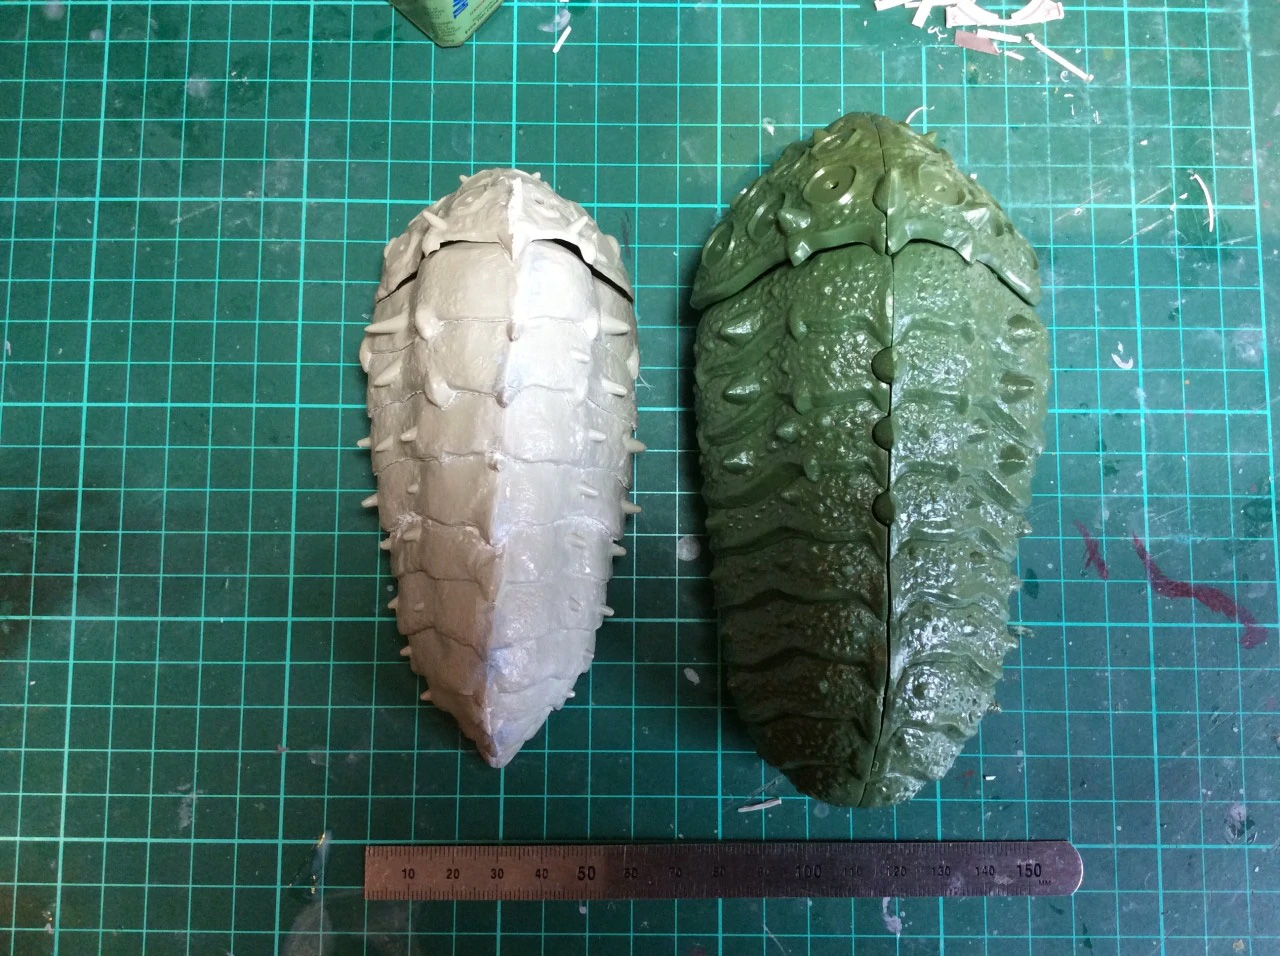
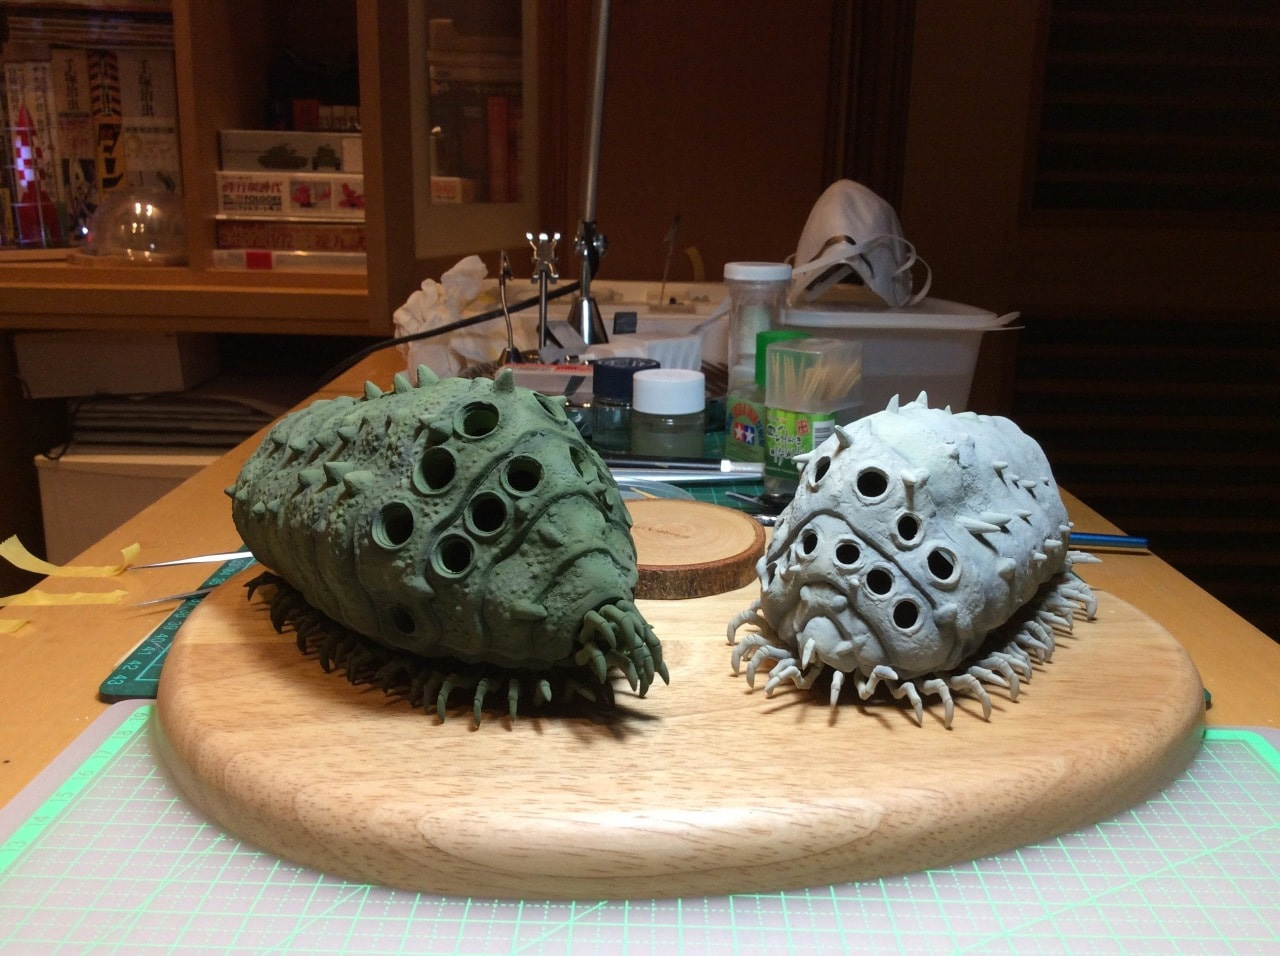
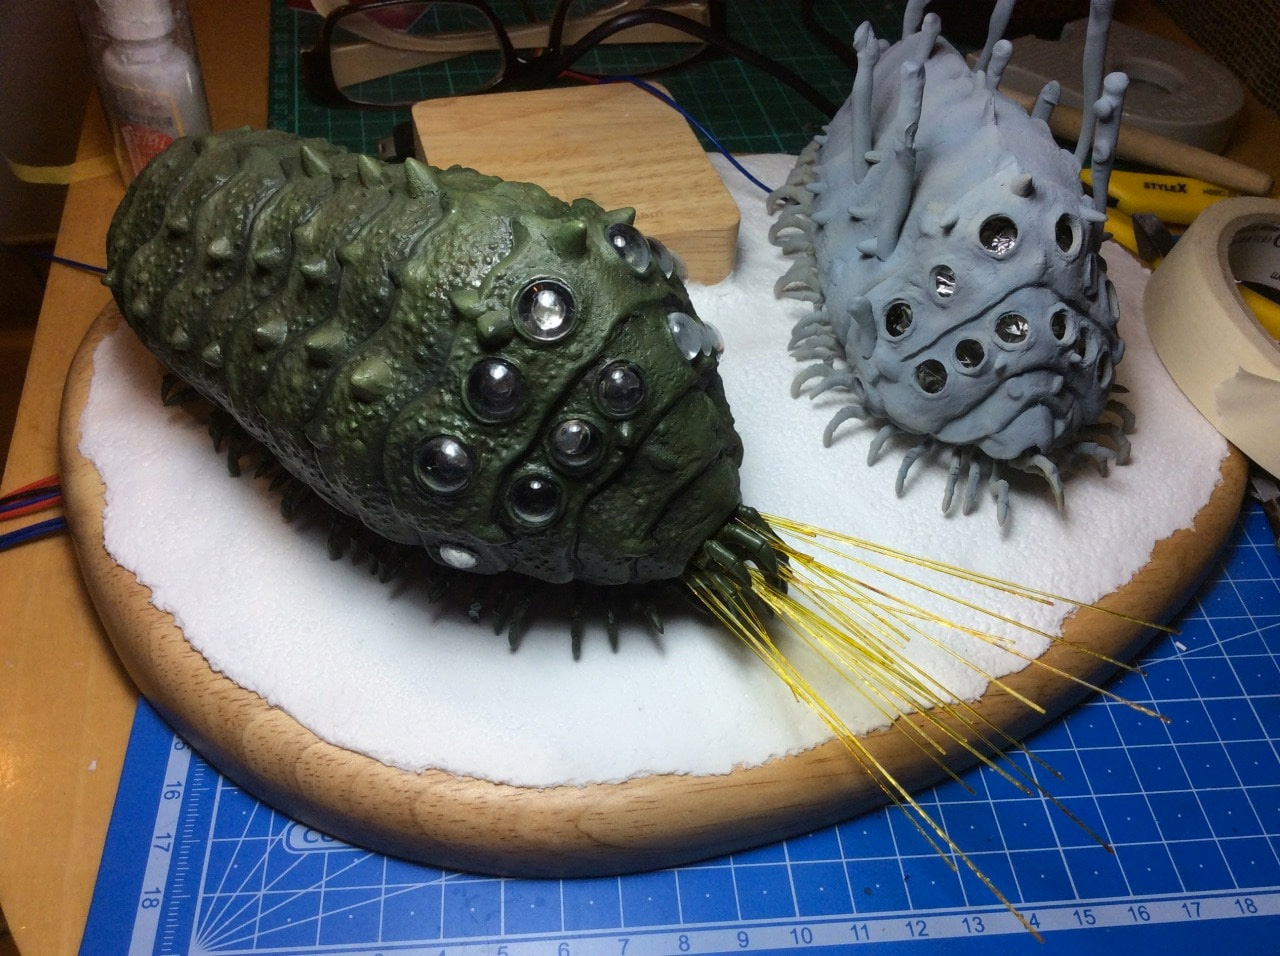
Still the opening scene of both the manga and the anime is pretty iconic. So even with a bit of creative interpretation, it seemed like an obvious choice to kick off my Ghibli-based 1/144 scale project. The project itself evolved somewhat in the development. When I first ran across a Tsukuda 1/20 scale Nausicaa w/ baby Ohm kit at a local hobby fair, I just picked it up on spec. But for some reason I didn’t really feel that drawn to the scene where Nausicaa tries to rescue the baby Ohm from entering the acid lake – that one’s been done to death, albeit some in spectacular fashion. It wasn’t until I got my hands on the updated kit from Bandai that the plan really started to formulate in my head. I think it might have had something to do with the different sizes. I always thought that the Bandai kits were just repops of the Tsukuda molds, but as you can see from the build gallery below, they’re QUITE different.
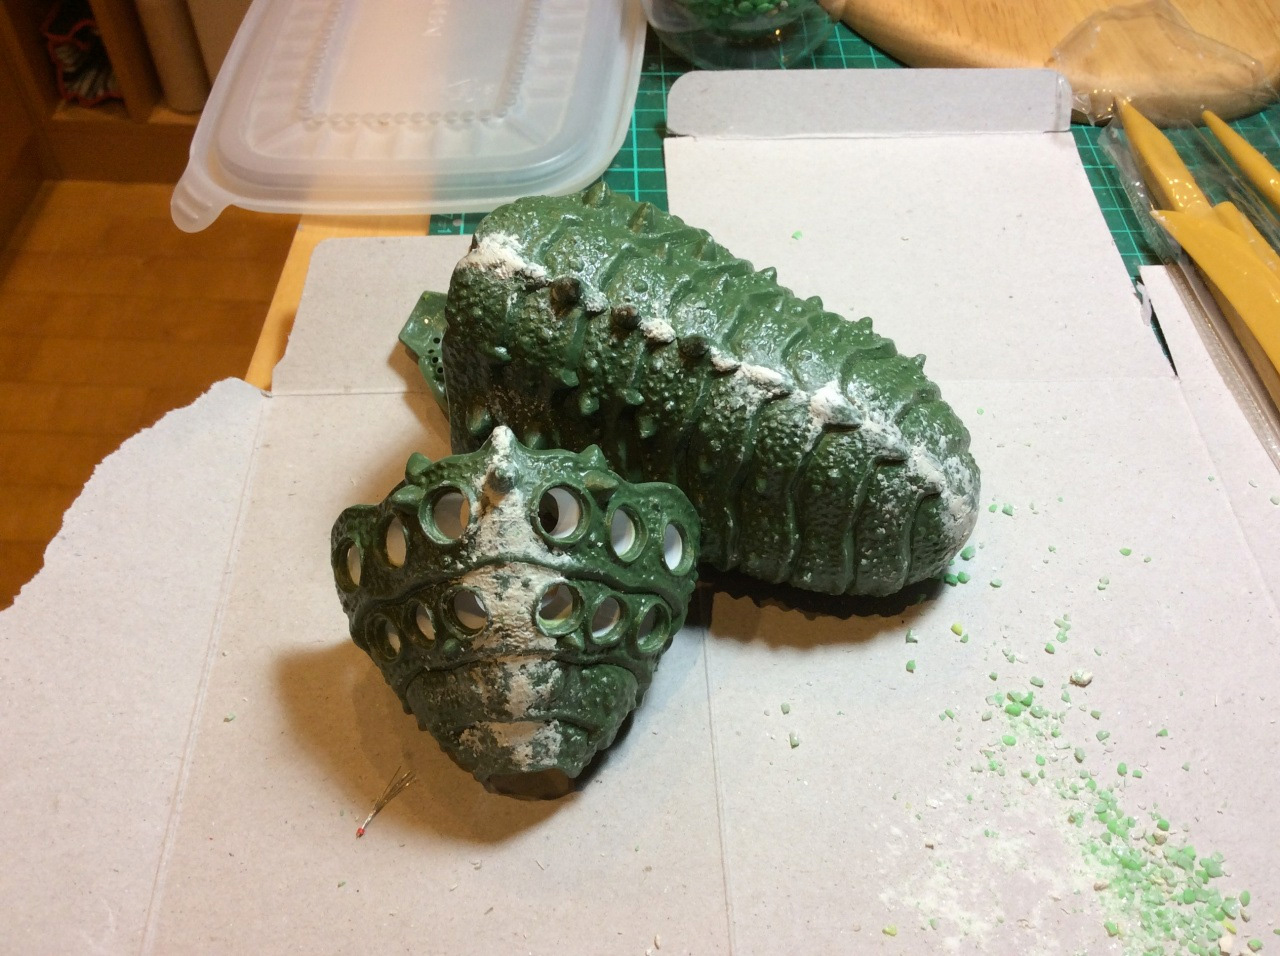
Once I had them side by side, I decided to depict a scene inspired by the opening scene. Given that the grey plastic of the Tsukuda kit makes the Ohm look dead (and not just a transparent empty shell), I decided to go all out with that concept. So I just adapted the elements of the empty shell, the live Ohm and the Nausicaa and the eye shield, and then mixed in the look of the spore-infested carcasses leftover after one of the Ohm stampedes. Besides, I’m pretty sure the scene LOOKS like it could’ve been pulled from the animated film or the manga, right?
The kit:
- Ohm with Nausicaä by Bandai)
- Ohm with Nausicaä by Tsukuda)
The build:
This build was one of the more monumental ones I’ve done, but I think it was well worth the effort. In reality, it was a build with four distinct phases.
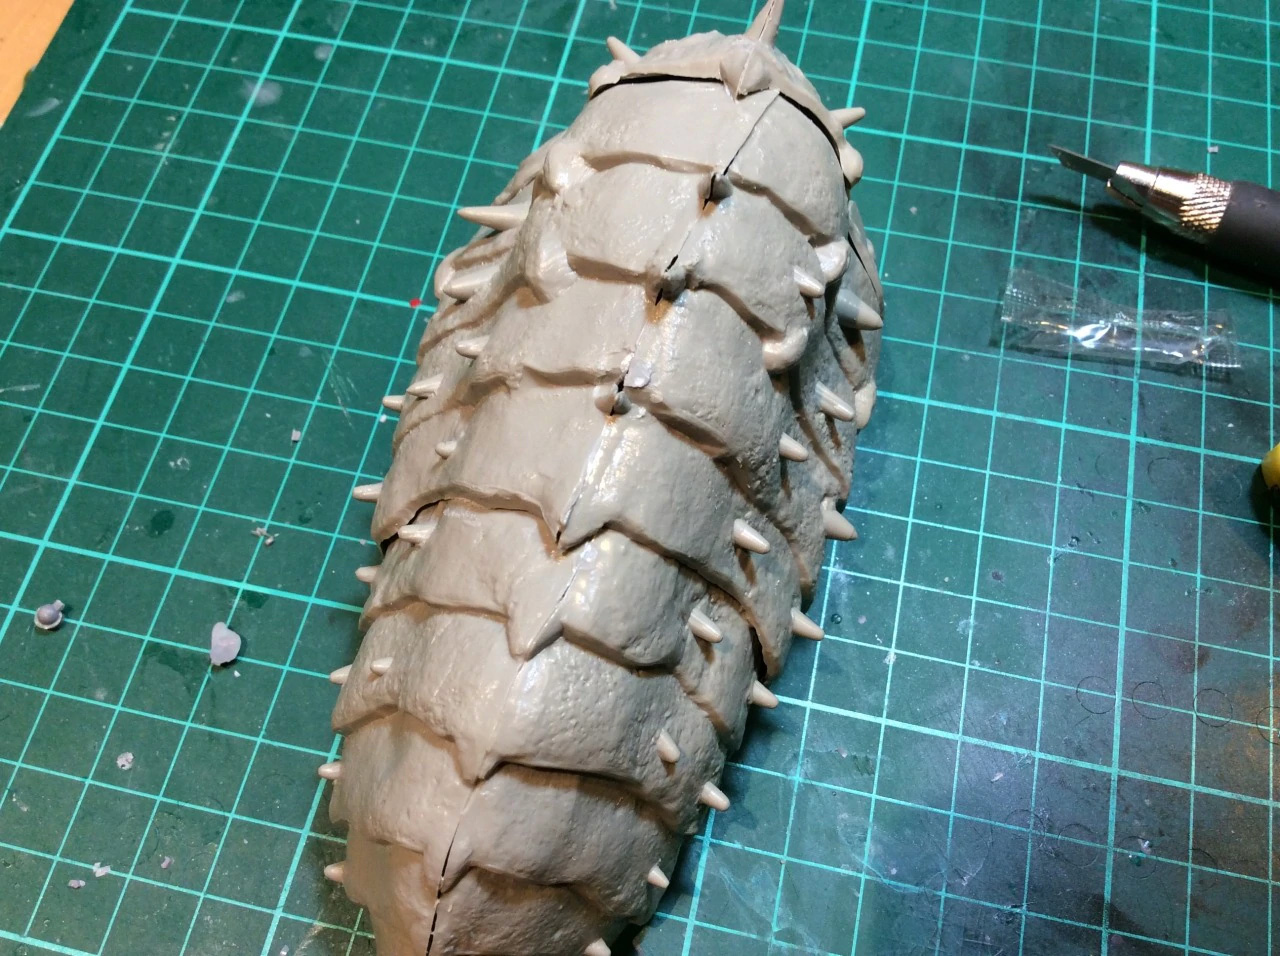
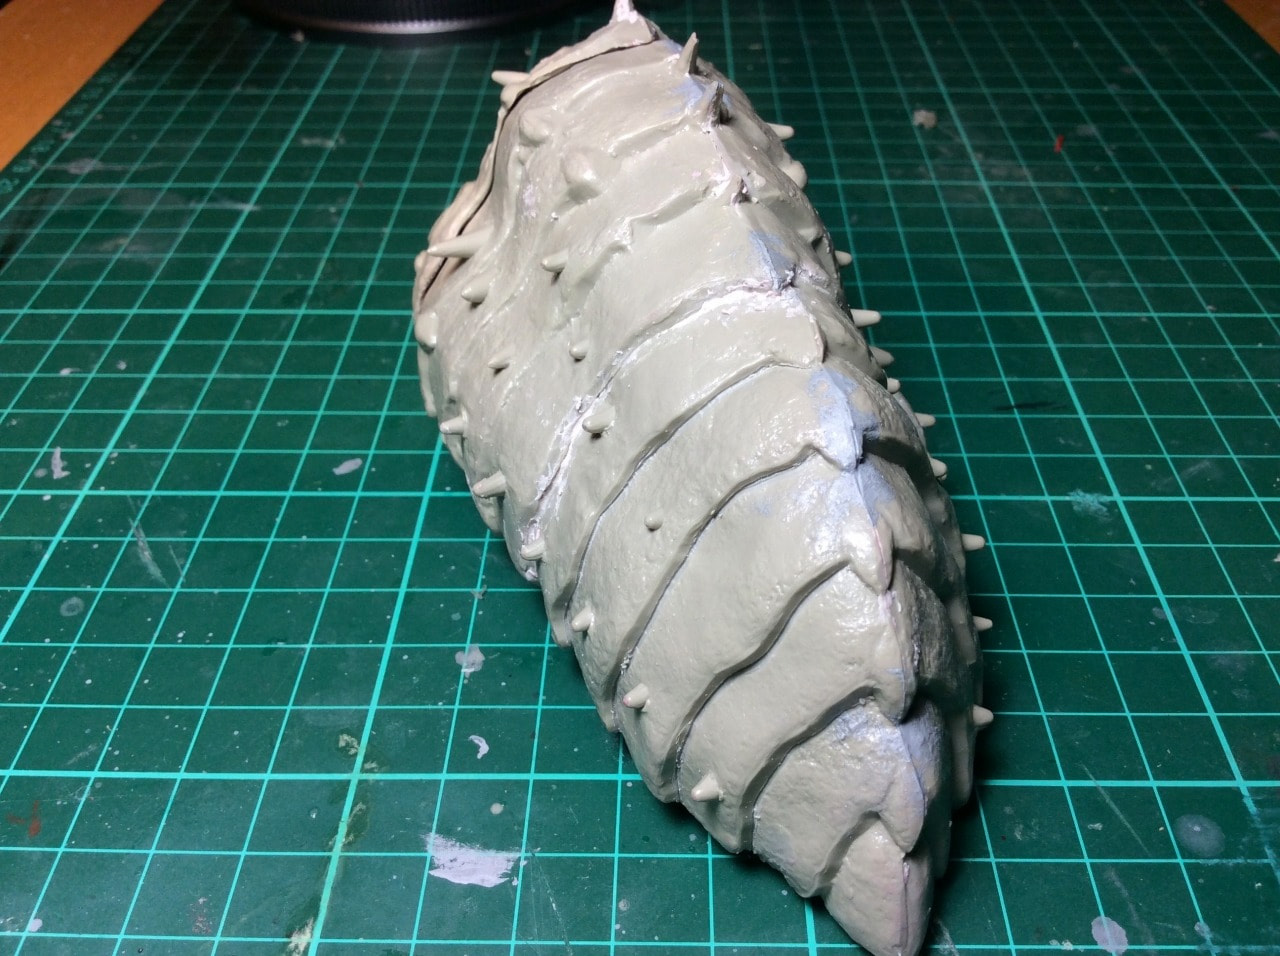
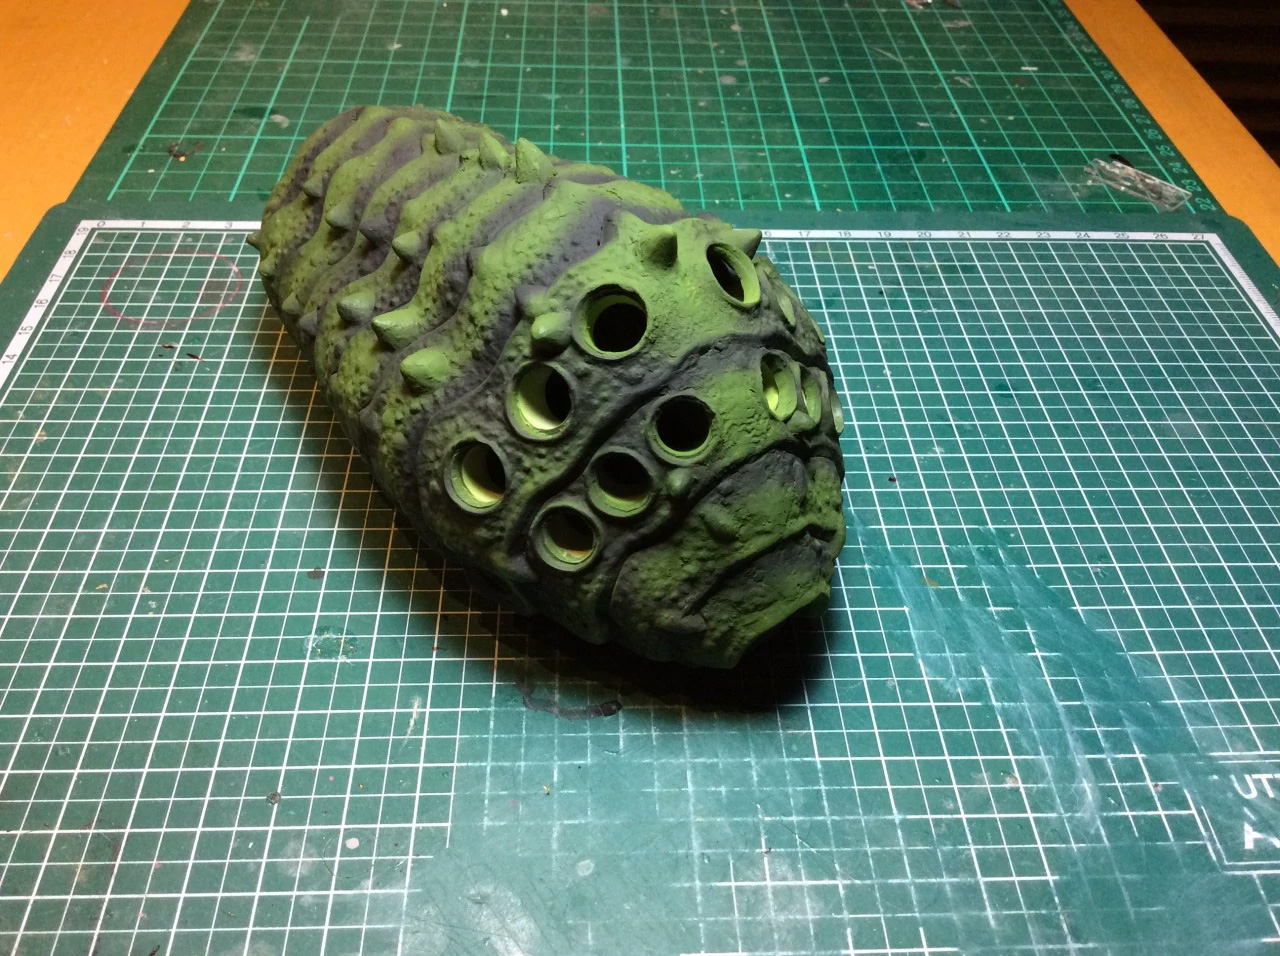
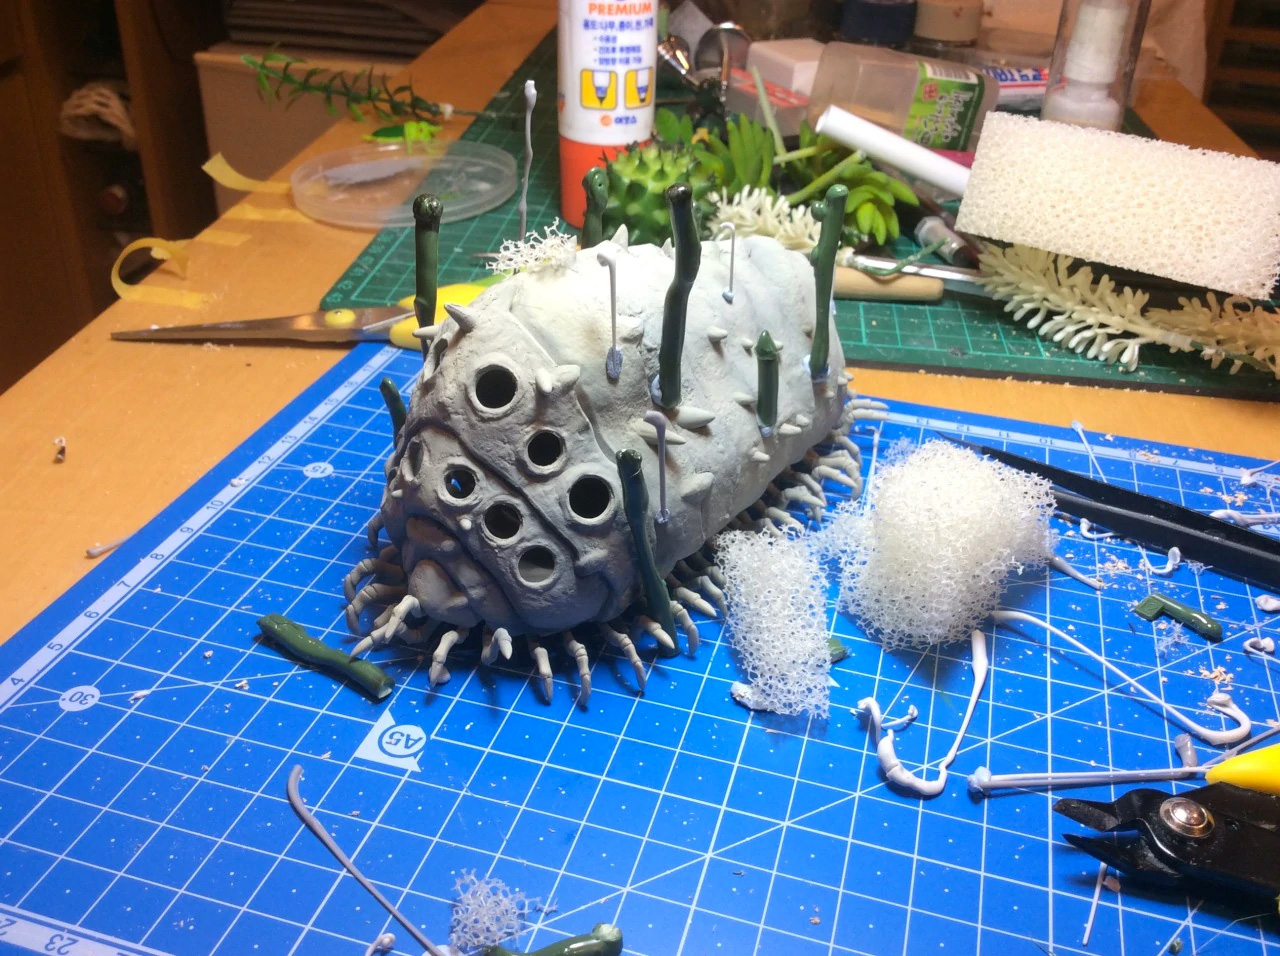
Phase 1: The Kit Construction
The first phase was really just about build the kits themselves. The nice thing about the Ohm figures is that changing a 1/20 scale baby Ohm into a 1/144 scale adult Ohm takes no work at all. Basically if you call it 1/144 and stick a small Nausicaa figure next to it… you’re done. What really surprised me the most was how different the Tsukuda original kit was from the updated Bandai one. I’d though they were just “updated parts” but in reality they are completely different molds. Makes me wonder why Bandai didn’t just try something different, but I guess they just wanted to stick with the tried and true method.
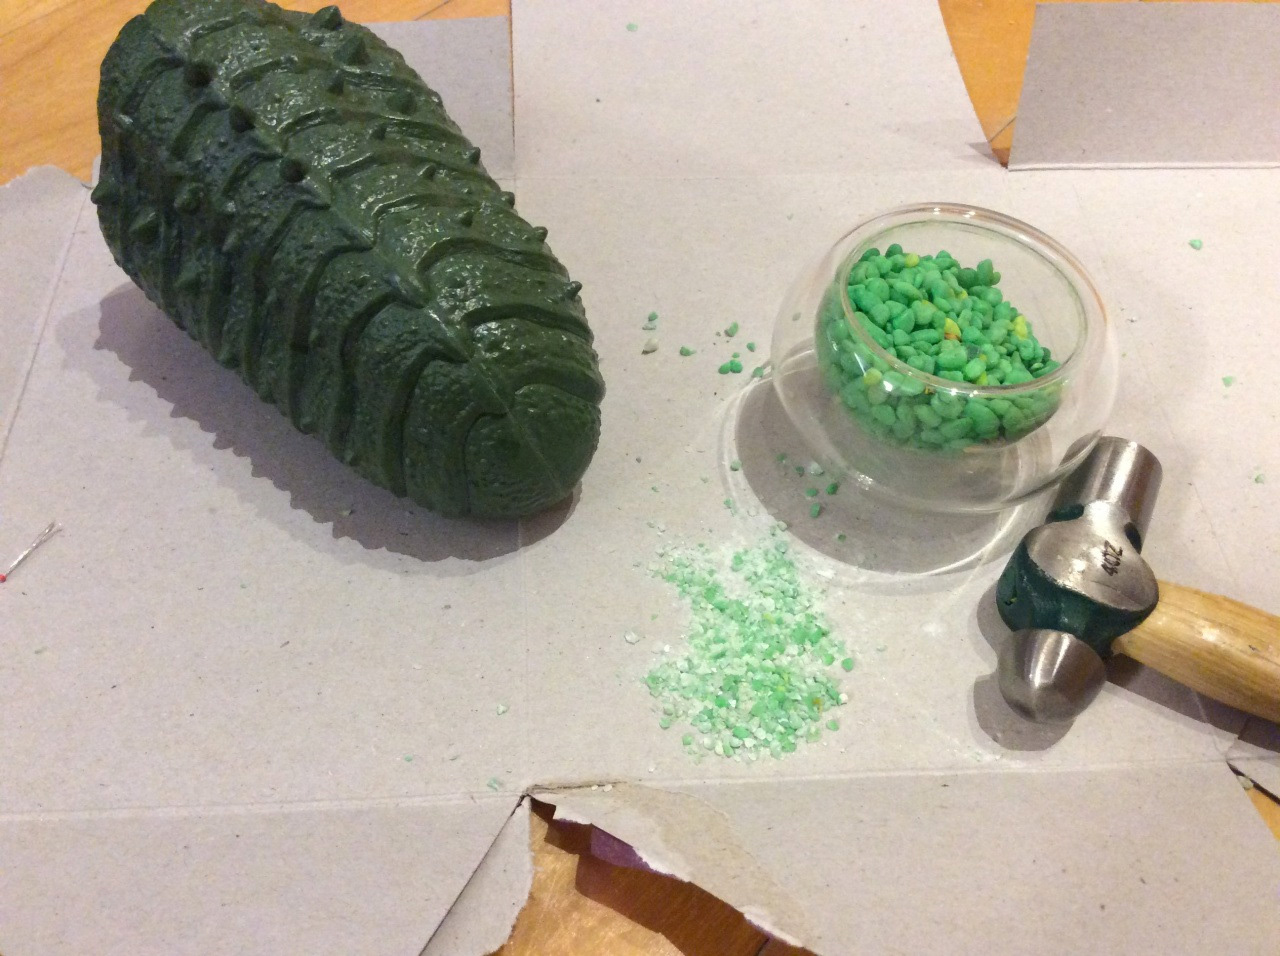
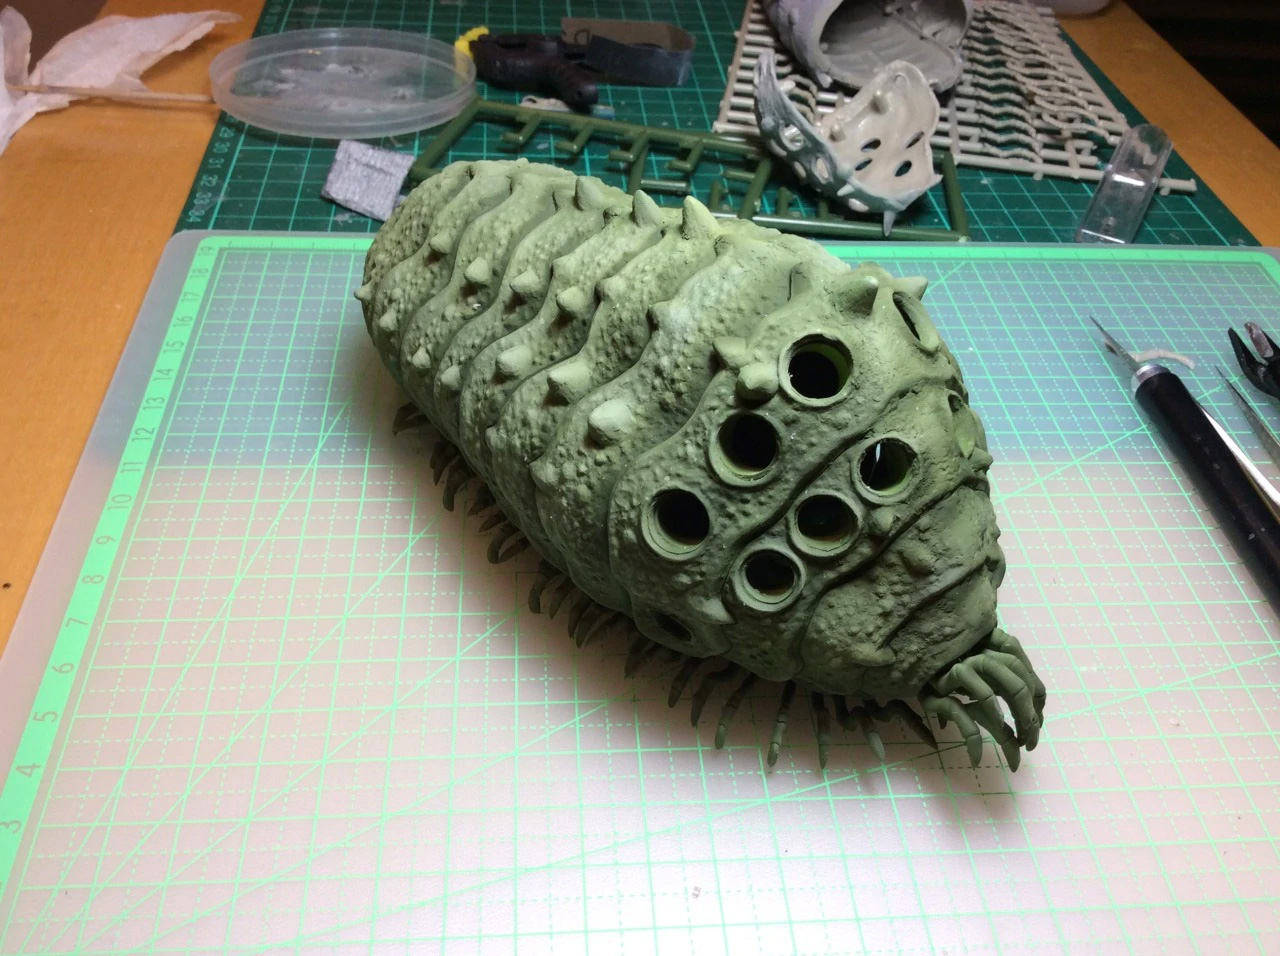
Putting the kits together was pretty straightforward. The Tsukuda kit, as you can guess, had some fit issues, but nothing that a little epoxy putty couldn’t bring together. On the other hand the Bandai kit fit like a glove, and the hardest part was cutting out the internal support structure to allow room for the wiring. The thing I found the most challenging was how to deal with the seam. On most model kits, sanding the seam smooth is the way to go, but given the mottled shell, sanding down a smooth spot would look weird. So, instead, I crushed up some aquarium gravel and mixed it with some putty and applied it over the seam line. With a little more patience I might’ve done a better job, but it worked well enough in a pinch.
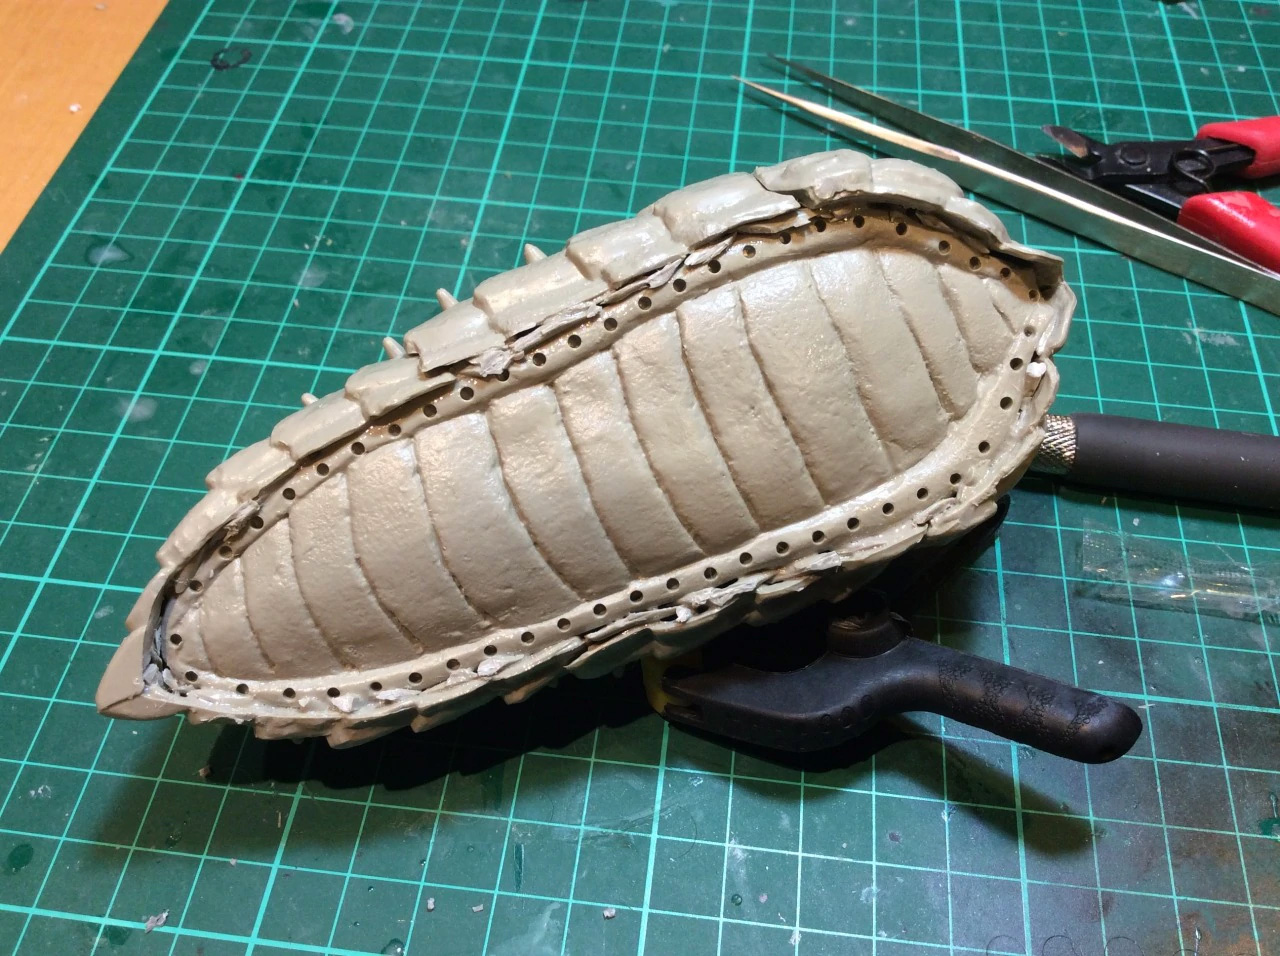
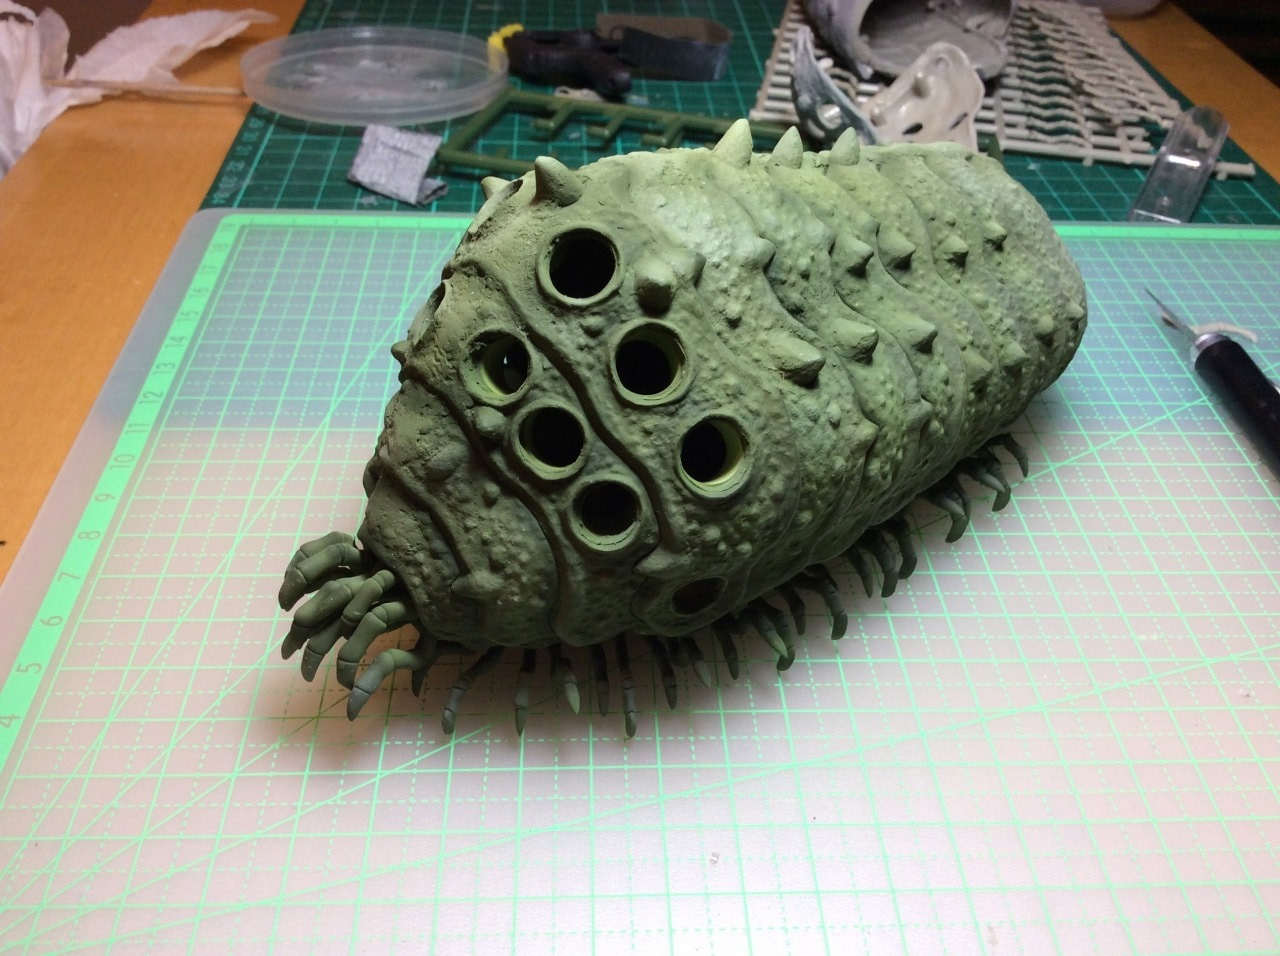
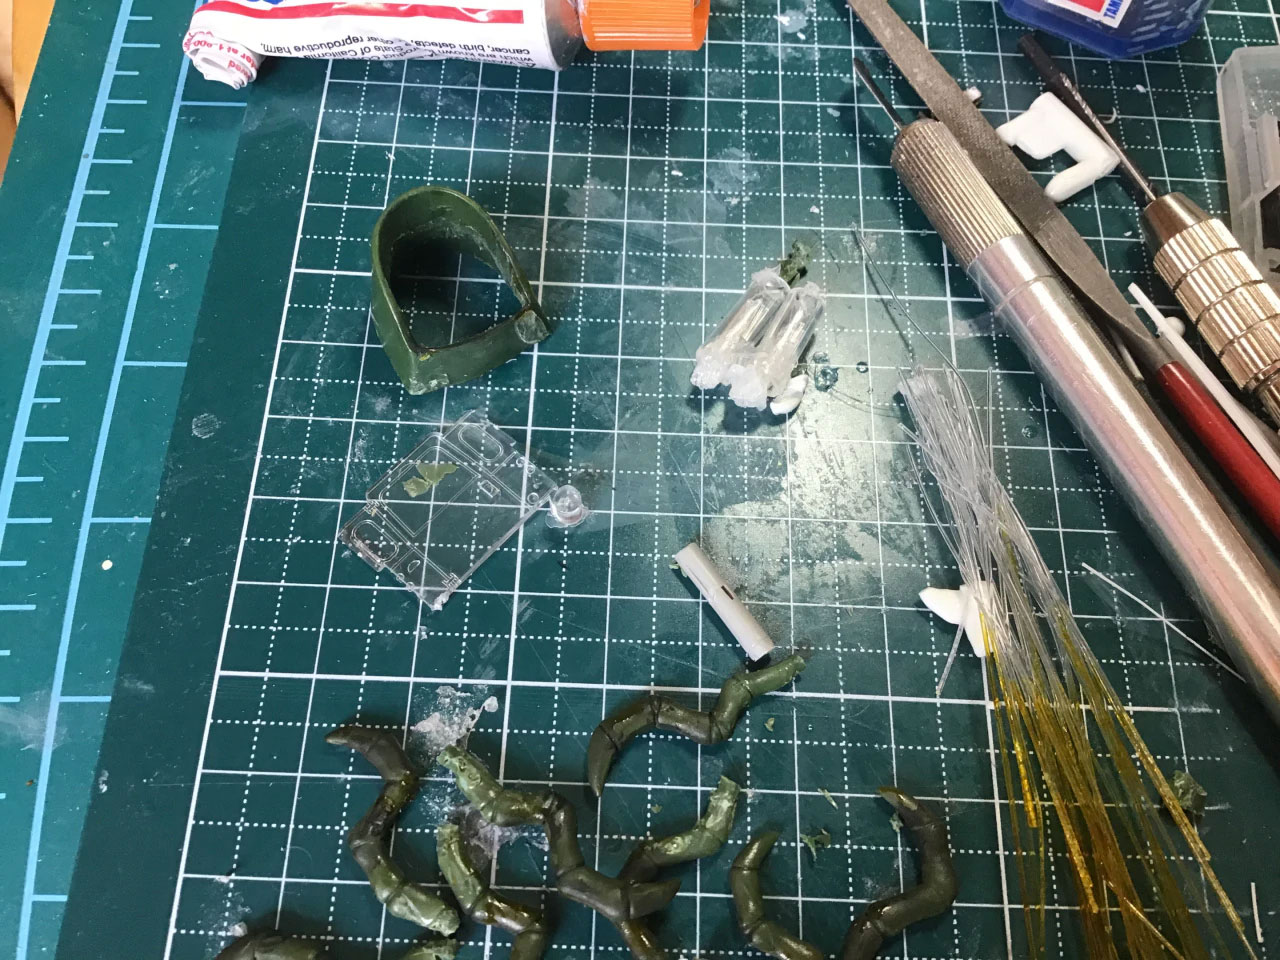
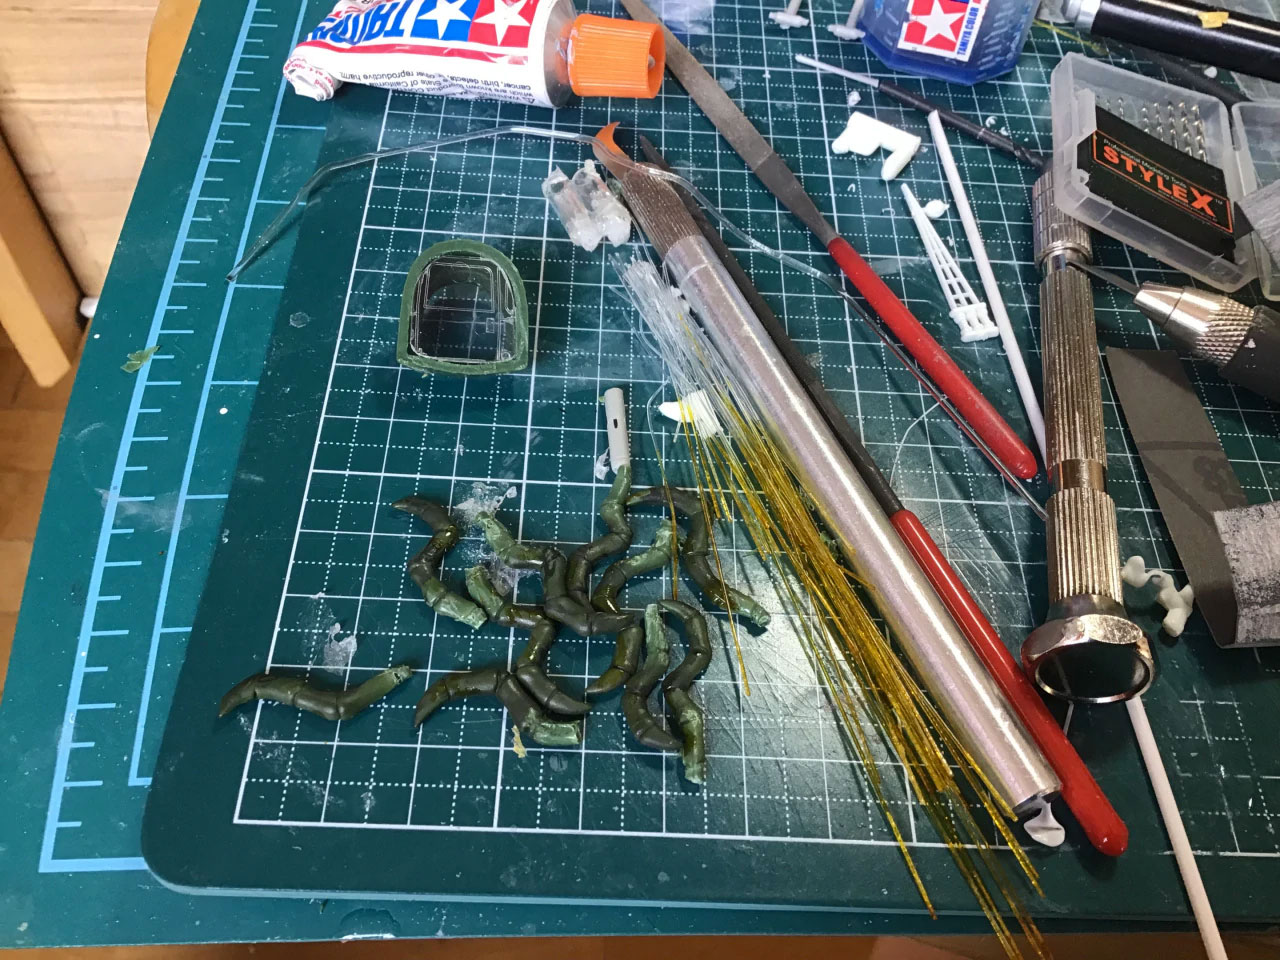
But MAN what a lot of legs…
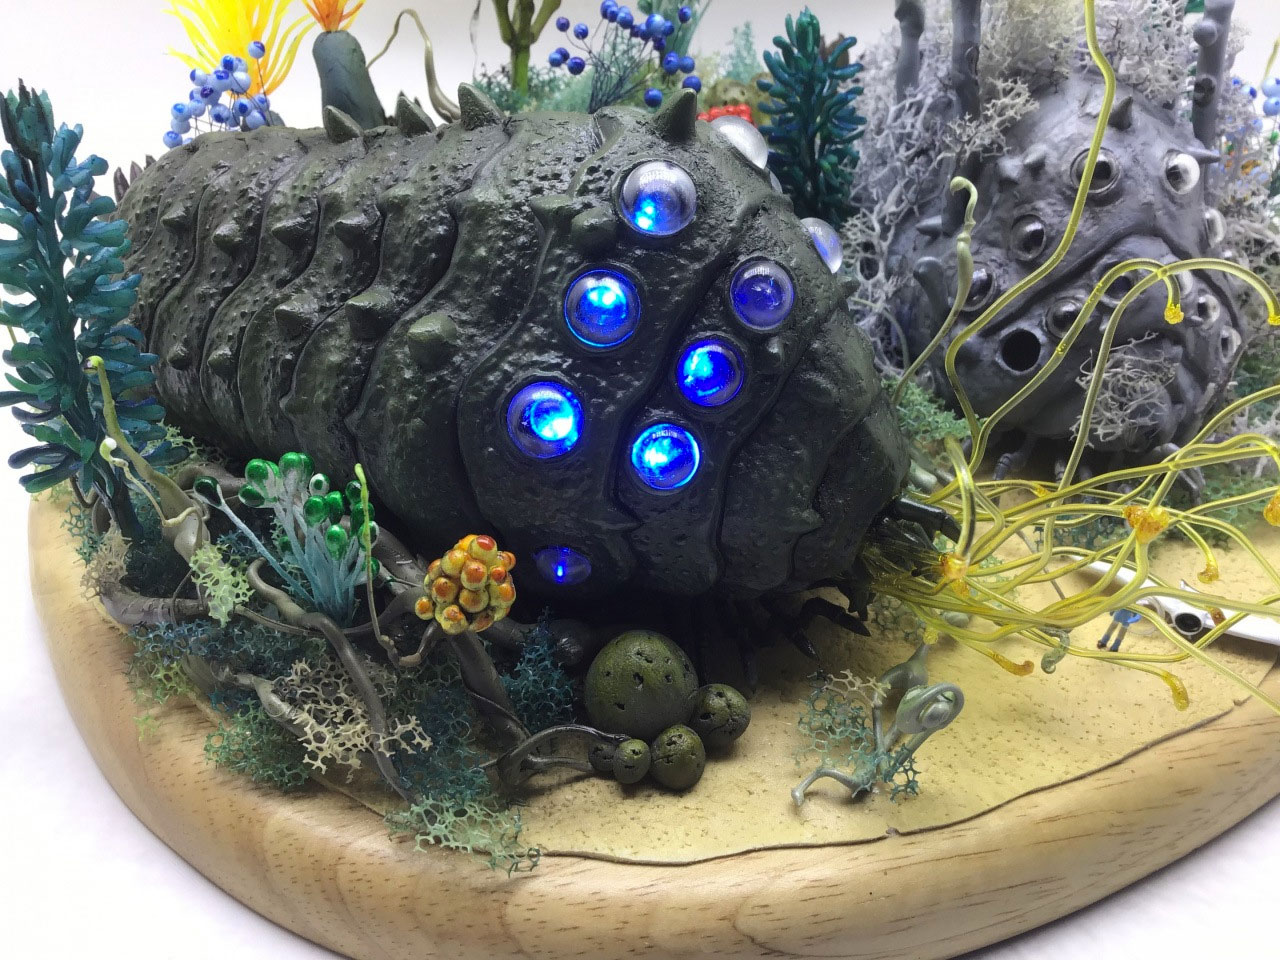
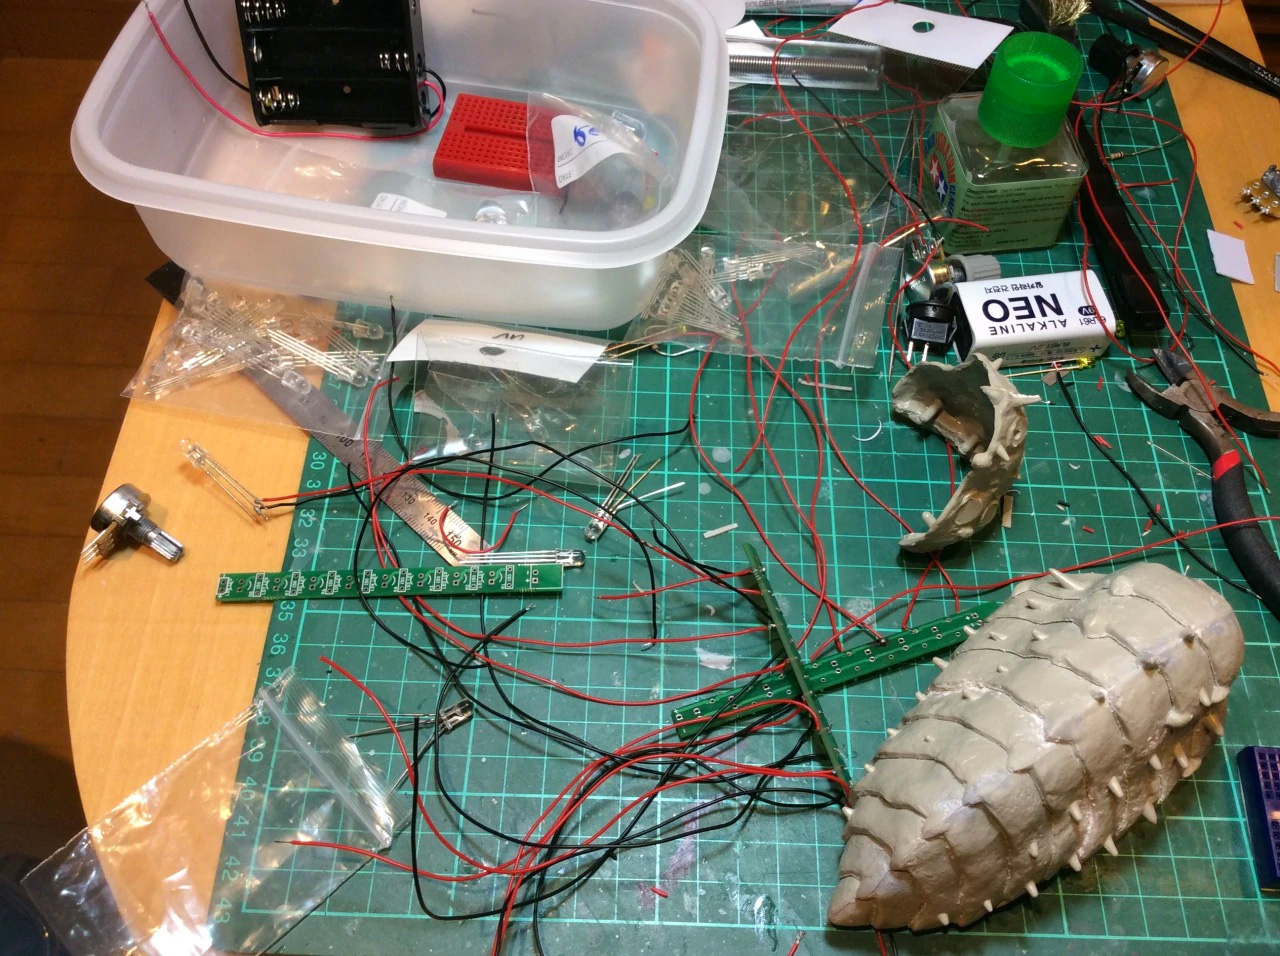
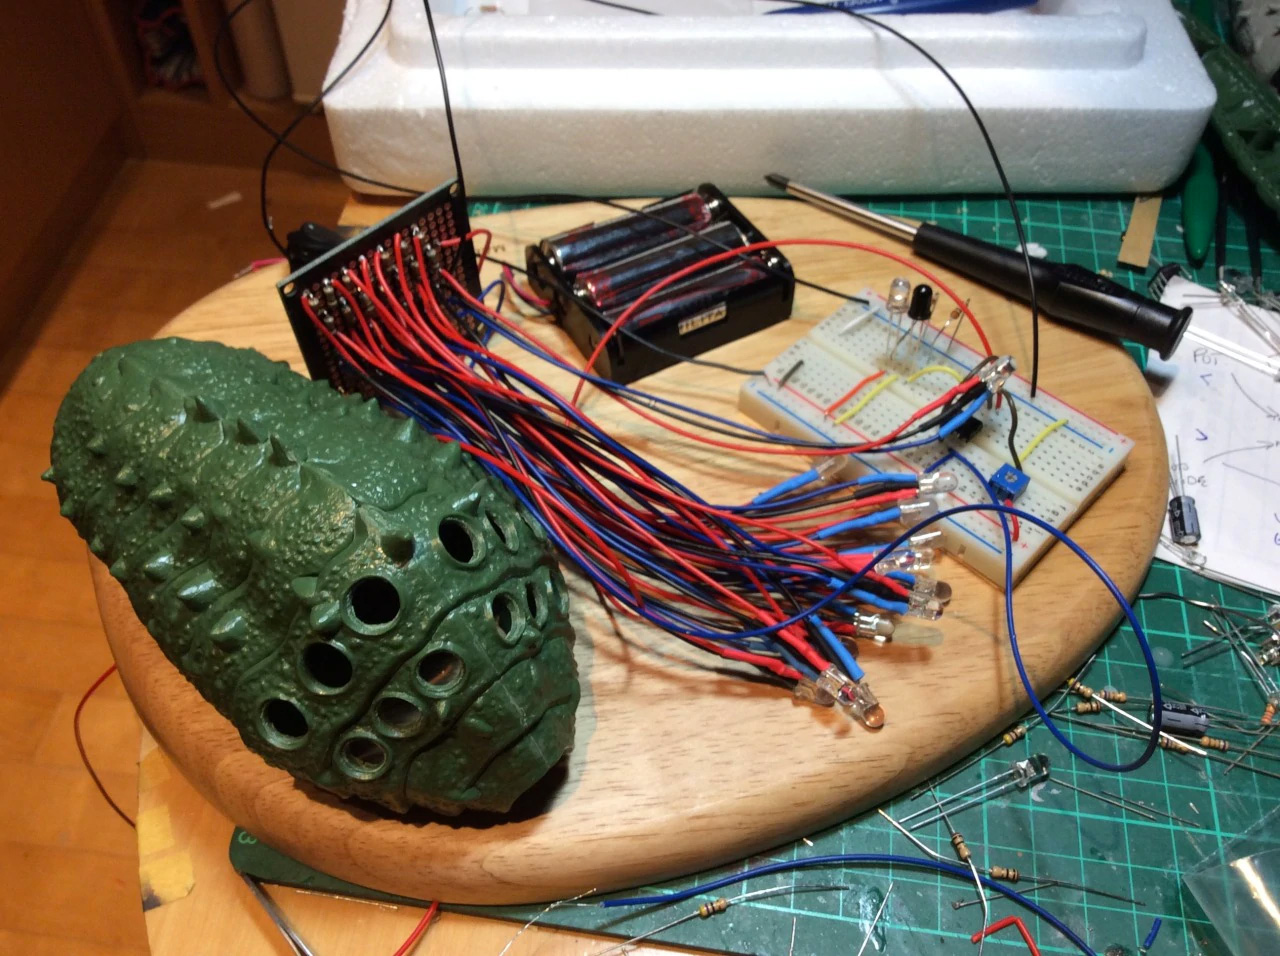
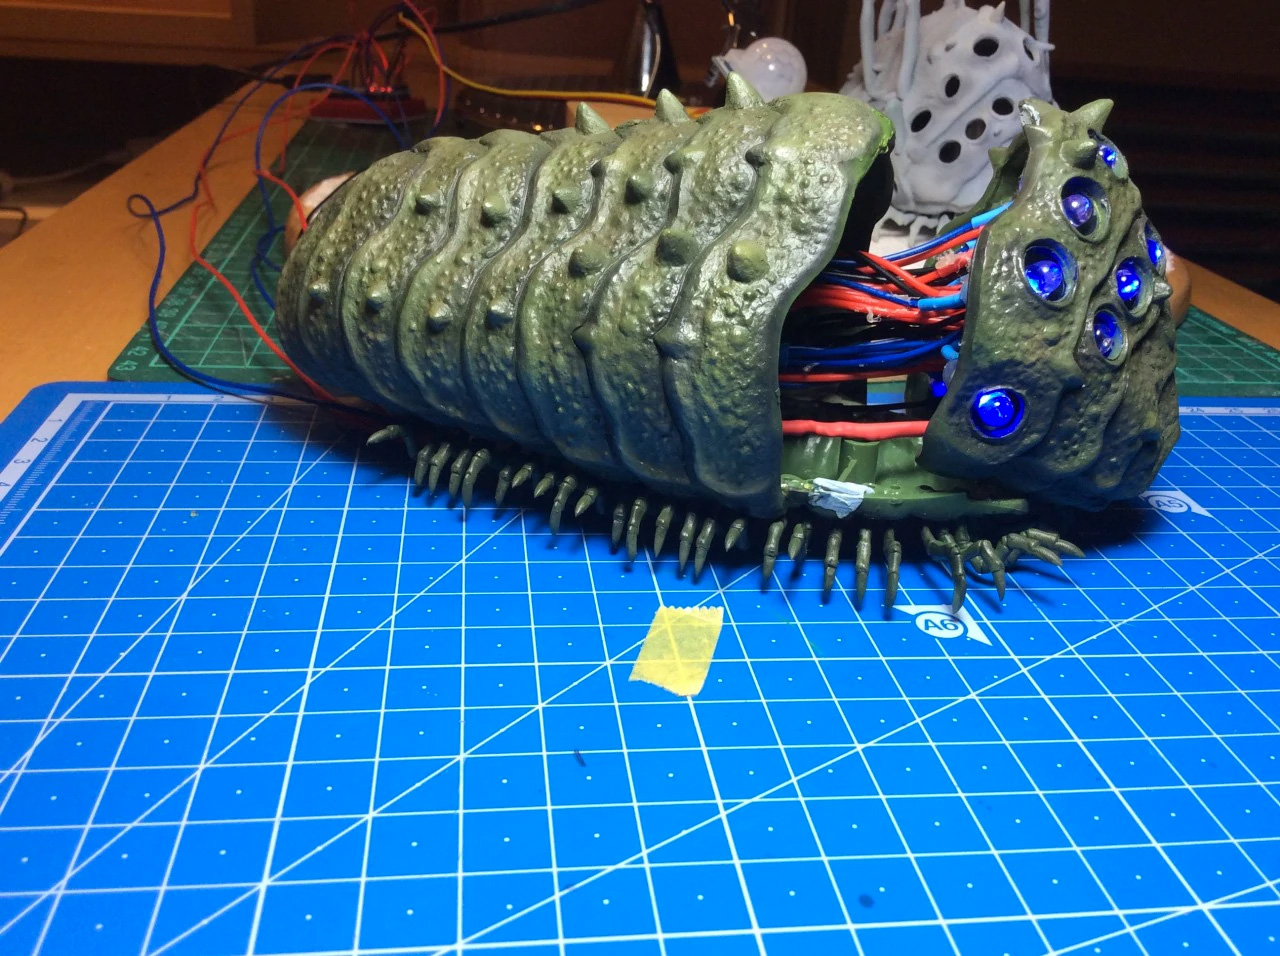
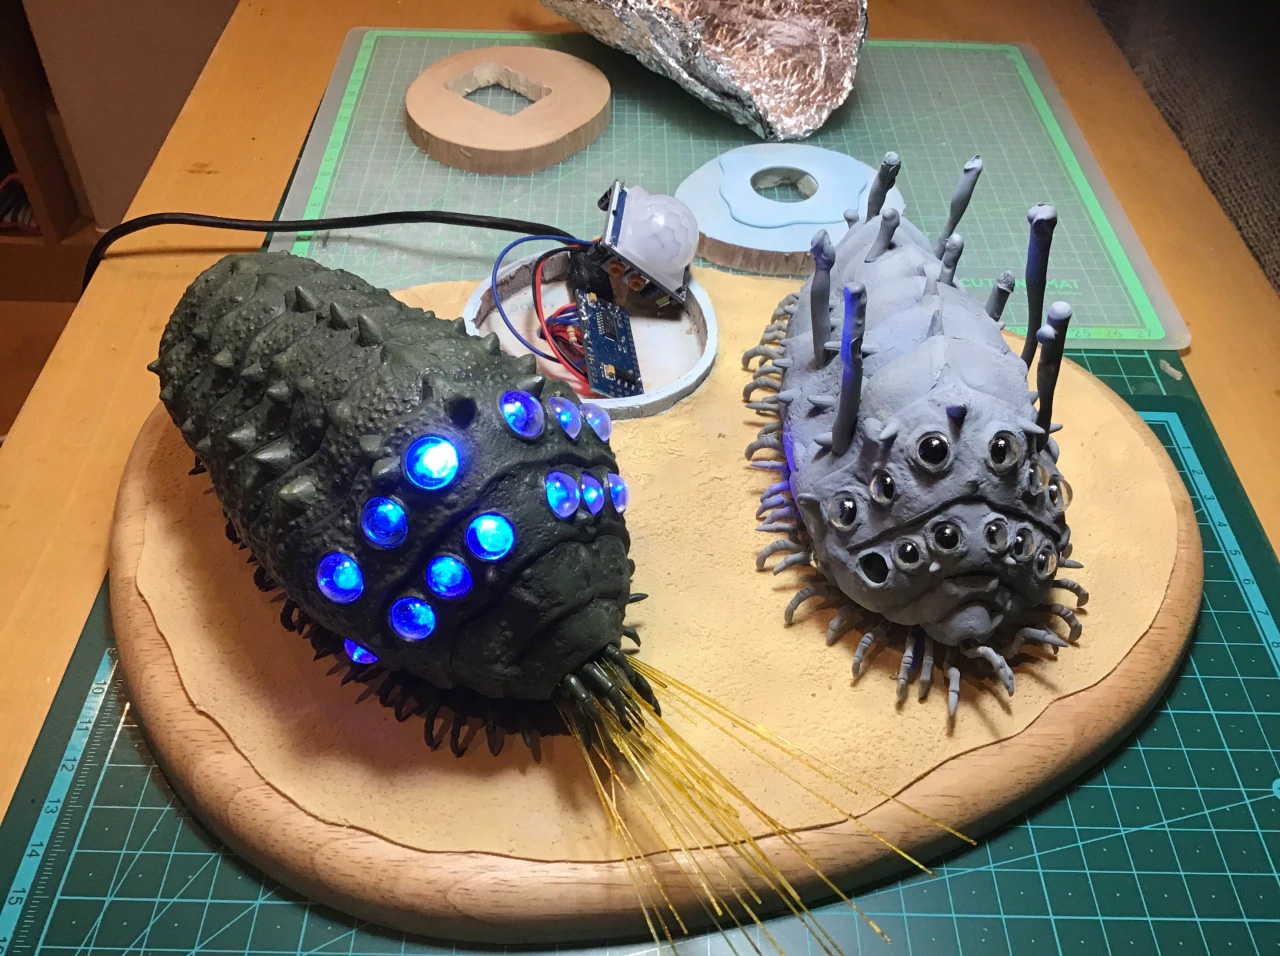
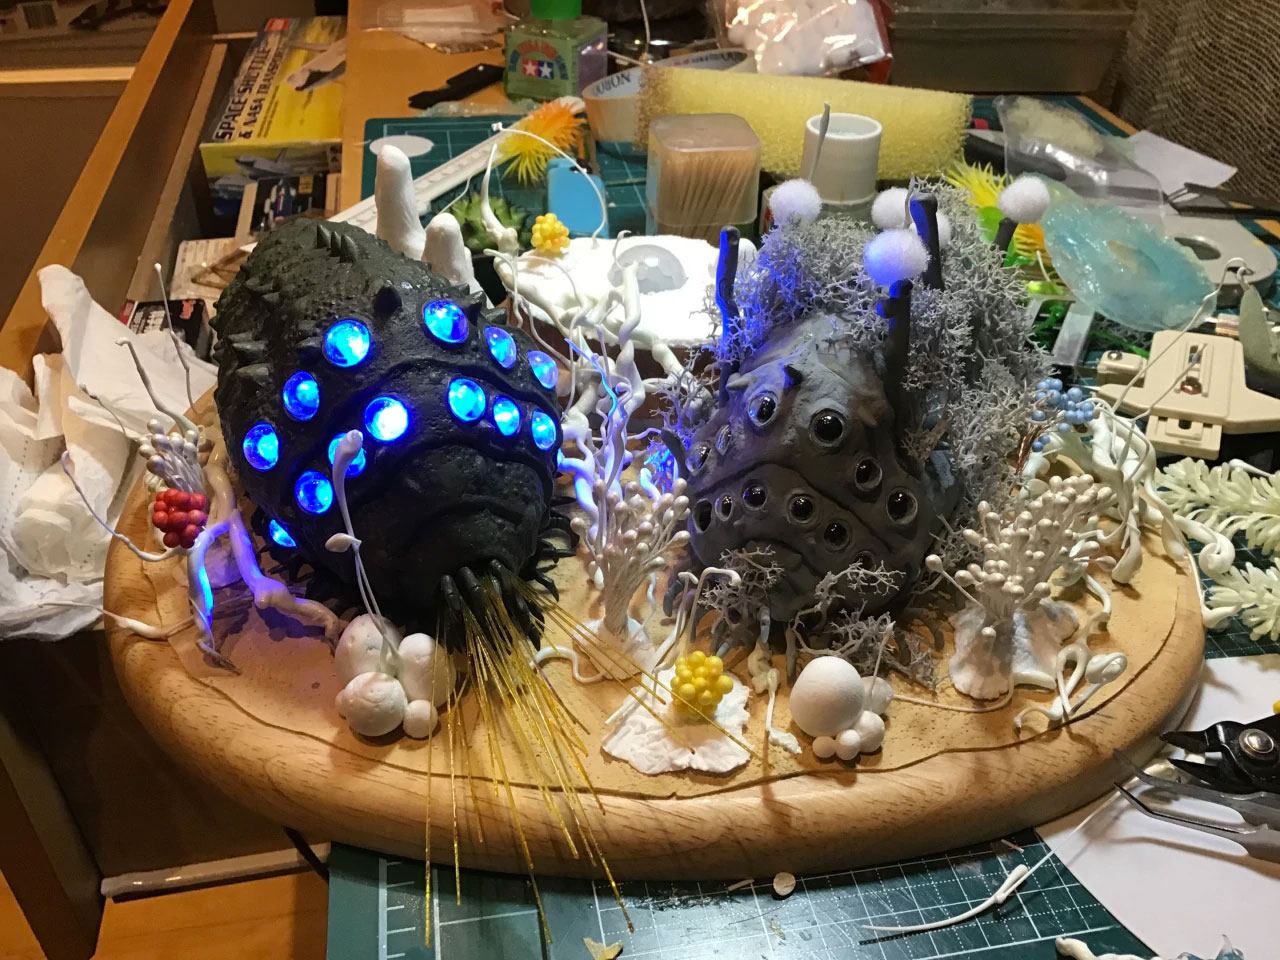
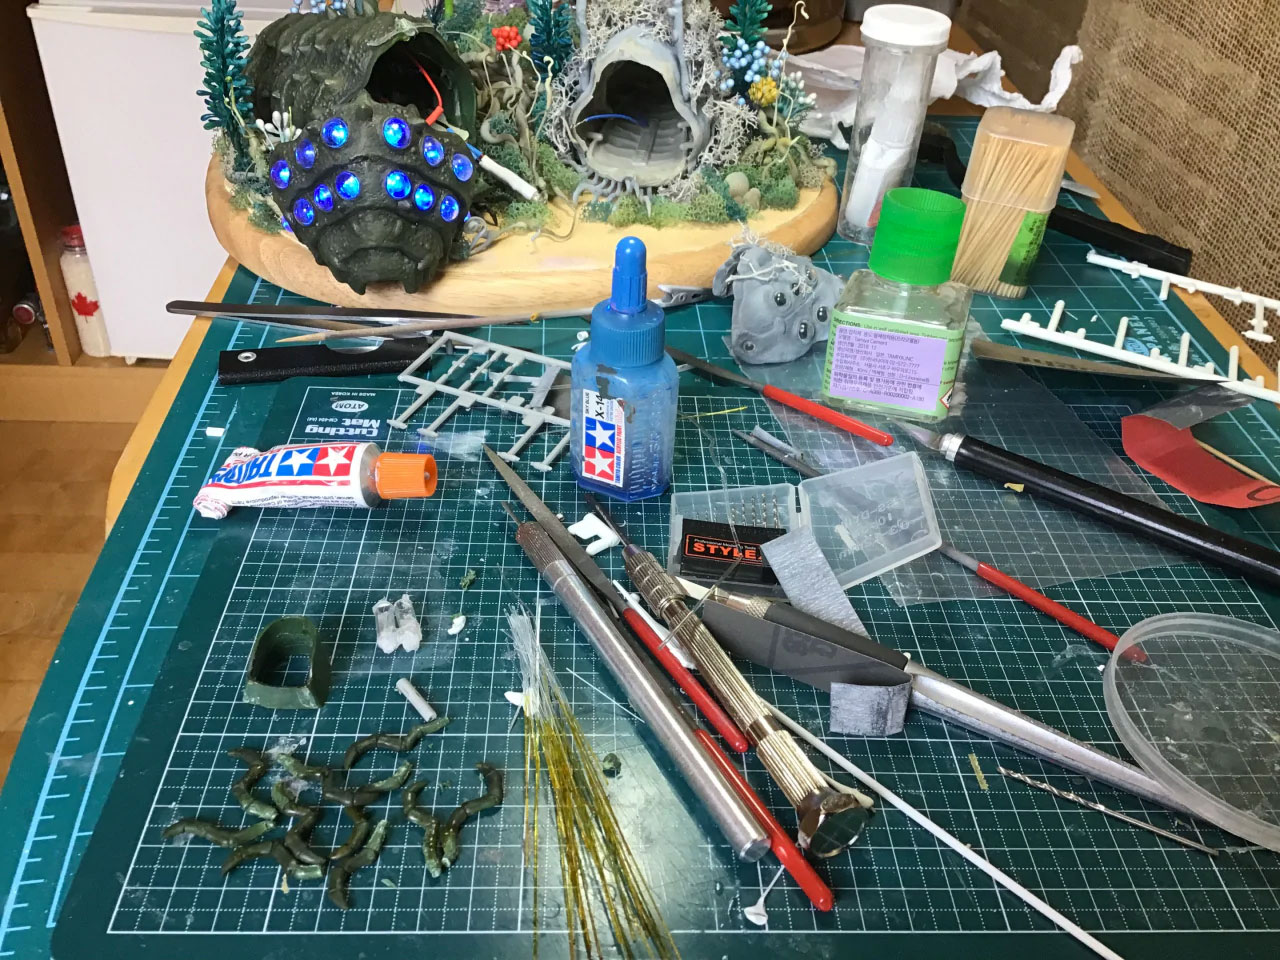
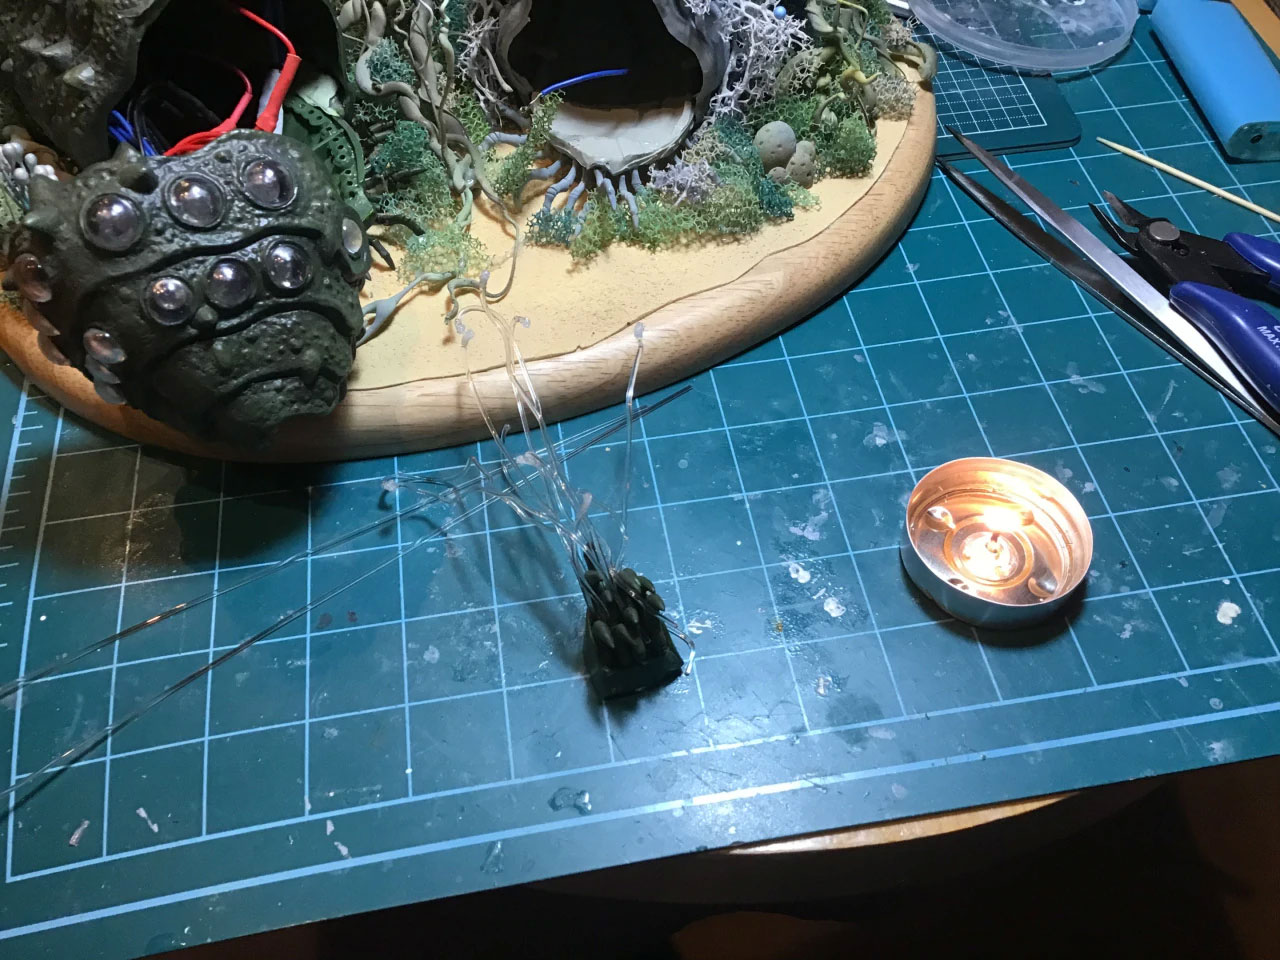
Phase 2: The Electronics
After the shells were put together, I turned my attention to the electronics. I saw a video on YouTube of an Ohm with flashing Blue/Red eyes that changed with a proximity sensor and I just had to include it. I used a Arduino Nano microprocessor to handle it, so writing and testing the code took some doing.
If you’re interested, here the code I wrote: OHM CODE
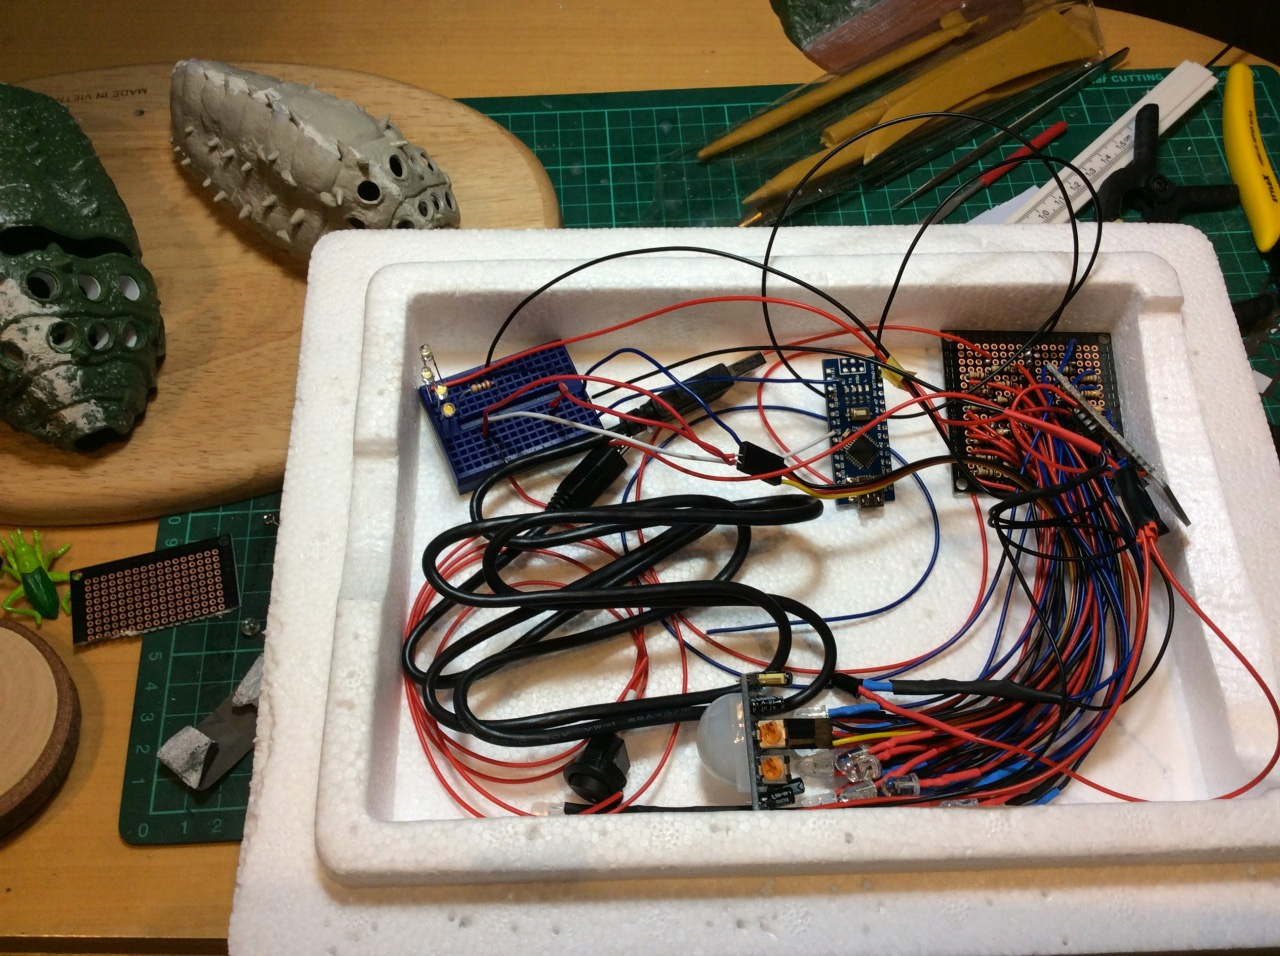
Fourteen eyes is a lot of light bulbs, even if you’re using RGB LEDs to accomplish it. Part of the challenge was figuring out how much electricity I could put through the Arduino without frying it. Once I got that down, I also needed to get the motion sensor to trigger the colour shift. I also included a capacitive touch sensor that should let you light up the Ohm’s yellow feelers with just a touch. I thought I was being smart by using a “dollar store” fibre optic lamp as a resource, but I couldn’t get the fibres to bend without destroying the internal light-shaping structure and rendering them “dead”.
It was also a challenge to load the interior of the dead Ohm with enough aluminium foil to get the touch to work through the plastic. Too much, flicker flicker, to little… and nothing. I got it working but it was barely noticeable, so right near the end of the project I tore out the fibre optics, added a transparent backing to the “mouth section” in the hopes of getting more light to pass through there, and reformed the yellow feelers out of heated/bent 1mm transparent polystyrene rods. It didn’t work any better, but the organic twisting made it LOOK a lot better, so I’m happy enough.
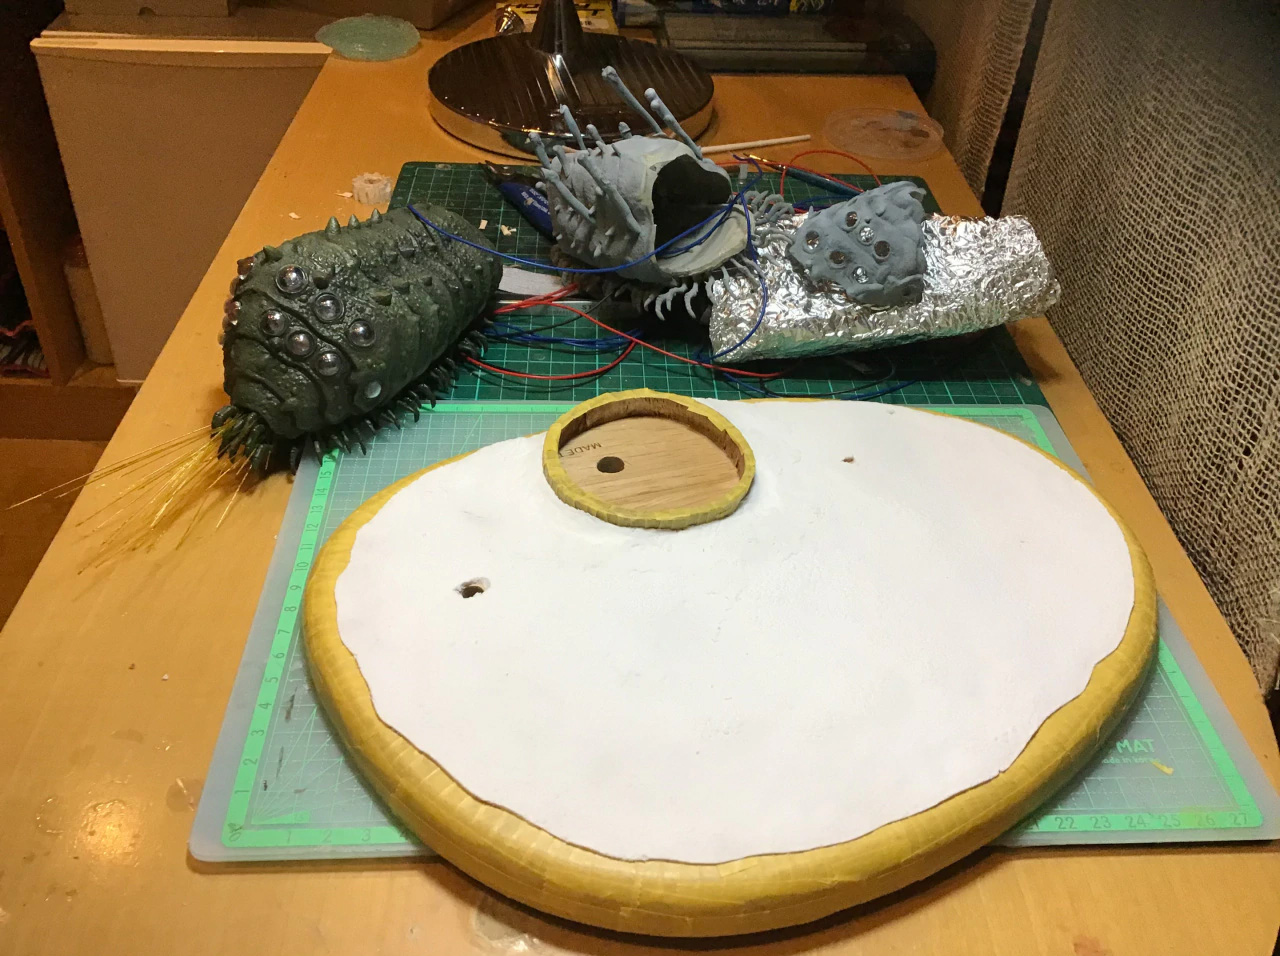
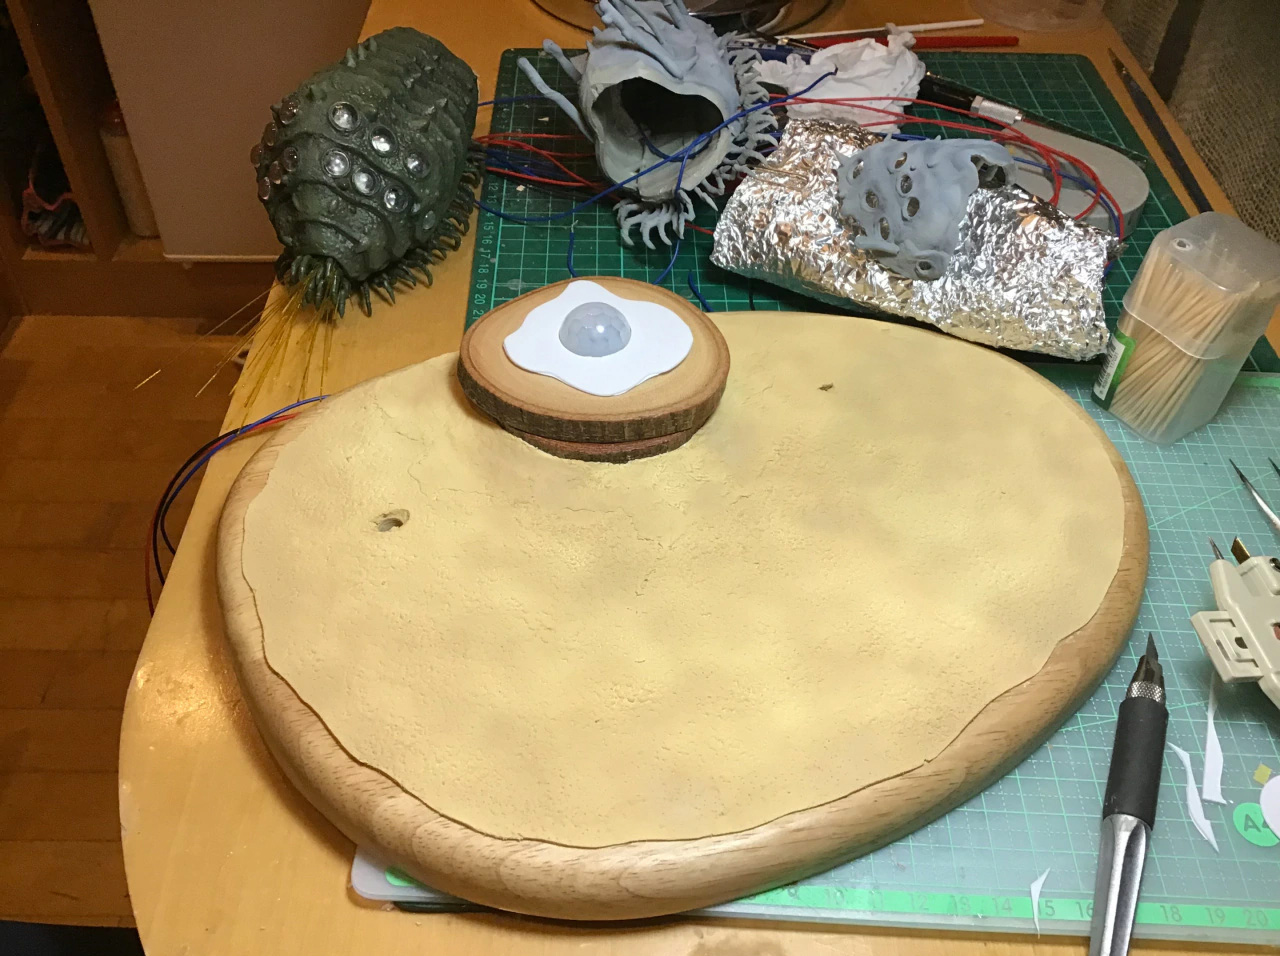
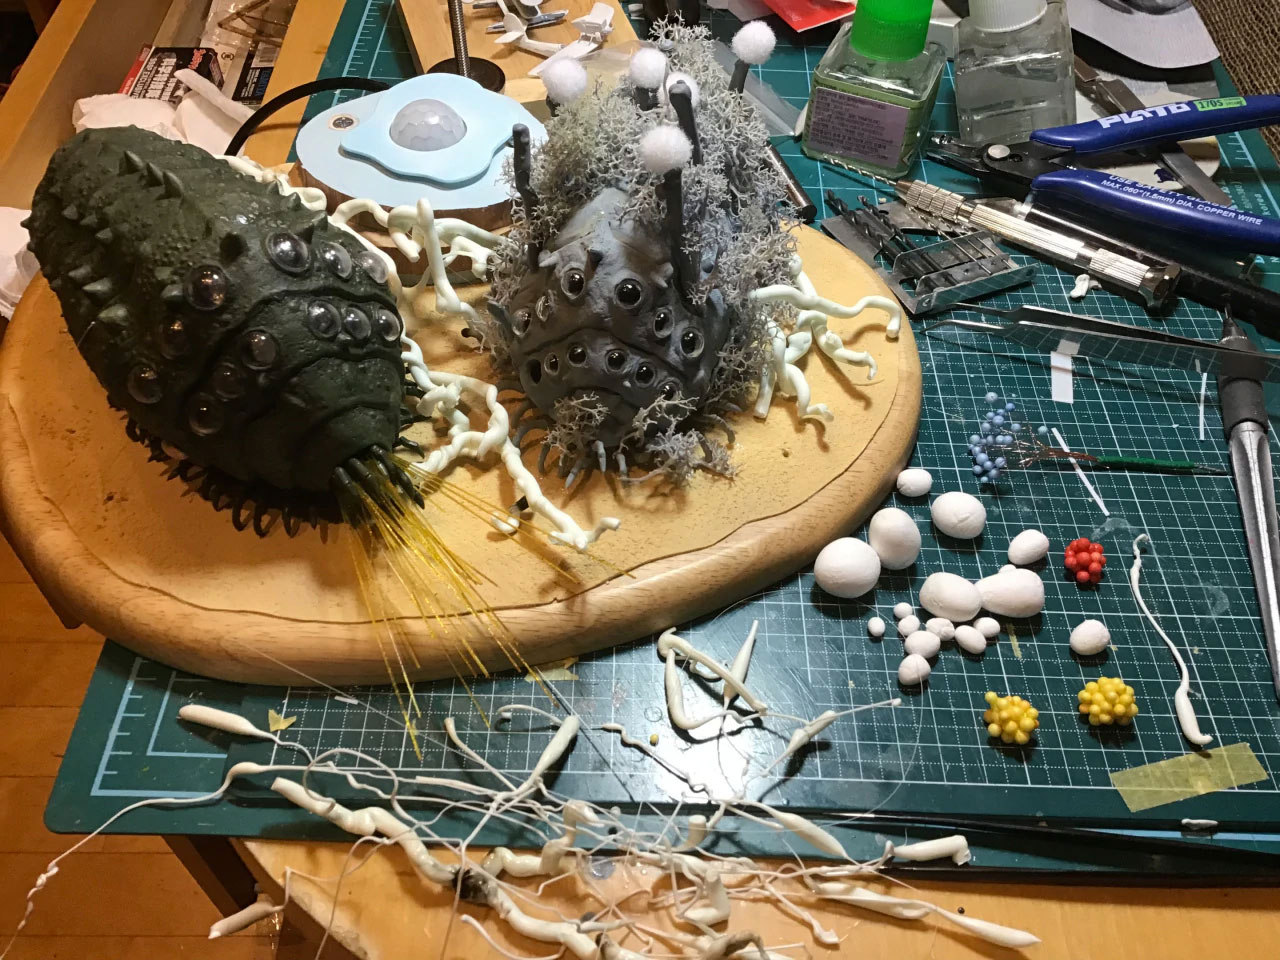
Phase 3: The Base
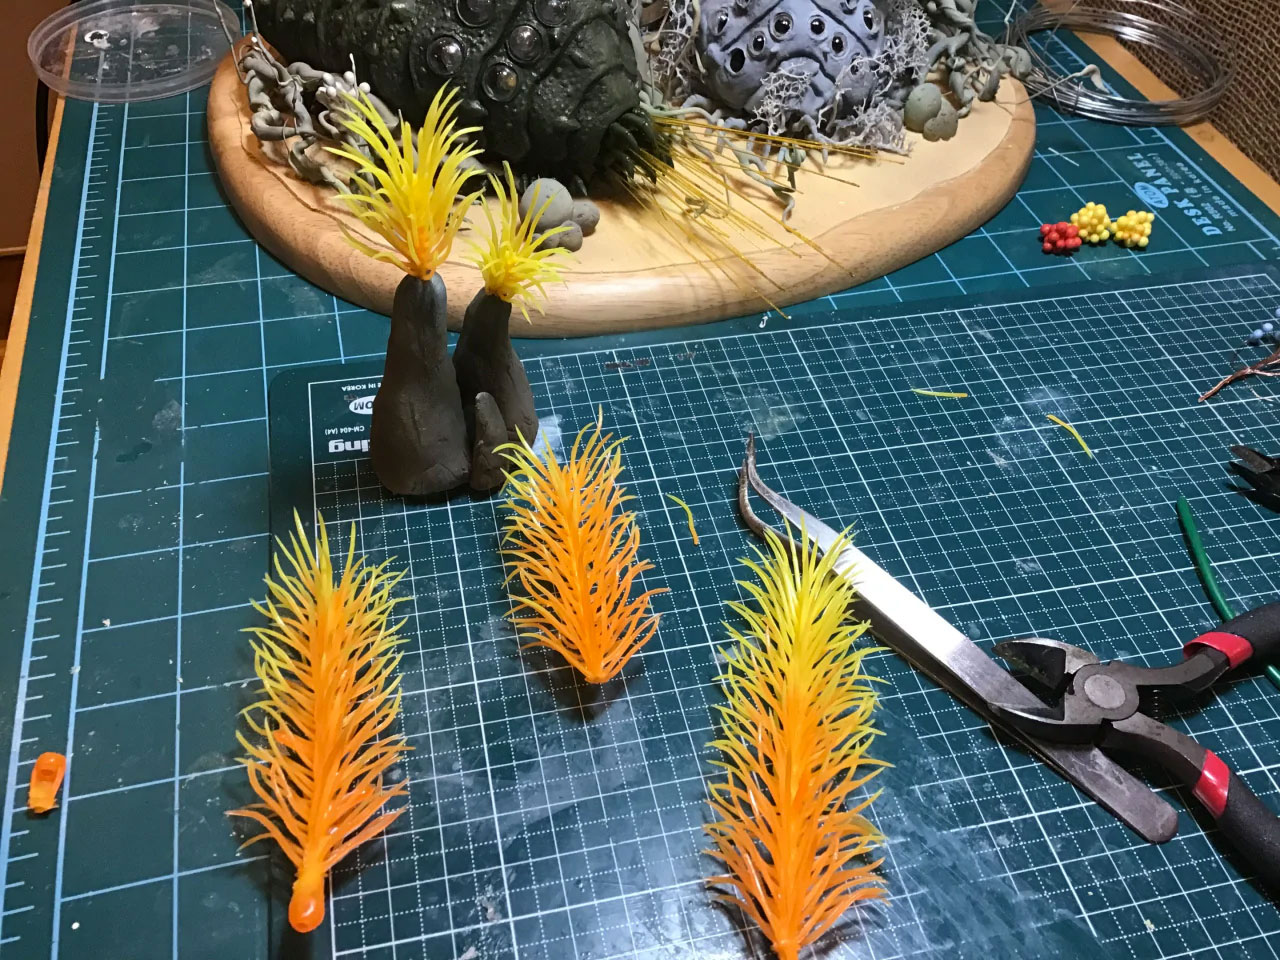
If you’re going to put together this mass of electronics in a model, you need a good place to hide them. So, after securing a wooden serving tray from the local dollar store and flipping it upside down, I used some textured and painted “angel clay” to added a “sandy” ground. I bought a bunch of plastic plants from the dollar store as well, but the look was more “Mrs. Brown’s 4th Grade Class Terrarium” than “Sea of Corruption”, so I started making my own flora and fauna. I stretched and pulled some sprues into random “organic” shapes. Then I painted some synthetic sponge a bunch of colours and applied it as undergrowth. Then finally I bent some wires, glued on some styrafoam balls, shapes more angel clay into spore pods and painted a few of the goofier-looking plastic plants. Once it was all painted and assembled, I was pretty happy with how turned out. It was a bit tedious, but also lot more authentic, if I say so myself.
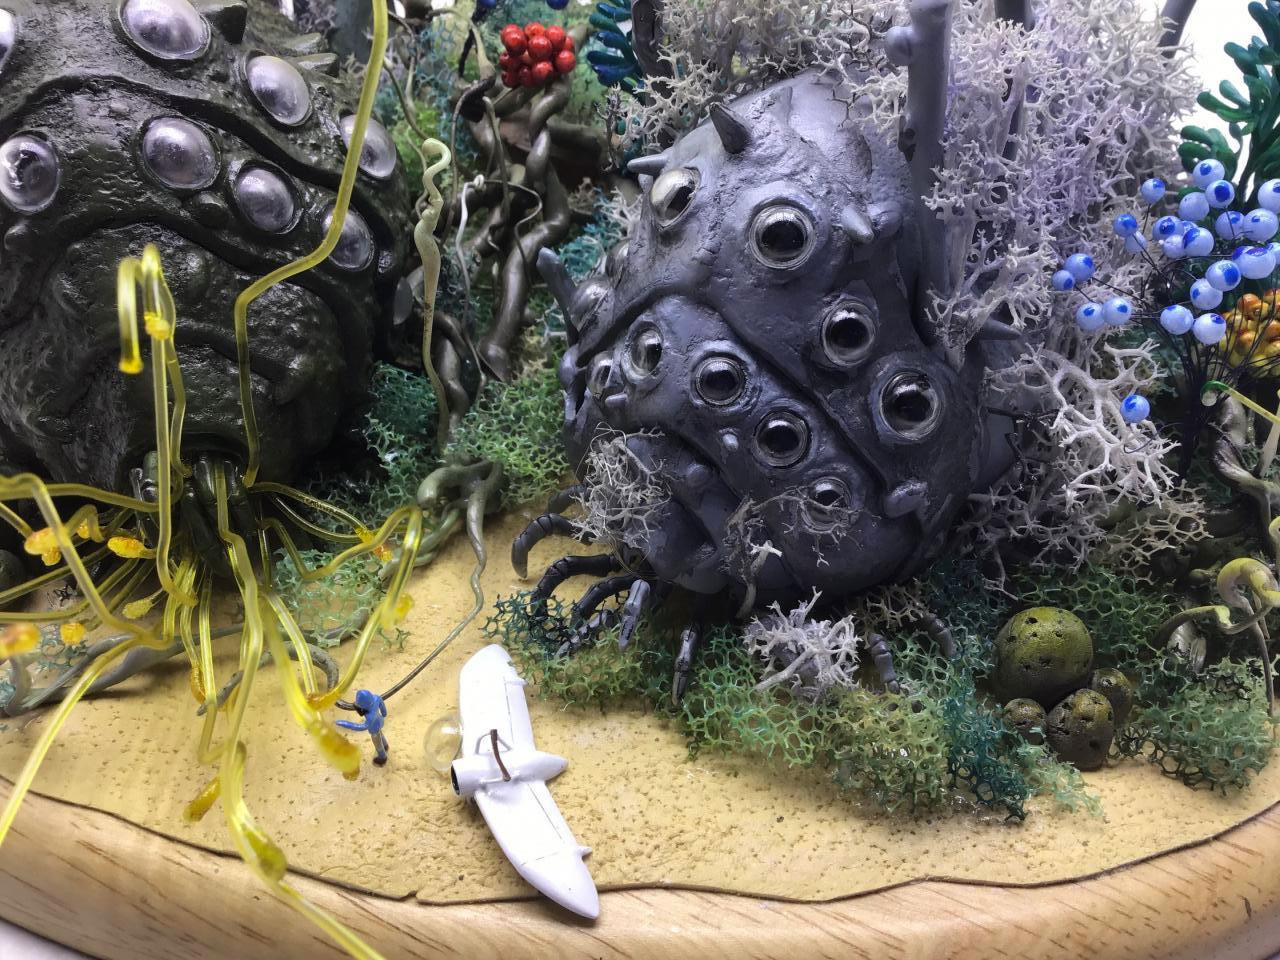
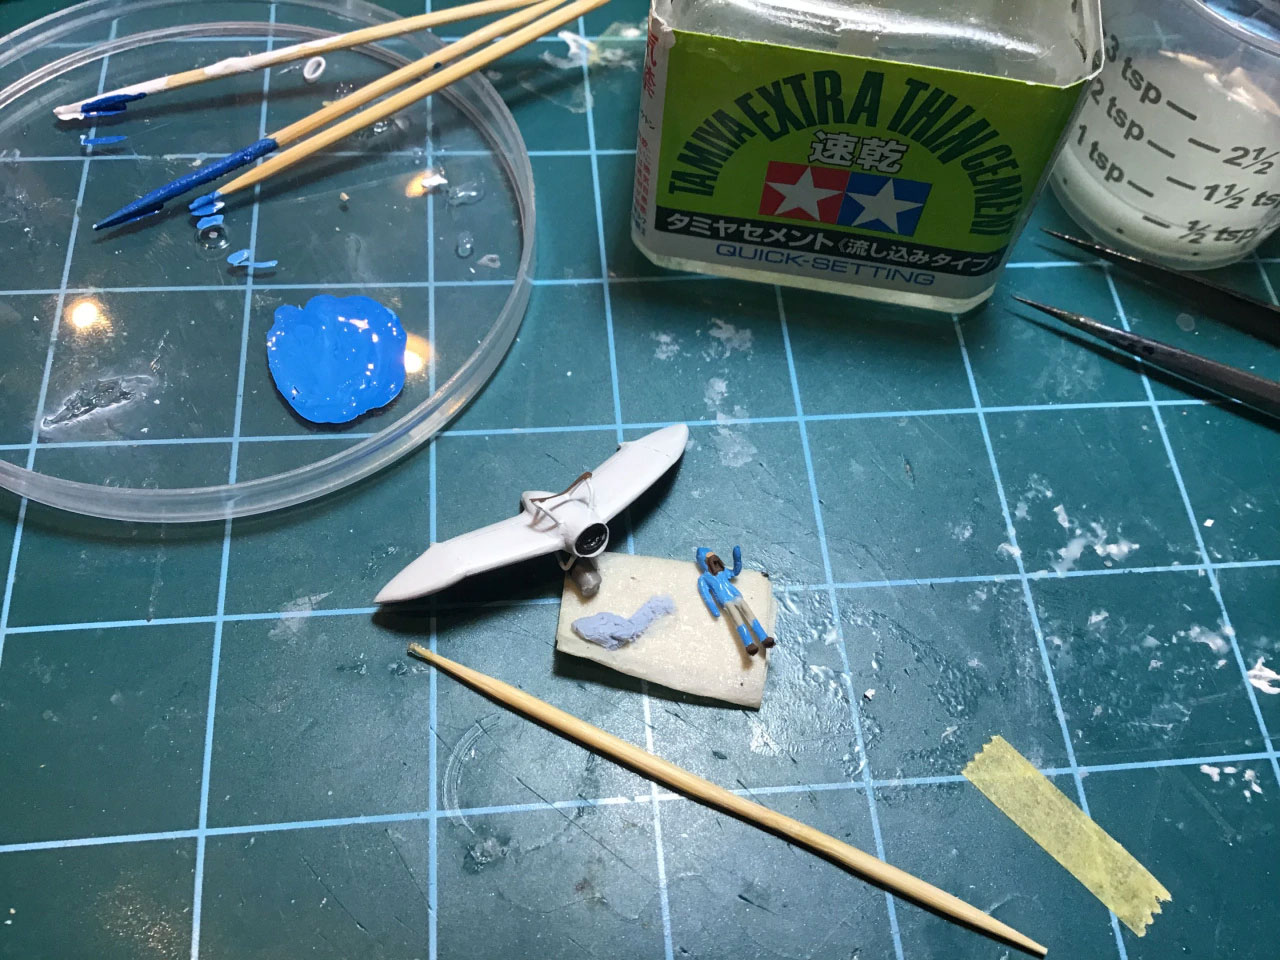
Phase 3: Nausicaa and her Mehve
As I mentioned, if you want to convert a 1/20 scale kit into a 1/144 one, what you really need is to stick it next to a 1/144 one. Since I didn’t really have one, I decided to scratch build my own 1/144 scale Nuasicaa and Mehve. Since I’d already built a Nausicaa Mehve in 1/72 scale, I had a pretty good idea of what was needed. It wasn’t too hard, I just cut some plastic sheet out in the basic outline and then sanded, scored, and bent it into shape. As luck would have it, I also had a reasonably similar figure in my drawer that I converted into Nausicaa with a slight adjustment to the head and a proper paint job.
All in all though, I think it turned out all right, but feel free to tell me how you feel.


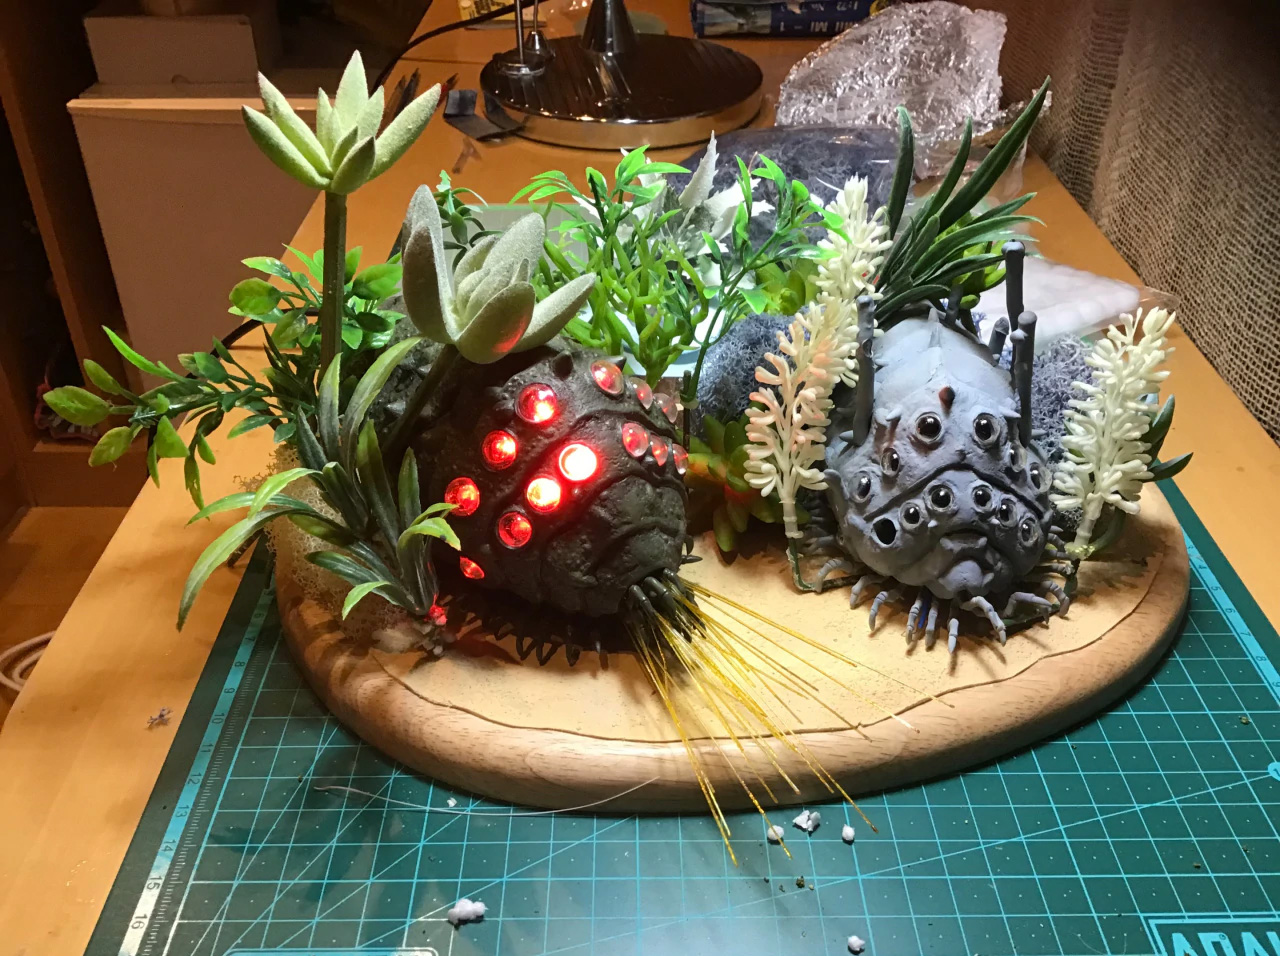
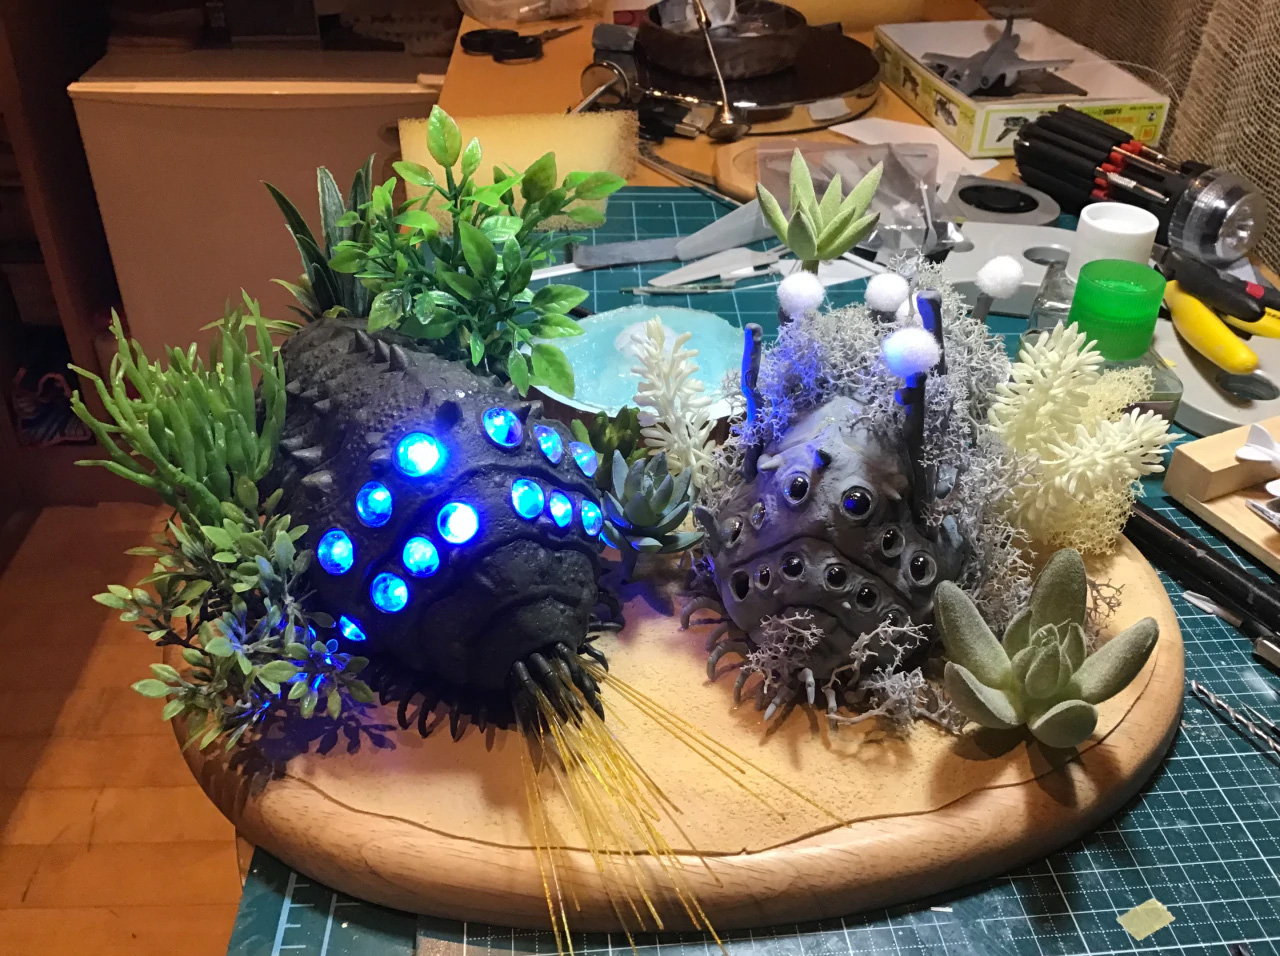


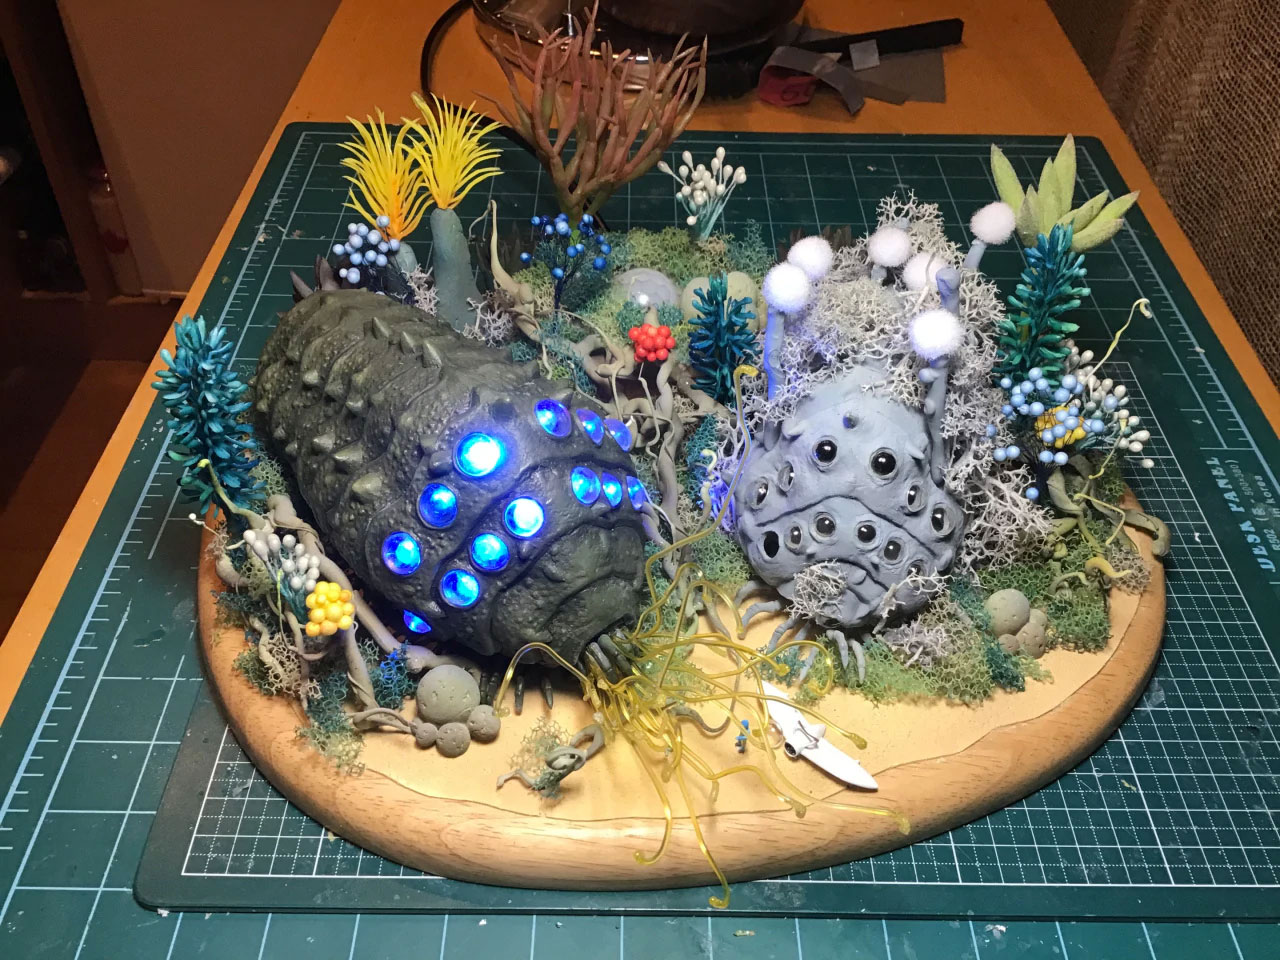
The final build, with lights flashing:
Discover more from strobez
Subscribe to get the latest posts sent to your email.
One Reply to “If An Ohm Falls in the Forest (Ghibli)”