P02: Polikarpov I-16 “Ishak”
RÉVOLUTIONNAIRE par sa conception, l’I-16 fut le premier chasseur monoplan cantilever à aile basse et train d’atterrissage rétractable au monde à atteindre le statut opérationnel, inaugurant ainsi une nouvelle mode dans la conception des chasseurs. Développé par le bureau d’études N.N. Polikarpov, l’I-16 effectua son vol inaugural le 30 décembre 1934. La version « Type 24 », équipée du moteur M-63 et d’un châssis renforcé, fut produite de 1939 à 1940. Ce petit chasseur, surnommé « Ishak » ou « Ishachok » (« Âne » ou « Bourro ») par les pilotes soviétiques, fut produit à 934 exemplaires. À l’été 1941, les chasseurs I-16 constituèrent la base de l’aviation de chasse soviétique. Ils participèrent à des combats aériens sur tout le front germano-soviétique. Les chasseurs I-16 furent utilisés au combat jusqu’à la mi-1943.
Spécifications : Envergure : 9 m. Longueur : 6,1 m. – 1 moteur M-63, 900 cv. – Armement : 4 mitrailleuses ShKAS de 7,62 mm dans les ailes. – Vitesse maximale : 462 km/h.
The finished model:


The video:
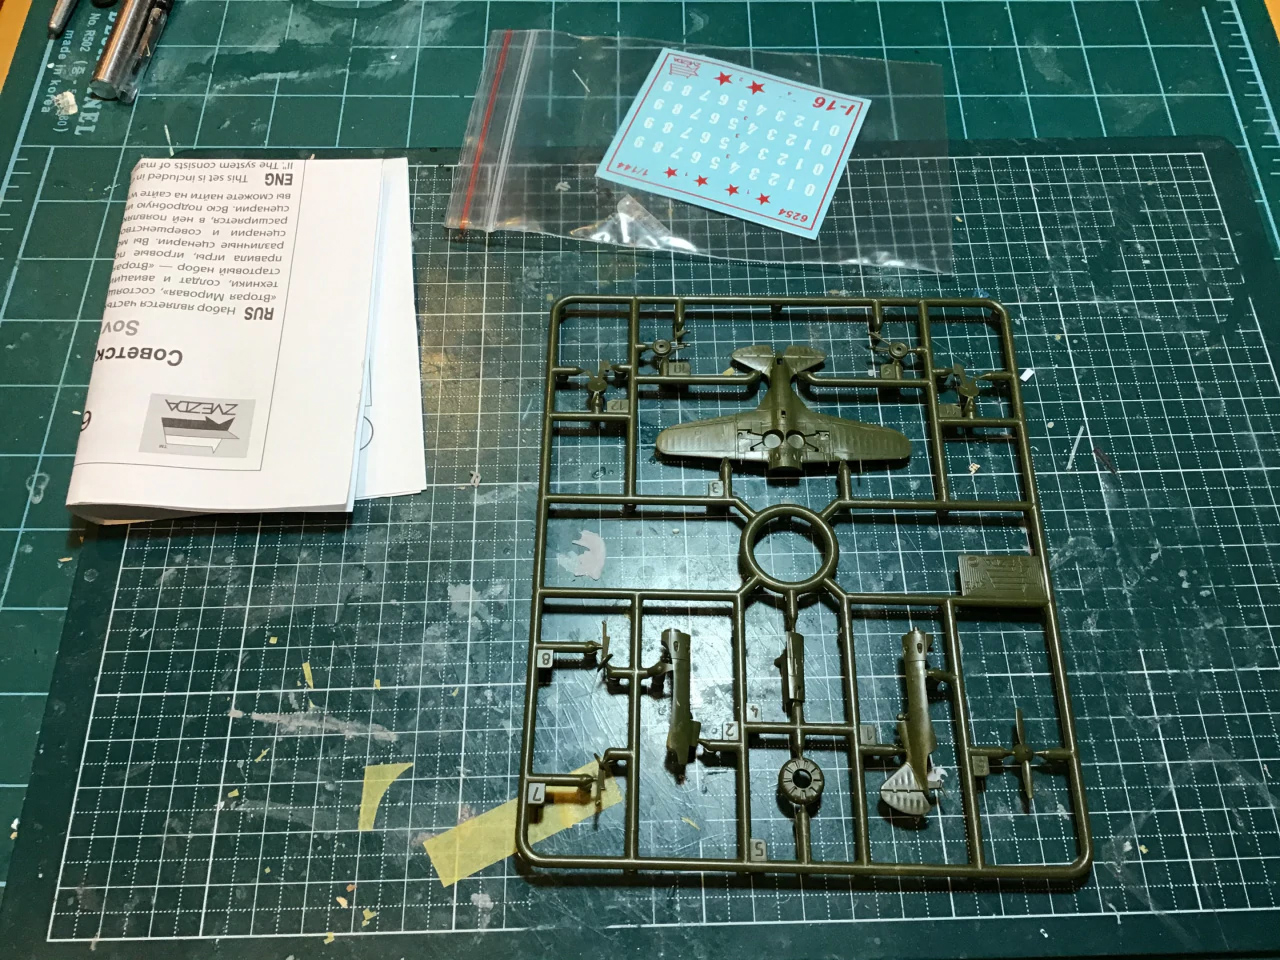
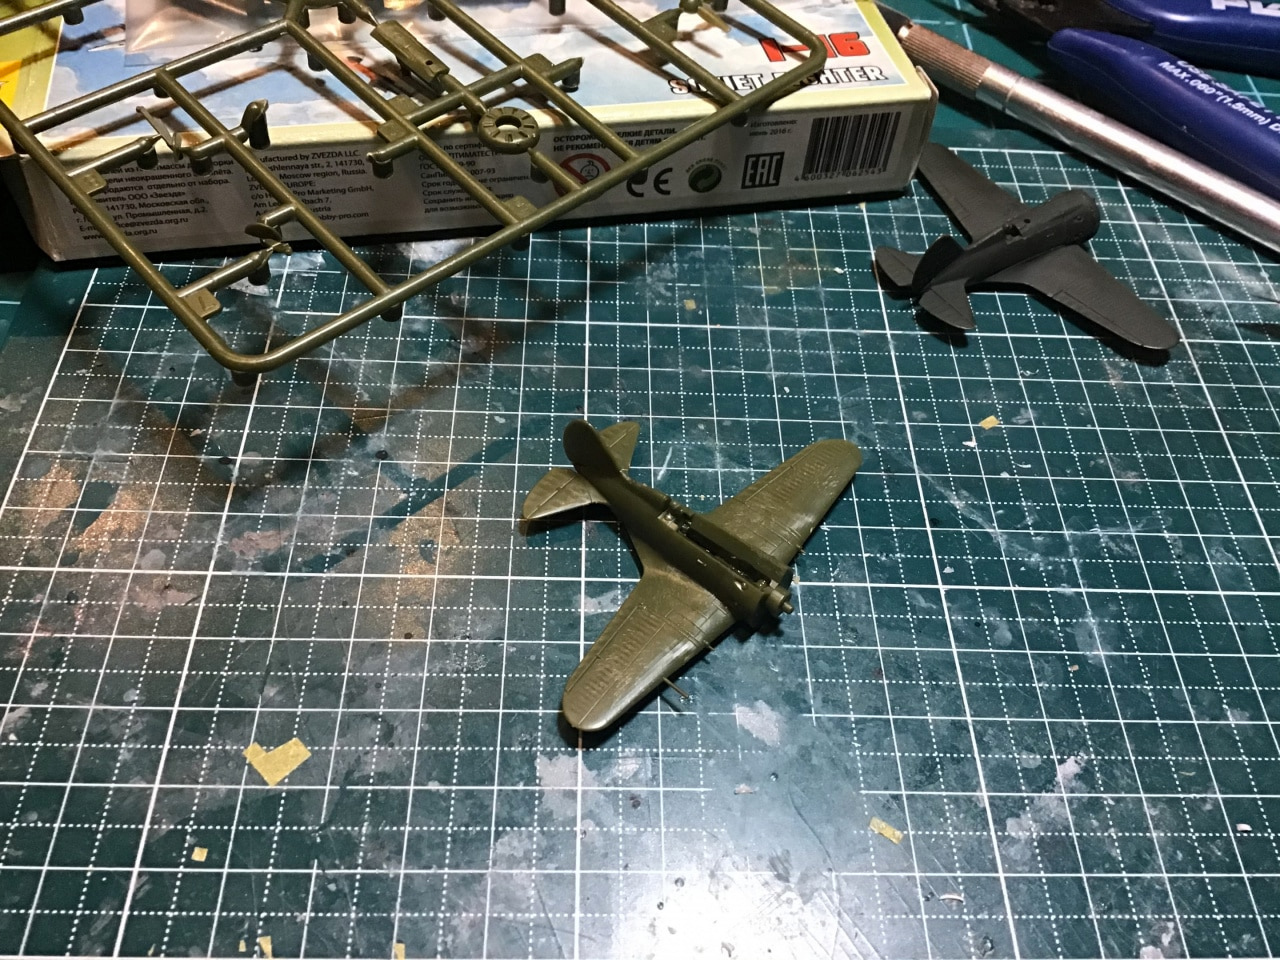
The kit:
The vision:
What is there not to like about the Polikarpov I-16? I’m not sure what it is about this dumpy little Soviet fighter plane, but I’ve long been drawn to it. I just didn’t have any excuse to build one… until I realized I didn’t really need an excuse.
When I stumbled across this tiny little Zvezda kit, I just had to buy it… and once I got a look inside the box, I simply had to build it.
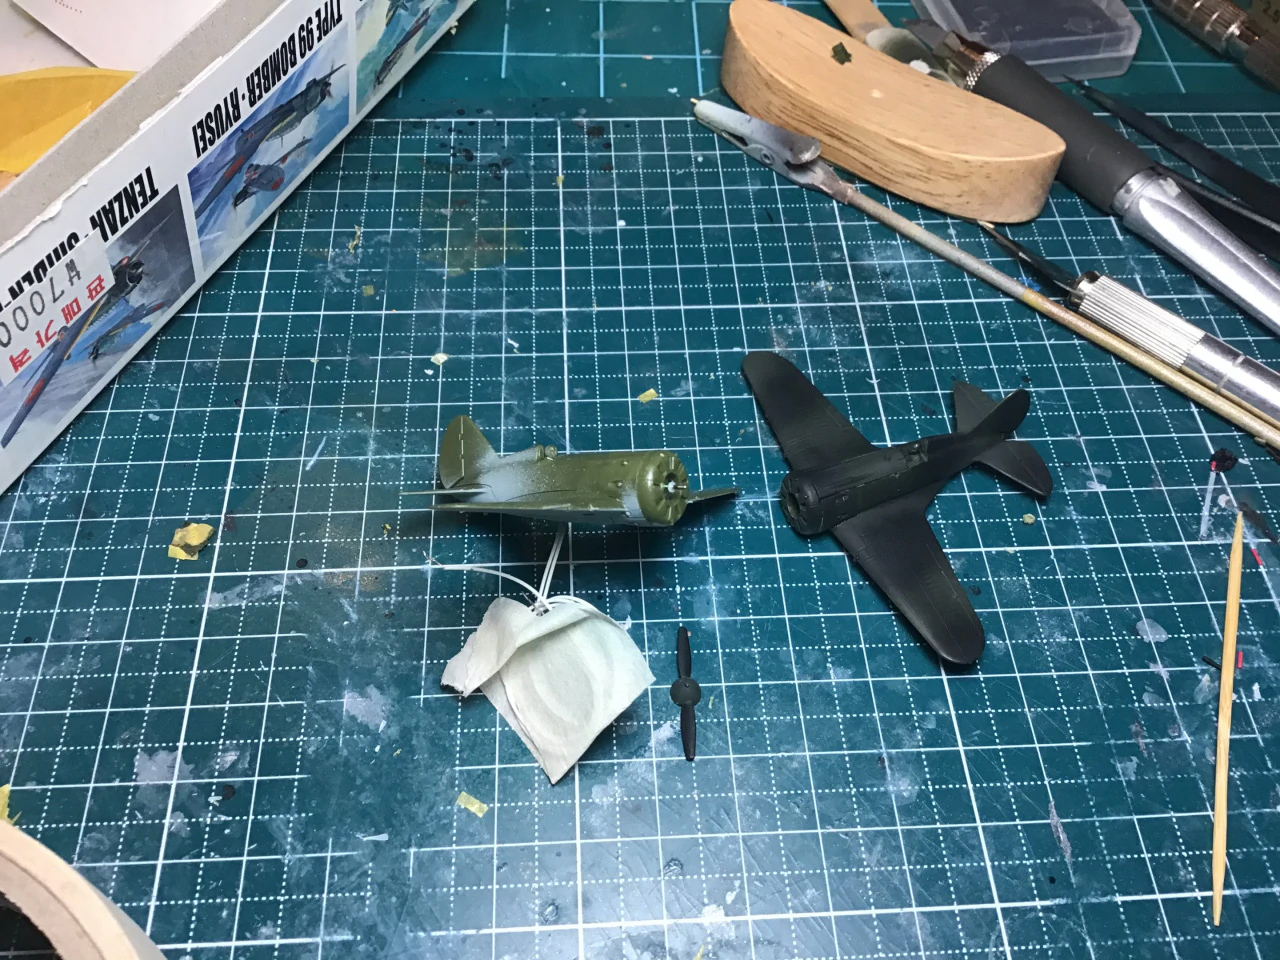
The build:
You’d think this one would be easy. And, I guess, it was… even though it took me two tries to get it right (enough).
This little 1/144 Zvezda kit isn’t really meant for fine scale modelling. It’s actually a snap-tight kit that you’re supposed to put together in a flash and use for some kind of military table top strategy war game.
I don’t know anything about that, but what I do know is that, despite it’s humble intentions, this is a quality little kit with fine details. I’ve seen much much worse.
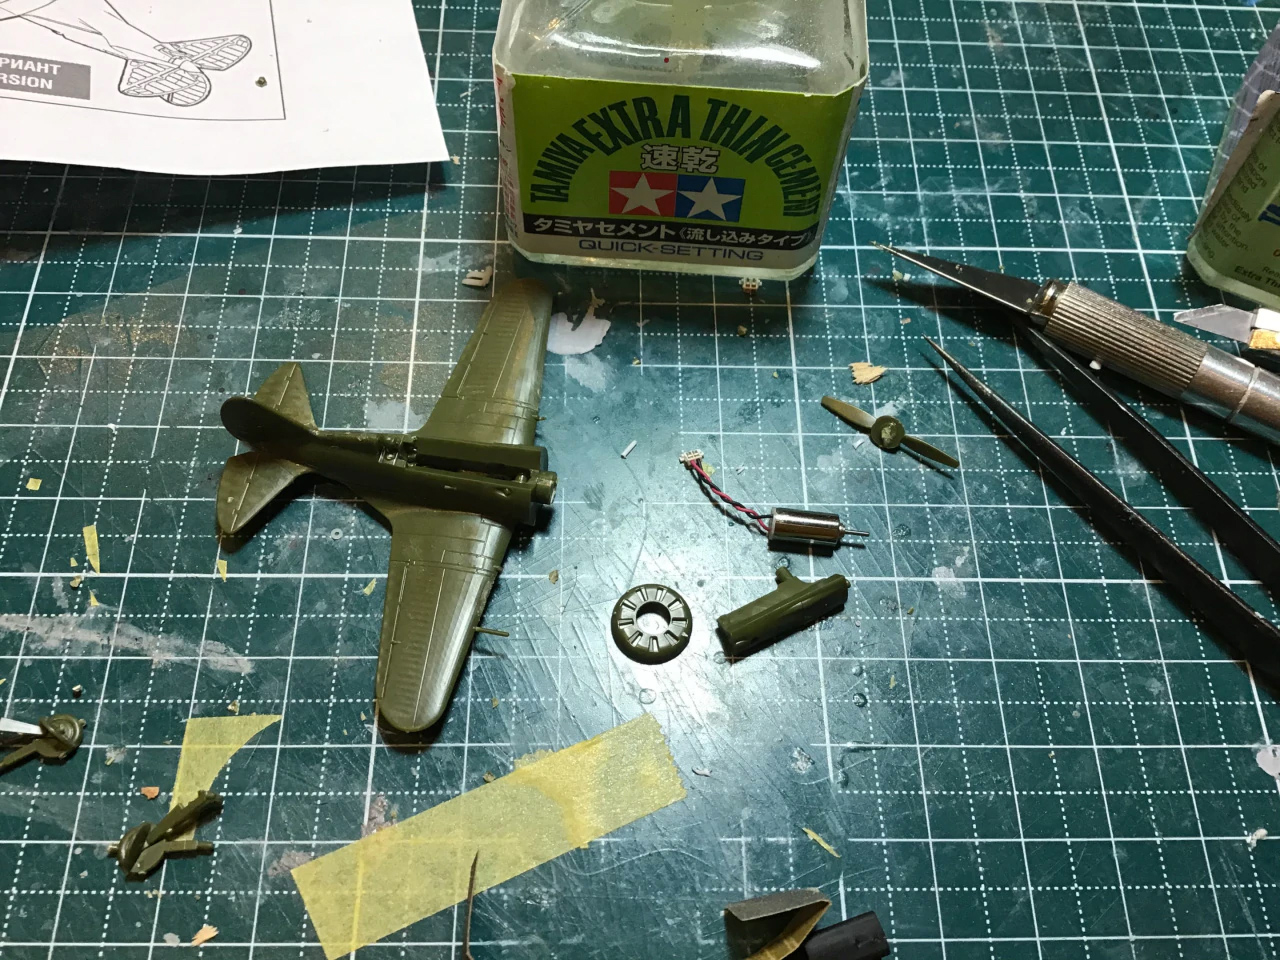
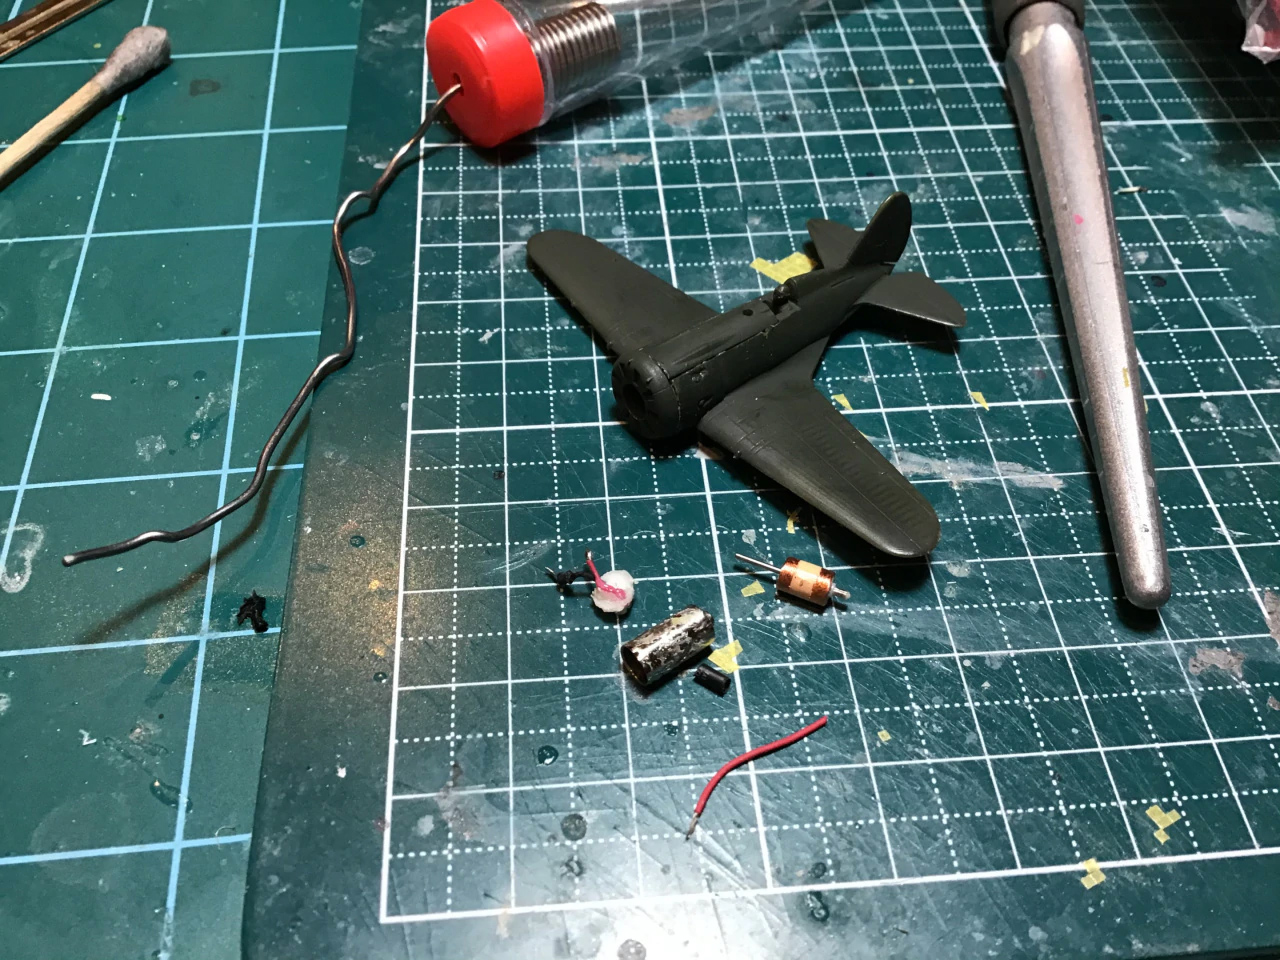
The big challenge was going to be how to get a tiny 4 mm DC motor inside the fuselage, but the rotund shape of the engine cowling made that relatively easy. In fact, the snap-tight engineering of the kit meant there was already some room in the right spot. I just had to coax it open a bit more by drilling it out and cutting it open. On the first crack at it, I was a little to forceful with my drilling. I was trying to be careful, but this is a pretty small kit after all, and I ended up accidentally glueing the fuselage slightly out of alignment.
It wasn’t a huge deal (certainly not a deal breaker), but when I snapped one of the motor wires, it was a real pain to fix. Unlike my A7M2 Reppu project (where the same thing happened), in this case neither the patient, nor the motor survived the ordeal. At least I got to see what the inside of one of those little motors looks like.
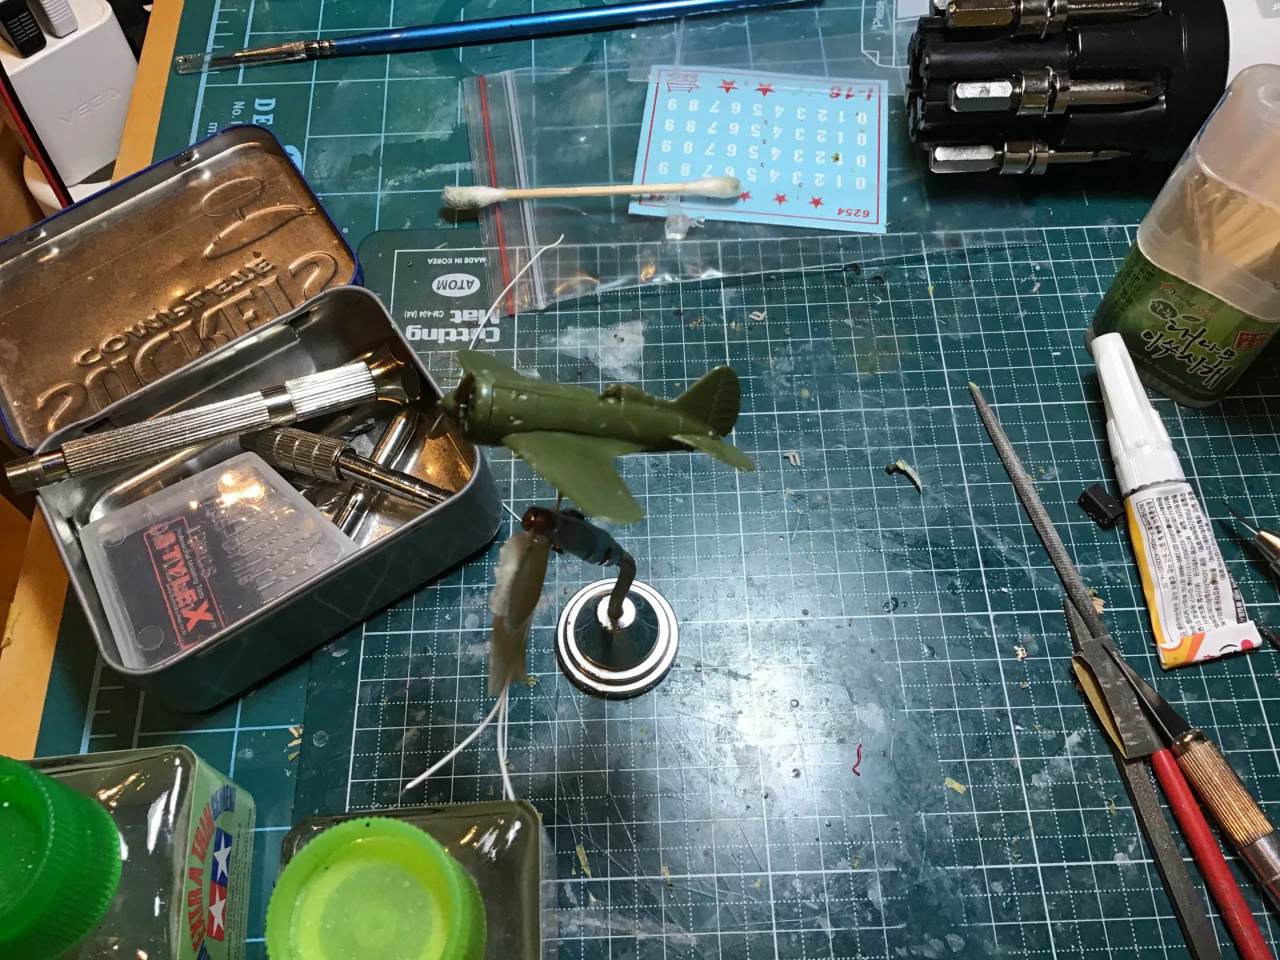
Luckily there wasn’t much trouble in getting another kit, and I was back in action almost before I knew it. The second time was easier, because I knew exactly where and now to drill. Nothing was out of alignment and in the end, it just worked better.
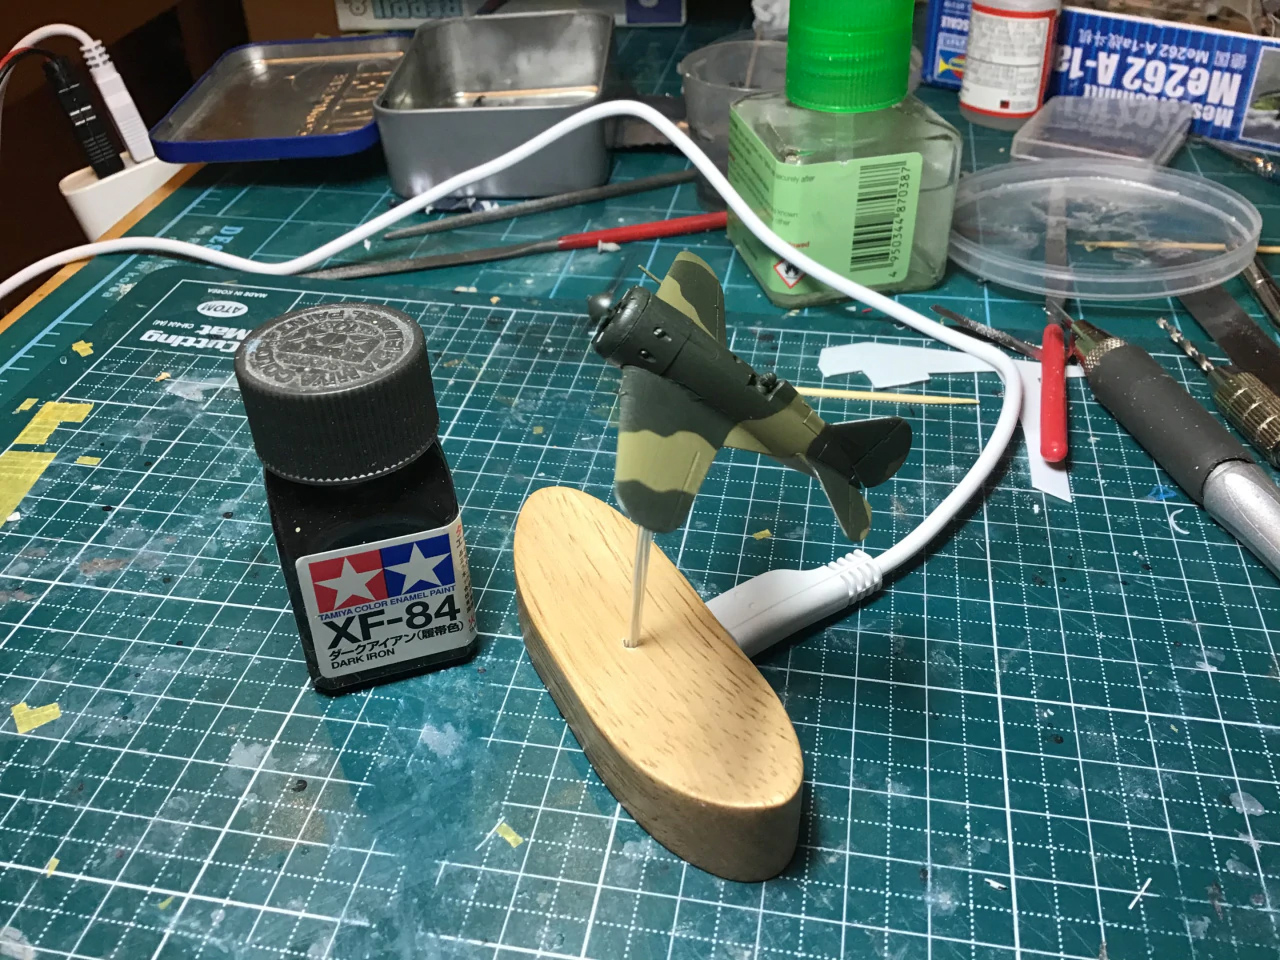
Nothing much to report on the painting, a bit of Tamiya XF-23 for that lovely Soviet blue bottom and some XF-27 (Black Green) for the reset. In what must be a airplane-building first though (at least for me) painting the cockpit (and the pilot) was the last step.
All in all, I’d say this was a pretty successful outing for my first Voir et Savoir Plus project. Feel free to leave me a comment and tell me what you think.


Discover more from strobez
Subscribe to get the latest posts sent to your email.